
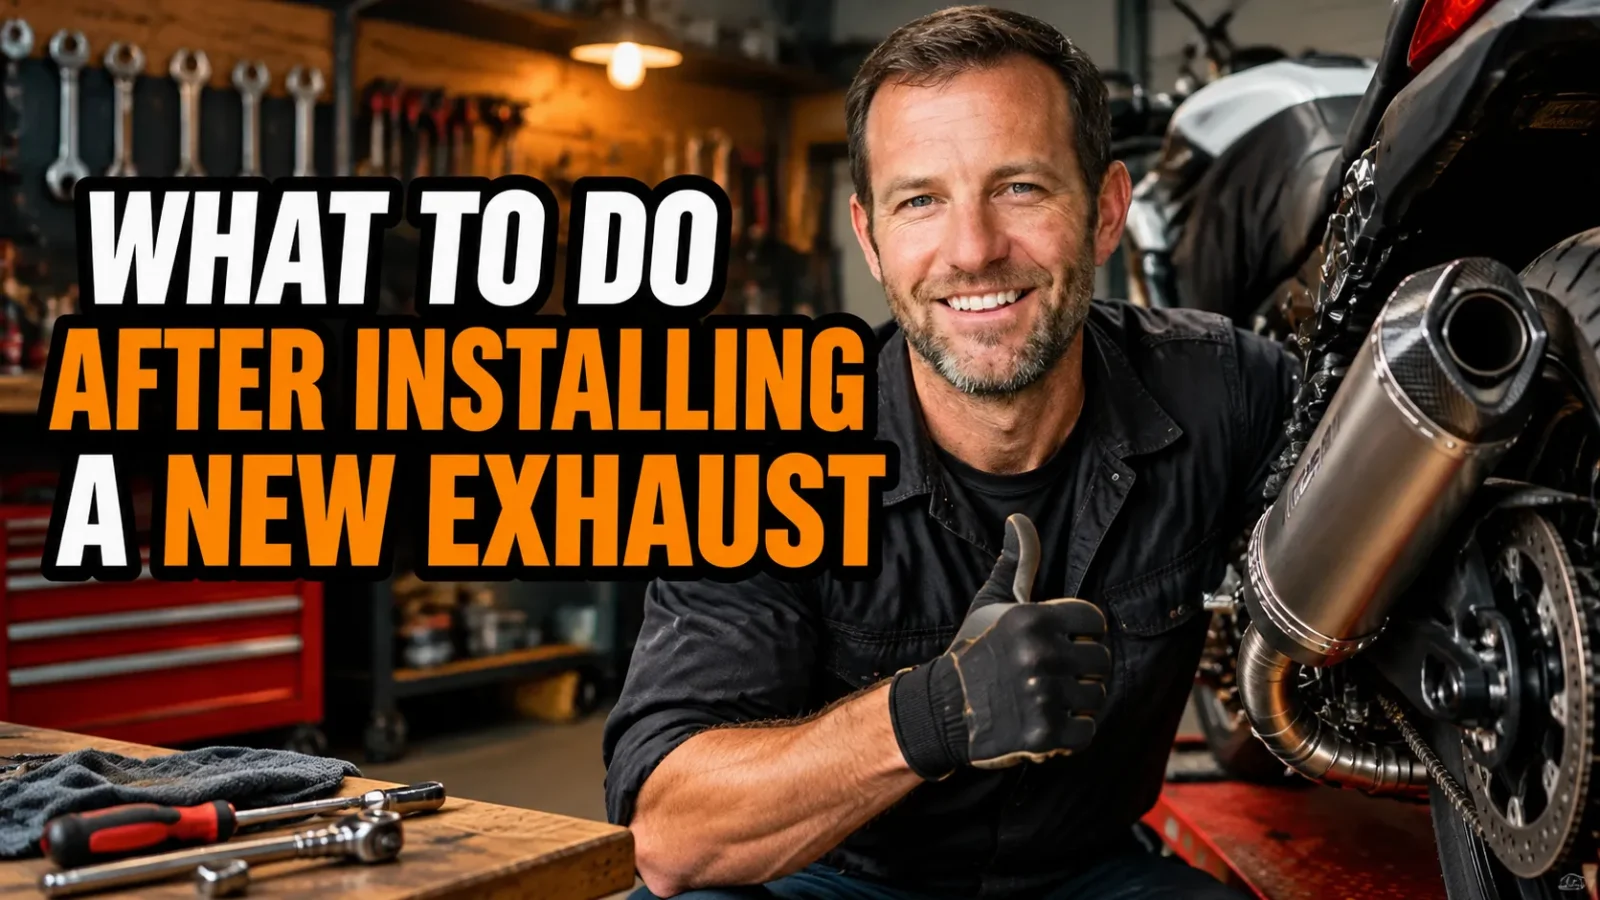
I still remember the first slip-on I ever fitted in my parents’ driveway. I fired the bike up, revved it like a hero, and rode off without checking a single bolt. Two days later a header nut was somewhere on the highway and my mid-pipe was leaking like a sieve.
Since then I’ve installed maybe a dozen exhausts on everything from a carbureted dual sport to a full titanium system on a modern inline four. The install itself is only half the job. What you do in the first hour afterwards decides whether the bike runs better, sounds great, and stays together.
So here’s my honest, no-nonsense routine for what to do after installing a new exhaust.
- Do a cold leak check with soapy water before you ride anywhere.
- Run a heat cycle, let it cool fully, then retorque every bolt and clamp.
- Expect a burning smell and a slightly different idle for the first ride or two.
- Decide on tuning after you’ve confirmed there are no leaks or fitment issues.
- Recheck clearance around plastic, brake lines, and your rear tire before riding hard.
Start With a Cold Leak Check, Not a Test Ride
The temptation to ride immediately is huge. I get it. But a new exhaust is a stack of joints, and every one of them is a potential leak that will only get worse once everything heats up and expands.
On a cold engine, I mix a little dish soap with water in a spray bottle. I spray every joint: header to head, header to mid-pipe, mid-pipe to muffler, and any slip-fit clamps or springs.
Then I start the bike, let it idle, and watch. Bubbles means a leak. It’s that simple.
Why Small Leaks Matter More Than You Think
A tiny leak at the header flange doesn’t just make noise. It pulls in cold air that messes with your O2 sensor readings, which can richen or lean your fueling at exactly the wrong moment.
On carbureted bikes, an exhaust leak can cause popping on deceleration so aggressive it feels like the engine is misfiring. I chased that ghost once for an entire weekend before finding a warped gasket.
If you find bubbles, shut it down, let it cool, and reseat the joint. A fresh gasket is cheap. A melted piston is not.
Run a Proper Heat Cycle Before Anything Else
Once the leak check passes, I do a controlled heat cycle. That means starting the bike, letting it warm up at idle, blipping the throttle a few times gently, then shutting it down and letting it cool completely to ambient temperature.
This isn’t superstition. Metal expands when hot and contracts when cold. Heat cycling lets gaskets crush and settle, clamps find their final position, and muffler packing start to reshape itself against the core.
I usually do two or three of these cycles over an afternoon. It feels tedious. It has saved me from loose hardware on the side of the road more than once.
The Burning Smell Is Normal (Up to a Point)
That first startup will smell. Oils from the manufacturing process, sealants, and the packing material all cook off. It looks alarming if you’ve never seen it, especially on stainless systems where the metal discolors as it heats.
Expect smoke and a plasticky smell for the first 20 to 30 minutes of runtime. What you should not ignore is smoke pouring from a specific joint or a smell like melting wiring.
Get a light in there and look for contact with plastic fenders, wiring looms, or brake lines. Heat wrap and a small bend of a bracket usually fix it.
Retorque Everything While It’s Still Warm
Here’s the step most people skip. After the first full heat cycle, while everything is still slightly warm, I go back over every fastener.
Header nuts, mid-pipe clamps, hanger bolts, muffler band clamps, and any springs. I’ve found header nuts that took almost a full turn more after the first heat cycle. That’s how much they can loosen.
I check the torque again after the first proper ride, and then once more after roughly 100 miles. After that, things usually settle down and stay put.
Check Hanger and Bracket Alignment Too
While you’re under there, look at how the system hangs. If a bracket is fighting the pipe into position, that stress lives in the metal every time it heats up. Eventually something cracks, and it’s usually the pipe, not the bracket.
I loosen everything, let the system find its natural resting position, then tighten from the front of the bike toward the rear. Head first, hanger last. That single trick has eliminated vibrations on every install I’ve done.
Now Think About Tuning
Tuning is the part everyone argues about. My view is simple: fix the mechanical stuff first, then decide.
If you fitted a slip-on to an otherwise stock fuel injected bike, most modern ECUs have enough closed-loop authority to compensate. You might notice a slightly leaner idle, but it’s usually fine.
If you went with a full system, or a full system plus a high-flow air filter, that’s a different story. That combination can push air-fuel ratios lean enough to cause surging, popping, and long-term heat damage.
Fuel Injected Bikes: Flash or Piggyback
For fuel injected bikes, I lean toward a proper ECU flash if one is available for your model. It’s cleaner than a piggyback because it changes the actual fuel and ignition tables instead of intercepting sensor signals.
Piggyback tuners still work well and are easier to remove if you sell the bike. Either way, the goal is the same: get the fueling right across the rev range, not just at wide open throttle.
Carbureted Bikes: Jetting Is Not Optional
On a carbureted bike, a freer-flowing exhaust almost always means you need to richen the mixture. That means main jet, needle position, and sometimes the pilot jet.
I start by going up two sizes on the main jet and moving the needle clip one position richer. Then I ride and read the plugs. Light tan is happy. Chalky white is lean and dangerous. Sooty black is rich and lazy.
This takes a few attempts. It’s worth every minute.
Do a Real Sound Check, Not Just a Rev
I always do a sound check at idle, at a steady cruise, and under load. The idle tells you almost nothing about whether a system will drive you crazy on a four-hour ride.
What I’m listening for is drone. Some systems sound fantastic parked and unbearable at 70 mph because they resonate right in your cruising range. No spec sheet tells you that. Only a real ride does.
If you commute early in the morning or live somewhere with noise ordinances, this matters. A baffle insert or a quieter core can be swapped in without changing the whole system.
Ride It, Log It, Then Adjust
My first proper ride after an install is deliberately boring. I keep it under half throttle, vary the revs, and stay close to home in case something lets go.
I pay attention to three things: any new vibration through the pegs, any hesitation or surging when I roll on, and any change in engine temperature on the gauge.
If all three feel normal, I gradually open it up over the next few rides. If something feels off, I stop and investigate instead of telling myself it’ll sort itself out. It never does.
Little Things I Always Double Check
Rear tire clearance at full suspension compression. Passenger peg clearance. Whether the kickstand still swings freely without touching the mid-pipe. Whether the plate or turn signal is now sitting in a hot exhaust plume.
I’ve seen a melted turn signal lens because nobody checked. I’ve also seen a rear tire that rubbed a muffler only when the shock was fully compressed. Both are easy to catch in the garage and miserable to catch on the road.
The Bottom Line From My Garage to Yours
Installing a new exhaust is the fun part. The hour after is what makes it worth it.
Leak check cold, heat cycle gently, retorque everything, then deal with tuning. Check clearance, listen for drone, and take the first ride seriously. That sequence has never let me down.
Do those things and you’ll get the sound you wanted, the performance you paid for, and a bike that stays tight for thousands of miles. Skip them and you’ll be the person on the shoulder of the road wondering where that rattling is coming from.
Trust me. I’ve been that person. It’s much more fun this way.
Frequently Asked Questions
How long should I let my bike idle after installing a new exhaust?
I let it idle for 2 to 3 minutes, blip the throttle a few times, then shut it off and let it cool completely before retorquing bolts and checking for leaks.
Will a new exhaust damage my engine if I do not retune it?
On most modern fuel injected bikes the ECU compensates for mild changes. A full system paired with a high flow filter can run lean, so a flash or piggyback tuner is worth it.
Why does my new exhaust smell like burning plastic?
That smell is usually oils, sealants, and muffler packing curing from the heat. It normally fades after 30 to 60 minutes of riding.
Does a new exhaust need a break in period?
Yes, a gentle one. Heat cycling lets the metal expand and contract evenly, which seats gaskets and settles the packing before you ride hard.

Related Articles

White Smoke on Startup That Vanishes: What I’ve Learned After Years of Cold Mornings
White smoke from your exhaust on startup that vanishes? I explain when that puff is harmless condensation and when it…
 Jake Miller
9 min read
Jake Miller
9 min read

Loss of Power and Black Smoke From a Diesel? Here’s How I Track Down the Real Cause
Black smoke plus power loss in a diesel almost always means too much fuel and not enough air. I share…
Jake Miller
9 min read

Black Smoke From Your Exhaust at Startup? What I Found After Years of Chasing It
Black smoke from the exhaust when starting usually means a rich fuel mixture. I'll walk through the real causes I've…
Jake Miller
8 min read