
Universal Slip-On Exhaust: What Years of Garage Testing Taught Me
 Jake Miller
9 min read
Jake Miller
9 min read
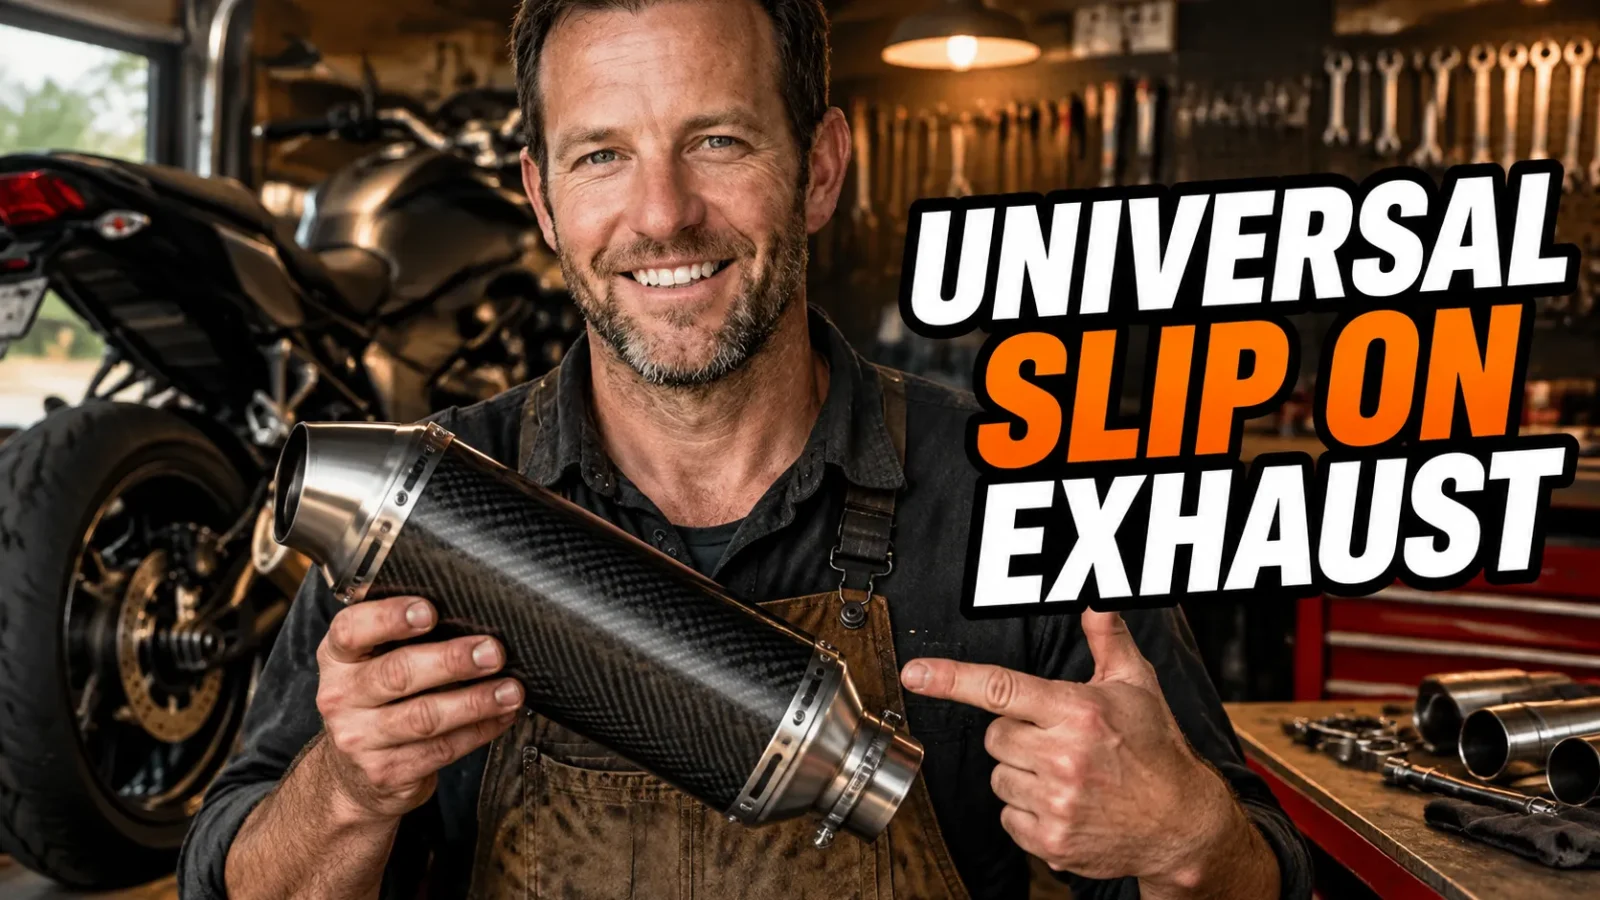
I still remember the first universal slip-on I ever bolted onto a bike. It was a cheap stainless can I found online, advertised as fitting “most motorcycles.” It didn’t fit mine. Not even close. I spent an entire Saturday with a hacksaw, a tube of exhaust paste, and a growing sense of regret.
Two decades and probably fifteen exhaust swaps later, I’ve learned a thing or two. These cans are genuinely brilliant value if you understand what you’re buying. They’re also a fast track to frustration if you don’t.
So here’s everything I wish someone had told me before I started cutting metal in my garage.
- Inlet diameter is the single number that decides whether a universal slip-on works on your bike. Measure yours before you buy anything.
- Expect to fabricate a bracket. Almost every “universal” exhaust I’ve fitted needed one.
- Power gains are small, but weight savings and sound are the real payoff.
- Keep the baffle in for daily riding, and keep your stock muffler for inspection day.
Why I Keep Coming Back to Universal Slip-Ons
Factory exhausts are heavy. That’s the honest truth of it. Manufacturers build them to be quiet, cheap to produce, and durable across a decade of neglect, which usually means thick steel and a big internal chamber.
A universal slip-on strips most of that away. On my old commuter, swapping the stock can for an aftermarket slip-on dropped close to three kilograms. You feel that immediately, especially tipping into a corner or lifting the bike off a side stand.
Then there’s the sound. I’m not going to pretend that isn’t a huge part of it. A well-matched slip-on gives a parallel twin or a single a pulse you can actually hear, and it transforms how the bike feels to ride even at legal speeds.
What “Universal” Actually Means
This is where most riders get burned. “Universal” does not mean it fits everything. It means the manufacturer designed it to fit a range of bikes using adapter sleeves and a generic mounting strap.
The muffler body, the internal baffle, and the outlet tip are usually fixed. Everything that connects it to your bike, however, is negotiable. That’s the part you have to solve.
Inlet Diameter Is Everything
Before you spend a penny, grab a set of calipers and measure the outside diameter of your mid-pipe where it meets the muffler. Or look it up in a service manual. Most universal cans come in 35mm, 38mm, 45mm, 51mm, or 60mm inlets.
If your pipe is 38mm and the can is 51mm, you need a reducer sleeve. Most kits include a couple. If your pipe is 54mm and the can is 51mm, you’re in trouble, and no amount of exhaust paste will save you.
I keep a small box of assorted adapters and shims on the shelf now. They cost almost nothing and they’ve rescued more installs than I can count.
The Mounting Bracket Problem
Here’s the thing nobody mentions in the product listing: universal cans rarely bolt to your existing hanger. You get a strap with slotted holes and a vague hope.
On my last two installs, I made my own bracket from a strip of 3mm aluminium. It took twenty minutes with a drill and a hacksaw, and it looked factory-clean once painted.
Don’t bodge this part. A muffler that vibrates against the swingarm will crack, and a cracked can is a very loud, very expensive lesson.
Materials: What You’re Actually Paying For
You’ll see three main options, and the price gap between them is enormous. Here’s my honest breakdown after owning all three.
Stainless Steel
This is what I recommend to nearly everyone. Stainless is tough, resists rust, and handles the heat cycles of daily riding without drama. It’s heavier than titanium, but it’s also a fraction of the price and far more forgiving if you drop the bike.
My current commuter has had a stainless slip-on on it for four years. It’s scuffed, it’s discoloured near the header, and it still sounds great.
Carbon Fibre and Titanium
Carbon fibre and titanium cans look superb and save real weight. But they’re fussier than people expect. Carbon sleeves can discolour or delaminate if the packing wears out and heat builds up internally.
I love titanium for a track bike. For a bike that lives outside in the rain, I’d rather have stainless and put the savings into tyres.
Sound: The Real Reason Most of Us Buy One
Let’s be honest. We buy exhausts for the noise. Everything else is justification.
The good news is that most universal slip-ons deliver a big improvement over stock, even with the baffle fitted. The trick is matching the can to your engine layout.
A short, straight-through can on a big single will bark aggressively. Put that same can on a four-cylinder and you’ll get a buzzy, raspy tone that gets exhausting on a long ride. Longer cans with more internal volume tend to sound deeper and less harsh at cruising speed.
Baffles, dB Killers, and Living With Neighbours
A baffle, sometimes called a dB killer, is a removable insert that reduces both noise and flow. Almost every universal can ships with one, and I’d strongly advise running it for daily riding.
Without a baffle, you’ll set off car alarms and annoy your neighbours at 6am. I’ve been that guy. It gets old fast, and so do the noise complaints.
My rule is simple: baffle in for the street, baffle out for track days where the venue permits it. Check the rules before you travel.
Do You Actually Gain Power?
Short answer: not much, and I’d rather you hear that from me than from an optimistic product page. A slip-on alone might give you one to three horsepower at the top end on a well-tuned engine.
What you definitely get is weight reduction. Losing two to three kilograms from high up on the bike improves handling more than most riders realise.
You may also lose a little low-end torque if you fit a wide-open can with no baffle. That’s the trade-off nobody advertises.
Fueling, Jetting, and the ECU Question
On a carbureted bike, a slip-on by itself usually doesn’t require a rejet. The stock jetting is rich enough to cope. Add a high-flow air filter at the same time and everything changes.
On a fuel-injected bike, the ECU has some self-correction built in. Most riders notice nothing at all. That said, a flash or a fuel module smooths out the lean spots and sharpens throttle response noticeably.
If your bike pops and surges badly after the install, that’s your signal to address fueling properly rather than just living with it.
My Step-by-Step Install Routine
I’ve done this enough times that it’s muscle memory now. Here’s the order I work in, every time.
Tools I Always Have on the Bench
You’ll want penetrating oil, a caliper, an angle grinder or hacksaw, high-temperature silicone sealant, stainless clamps, and a torque wrench. Don’t skip the torque wrench. Over-tightening a clamp will crush a thin-walled inlet.
Soak the old clamp bolts in penetrating oil the night before. I’ve snapped more rusted bolts than I care to admit.
Sealing and Clamping
Dry-fit everything first before you tighten a single bolt. Check clearance from the swingarm, the tyre, and the rear shock through the full suspension travel.
Once you’re happy, apply a thin bead of high-temp silicone at the joint, slide the clamp on, and tighten evenly. Wipe off the excess before it cures.
Then run the bike for ten minutes and let it cool. Re-check every clamp. Heat cycles loosen things, and a re-torque after the first ride is the difference between a solid install and a rattling one.
Mistakes I’ve Made So You Don’t Have To
I once fitted a can so close to the rear tyre that it rubbed under compression. I caught it early, but it could have been ugly. Always cycle the suspension by hand before you ride.
I’ve also forgotten to remove the old gasket, which left a tiny exhaust leak that made the bike pop on deceleration for weeks. Check the mid-pipe joint carefully.
And I once rode without re-checking the bracket bolts after a week. One fell out. The can was hanging by a single strap when I noticed.
A Quick Word on Legality
This varies hugely depending on where you live. Many regions require exhausts to carry an E-mark or comply with a stated noise limit, and a universal can with the baffle removed often won’t pass.
I keep my stock muffler in the garage. It takes twenty minutes to swap back before an inspection, and it’s saved me real money in fines over the years.
Maintenance and Repacking
Most universal slip-ons use fibreglass packing around a perforated core. Over time, that packing burns out and the exhaust gets louder and harsher.
On a bike I ride hard, I check the packing every couple of years. A repack kit costs very little and restores the original tone. It also protects carbon and titanium sleeves from heat damage.
If your exhaust suddenly got noticeably louder, that’s your packing telling you it’s tired.
Who Should Buy a Universal Slip-On
If you’re comfortable with basic tools and willing to make a bracket, a universal slip-on is outstanding value. You get 80% of the experience of a bike-specific system for a fraction of the price.
If you want a bolt-on, no-thinking-required upgrade, buy a model-specific slip-on instead. Pay the extra. You’ll save yourself an afternoon of swearing.
And if you ride somewhere with strict noise enforcement, think carefully about whether the sound is worth the hassle.
My Final Take
A universal slip-on exhaust is one of the best value modifications in motorcycling. It’s light, it sounds brilliant, and it makes any bike feel more like yours.
Just measure your inlet diameter first, budget for a bracket, keep the baffle in on the street, and re-check your clamps after the first ride. Do those four things and you’ll love the result.
Do none of them, and you’ll be me, twenty years ago, in a garage full of regret and exhaust paste. Trust me on this one.
Frequently Asked Questions
Will a universal slip-on exhaust fit my bike?
It fits if your mid-pipe or header outlet diameter matches the muffler inlet, usually 35mm, 38mm, 45mm, 51mm, or 60mm. Most kits include reducer sleeves so one muffler covers several sizes. You will likely need to fabricate or adapt a mounting bracket.
Do I need to rejet or remap after fitting a slip-on?
On a carbureted bike, a slip-on alone rarely demands jetting changes, but if you also fit a high-flow filter you should rejet. On fuel-injected bikes, most ECUs compensate fine, though a flash or fuel module smooths out lean spots and restores low-end response.
How much power does a universal slip-on add?
Honestly, very little on its own. Expect a kilogram or two of weight savings and a modest top-end gain, sometimes 1 to 3 horsepower. The bigger wins are sound, looks, and shedding weight where it matters.
Are universal slip-on exhausts street legal?
It depends entirely on where you ride. Many countries require an E-mark or a stamped noise limit, and a universal can with the baffle removed will often fail an inspection. Keep your stock muffler for test day and check your local rules first.

Related Articles

White Smoke on Startup That Vanishes: What I’ve Learned After Years of Cold Mornings
White smoke from your exhaust on startup that vanishes? I explain when that puff is harmless condensation and when it…
Jake Miller
9 min read

Loss of Power and Black Smoke From a Diesel? Here’s How I Track Down the Real Cause
Black smoke plus power loss in a diesel almost always means too much fuel and not enough air. I share…
Jake Miller
9 min read

Black Smoke From Your Exhaust at Startup? What I Found After Years of Chasing It
Black smoke from the exhaust when starting usually means a rich fuel mixture. I'll walk through the real causes I've…
Jake Miller
8 min read