
How I Install a Slip-On Exhaust in Under an Hour (And the Mistakes I Made First)
 Jake Miller
9 min read
Jake Miller
9 min read
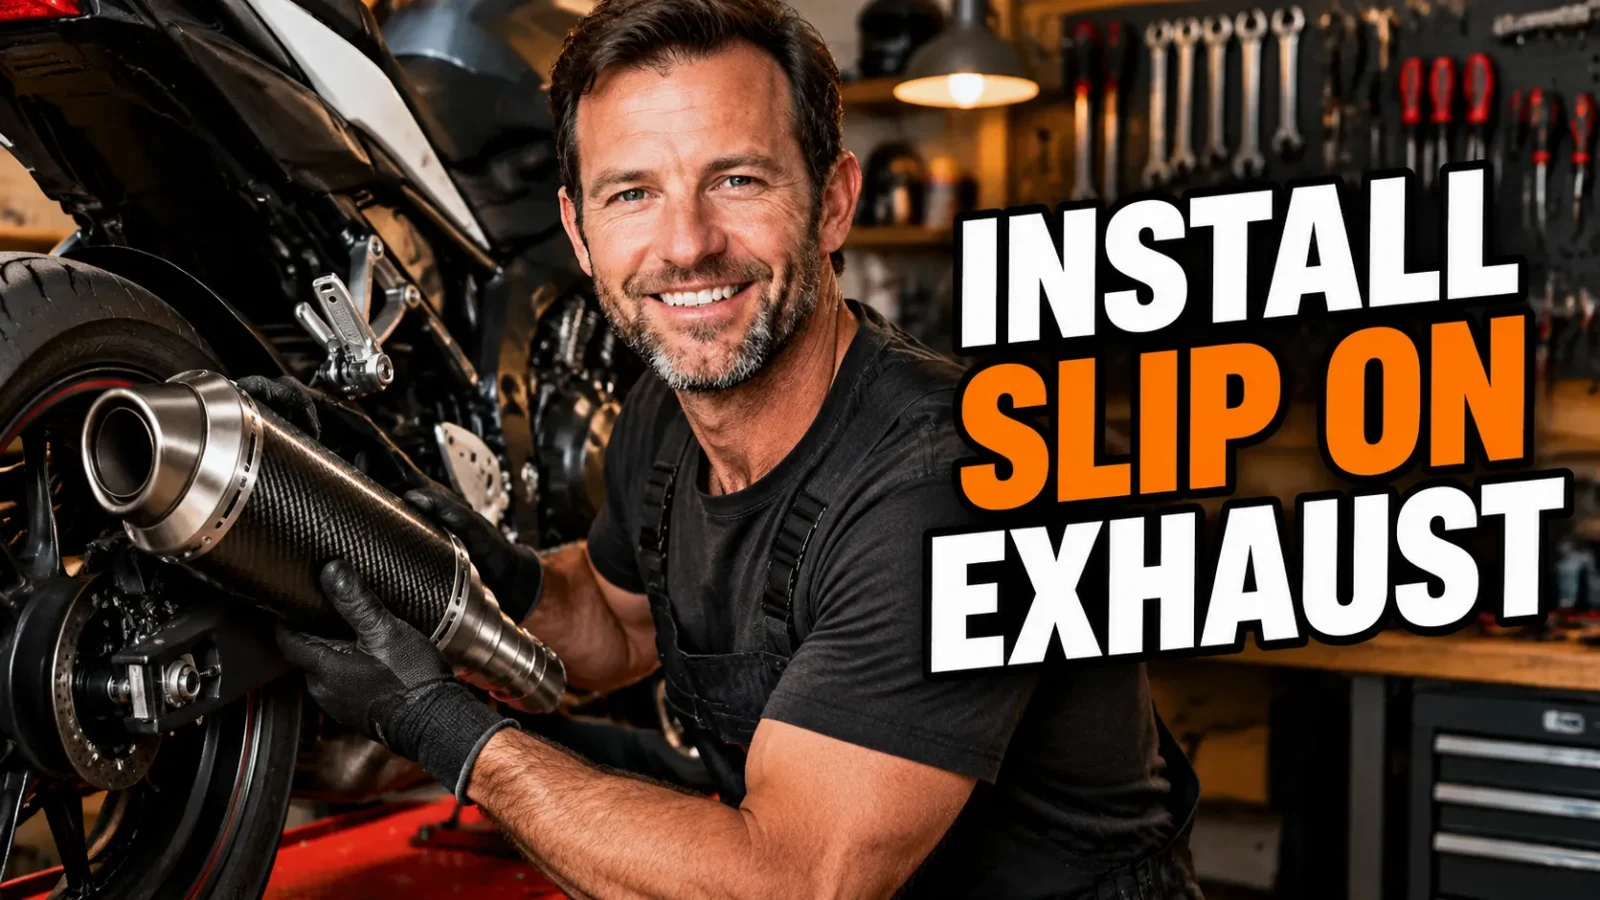
I still remember the first time I bolted a slip-on onto my own bike. I was 19, working in a gravel driveway, using a socket set I’d borrowed from my dad. It took me two hours, one skinned knuckle, and a lot of swearing. These days? If the header is already on the bike and the gasket is in stock, I can have a new can fitted and torqued in under 40 minutes.
That gap between two hours and 40 minutes isn’t about skill. It’s about knowing the order of operations and the small details nobody tells you about. So let me walk you through exactly how I do it now, including the mistakes I made so you don’t have to repeat them.
- A slip-on replaces only the muffler, so the header stays on the bike and the job is usually a 30 to 45 minute garage project with basic hand tools.
- Always replace the exhaust gasket, dry-fit everything before tightening, and torque in a crisscross pattern to avoid leaks and cracked flanges.
- You generally don’t need a tune for a slip-on alone, but you do if you also open up the intake or delete the cat.
- Do a heat cycle, then re-check every bolt after the first ride. It’s the step almost everyone skips and the one that causes the most rattles.
The Real Reason I Started Doing This Myself
I’ve paid a shop to install an exhaust exactly once. The work was fine, but the bill was three times what the part cost me in effort. More importantly, I didn’t learn anything about my own bike.
When you install a slip-on yourself, you end up inspecting things you’d otherwise never touch. You notice the condition of your header springs. You see whether your mid-pipe has been rubbing on the swingarm. You learn which of your bolts are seized before they become a problem on a roadside.
It’s also just a genuinely satisfying afternoon. The bike sounds different when you roll it out of the garage, and you made that happen. There’s no feeling quite like it.
What a Slip-On Actually Is (And What It Isn’t)
Let’s get the terminology straight, because I see people buy the wrong part constantly. A slip-on exhaust is a muffler and mid-pipe assembly that connects to your factory header. It “slips on” over the existing pipe, usually secured with a clamp, springs, or a band.
A full system, by contrast, replaces everything from the cylinder head back, including the headers and often the catalytic converter. That’s a bigger job, a bigger bill, and a bigger change to how the bike runs.
Slip-On vs. Full System: My Honest Take
For 90% of street riders, a slip-on is the right call. It gives you the sound and the weight savings without the tuning headache. If you’re chasing maximum horsepower on a track bike, a full system makes sense, but you’re also signing up for a dyno session and a fuel controller.
I’ve done both. The slip-on is the one I’d recommend to a friend who just wants their bike to sound like it should have from the factory.
The Tools I Keep Handy for This Job
You don’t need a professional shop to install a slip-on. Here’s what’s actually on my bench when I start:
A socket set (metric for Japanese and European bikes, SAE for most American V-twins), a torque wrench, hex keys, a rubber mallet, penetrating oil, and a tube of high-temp anti-seize. I also keep a spray bottle of soapy water nearby, which sounds odd until you’re trying to slide a tight gasket into place.
One more thing: nitrile gloves. Exhaust parts are filthy, and you don’t want that grime on your grips or your upholstery.
Prep Work: Fifteen Minutes That Save an Hour
Let the Bike Cool Completely
I know it’s tempting to start the second you get home from a ride. Don’t. Exhaust headers hold serious heat for a long time, and a cold exhaust is a cooperative exhaust. Give it at least an hour, longer if it’s a hot day.
Photograph Everything Before You Touch It
I take three or four phone photos of the stock setup from different angles. Springs, clamps, brackets, routing, cable ties. When you’re 45 minutes in and can’t remember which way a bracket faced, those photos are worth their weight in gold.
Soak Every Fastener in Penetrating Oil
Exhaust bolts live in a hostile environment. Heat cycles, rain, road salt. I spray every nut and bolt I plan to remove and then go make a coffee. Twenty minutes of soak time has saved me from snapping more bolts than I care to count.
My Step-By-Step Install Process
Step 1: Remove the Old Muffler
Support the muffler with one hand before you remove the last bolt. Stock cans are heavier than they look, and I’ve seen more than one person drop one onto a rear wheel or a brake line. Once the bracket bolts are out, the springs or clamp come off and the muffler slides free.
If it’s stubborn, don’t force it. A gentle tap with a rubber mallet and a twist usually breaks the carbon buildup loose.
Step 2: Inspect and Replace the Gasket
This is the step where people cut corners, and it’s the one that causes 90% of post-install problems. Old gaskets compress and harden. If you reuse a graphite or fiber gasket, you’ll get a leak at the joint, and a leaking exhaust makes your bike pop on deceleration and run lean.
New gaskets are cheap. Replace them every single time.
Step 3: Dry-Fit Before You Tighten Anything
I always slide the new slip-on into place and check the alignment with everything loose. Look at clearance from the swingarm, the rear tire, the bodywork, and any brake or clutch lines. The tolerances get very tight very quickly, especially on sportbikes.
If something is touching, now is the moment to fix it, not after you’ve torqued everything down.
Step 4: Torque in the Right Order
I tighten the header joint first, then the mid-pipe clamp, then the mounting bracket bolts. Snug everything by hand in a crisscross pattern, then go back with the torque wrench and hit the manufacturer’s spec. Overtightening a clamp is a common mistake and it can crush a pipe or crack a flange.
If your slip-on uses springs instead of clamps, double-check that they’re properly seated. I’ve seen springs pop off mid-ride because they were hooked onto a worn tab.
Step 5: Heat Cycle and Re-Torque
Start the bike and let it idle for a few minutes, then let it cool completely. Metal expands and contracts, and fasteners loosen slightly as everything settles. After that first heat cycle, I go back over every bolt and check the torque again.
Then I take a short ride and check it once more. This takes five extra minutes and it’s the difference between a clean install and a rattle you’ll chase for months.
The Mistakes I’ve Made So You Don’t Have To
I once installed a slip-on without checking clearance and burned a hole through my rear fender liner on the first ride. I’ve also overtightened a clamp so badly that I deformed the mid-pipe and had to replace it. And yes, I’ve reused a gasket. Once. The popping on decel was embarrassing.
Learn from my garage tuition. Check clearance, respect torque specs, and always use new gaskets.
Do You Actually Need a Tune After a Slip-On?
When a Slip-On Alone Is Fine
On most modern fuel-injected bikes, a slip-on by itself doesn’t change airflow enough to upset the stock fuel map. The ECU has enough range to compensate. I’ve run slip-ons on several bikes with zero fueling issues.
When You Need a Fuel Controller or Flash
If you also install a high-flow air filter, remove the catalytic converter, or go with a full system, you’re changing airflow enough that the stock map can’t keep up. That’s when you need a fuel controller, a reflash, or a dyno tune. Symptoms of a lean condition include surging, excessive decel popping, and a rough idle.
Pay attention to how the bike feels. It’ll tell you.
Small Details That Make It Feel Factory
A little high-temp anti-seize on every threaded fastener makes future removal dramatically easier. Cleaning the joint area before assembly prevents grit from getting trapped. And if your slip-on came with a dB killer, try it both ways before deciding which you prefer.
Volume is personal. What sounds glorious on a canyon road can be genuinely obnoxious at 6 a.m. in a residential neighborhood. I run baffles in on street bikes and take them out for track days.
Keeping It Tight Long-Term
Once a month or so, I put a wrench on the mounting bolts and check the clamps. Vibration is relentless, and exhaust hardware is its favorite victim. I also inspect the pipe for stress cracks near the mounting points and check the springs for stretch.
A quick wipe-down with a microfiber cloth when the exhaust is cool keeps the finish looking new. Skip any abrasive polishes on titanium and coated finishes.
Final Thoughts From My Garage to Yours
Installing a slip-on exhaust is one of the best first projects for anyone who wants to start working on their own motorcycle. It’s low-risk, high-reward, and it teaches you the fundamentals of torque, gaskets, and clearances that apply to almost everything else on the bike.
Take your time, replace the gasket, dry-fit before you tighten, and re-check everything after a heat cycle. Do those four things and your install will be cleaner than most shops would manage, and you’ll have a bike that sounds exactly the way you want it to.
Now go make some noise.
Frequently Asked Questions
Do I need to remap my ECU after installing a slip-on exhaust?
In most cases, no. A slip-on with the stock airbox and stock header rarely changes airflow enough to require a remap. You do need a fuel controller or flash if you also change the air filter, remove the catalytic converter, or install a full system.
How long does a slip-on exhaust install take?
On a typical sportbike or naked bike, I can remove the stock muffler, swap the gasket, and bolt up the new can in about 30 to 45 minutes with hand tools. Bolt-on mufflers on cruisers are often a 15-minute job.
Can I reuse the old exhaust gasket?
Only if it’s a metal crush gasket in perfect shape. Graphite and fiber gaskets almost always deform when removed, and a leak at the joint will make your bike pop, backfire, and run lean. New gaskets cost a few dollars, so I always replace them.
Will a slip-on exhaust make my bike louder?
Yes, typically by 3 to 8 decibels at idle, with more of a gain under load. Most quality slip-ons ship with a removable baffle or dB killer, so you can dial the volume to something your neighbors will tolerate.

Related Articles

White Smoke on Startup That Vanishes: What I’ve Learned After Years of Cold Mornings
White smoke from your exhaust on startup that vanishes? I explain when that puff is harmless condensation and when it…
Jake Miller
9 min read

Loss of Power and Black Smoke From a Diesel? Here’s How I Track Down the Real Cause
Black smoke plus power loss in a diesel almost always means too much fuel and not enough air. I share…
Jake Miller
9 min read

Black Smoke From Your Exhaust at Startup? What I Found After Years of Chasing It
Black smoke from the exhaust when starting usually means a rich fuel mixture. I'll walk through the real causes I've…
Jake Miller
8 min read