
Harley Davidson Bolt Size Chart: The Rider’s Guide to Every Fastener You’ll Touch
 Jake Miller
12 min read
Jake Miller
12 min read
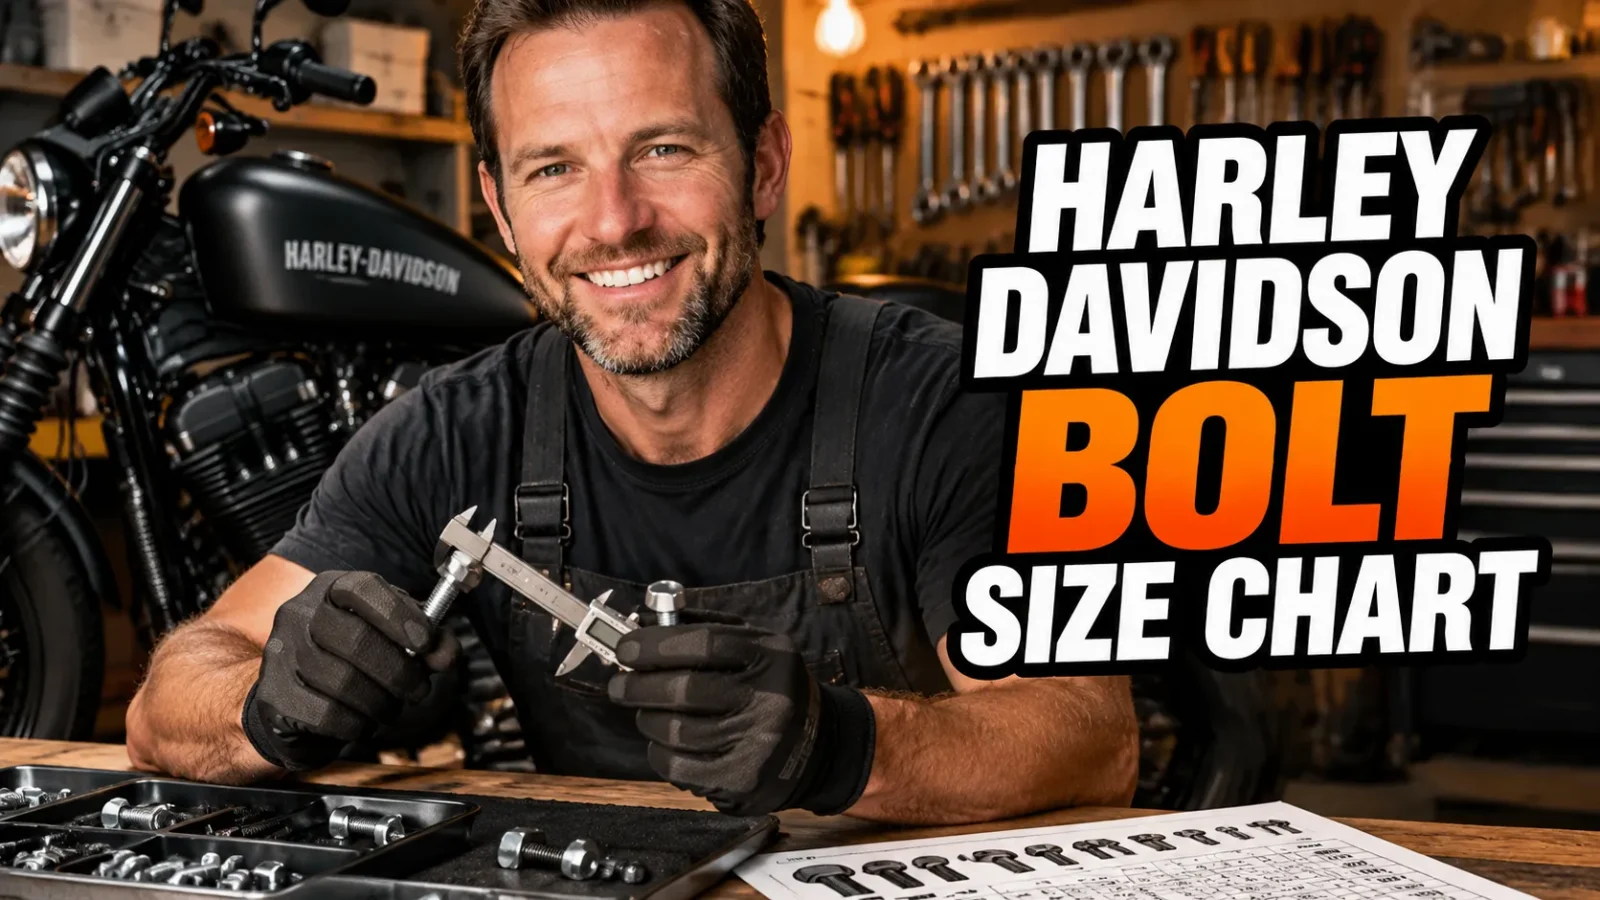
I’ve learned the hard way that guessing bolt sizes on a Harley Davidson is a fast ticket to stripped threads, rounded heads, and a long walk to the hardware store. My first Sportster taught me that lesson when I tried to remove a primary cover with the wrong socket and ended up with a mangled mess that took an hour to extract. Over the years, I’ve put together my own personal
Harley Davidson bolt size chartfrom factory manuals, torque specs, and plenty of trial and error. Today, I’m sharing what I’ve learned so you can skip the frustration and get straight to wrenching with confidence.
- Most Harley Davidsons use SAE bolts like 1/4-20, 5/16-18, 3/8-16, and 1/2-13, but some newer models mix in metric.
- Always verify bolt sizes for your specific model and year; a 2007 Twin Cam and a 2018 M8 can differ significantly.
- A torque wrench is non-negotiable. Bolts into aluminum threads strip easily without proper torque control.
- Your factory service manual is the only truly reliable bolt size chart; generic charts often miss model-specific changes.
- Keep both SAE and metric socket sets handy, plus Torx and Allen bits, because Harley loves a good mix of drive types.
Why You Need a Real Harley Davidson Bolt Size Chart
I used to think I could eyeball a bolt and grab the right socket. I was wrong more often than I’d like to admit. Harley Davidson has used dozens of fastener sizes across their lineup, and the differences between a Softail, a Dyna, and a Touring bike can be maddening.
A proper Harley Davidson bolt size chart isn’t just a list of numbers. It’s a roadmap that tells you which socket to grab, whether the threads are fine or coarse, and how much torque that bolt can safely take. Without that information, you’re rolling the dice on every single turn of the wrench.
I keep a printed chart taped inside my toolbox lid. It has saved me from mixing up 1/4-20 and 1/4-28 bolts, which look almost identical but will destroy threads if you force the wrong one in. That’s the kind of mistake that turns a 20-minute job into a weekend project.
Here’s the thing: even experienced riders get tripped up. Harley changed fastener specs between model generations, and aftermarket parts often use entirely different bolts than stock. If you’re working on a bike that’s been modified, a generic chart might not even be close.
My Go-To Harley Davidson Bolt Size Chart for Common Fasteners
Below is the chart I use most often in my own garage. It covers the fasteners I touch regularly on my Twin Cam and M8 bikes, but I always cross-reference it with the factory manual before torqueing anything critical.
Important note: these sizes are representative for many Harley Davidson models from the late 1990s through the 2020s. Your specific bike may differ, especially if you have a Sportster, a Pan America, or an older Shovelhead.
| Location | Bolt Size | Thread Pitch | Notes |
|---|---|---|---|
| Rocker box cover (Evo & Twin Cam) | 1/4-20 | 20 TPI | 7/16″ socket; torque to 120-140 in-lbs |
| Primary cover (Big Twin 99-06) | 1/4-20 | 20 TPI | Allen head often; 5/16″ Allen socket |
| Primary cover (07-up Twin Cam) | 1/4-20 | 20 TPI | Torx T27; be careful not to strip the head |
| Exhaust flange (most models) | 5/16-18 | 18 TPI | 1/2″ socket; use high-temp anti-seize |
| Front fender mount (Dyna/Softail) | 5/16-18 | 18 TPI | 1/2″ socket; light torque only |
| Rear fender strut (Touring) | 3/8-16 | 16 TPI | 9/16″ socket; watch for chrome covers |
| Handlebar riser bolts | 1/2-13 or 3/8-16 | varies | Check year/model; typically 3/4″ or 9/16″ socket |
| Brake caliper mounting (newer ABS) | M10 x 1.25 | metric fine | 15mm socket; torque to factory spec |
| Front axle (most Big Twins) | 3/4-16 or 1-1/4 hex | fine thread | Axle nut; often needs special tool |
| Battery terminal bolts | 6mm or 1/4-20 | varies | 10mm or 7/16″ socket; do not overtighten |
That table covers the fasteners I deal with during routine maintenance and most accessory installs. But it’s not exhaustive. If you’re pulling the inner primary, changing a stator, or doing engine work, you’ll need the full factory chart with every single bolt on the bike.
Engine and Primary Fasteners
The engine and primary are where I’ve made the most mistakes. Those bolts are often small, threaded into soft aluminum, and torqued to very specific inch-pound values. One wrong twist and you’re installing a helicoil.
For example, the rocker box cover bolts on my Twin Cam are 1/4-20 with a 20 thread pitch. They only need about 120 to 140 inch-pounds of torque. That’s just 10 to 12 foot-pounds. If you hit them with a 1/2-inch drive ratchet and crank it like a lug nut, you will strip the threads right out of the cylinder head.
I always use a 1/4-inch drive torque wrench for anything under 20 foot-pounds. It gives me the feel I need to stop before damage happens. And I never use power tools on primary or engine covers.
Rocker Boxes and Cam Covers
Rocker box covers on most Harley Evolution and Twin Cam engines use 1/4-20 bolts with a 7/16-inch hex head. Some later models switched to Torx heads, so I keep a full set of Torx bits in my toolbox.
The cam cover on an M8 engine is different. It uses a mix of 1/4-20 and 5/16-18 bolts, and the torque sequence matters. If you don’t follow the pattern in the service manual, you can warp the cover and cause an oil leak that will drive you crazy.
My advice: take a picture of the cover before you remove it. That way you’ll know exactly which bolt goes where when it’s time to reassemble.
Primary Cover Bolts
The primary cover is one of the most frequently removed parts on a Harley, especially if you inspect your clutch or change primary fluid often. On my 2005 Softail, the primary cover bolts are 1/4-20 Allen heads. On my buddy’s 2012 Street Glide, they’re Torx T27.
I’ve rounded off more Allen heads than I care to admit. The trick is to use high-quality bits, tap the bit fully into the head, and apply steady pressure while turning. If a bolt feels tight, hit it with a little penetrating oil and let it sit before you force it.
Frame and Body Fasteners
Frame and body fasteners are usually a bit larger than engine bolts, but they still demand respect. Fender mounts, saddlebag brackets, and floorboards often use 5/16-18 or 3/8-16 bolts. Those are easy to find at any hardware store, but I always match the grade and finish.
Harley uses a lot of chrome and black oxide bolts. If you replace one with a zinc-plated bolt from the local hardware store, it will look out of place and may rust quickly. I keep a small assortment of stainless and chrome bolts on hand for exactly this reason.
When I installed a detachable sissy bar on my Softail, the kit came with 3/8-16 bolts for the rear fender struts. The original bolts were 5/16-18, but the kit required drilling out the holes. That’s a permanent modification, so I made sure I had the right Harley Davidson bolt size chart before I picked up the drill.
Fender Mounts and Saddlebag Brackets
Front fender mounts on Dyna and Softail models are usually 5/16-18 with a 1/2-inch socket. The torque is low, around 10 to 15 foot-pounds, because the fender is thin metal and the fork legs are aluminum.
Rear fender struts on Touring models often use 3/8-16 bolts. These hold the saddlebag brackets and the rear fender together, so they see a lot of vibration. I use blue threadlocker on every one of them and torque them to the factory spec.
On some newer models, Harley uses metric bolts for saddlebag mounts. That’s why I always have both SAE and metric sockets within arm’s reach when I’m working on a bike I don’t know well.
Hand Controls and Risers
Handlebar riser bolts are a common failure point, especially if you’ve ever hit a pothole hard. The stock bolts are usually 3/8-16 or 1/2-13 depending on the model and year. Sportsters often use 3/8-16, while Big Twins may use 1/2-13.
I once had a riser bolt snap on my Dyna because a previous owner had overtightened it. The replacement from Harley was a 1/2-13 with a specific shoulder. A regular hardware store bolt would have fit, but it wouldn’t have had the same clamping force or shear strength.
Whenever I remove hand controls, I mark the orientation of the bolts and take note of whether they use a shoulder. That little detail saves a lot of head scratching later.
Metric vs SAE: The Great Harley Debate
For decades, Harley Davidson was strictly SAE. Every bolt on my 1996 Sportster was inch-sized. But around the mid-2000s, things started to change. Brake calipers, ABS sensors, and some electrical components began using metric fasteners.
My wake-up call came when I tried to remove the front brake caliper from a 2014 Street Glide. I grabbed a 1/2-inch socket and it felt loose. A 9/16-inch wouldn’t fit. It turned out the bolts were M10 x 1.25 with a 15mm hex head. I had to run to the auto parts store for a metric socket set.
That experience taught me a valuable lesson: never assume a Harley is all SAE. The days of one socket set fitting every fastener on a Milwaukee motorcycle are gone.
If you work on multiple Harleys, keep both SAE and metric sockets, wrenches, and Allen keys. I also keep a thread pitch gauge in my toolbox. It’s a cheap tool that takes the guesswork out of identifying fine versus coarse threads.
For a deeper dive into which fasteners changed when, I recommend checking your factory Harley Davidson service manual. It lists every bolt size, pitch, and torque spec for your exact model and year.
The Right Tools for the Job
You can’t properly use a Harley Davidson bolt size chart without good tools. I’ve learned that cheap sockets and wrenches round off bolt heads, especially the soft chrome bolts Harley loves to use.
My basic garage setup includes a full set of 1/4-inch, 3/8-inch, and 1/2-inch drive sockets in both SAE and metric. I also have a set of deep-well sockets for reaching bolts in tight spots like the primary and exhaust flanges.
Beyond sockets, I rely heavily on these tools:
- A quality torque wrench in 1/4-inch drive (for inch-pounds) and 3/8-inch drive (for foot-pounds).
- Allen and Torx bit sockets in both SAE and metric sizes. Harley uses a lot of 5/16-inch Allen and T27 Torx.
- A thread pitch gauge and a set of thread chasers for cleaning up damaged threads before installing new bolts.
- Blue threadlocker and anti-seize compound. These two prevent most fastener-related disasters.
- A magnetic parts tray to keep track of bolts from different locations. I label each section with a piece of tape and a marker.
If you’re building out your toolbox, I’ve put together a full breakdown of what I use in my Harley Davidson tool kit essentials guide. It covers everything from basic wrenches to the specialty tools that make Harley maintenance actually enjoyable.
Torque Specs and Bolt Size Chart: They Go Hand in Hand
A bolt size chart tells you what size wrench to grab, but it doesn’t tell you how tight to make the bolt. For that, you need torque specs. On a Harley, torque is everything. The aluminum cases and covers can’t handle the same clamping force as steel engine blocks.
I’ve seen riders destroy oil pans because they torqued a 1/4-20 drain plug to 30 foot-pounds instead of the recommended 10 to 15 foot-pounds. The threads pulled right out of the pan, and they needed a new pan or a helicoil insert.
That’s why I always keep my Harley Davidson torque specifications next to my bolt size chart. The two go together like a socket and a ratchet. Size tells you the wrench; torque tells you the feel.
Here’s a quick rule I follow: if a bolt is 1/4-20 into aluminum, I never go above 15 foot-pounds unless the manual says otherwise. 5/16-18 into aluminum can handle 15 to 25 foot-pounds. 3/8-16 can take 25 to 35 foot-pounds. But those are rough guidelines; the factory manual always wins.
Where I Found the Most Reliable Bolt Size Chart
After years of downloading free charts from the internet, I’ve learned that most of them are incomplete or just plain wrong. The only source I trust completely is the factory service manual for my specific bike.
Yes, Harley service manuals cost money. But they pay for themselves the first time you avoid a stripped thread or a broken bolt. The manual includes exploded diagrams, torque sequences, and complete fastener charts for every assembly on the bike.
I also cross-reference with online forums like HDForums and Reddit’s r/Harley. The community there is incredibly knowledgeable, and they often point out model-specific quirks that even the factory manual doesn’t mention. But I always verify forum advice against a second source before I put a wrench to a critical component.
One more tip: I created my own custom chart by copying the relevant pages from my service manual and laminating them. Now I have a quick-reference card for the bolts I touch most often. It hangs on the wall next to my workbench, and it’s saved me more times than I can count.
Final Thoughts from My Garage
Wrenching on your own Harley is one of the most satisfying parts of ownership. But it only stays satisfying when you use the right bolts, the right sockets, and the right torque. A good Harley Davidson bolt size chart is the foundation of every successful repair or upgrade.
I’ve been that guy on the side of the road with a stripped bolt and a pocket full of wrong sockets. I don’t want that for you. Take the time to build your own reference chart, invest in quality tools, and never skip the torque wrench.
Your Harley will thank you with years of leak-free, rattle-free miles. And when you finally get that primary cover off without a single stripped Torx head, you’ll feel like a genius. I know I do every time.
Ride safe, wrench smart, and keep the rubber side down.
Frequently Asked Questions
What size bolts are most common on Harley Davidsons?
Most Harley Davidsons use SAE bolts like 1/4-20, 5/16-18, 3/8-16, and 1/2-13. Many newer models also use metric fasteners such as M6, M8, and M10, especially on brake and electrical components.
Does Harley Davidson use metric or SAE bolts?
Historically, SAE (inch) bolts dominate, but some modern Harleys mix in metric fasteners on brake calipers, sensors, and certain engine covers. Always check your specific model and year before wrenching.
Where can I find a reliable Harley Davidson bolt size chart?
The best source is your factory service manual, followed by reputable online forums and aftermarket manuals. Avoid generic charts that don’t separate model years, as bolt sizes changed over time.
Do I need a torque wrench when working with Harley bolts?
Absolutely. A torque wrench is essential because bolt size alone doesn’t prevent damage. Overtightening small bolts into aluminum cases can strip threads quickly. Use the torque specs in your manual for every fastener.

Related Articles

The Best Stuff for Cleaning a Harley: What I Actually Keep in My Garage
After years of trial and error on my own Harleys, here are the cleaners, polishes, and towels I actually trust,…
Jake Miller
11 min read
Best Heat Shield for a Harley Softail: What I Actually Run (And Why)
After years of burnt thighs and melted denim, here are the best heat shields for a Harley Softail, what I…
Jake Miller
8 min read
My Harley Throttle Not Snapping Back? The Rider’s Fix-It Guide That Actually Works
Is your Harley throttle not snapping back? I’ve ridden through this exact problem. Learn the real causes, step-by-step diagnosis, and…
Jake Miller
13 min read