
Best Heat Shield for a Harley Softail: What I Actually Run (And Why)
 Jake Miller
8 min read
Jake Miller
8 min read
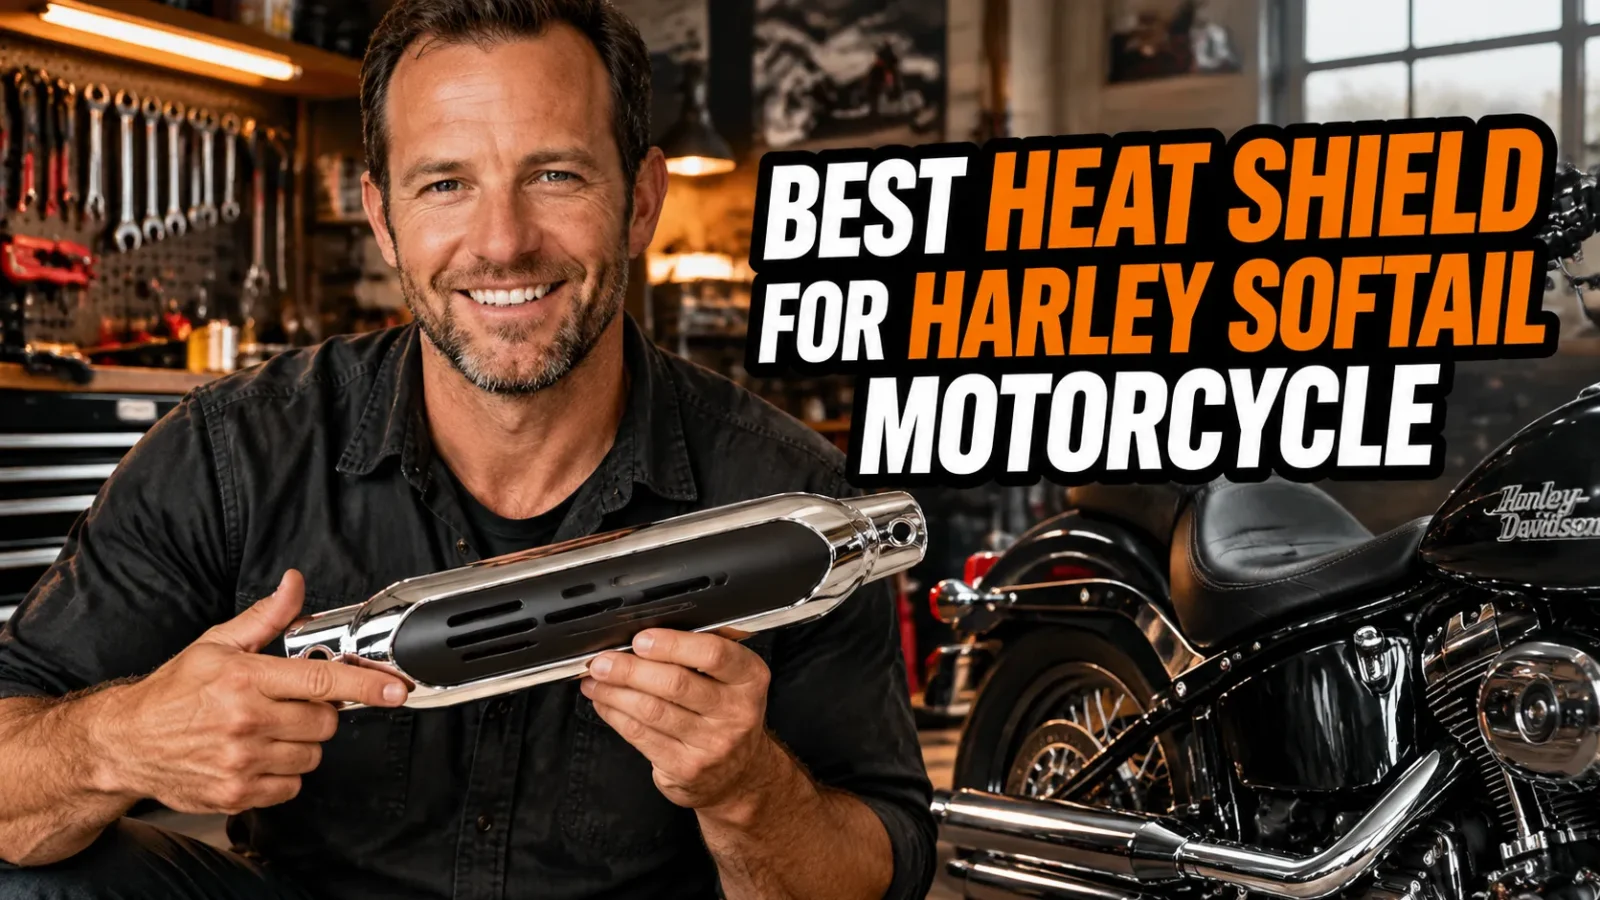
I’ve owned a few Softails now, and every single one of them has tried to cook my right thigh at some point. It starts as a warm tickle in traffic, then becomes a full-on “get me out of these jeans” situation by the third red light.
My first fix was dumb. I wore thicker pants and told myself it was fine. It wasn’t fine. My second fix was wrapping the header in cheap fiberglass tape, which smelled like burning glue for a week and looked like a mummy’s leg.
So I went down the rabbit hole properly. I tried wrap, I tried clamp-on shields, I tried a saddle-style leg deflector, and I compared notes with friends running everything from stock pipes to full Stage builds. Here’s what actually works on a Softail, and what I’d buy again.
- Heat shields block radiant heat — they don’t cool the pipe. The air gap or ceramic barrier is what saves your leg.
- My best all-rounder: a ceramic-lined clamp-on shield over the rear header, especially on the right side where your thigh sits.
- For maximum leg relief, a saddle-style deflector panel beats a pipe shield every time in stop-and-go traffic.
- Budget option: quality titanium or lava wrap under your stock shield is still the cheapest real improvement.
- Fitment is everything. A shield that touches the pipe with no air gap is basically a fancy hot plate.
Why Softails Roast Your Right Leg
Softails run a big V-twin with the rear cylinder tucked right under the seat and against your inner thigh. On the Milwaukee-Eight bikes, the rear header routes close to the rider’s leg before it dips down toward the muffler. That geometry is the whole problem.
Add lean factory fueling, catalytic converters, and slow traffic with no airflow, and you’ve got a leg-sized radiator. None of that is a defect — it’s just physics.
It’s Not Always the Pipe You Think It Is
I spent a month blaming my rear header before I realized the heat soaking into the seat and side cover was coming from the converter area further back. That’s a common mistake.
Before you buy anything, ride for ten minutes, pull over, and carefully feel where the heat actually hits you. Calf? Inner thigh? Back of the knee? That answer decides which product you need.
Heat Trouble Isn’t a Modern Problem
Riders have been fighting exhaust heat for as long as Harley has been building V-twins. If you also wrench on older iron, the same era that gave us the Shovelhead years to avoid taught a whole generation to keep a glove on the gas tank.
And heat complaints aren’t Softail-exclusive either. Browse the Harley-Davidson Switchback problems threads and you’ll find the exact same roasted-thigh language from riders on a completely different platform.
What Actually Makes a Heat Shield Worth Buying
After burning through two cheap shields, I learned to judge them on three things: material, air gap, and coverage. Everything else is marketing.
Material Is Where Cheap Shields Give Themselves Away
The good ones use stainless steel or aluminum with a ceramic or fiberglass barrier layer behind the outer skin. The bad ones are a single stamped sheet of thin chrome that reflects a little heat and then soaks it straight back into your leg.
If the product listing doesn’t mention a barrier layer or an air gap, I assume there isn’t one.
Air Gap Beats Thickness
This is my number one rule. A thin shield sitting a quarter inch off the pipe outperforms a thick shield clamped flat against it. Moving air between the pipe and the shield is what breaks the heat path.
That’s why I check clearance before looks. If it fouls the frame, the dipstick, or my boot heel, it goes back.
Looks Still Matter, and I Won’t Apologize
I ride a Softail because I like how it looks. I’m not bolting a galvanized baking tray to a chrome cruiser. Matte black, brushed stainless, and carbon-look finishes all hold up fine, and chrome still matches the factory pipes if that’s your thing.
My Picks: What I’d Actually Run
Here’s how I’d break it down if a friend asked me in a parking lot.
Best Overall: Ceramic-Lined Clamp-On Shield
This is what’s on my bike right now. It’s a two-piece clamp-on shield with a ceramic barrier layer and a genuine air gap over the rear header. It bolts on with stainless clamps in about twenty minutes and needs zero fabrication.
Heat difference at my thigh after a twenty-minute city ride? Noticeable. Not “cold pipe” noticeable, but I stopped shifting my leg away from the bike at lights. That alone was worth the money.
If you’re running a built engine, expect more heat everywhere. It’s worth knowing what a Harley Stage 4 upgrade cost actually involves before you chase horsepower and then wonder why your leg is melting.
Best for Leg Relief: A Saddle-Style Deflector
If your main complaint is your inner thigh or calf, a clamp-on pipe shield only solves half the problem. A saddle-style deflector panel mounts to the frame or floorboard area and pushes hot air away from your leg entirely.
Mine is a simple black steel panel with a rolled edge. It’s not glamorous, but in stop-and-go traffic it’s the single biggest comfort upgrade I’ve made to any motorcycle.
Best Budget Move: Quality Wrap Under the Stock Shield
Wrapping the rear header in titanium or lava wrap and then reinstalling the factory shield is still the cheapest real improvement. I ran this setup for two seasons and it worked well.
Two things I learned the hard way: buy quality wrap, not the $12 roll, and soak it before you install it. Dry wrap doesn’t conform and you’ll end up with gaps.
Best for Hot-Build Bikes
Once you’re into big-bore territory or aggressive tuning, a single shield won’t cut it. I’d run wrap on both headers, a ceramic-lined shield over the rear pipe, and a deflector panel. Layer the solutions.
It’s also worth checking your state of tune before you blame the hardware. A lean condition or valve train issue can add real heat. A proper Harley pushrod adjustment chart is a good reference if you’re running adjustable pushrods and something feels off.
How I Installed Mine in an Afternoon
Nothing here requires a lift or a dealer visit. This is genuinely a driveway job.
- Let the bike sit until the pipes are stone cold. This is non-negotiable.
- Clean the pipe section with brake cleaner and a scuff pad so clamps and wrap bite properly.
- Dry-fit the shield first. Check clearance on the frame, dipstick, and your boot heel.
- If you’re wrapping, soak the wrap, start at the top, and overlap each pass by about half.
- Install stainless clamps finger-tight, adjust alignment, then snug them down evenly.
- Start the bike and let it idle for ten minutes. Expect some smoke and smell from wrap — that’s normal and burns off.
- Re-check clamp tension after the first real ride. Heat cycling loosens things.
Mistakes I Made So You Don’t Have To
I bought a no-name chrome shield that looked great in photos and had zero barrier layer. It got so hot I could feel it through my jeans. Lesson learned.
I also over-torqued clamps on my first install and dented the header. Stainless is softer than it looks. Snug, not gorilla-tight.
And I ignored the seat and side cover as heat paths for way too long. If your seat is hot, a pipe shield won’t fix that.
Do Heat Shields Actually Fix the Root Cause?
Honestly? No. Your exhaust still runs at the same temperature. What a heat shield does is stop radiant heat from reaching your leg, which is the part you actually feel.
If you want to reduce the heat at the source, you’re looking at a proper tune, richer fueling, removing or relocating the converter, or switching to a full aftermarket exhaust. Those are bigger jobs with bigger price tags.
Here’s the thing though: the aftermarket for these bikes is enormous, and I’m genuinely glad independent makers keep shipping better solutions than the factory catalog. Especially with all the noise about whether Harley-Davidson is in trouble, I’d rather not depend on one company for a part that keeps my leg intact.
My Final Take
If you do one thing, buy a ceramic-lined clamp-on heat shield with a real air gap for your rear header. It’s the best balance of price, effort, and results.
If you do two things, add a saddle-style deflector panel. That combination is what finally made my Softail comfortable in summer traffic, and I wish I’d done it three bikes ago.
Start with the shield. Ride it for a week. Then decide whether you need the deflector too. Your thigh will tell you pretty quickly.
Frequently Asked Questions
Do heat shields actually reduce heat on a Harley Softail?
Yes, but they work as a barrier, not a cure. A quality shield with an air gap or ceramic layer blocks radiant heat from reaching your leg, which is the heat you actually feel. The pipe underneath still runs just as hot.
Should I wrap my pipes or buy a bolt-on heat shield?
In my experience, wrap wins on raw heat reduction and a bolt-on shield wins on looks and durability. On my own Softail I did both: wrap under the stock shield for the rear header, then a clamp-on shield where my calf sits.
Will a heat shield void my Harley warranty?
A bolt-on shield that clamps over the factory exhaust generally won’t. Cutting, welding, or replacing the full exhaust system can affect emissions-related coverage, so check with your dealer first if the bike is still under warranty.
How much should I expect to pay for a good Softail heat shield?
Budget wrap kits run $30 to $60. Decent clamp-on shields land between $80 and $200. Full saddle-style leg shields with brackets usually run $150 to $350 depending on finish and brand.

Related Articles

The Best Stuff for Cleaning a Harley: What I Actually Keep in My Garage
After years of trial and error on my own Harleys, here are the cleaners, polishes, and towels I actually trust,…
Jake Miller
11 min read
Harley Davidson Bolt Size Chart: The Rider’s Guide to Every Fastener You’ll Touch
Stop guessing bolt sizes on your Harley Davidson. I share my personal bolt size chart, torque tips, metric vs SAE…
Jake Miller
12 min read

My Harley Throttle Not Snapping Back? The Rider’s Fix-It Guide That Actually Works
Is your Harley throttle not snapping back? I’ve ridden through this exact problem. Learn the real causes, step-by-step diagnosis, and…
Jake Miller
13 min read