
The Best Stuff for Cleaning a Harley: What I Actually Keep in My Garage
 Jake Miller
11 min read
Jake Miller
11 min read
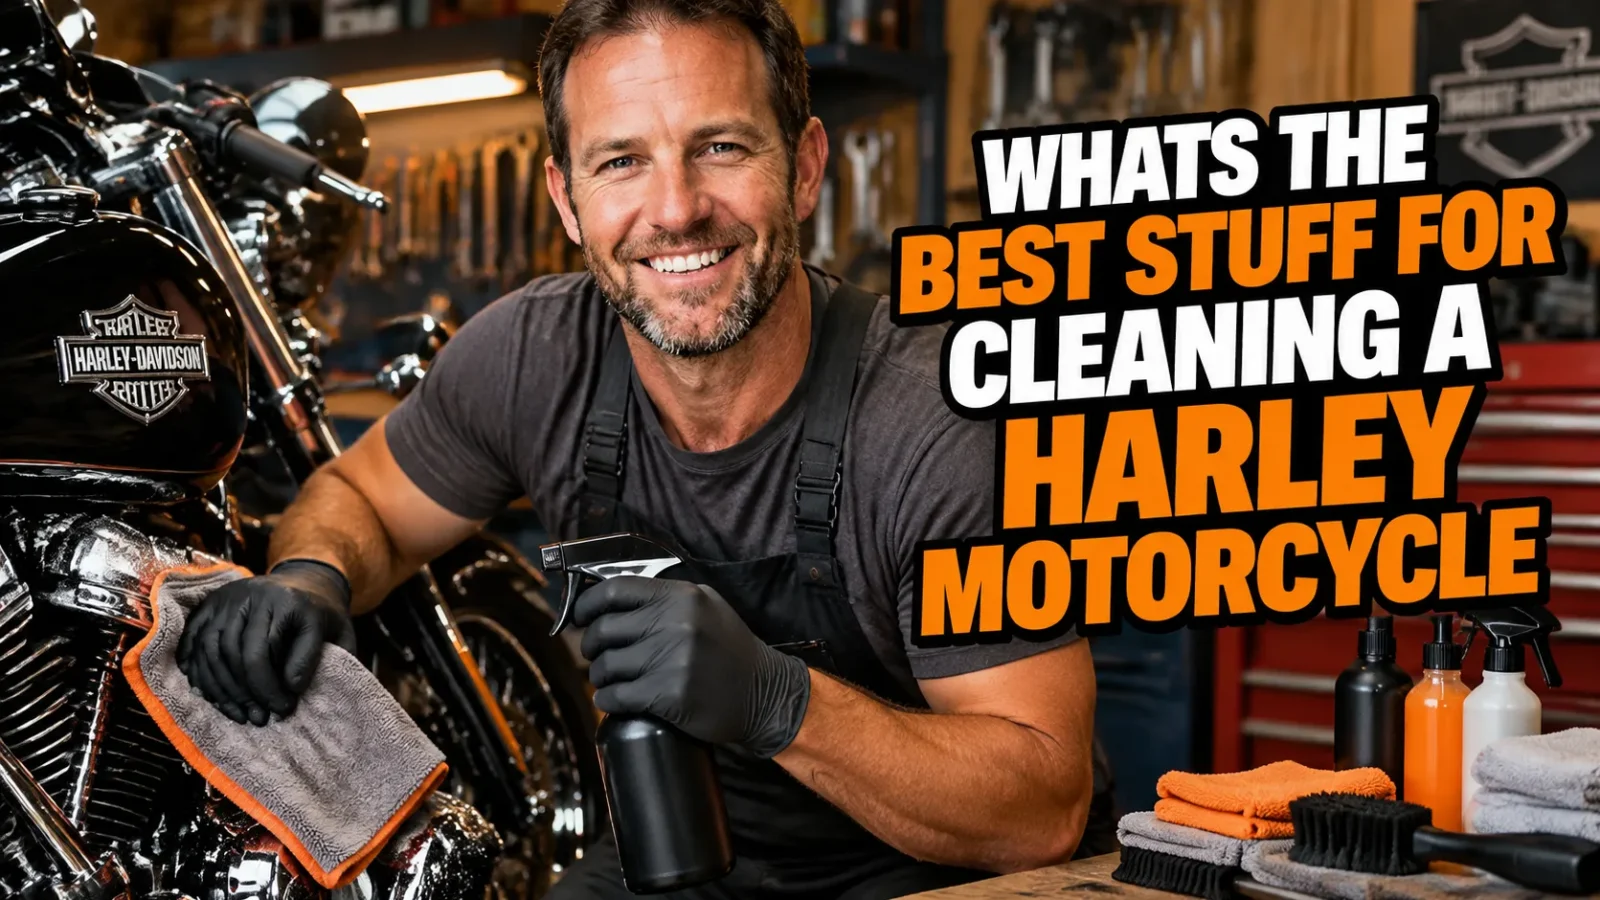
I’ve lost count of the hours I’ve spent in my driveway with a bucket in one hand and a cold drink in the other. Over roughly fifteen years of Harley ownership, I have tried almost everything on my own bikes, from dealer shelf products to weird home brews a guy at a rally swore were magic. A few of them were genuinely great. A couple stripped the wax off my tank and left water spots that took me a full weekend to fix.
What follows is my honest field report. These are the products I keep re buying, the ones I use on specific finishes, and the handful of things I will never let anywhere near my bikes again.
- A good pre wash like S100 Total Cycle Cleaner does more work than any shampoo you’ll ever buy
- Harley-Davidson Sunwash is my everyday shampoo, with Meguiar’s Gold Class as the cheap backup
- Simichrome for chrome, Blue Magic for budget, dedicated bare metal polish for uncoated aluminum cases
- Denim and matte paint need their own products, with no wax, no polish, and no exceptions
- A leaf blower plus plush microfiber towels prevents most water spots before they ever form
Start With the Right Mindset, Not the Right Bottle
The lesson that took me way too long to learn is that cleaning a motorcycle is mostly about dissolving dirt, not scrubbing it off. Bugs, belt fling, and road film all release easily if you give the right product a minute or two to work.
If you’re leaning into a painted surface with real pressure, something upstream went wrong. Back off, reapply, and let chemistry do the job instead of your elbow.
Always wash a cool bike in the shade. Hot tins and hot engine cases flash dry your product, and flash dried cleaner is exactly how you get streaks that look like permanent stains.
The two bucket setup is not overkill
I resisted this for years because it felt fussy. Then I watched a guy drag a gritty mitt across a black tank and leave a spiderweb of fine scratches in about four seconds. I’ve used two buckets with grit guards ever since.
One bucket holds soap, one holds rinse water, and the grit guard keeps junk at the bottom instead of in your mitt. That single habit does more for your paint than any expensive wax on the shelf.
The pre wash step that does the heavy lifting
My number one product, and the one I’d grab if I could only keep a single bottle, is S100 Total Cycle Cleaner. Spray it on a cool, dry bike, let it dwell for a couple of minutes, then hose it off. It lifts a shocking amount of grime before you ever touch the paint.
If I have five extra minutes, I’ll hit the bike with a foam cannon loaded with a pH neutral snow foam first. It isn’t mandatory, but it makes the contact wash almost effortless.
Just never let any of these products dry on the surface. Work in sections on hot days and keep the bike wet the whole time.
Shampoos and Soaps I Trust on Harley Paint
Once the loose grime is gone, I want a shampoo with plenty of lubrication and no wax stripping detergents. That’s the entire job description.
Harley Davidson Sunwash is still my everyday pick
I keep coming back to Harley-Davidson Sunwash. It’s concentrated, it rinses clean, and it plays nicely with factory paint and clear coat. One bottle lasts me most of a season, which makes the price easier to swallow.
This is also a good place to talk about supply. Between thinning dealer shelves and all the headlines that keep asking is harley davidson in trouble, I’ve started buying my favorites two at a time instead of assuming they’ll be there when I need them. Stock up when you spot it.
My cheaper backup shampoo
When I run out of Sunwash, Meguiar’s Gold Class does the job for about half the money. It’s slick, it smells great, and I’ve never had it dull a finish.
What I avoid is anything labeled “wash and wax.” The wax in those products is basically nothing, and it can leave a hazy film on dark paint.
Wheels, Tires, and Brake Dust
Wheels are where most people do real damage, because brake dust is stubborn and that’s when the heavy chemicals come out. On a Harley, many of those wheels are bare polished aluminum, and the wrong acid based cleaner will etch them permanently.
Wheel cleaners that won’t wreck your cases
S100 Wheel Cleaner and Harley-Davidson Wheel and Tire Cleaner are both safe on factory finishes when used as directed. Spray, agitate with a soft wheel brush, and rinse before anything dries.
For truly baked on brake dust, I’ll use a dedicated non acid gel along with a set of wheel woolies. A cheap detailing brush gets behind the caliper where a mitt never reaches.
Whitewalls and tire dressing
Whitewalls get a dedicated whitewall cleaner and a stiff nylon brush, nothing more aggressive than that. Then I finish the sidewall with a water based dressing.
Skip the shiny silicone dressings. They sling onto your paint at speed and make the tire look like plastic. Matte, water based, applied with a foam applicator, is the look I want.
Chrome, Aluminum, and Bare Cases
This is the category where Harley owners spend the most money and get the most disappointing results, usually because they’re using the wrong product for the metal.
My three polishing picks
For chrome, Simichrome Polish is my favorite. It’s expensive for a tiny tube and it is absolutely worth it. A little goes a very long way, and it leaves chrome looking wet.
Blue Magic Metal Polish is my budget alternative and it works nearly as well. For uncoated aluminum and bare engine cases, Harley-Davidson Bare Metal Polish is what I reach for, since it’s formulated for exactly that surface.
One rule I never break: never use the same rag on chrome that you used on aluminum. Aluminum polish residue hazes chrome, and you’ll spend an hour undoing it.
Rust specks and light pitting
For tiny rust freckles on chrome, I use 0000 steel wool with WD-40 as a lubricant, and I use almost no pressure. It sounds aggressive, but 0000 wool is finer than most polish pads and lifts surface rust without touching good chrome.
If the chrome is pitted through, though, no product fixes that. It’s the same reality you run into on older bikes. I’ve written before about the Shovelhead years to avoid, and plenty of those bikes have chrome that’s already too far gone for a tube of polish to rescue.
Bugs, Tar, and Road Grime
Bug guts are acidic, and if you leave them on paint they etch. That’s not a detailing myth, it’s chemistry. I clean them off the same day whenever I possibly can.
Bugslide is my go to, and it doubles as a quick detailer. A soaked microfiber laid over the fairing for a minute does most of the work before you wipe anything.
For tar, a dedicated tar remover or plain WD-40 on a rag works fine, followed by a wash so you aren’t leaving oil behind. I know plenty of guys who spent more on engine work than they did on the bike itself. If that’s you, here’s what the harley stage 4 upgrade cost really looks like, and it should make a fifteen dollar bottle of bug remover feel like pocket change.
Protecting the Paint
Cleaning without protection is just a treadmill. You need something on the surface so the next round of bugs and road film releases more easily.
Waxes and sealants
A quality paste wax like Collinite 845 has been my long time standard. It goes on thin, it lasts months, and it makes every future wash dramatically easier.
For less effort, spray sealants and ceramic toppers like F11 TopCoat or a basic consumer ceramic coating get the job done. I’ve had great luck with ceramic on the front of the fairing, which is where road debris hits hardest.
Denim and matte paint care
If your Harley wears Denim paint, everything above changes. No wax. No polish. No spray detailer with gloss enhancers. You’ll create shiny patches that can’t be fixed without a repaint.
Use Harley-Davidson Denim Paint Cleaner and a clean microfiber, and that’s it. Matte finishes are actually easier to maintain, as long as you resist the urge to make them shine.
Engine, Leather, and Everything Else
The details are what separate a clean bike from a genuinely well kept one.
Engine brightener for the black wrinkle finish
Black wrinkle powder coat on a Harley engine fades to gray after a few summers. S100 Engine Brightener brings it back to that dark factory look in about two minutes flat.
Spray it on a cool engine, wipe the overspray off your paint, and let it cure. Do not spray it on hot pipes or you’ll bake it on in streaks.
If you’re already degreasing the motor, that’s the perfect moment to check your lash. Keep the harley pushrod adjustment chart handy, and cover the tins with an old towel before you start spraying anything at all.
Leather seats and saddlebags
Leather needs conditioner, not soap and water abuse. Harley-Davidson Leather Therapy and Lexol both work well. Apply sparingly, let it soak in, then buff off the excess.
This matters most on bikes with leather wrapped bags. I baby the bags on my own Switchback, partly because replacements are expensive and partly because water intrusion sits behind a lot of the harley davidson switchback problems people run into. Keep the leather conditioned and the seams dry and you sidestep most of it.
Windscreens and plastic
Plexus is the standard for a reason. It cleans, polishes, and leaves an anti static finish that repels dust. For deeper scratches, the Novus 1, 2, and 3 kit is what I keep around.
Never use paper towels or household glass cleaner on a windscreen. Ammonia and wood fiber are a terrible combination for plastic.
Drying Is Half the Job
Water spots come from minerals left behind when water evaporates, so the fix is speed. I use a cordless leaf blower or a dedicated motorcycle dryer to push water off the tank, fenders, and wheels.
Then I finish with a large plush microfiber drying towel, like a Rag Company Dry Me A River or something similar. One pass, no scrubbing. If your towel is dragging, your paint doesn’t have enough protection on it.
Five Things I Never Do to a Harley
I’ve made most of these mistakes so you don’t have to.
1. Dish soap. It strips wax and leaves paint dull. Just buy real shampoo. 2. Pressure washing. Water at 2000 psi will push past seals, wheel bearings, and electrical connectors. 3. Simple Green on hot aluminum. It’s caustic enough to stain bare cases if it dries on them. 4. Household glass cleaner on chrome. Ammonia dulls it over time. 5. Harsh chemicals on the drive belt. Solvents destroy belts, and belts are not cheap.
I also never wash a bike right after a ride. Twenty minutes with a cold drink while the engine cools is part of the process, not a delay in it.
My Actual Weekend Regimen
Here’s the routine I’ve settled into, and a full detail takes me about an hour.
Rinse, foam, dwell, rinse. Then a two bucket contact wash with Sunwash, working top to bottom. Wheels and tires get their own bucket and their own brushes, always last. After that, a blower dry, a microfiber touch up, and a spray sealant on the tank and fairing.
Every third or fourth wash I’ll do polish on chrome and brightener on the engine. Twice a season I condition the leather and top up the ceramic on the front facing surfaces.
That’s the whole thing. No magic, no hundred dollar kits, no gimmicks.
The Bottom Line
If you want the short version of everything above: S100 Total Cycle Cleaner for the pre wash, Harley Sunwash for the wash, Simichrome for chrome, Collinite 845 for protection, and a leaf blower for the dry.
That combination has kept my bikes looking far better than their mileage suggests, and it costs less than a single trip to the dealer. The best stuff for cleaning a Harley isn’t the most expensive stuff. It’s the stuff you’ll actually use consistently, wash after wash.
And if you’re protecting a bike you’ve poured real money into, whether that’s engine work or fresh paint, a few good products are the cheapest insurance you’ll ever buy.
Frequently Asked Questions
What is the best all around product for cleaning a Harley?
For me it is S100 Total Cycle Cleaner as a pre wash, followed by Harley-Davidson Sunwash for the contact wash. That combo lifts most grime before you ever touch the paint.
Can I use dish soap to wash my Harley?
No. Dish soap strips wax and sealant and leaves paint looking dull over time. A proper pH neutral motorcycle shampoo costs about the same and does far less damage.
How do I clean matte or Denim paint on a Harley?
Use a dedicated product like Harley-Davidson Denim Paint Cleaner and a clean microfiber. Never use wax, polish, or gloss enhancing spray detailers, because they create permanent shiny patches.
What should I use on chrome and bare aluminum?
Simichrome is my pick for chrome, with Blue Magic as a budget option. For uncoated aluminum cases, use a dedicated bare metal polish and keep those rags away from your chrome.

Related Articles
Best Heat Shield for a Harley Softail: What I Actually Run (And Why)
After years of burnt thighs and melted denim, here are the best heat shields for a Harley Softail, what I…
Jake Miller
8 min read
Harley Davidson Bolt Size Chart: The Rider’s Guide to Every Fastener You’ll Touch
Stop guessing bolt sizes on your Harley Davidson. I share my personal bolt size chart, torque tips, metric vs SAE…
Jake Miller
12 min read

My Harley Throttle Not Snapping Back? The Rider’s Fix-It Guide That Actually Works
Is your Harley throttle not snapping back? I’ve ridden through this exact problem. Learn the real causes, step-by-step diagnosis, and…
Jake Miller
13 min read