
Rusty Bolt Rescue: How I Remove Rust from Motorcycle Bolts Without Snapping Them
 Jake Miller
11 min read
Jake Miller
11 min read
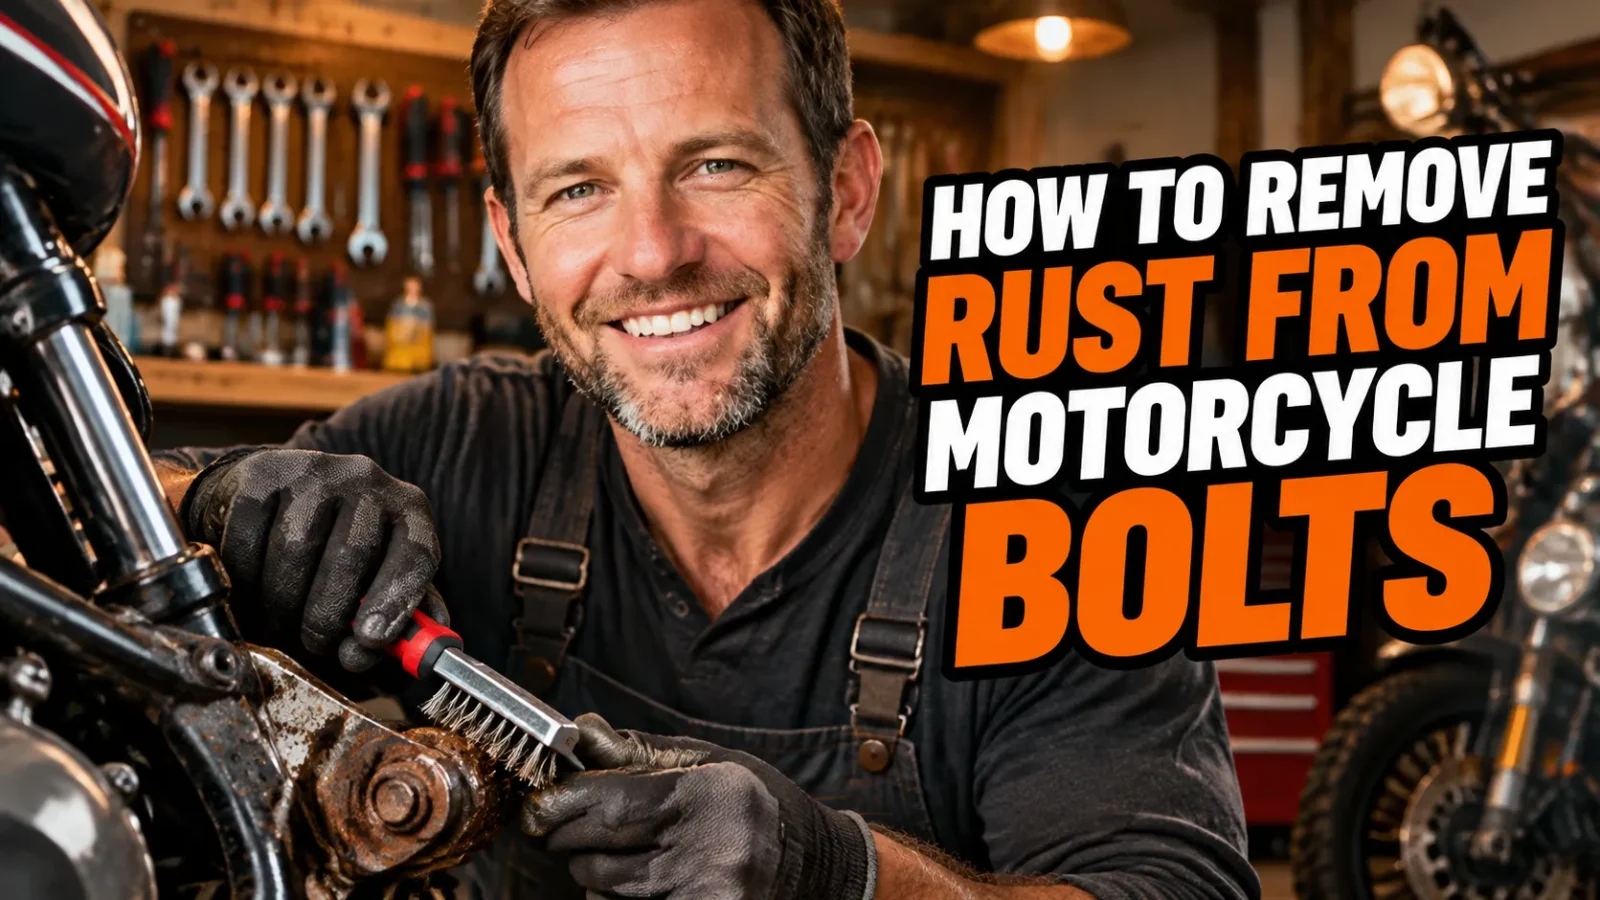
I have spent more weekends than I care to admit lying on a cold garage floor, staring at a bolt that simply refused to move. Rust is the quiet saboteur of every older motorcycle, and the fasteners are always the first thing it gets its teeth into.
Over the years I have tried almost every trick in the book, from expensive chemical baths to the tin foil and cola hack my neighbour swore by. Some worked brilliantly. Others were a complete waste of a Saturday.
This is the process I now use every single time, and it has saved me from snapping far more bolts than I would like to remember.
- Work out the rust stage first: surface bloom, pitting, or seized. The treatment is completely different for each.
- My core method is penetrating oil, then mechanical agitation with a brass brush, then a chelating rust remover like Evapo-Rust.
- White vinegar and citric acid are excellent cheap soaks for small batches of bolts, but you must rinse and oil them immediately afterwards.
- Heat and shock free a seized bolt far more reliably than leaning on a breaker bar.
- Cleaning is only half the job. Anti-seize and a corrosion inhibitor stop the rust returning.
Why Motorcycle Bolts Rust Faster Than Anything Else on the Bike
Bolts are the perfect storm of bad circumstances. They are small, made of high carbon steel, and coated with only a whisper thin layer of zinc plating that chips off the moment a socket slips.
They also live in the worst places on the machine. Think rear shock linkage, chain adjusters, exhaust header studs, fender mounts and the battery tray. All of those areas get soaked, splattered and forgotten.
Add road salt, a damp garage and constant heating and cooling cycles, and you have a fastener that starts corroding within a single winter. I have pulled bikes out of storage in spring and found bolts that looked brand new in October.
Exhaust hardware is the worst offender of all. The heat cycling bakes the plating off, and once bare steel meets rain, it is game over.
First, Work Out How Bad the Rust Actually Is
Before I touch anything, I assess the damage. This single step has saved me from ruining good hardware and from trusting bad hardware.
Stage 1: Surface Bloom
This is the orange, dusty film you see on a bolt head. Run your fingernail across it and the metal underneath is still smooth. This is easy. It usually comes off with a brass brush and a few minutes of effort.
Stage 2: Pitted and Flaking
Here the rust has started eating into the surface. You can feel craters with a fingernail, and flakes come away when you poke at it. These bolts can often be saved, but they will never look factory fresh again.
I always check the threads carefully at this stage. If the thread crests are chewed up, the bolt goes in the scrap bin.
Stage 3: Seized or Structurally Compromised
If a bolt is welded in place by corrosion, or if it is visibly thinner than it should be, it gets replaced. No exceptions.
I am especially strict with safety critical fasteners. Brake caliper bolts, fork clamp bolts, axle nuts and suspension hardware always get replaced rather than restored. A two dollar bolt is not worth a crash.
The Kit I Keep Within Arm’s Reach
Chemicals That Actually Earn Their Space
My chemical lineup is small but well tested. A good penetrating oil such as Kroil, PB Blaster or PlusGas is the foundation. I buy it by the can because I use so much of it.
Next is a chelating rust remover. Evapo-Rust is the one I keep coming back to because it is water based, non toxic and safe on chrome, brass and aluminium. It only attacks iron oxide, which means it will not eat the good steel underneath.
I also keep white vinegar, citric acid powder, brake cleaner for degreasing, and a corrosion inhibitor like ACF-50 or XCP for afterwards. Those last two are what actually stop the problem coming back.
Brushes, Picks and Abrasives
A brass wire brush is my workhorse. Brass is softer than steel, so it strips rust without gouging the parent metal or shredding what is left of the zinc plating.
I also use a stainless detail brush for tight corners, 0000 grade steel wool for polishing, and a brass cup wheel on a low speed drill for larger flat surfaces. A set of pick tools helps dig packed rust out of hex sockets.
Safety gear is not optional here. Nitrile gloves, safety glasses and decent ventilation. Acids and chelators are unpleasant on skin and worse in eyes.
My Step-by-Step Routine for Cleaning Up a Rusty Bolt
Step 1: Degrease and Photograph
Oil and grease block every chemical you are about to use. I hit the bolt with brake cleaner first and wipe it dry.
Then I take a photo with my phone. It sounds fussy, but when you are reassembling a linkage with twelve identical bolts, that photo is worth its weight in gold.
Step 2: Soak It in Penetrating Oil
If the bolt is still fitted to the bike, I spray penetrating oil on it and walk away. Not five minutes. Ideally a few hours, reapplying two or three times.
Capillary action is slow. Give it time to creep into the threads and it will do more for you than any amount of muscle.
Step 3: Agitate Mechanically
Once the bolt is out, I go at it with the brass brush. Short, firm strokes in one direction work better than scrubbing back and forth.
For heavily rusted bolts I switch to a wire wheel on a drill, but I keep the speed low. High speed generates heat and can polish the rust into the surface rather than removing it.
Step 4: Dissolve What Is Left
Anything the brush cannot reach goes into a bath. For small batches I use Evapo-Rust in a jam jar, fully submerged, for anywhere between one and twelve hours.
You can literally watch it work. The liquid turns dark and the bolt comes out grey and clean. It is one of the most satisfying things in motorcycle maintenance.
Step 5: Neutralise, Rinse and Dry Fast
If I used an acid based method like vinegar or citric acid, I neutralise with a baking soda and water solution, then rinse thoroughly with clean water.
Then I dry immediately with compressed air or a heat gun. Bare steel starts flash rusting within minutes in a humid garage, so do not leave it sitting on a rag while you make a coffee.
Step 6: Seal It Before It Sees Air
While the bolt is still warm and bone dry, I coat it. A light film of oil, a corrosion inhibitor, or a proper paint or plating for exposed hardware.
This step is the difference between a fix that lasts five years and one that lasts five weeks.
Household Methods: What Worked and What Wasted My Time
White Vinegar: Best Cheap Soak for Small Batches
Undiluted white vinegar in a jar, 12 to 24 hours, then a brass brush. It genuinely works on light to moderate rust and costs almost nothing.
The catch is that vinegar is acidic and will attack zinc plating, so plated bolts come out dull grey. It can also cause hydrogen embrittlement in high strength fasteners if left too long. I never soak critical bolts in it.
Citric Acid: Cheap, Effective, Less Smelly
A couple of tablespoons of citric acid powder in warm water gives me similar results to vinegar without the chip shop smell. I use it in an ultrasonic cleaner for small hardware and the results are excellent.
Baking Soda Paste: Gentle Polish Only
Baking soda is a mild abrasive, not a rust remover. It is great for brightening up chrome and for neutralising acid soaks, but do not expect it to shift a pitted bolt head.
Cola and Tin Foil: Fine in a Pinch
The famous trick is scrunching up aluminium foil, dipping it in cola and rubbing the rust away. It does work, sort of, because the aluminium is softer than steel but harder than rust.
I keep it for chrome exhaust tips and small touch ups. As a workshop method for real bolts, it is a novelty.
Electrolysis: Best Results, Most Faff
For heavily rusted vintage hardware, electrolysis is unbeatable. A bucket, washing soda, a sacrificial steel anode and a battery charger. It converts rust back into metal and leaves the base material untouched.
It takes planning and it is not something I do for one bolt. But if I am restoring a whole bike, it is worth setting up.
Getting a Seized Bolt Out Without Snapping It
Heat, Then Penetrating Oil
Heat is the single most underrated tool in this fight. Aluminium and steel expand at different rates, so a careful pass with a heat gun breaks the corrosion bond between a steel bolt and an aluminium case.
I heat, then apply penetrating oil, then wait. Never point a torch at fuel lines, brake fluid reservoirs or anything with a seal nearby.
Shock It, Do Not Lean On It
A long breaker bar applies smooth torque, which is exactly how bolt heads snap off. What you want is shock.
I use an impact driver or, for smaller fasteners, a manual impact driver that I hit with a hammer. That sudden rotational jolt breaks the rust bond far more reliably than steady pressure.
Use the Right Bit and Seat It Fully
Most rounded bolt heads are caused by the wrong size socket or a bit that was not fully seated. Hammer the bit in, keep the driver perfectly square to the bolt, and turn.
When the Head Rounds Off
I go straight to a bolt extractor socket or a set of Irwin style extractors. Failing that, a careful grind with a Dremel to cut a fresh slot for a flathead, or file two flats for a smaller spanner.
When It Snaps
It happens. Centre punch the remains, drill progressively, and use an extractor. If that fails, drill out and helicoil. I now keep a helicoil kit in the drawer specifically because of one stubborn exhaust stud.
Keeping Rust From Coming Back
Anti-Seize on Everything That Gets Wet
Every bolt that goes back on my bikes gets a thin smear of copper or ceramic anti-seize on the threads. It stops galvanic corrosion between dissimilar metals, which is the real killer on aluminium engine cases.
Just remember to reduce your torque slightly, since anti-seize lubricates the thread and changes the clamping force for a given figure.
ACF-50 Before Storage
This is where prevention really pays off. Every autumn I follow a proper routine for how to winterize your motorcycle, and part of that is misting every exposed fastener with ACF-50 before the salt arrives.
It creeps into the same places water does, displaces it, and leaves a film that lasts months. I have pulled bolts out in spring that looked untouched.
Upgrade to Stainless or Fresh Zinc
Where it is safe to do so, I replace tired zinc plated bolts with stainless steel. They will never rust again and they look sharp.
Be careful though. Stainless is not appropriate for every application, particularly high stress areas where the grade and stretch characteristics matter. For those, a fresh zinc plated OEM bolt is the right answer.
Mistakes I Made So You Do Not Have To
I have used a steel wire brush on chrome and regretted it instantly. It leaves permanent scratches that no amount of polishing removes.
I have left bolts in vinegar for three days and watched the plating disappear completely. I have also reassembled clean bolts with no protection at all, and found them rusting again within a month.
And I have overtightened a cleaned bolt because it felt so smooth going in. That one cost me a stripped thread in an engine case, which is a mistake you only make once.
Final Thoughts
Removing rust from motorcycle bolts is not complicated, but it is a process. Assess the damage, soften the corrosion with oil or acid, agitate it away with a brass brush, dissolve what is left in a chelating bath, and then protect the bare metal before it ever sees moisture again.
Do that consistently and you will stop snapping bolts, stop stripping threads, and stop dreading the moment you need to remove a fastener that has been quietly rusting away for a decade.
The best part is that the whole kit costs less than a single trip to a dealer, and once you have it in the garage, you will find yourself reaching for it far more often than you expect.
Frequently Asked Questions
Can I remove rust from motorcycle bolts with white vinegar?
Yes. I soak smaller bolts in undiluted white vinegar for 12 to 24 hours, then scrub them with a brass brush. It handles light surface rust beautifully, but it will not repair deep pitting, and you must rinse and oil the bolt straight afterwards or it flash rusts within hours.
What is the best penetrating oil for a seized rusted bolt?
I reach for Kroil, PB Blaster or PlusGas and apply it two or three times over a few hours rather than once. Patience plus a sharp shock from an impact driver loosens far more bolts than brute force ever will.
Should I replace a rusty bolt or clean it?
Clean it if the rust is only surface bloom. Replace it if the threads are pitted, the head is chewed up, or it is a critical fastener such as a brake caliper or fork clamp bolt. For safety critical parts I always fit new hardware.
How do I stop motorcycle bolts rusting again?
Clean and dry the fastener thoroughly, then coat it with anti seize on the threads and a corrosion inhibitor like ACF-50 on the head. Replacing tired zinc plated bolts with stainless or a fresh zinc coating makes a huge difference long term.

Related Articles

How to Properly Tie Down a Motorcycle: A Rider’s Field Guide to Straps, Anchors, and Zero Regrets
Learn how to properly tie down a motorcycle from a rider who has done it hundreds of times. Straps, anchor…
Jake Miller
10 min read

Basic Motorcycle Maintenance: My Honest Daily, Weekly, and Monthly Routine
I've spent years wrenching in my own garage. Here's my honest, no-nonsense guide to basic motorcycle maintenance, from daily checks…
Jake Miller
8 min read

Why Your Bike Buzzes at Speed: A Rider’s Guide to Killing Motorcycle Vibration
Chasing down motorcycle vibration at high speed? I share my real-world fixes for handlebar buzz, footpeg tingle, and the seat…
Jake Miller
11 min read