
How to Properly Tie Down a Motorcycle: A Rider’s Field Guide to Straps, Anchors, and Zero Regrets
 Jake Miller
10 min read
Jake Miller
10 min read
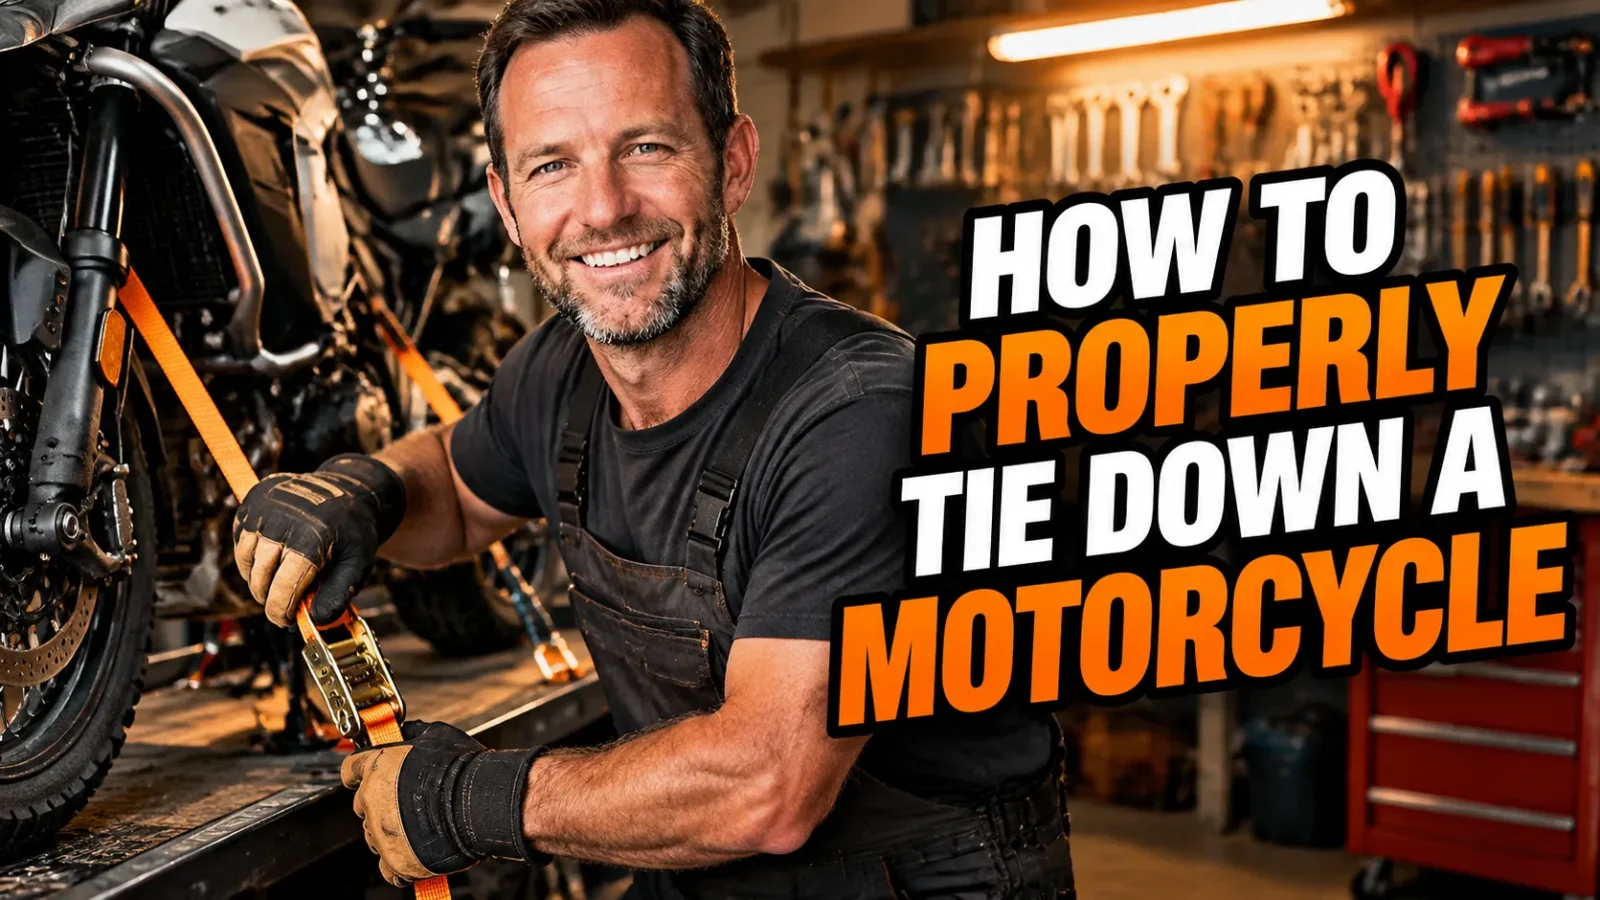
I have loaded bikes into pickup beds, enclosed trailers, cargo vans, a hitch carrier, and one genuinely questionable U-Haul box truck at 11 p.m. in a downpour. I have also watched a friend’s naked sportbike tip over on the interstate because one cam buckle crept half an inch loose. That was a very quiet three-hour drive.
Here is the thing: tying down a motorcycle is not complicated. It is just unforgiving. There is no partial credit when a bike falls over at highway speed, and the damage usually costs more than every strap, chock, and soft tie I own combined.
So this is my full routine. The gear I trust, the anchor points I use, the compression I aim for, and the mistakes I see at every single track day parking lot.
- Use four straps minimum: two pulling forward, two pulling rearward, forming a stable X pattern.
- Never hook metal into bare handlebars or painted surfaces. Soft ties are mandatory, not optional.
- Compress the front forks about one third to one half of their travel. Bottomed-out forks damage seals.
- Always use a front wheel chock. Straps hold the bike down; the chock keeps it from rolling.
- Stop and recheck after 10 to 15 miles. Straps stretch and settle once the suspension works.
Why Tie-Down Technique Actually Matters
I used to think tie-downs were a solved problem. Buy four ratchet straps, hook them somewhere convenient, crank them until the bike stops bouncing, drive. Then I watched a $14,000 bike slide sideways off a trailer ramp because the rear wasn’t secured and the front straps were pulling in slightly different directions.
Physics doesn’t care what you paid. A motorcycle is a tall, narrow, top-heavy object balanced on two small contact patches. Put that on a trailer at 70 mph and it’s sitting in a wind tunnel with a moving floor, plus every expansion joint, pothole, and hard brake application you encounter.
Straps don’t fail because they’re weak. They fail because they’re loaded in a direction the rider didn’t think about, or because something shifted and the strap went slack for one second.
My Expensive Lesson
Years ago I hauled a bike 400 miles with only two straps on the front and the kickstand down. It survived. Barely. When I unloaded, the kickstand spring was stretched, the left grip was scuffed from a hook, and the front fender had a hairline crack from the strap rubbing.
Nothing catastrophic happened, which is exactly why bad habits stick around. The bike made it, so I assumed the method was fine. It wasn’t. I was just lucky.
What Bad Tie-Downs Actually Break
The obvious damage is a dropped bike. The less obvious damage is everything that gets crushed, bent, or rubbed while the bike stays upright.
I’ve seen blown fork seals from over-compression, bent handlebars from hooks cranked against thin-walled bars, cracked fairings from straps routed across plastic, and gouged paint from a single metal hook. None of that shows up until you’re home and inspecting.
The Gear I Actually Trust
You don’t need much, but you do need the right stuff. Cheap gear here costs real money later.
Ratchet Straps vs. Cam Buckle Straps
For heavy bikes, I use ratchet straps on the front. They hold tension predictably and I can feel exactly how much compression I’m applying. The downside is that it’s easy to overtighten them, so I count clicks and stop early.
For the rear, I usually prefer cam buckle straps. They’re faster, they don’t over-crank, and the rear of the bike doesn’t need the same aggressive load as the front. I’ve also had ratchets slowly release on rough roads, which is a terrifying thing to notice in the mirror.
Soft Ties Are Non-Negotiable
A soft tie is just a loop of heavy nylon webbing that wraps around your bar, frame, or fork leg and gives the metal hook somewhere safe to grab. They cost a few dollars each.
I keep four in the truck at all times. Every single time I’ve skipped them out of laziness, I’ve regretted it within an hour.
Wheel Chocks and Canyon Dancers
A good front wheel chock is the single best purchase I’ve made for hauling. It cups the front tire, holds the bike upright while I work, and stops the front wheel from turning or sliding forward.
I’m not a fan of handlebar harnesses that pull outward on the grips. On some bikes they’re fine, but on anything with thin bars or bar-end weights, I’ve seen them cause flex and stress. I’d rather strap the lower triple clamp.
Finding Safe Anchor Points on Your Bike
This is where most people go wrong, and it’s the part that requires you to actually know your motorcycle.
The Triple Tree and Fork Area
The lower triple clamp is my favorite front anchor. It’s strong, it’s central, and pulling down from there compresses the forks evenly rather than twisting the steering head.
On faired bikes, I route soft ties around the fork tubes just above the lower triple, then run straps forward and slightly outward. That keeps the front end planted without putting load on plastic.
Frame Rails, Subframe, and Footpeg Brackets
For the rear, I look for the subframe, passenger peg mounts, or the frame rails themselves. These are structural, and they’re designed to take load.
I run those straps rearward and slightly outward, so they’re pulling against the front straps rather than in the same direction. That opposing tension is what actually locks the bike in place.
Places I Never Hook
I never hook to brake lines, wiring, bodywork, mirrors, exhaust hangers, or the handlebar itself. I also avoid the swingarm on some bikes, since the geometry can allow the strap to slide along it.
If I’m not sure whether a point is structural, I don’t use it. There’s always another option.
My Step-by-Step Tying Down Routine
This is the exact sequence I follow, whether it’s a 20-minute local haul or a 900-mile run to a rally.
- Park the bike in the chock and center it. I get the front wheel fully seated, then stand behind the bike and confirm it looks straight relative to the trailer.
- Attach the front soft ties. Two loops around the lower triple clamp or fork tubes, one on each side.
- Run the front straps forward and down. Anchor points should be roughly 45 degrees forward of the bike, and wider than the bike itself. That angle is what prevents side-to-side tip.
- Compress the forks partway. I tighten until the front end settles, then stop and bounce the bike. If it moves, I add a little more.
- Attach the rear soft ties. Subframe or passenger peg brackets, routed rearward.
- Tension the rear straps. I snug them until the rear suspension just starts to compress. This stops the back tire from walking sideways.
- Add a strap over the rear wheel if needed. On longer trips or rough roads, I run one strap across the rear tire to the deck to stop vertical hop.
- Bounce the bike hard. Both ends, several times. Anything that loosens gets retightened.
That last step is the one people skip. It’s also the one that catches the most problems.
How Much Compression Is Too Much?
This is the question I get asked more than any other. The answer is: one third to one half of your available fork travel. Not bottomed out.
If your fork is fully compressed, you’re loading the springs and seals in a way they weren’t designed for over hours of travel. I’ve seen fork seals weep after a long haul, and it’s almost always over-compression.
On a long trip, I’ll also stop and release the front straps if the bike is sitting overnight. Leaving forks compressed for days isn’t ideal, and it takes thirty seconds to relax and re-tension in the morning.
The Kickstand Question
I leave it up. Almost always.
A deployed kickstand can fold under load, drag on the deck, or punch through a wooden trailer floor when the suspension moves. It also tempts you into relying on it instead of the straps, which is exactly the wrong instinct.
The exception is a bike with a center stand on a flat, solid trailer deck where I’m using it purely as a helper while I work. Even then, it comes up before I drive.
Trailer vs. Truck Bed vs. Hitch Carrier
Each setup changes the angles, and I adjust accordingly.
In a truck bed, I anchor to the bed corners or to a proper bed-mounted rail system. The straps end up more vertical, which means the bike relies more on the chock for fore-and-aft control.
On a trailer, I have the most flexibility. I can set anchor points wider and further forward, which gives me the ideal 45-degree triangle on the front.
On a hitch carrier, everything is tight and high. I use four straps, keep the bike as vertical as possible, and check tension at every fuel stop because the whole assembly moves more.
Mistakes I See at Every Track Day
I’ve walked past hundreds of loaded bikes in paddocks. The same problems show up over and over.
Hooks on bare metal. Straps touching painted surfaces. Only two straps. Kickstand down. Forks bottomed out. No chock, so the front wheel is free to turn. Straps routed over brake lines.
None of these look dangerous when the bike is sitting still in a parking lot. Every single one of them becomes dangerous at speed.
The Ten-Minute Recheck
After 10 to 15 miles, I pull over somewhere safe and check every strap. Webbing stretches, knots settle, and suspension finds its resting point once the bike stops bouncing.
I do the same thing after the first hard brake application and after any significant temperature change. Straps that were tight in cool morning air can go slack once the sun hits them.
Then I check again at every fuel stop. It takes two minutes and it has saved me more than once.
Getting the Bike Home and Putting It Away
Unloading matters too. I loosen the rear straps first, then the front, then roll the bike out of the chock with the kickstand down and the front brake covered.
If the haul marks the end of my season, that’s when I shift into storage mode. I wash the bike, top off the tank, stabilize the fuel, pull the battery, and follow a proper routine for how to winterize your motorcycle so it fires up clean in spring. A bike that just spent hours on a trailer in winter weather deserves the extra attention.
A Few Small Details That Make a Difference
I keep a small bag of spare straps, soft ties, and a couple of extra hooks in the truck. Losing one strap mid-trip shouldn’t end your weekend.
I also mark my anchor points on the trailer with tape so I rig the bike the same way every time. Consistency beats improvisation when you’re tired and it’s dark.
And I never tie down a wet bike if I can avoid it. Wet webbing slips on hooks, and wet straps can freeze solid in cold weather, which makes them nearly impossible to release cleanly.
Final Thoughts
Tying down a motorcycle properly comes down to a few principles. Use four straps. Anchor to structural points. Let soft ties protect your bike. Compress the forks partway, not fully. Use a chock. Check your work after ten minutes.
Do those things and your bike arrives exactly the way it left. Skip them and you’re gambling on luck, and luck runs out eventually, usually on the one trip where you’re already exhausted and 300 miles from home.
I’ve made most of the mistakes in this article. The straps, the chock, and the ten-minute recheck are what stopped me from making them again.
Frequently Asked Questions
Can I hook tie-down straps directly to my handlebars?
I never do. Bare metal hooks scratch grips, pinch brake lines, and can bend thin-walled bars. Use a soft tie loop around the bar or lower triple clamp and hook into that instead.
How tight should motorcycle tie-down straps be?
Tight enough to compress the front forks roughly one third to one half of their travel. If the fork is bottomed out, you are stressing seals and springs. Snug and stable beats cranked and crushed.
Do I really need four straps to tie down a bike?
Two can work if the front wheel sits in a proper chock, but I always run four. Two forward on the front, two rearward on the back. Redundancy is cheap insurance when you are doing 70 mph with your pride in the bed.
Should the kickstand be up or down during transport?
Up, in almost every case. A deployed kickstand can fold, drag, or punch through a wooden trailer deck when the suspension moves. Let the straps and the chock carry the bike, not the stand.

Related Articles

Rusty Bolt Rescue: How I Remove Rust from Motorcycle Bolts Without Snapping Them
Rusty motorcycle bolts? Here's how I remove rust from motorcycle bolts safely, from penetrating oil soaks to vinegar baths, plus…
Jake Miller
11 min read

Basic Motorcycle Maintenance: My Honest Daily, Weekly, and Monthly Routine
I've spent years wrenching in my own garage. Here's my honest, no-nonsense guide to basic motorcycle maintenance, from daily checks…
Jake Miller
8 min read

Why Your Bike Buzzes at Speed: A Rider’s Guide to Killing Motorcycle Vibration
Chasing down motorcycle vibration at high speed? I share my real-world fixes for handlebar buzz, footpeg tingle, and the seat…
Jake Miller
11 min read