
How Long Does It Take to Charge a Car Battery with a 12 Volt Charger? My Complete Guide
 Jake Miller
11 min read
Jake Miller
11 min read
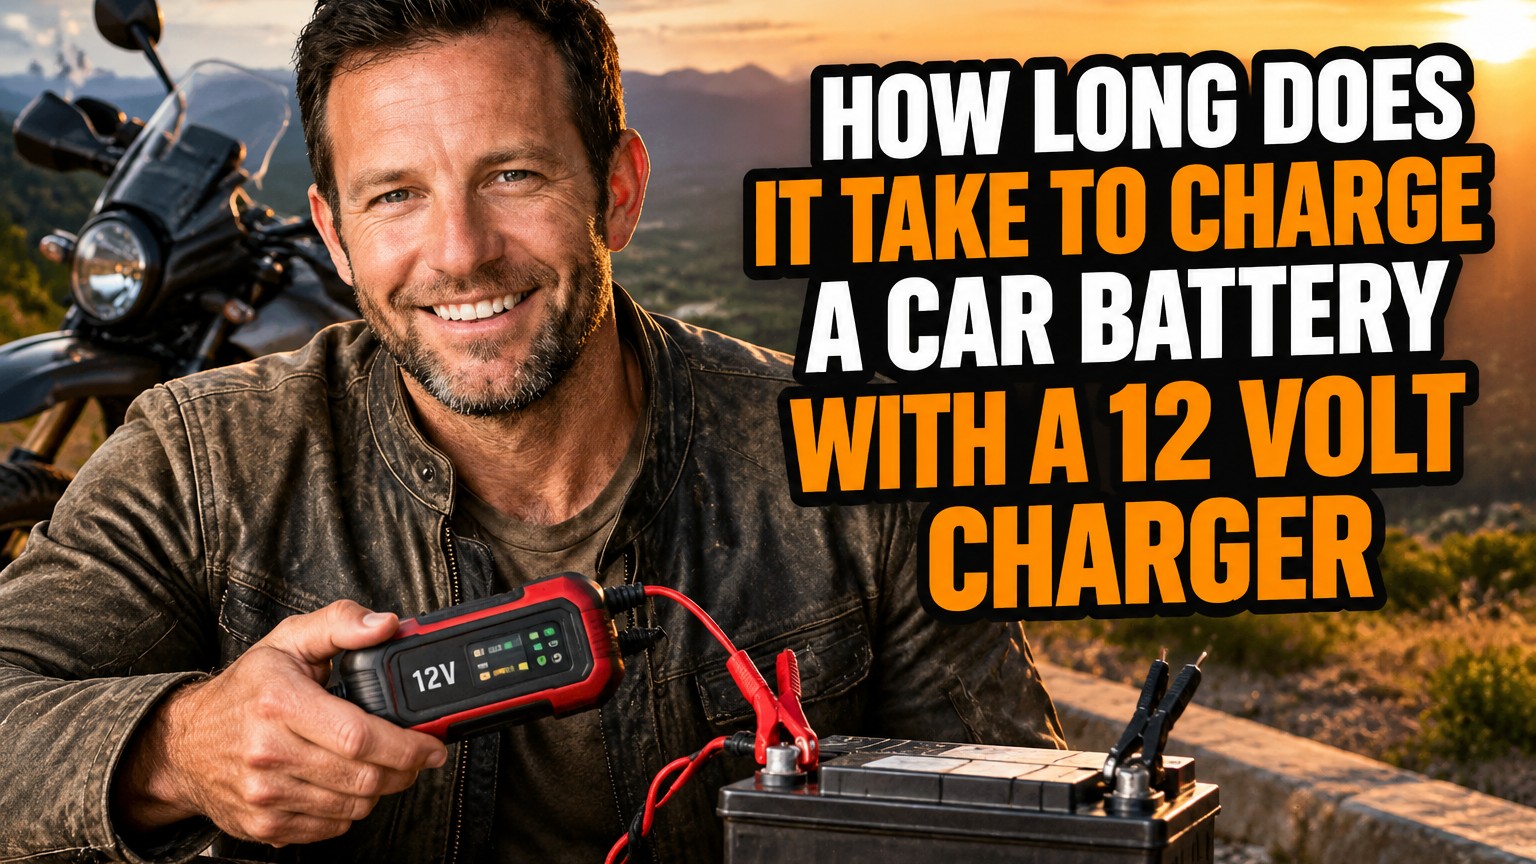
I’ve been there more times than I’d like to admit: standing in my garage, jumper cables in one hand, wondering why I didn’t charge my car battery sooner. Over the years, I’ve learned that understanding charge times isn’t just about plugging in a charger and hoping for the best.
The truth is, charging a car battery with a 12 volt charger isn’t a one-size-fits-all situation. I’ve charged dozens of batteries over my riding and driving career, and the time it takes depends on several critical factors that I’m going to break down for you today.
- A completely dead battery takes 10-24 hours with a standard 4-6 amp 12V charger
- Charge time depends on battery capacity (Ah), charger amperage, and how depleted the battery is
- Trickle chargers (2 amps) take 24-48 hours; fast chargers (10+ amps) take 4-7 hours
- Smart chargers are safer for overnight charging and prevent overcharging damage
- Temperature, battery age, and sulfation significantly affect charging efficiency
Understanding the Basics: What Actually Happens When You Charge a Battery
Before I dive into specific timeframes, let me explain what’s happening inside that battery case. When I connect my 12 volt charger, I’m essentially reversing the chemical reaction that occurs during discharge. The charger pushes electrical current back into the battery, converting lead sulfate back into lead and lead dioxide.
I’ve found that understanding this process helps me make better decisions about charging speed and methods. The faster you charge, the more heat you generate, and excessive heat can damage the internal plates. That’s why I’m always careful about choosing the right amperage setting.
The Key Factors That Determine Charging Time
Battery Capacity (Amp-Hours)
In my experience, battery capacity is the single most important factor. Most car batteries range from 40 to 80 amp-hours (Ah). My sedan uses a 50 Ah battery, while my friend’s truck has a massive 75 Ah battery.
The math is straightforward: a 50 Ah battery that’s completely dead needs 50 amp-hours of charge to reach full capacity. If I’m using a 5-amp charger, that’s theoretically 10 hours. But in reality, I always add 20-40% more time to account for charging inefficiency.
Charger Amperage Rating
I own three different chargers, and each serves a specific purpose. My 2-amp trickle charger is perfect for maintaining batteries during storage. My 6-amp standard charger handles most situations. And my 10-amp fast charger is for emergencies only.
Here’s what I’ve learned about different amp ratings. Lower amperage is gentler on the battery and extends its lifespan. Higher amperage gets you back on the road faster but generates more heat and stress on the battery components.
Current State of Discharge
Not all “dead” batteries are created equal. Sometimes my battery is just partially discharged – maybe down to 30% capacity. Other times, like after leaving my headlights on overnight, it’s completely drained.
I use a multimeter to check voltage before charging. A reading of 12.4 volts means about 75% charged, 12.2 volts is roughly 50%, and anything below 12 volts is considered critically discharged. This information helps me estimate my actual charging time.
Real-World Charging Times I’ve Experienced
With a 2-Amp Trickle Charger
My first experience with trickle charging taught me patience. I connected my 2-amp charger to a completely dead 60 Ah battery and waited. And waited. It took 36 hours to reach full charge.
These slow chargers are what I use for long-term maintenance, especially during winter months when I’m not riding my motorcycle as much. They’re incredibly gentle on the battery and virtually eliminate the risk of overcharging with a smart charger.
With a 4-6 Amp Standard Charger
This is my go-to charging range for regular situations. When my car wouldn’t start last month, I hooked up my 6-amp charger to the 50 Ah battery. It was reading about 11.8 volts – essentially dead.
The entire process took approximately 12 hours to reach 12.6 volts (fully charged). If I had caught it earlier, when it was only half-discharged, it would have taken around 6 hours instead.
With a 10-15 Amp Fast Charger
I reserve my 10-amp charger for emergencies. Last year, I needed my truck running within a few hours for an urgent trip. The battery was completely dead after sitting unused for weeks.
Using the 10-amp setting, I brought that 65 Ah battery back to life in approximately 7 hours. The charger ran noticeably warmer than my standard charger, which reminded me why I don’t use this setting regularly. The aggressive charging can reduce battery lifespan over time.
The Step-by-Step Process I Follow
Initial Assessment and Preparation
I never just plug in and walk away. First, I inspect the battery for visible damage, leaks, or swelling. I’ve learned the hard way that charging a damaged battery is dangerous and can lead to acid leaks or even explosions.
Next, I clean the terminals. Corrosion creates resistance that slows charging and can prevent proper connection. I use a wire brush and a mixture of baking soda and water to clean away that white, crusty buildup.
Similar to the process of how to remove harley street 750 battery for maintenance, I make sure all connections are secure and the area is well-ventilated before starting any charging operation.
Connecting the Charger Correctly
I always connect in the right order: positive (red) clamp to the positive terminal first, then negative (black) clamp to a grounded metal part of the vehicle frame – not directly to the negative terminal. This reduces sparking risk near the battery, where hydrogen gas may be present.
Once connected, I select the appropriate amperage setting. For routine charging, I stick with 4-6 amps. I only use higher settings when I genuinely need the battery charged quickly and understand the trade-offs.
Monitoring the Charging Progress
Modern smart chargers do most of the monitoring for me, but I still check periodically. I look for the indicator lights that show charging progress. I also feel the battery case – it should be warm but never hot to the touch.
If the battery becomes uncomfortably hot, I disconnect immediately. This usually indicates an internal problem or that I’m charging too aggressively. Overheating damages the internal plates and can significantly shorten battery life.
Calculating Your Specific Charging Time
I use a simple formula that’s served me well. Take your battery’s amp-hour rating, multiply by the percentage it’s discharged, then divide by your charger’s amperage. Finally, multiply by 1.3 to account for inefficiency.
Here’s a real example from my garage: my 60 Ah battery at 50% discharge with a 5-amp charger. That’s (60 × 0.5) ÷ 5 × 1.3 = 7.8 hours. In practice, it took about 8 hours, right on target.
I’ve created a mental chart over the years. For completely dead batteries: 2-amp charger needs 24-48 hours, 4-amp needs 15-20 hours, 6-amp needs 10-15 hours, and 10-amp needs 6-8 hours for a typical 50-60 Ah car battery.
Special Situations I’ve Encountered
Cold Weather Charging
Winter charging is a completely different beast. Last January, I tried charging my battery in my unheated garage when temperatures were below freezing. The charging time doubled because chemical reactions slow dramatically in cold conditions.
Now I bring batteries inside or use a heated garage when possible. If I must charge in the cold, I accept that it’ll take significantly longer and I use a lower amperage to compensate for the battery’s reduced ability to accept charge.
Sulfated or Old Batteries
I once spent an entire weekend trying to revive an old battery that had sat discharged for months. Sulfation – where lead sulfate crystals harden on the plates – makes batteries resist charging. My 6-amp charger that normally finishes in 12 hours took over 30 hours with this sulfated battery.
Some smart chargers have a desulfation mode that uses pulse charging. I’ve had mixed results with this feature. Sometimes it works miracles; other times the battery is too far gone and needs replacement.
AGM and Deep-Cycle Batteries
My boat uses an AGM (Absorbent Glass Mat) battery, which requires different charging considerations. AGM batteries are more sensitive to overcharging than standard flooded batteries. I always use a charger with an AGM setting that limits voltage to about 14.7 volts.
Deep-cycle batteries, which I use for camping accessories, also have unique charging needs. They’re designed to be discharged more fully and recharged repeatedly. I use a dedicated deep-cycle charger that provides a multi-stage charging process.
Smart Chargers vs. Manual Chargers: What I’ve Learned
Why I Prefer Smart Chargers
After ruining one battery by overcharging it with an old manual charger, I switched exclusively to smart chargers. These intelligent devices monitor battery voltage and automatically adjust charging rate or shut off when complete.
My smart charger shifts through bulk charging (high amperage), absorption charging (medium amperage), and float charging (low maintenance amperage). This three-stage process charges faster while being gentler on the battery than constant-amperage charging.
When Manual Chargers Still Make Sense
That said, I still keep a manual charger as backup. They’re more affordable, incredibly simple, and don’t have electronics that can fail. If I’m charging in extreme conditions or dealing with an unusual battery, sometimes the simplicity of a manual charger is advantageous.
The key with manual chargers is vigilance. I set phone reminders to check every few hours and I never leave them connected overnight unless I’m certain the battery won’t overcharge in that timeframe.
Safety Practices I Never Skip
I charge batteries in well-ventilated areas only. During charging, batteries release hydrogen gas, which is extremely flammable. My garage has excellent airflow, and I keep my charger on the floor where any heavier-than-air gases settle.
I never smoke or create sparks near a charging battery. I learned this in automotive school, where they showed us photos of exploded batteries. Those images stuck with me. It’s rare, but the consequences are severe enough that I take every precaution.
I also wear safety glasses when connecting or disconnecting chargers. Battery acid can spray if connections spark near a charging battery. I’ve never had it happen, but I’ve seen the aftermath on a friend’s charger, and I’d rather not experience it myself.
Signs Your Battery Needs More Than Just a Charge
I’ve learned to recognize when charging won’t solve the problem. If my battery won’t hold a charge after a full charging cycle, that’s a clear sign of internal failure. It’s happened to me three times over the years, and each time I ended up replacing the battery.
Swelling or bulging of the battery case means immediate replacement, no charging. This indicates serious internal problems, often from overcharging or extreme heat exposure. I once ignored early swelling, continued charging, and the battery leaked acid onto my garage floor.
If the battery is more than 4-5 years old and struggling to hold charge, I usually just replace it rather than spending time on repeated charging cycles. The cost of a new battery is less than the frustration of continued unreliability.
Maintenance Tips to Reduce Future Charging Needs
I now use a battery maintainer whenever my vehicles sit for more than a week. This small device provides a trickle charge that keeps the battery at optimal levels without overcharging. Since implementing this practice, I’ve eliminated about 90% of my dead battery situations.
I also test my batteries regularly with a multimeter. Every month or so, I check the resting voltage. Anything below 12.4 volts gets a top-up charge before it becomes a problem. This proactive approach has extended my battery lifespans significantly.
Keeping terminals clean makes a huge difference too. I apply dielectric grease after cleaning to prevent future corrosion. This simple step improves electrical connection and reduces the resistance that forces batteries to work harder.
My Final Recommendations
After years of experience, here’s what I recommend: invest in a quality smart charger in the 4-10 amp range with multiple charging modes. This covers 95% of situations I encounter. The automatic shut-off feature alone has saved me from several potential overcharging incidents.
For typical charging situations with a completely dead standard car battery, plan for 10-15 hours with a 6-amp smart charger. This timeframe has proven reliable for me across dozens of charging sessions with various vehicles.
Don’t rush the process unless absolutely necessary. I’ve learned that patience produces better results and longer battery life. A slow, controlled charge is always preferable to a fast, aggressive one that generates excess heat and stress.
Remember that charging time is just one piece of the puzzle. Battery health, ambient temperature, charger quality, and proper technique all matter. I treat battery maintenance as preventive care rather than emergency response, and it’s made my life significantly easier.
Frequently Asked Questions
How long does a 12 volt charger take to fully charge a dead car battery?
With a standard 4-6 amp 12V charger, expect 10-24 hours for a completely dead battery. A 2-amp trickle charger takes 24-48 hours, while a 10-amp charger can do it in 4-7 hours.
Can I leave a 12 volt charger on my car battery overnight?
Yes, but only if it’s a smart charger with auto shut-off. Manual chargers can overcharge and damage your battery if left unattended for too long. I always recommend using smart chargers for overnight charging.
What amp setting should I use on my 12 volt charger?
For regular charging, use 4-10 amps. Use 2 amps for long-term maintenance charging, and only use high amp settings (15+ amps) for emergency quick charges, as they can reduce battery lifespan.
How do I know when my car battery is fully charged?
Most smart chargers have indicator lights that turn green when complete. You can also use a multimeter to check voltage — a fully charged 12V battery reads 12.6-12.8 volts with the engine off.

Related Articles

How Long Does It Take to Charge a Car Battery While Driving? A Rider’s Complete Guide
Discover how long it takes to charge your car battery while driving. I share real-world charging times, factors that affect…
Jake Miller
13 min read

How Long to Charge a Car Battery at 2 Amps: My Complete Charging Guide
Discover exactly how long it takes to charge a car battery at 2 amps. I'll share my real-world experience, charging…
Jake Miller
12 min read

Can a Weak Battery Really Cause Transmission Problems? What I Learned the Hard Way
Discover how a weak motorcycle battery can trigger transmission issues. I explain the connection, symptoms I've experienced, and how to…
Jake Miller
12 min read