
How to Make Your Motorcycle Exhaust Quieter: 9 Rider-Tested Fixes
 Jake Miller
10 min read
Jake Miller
10 min read
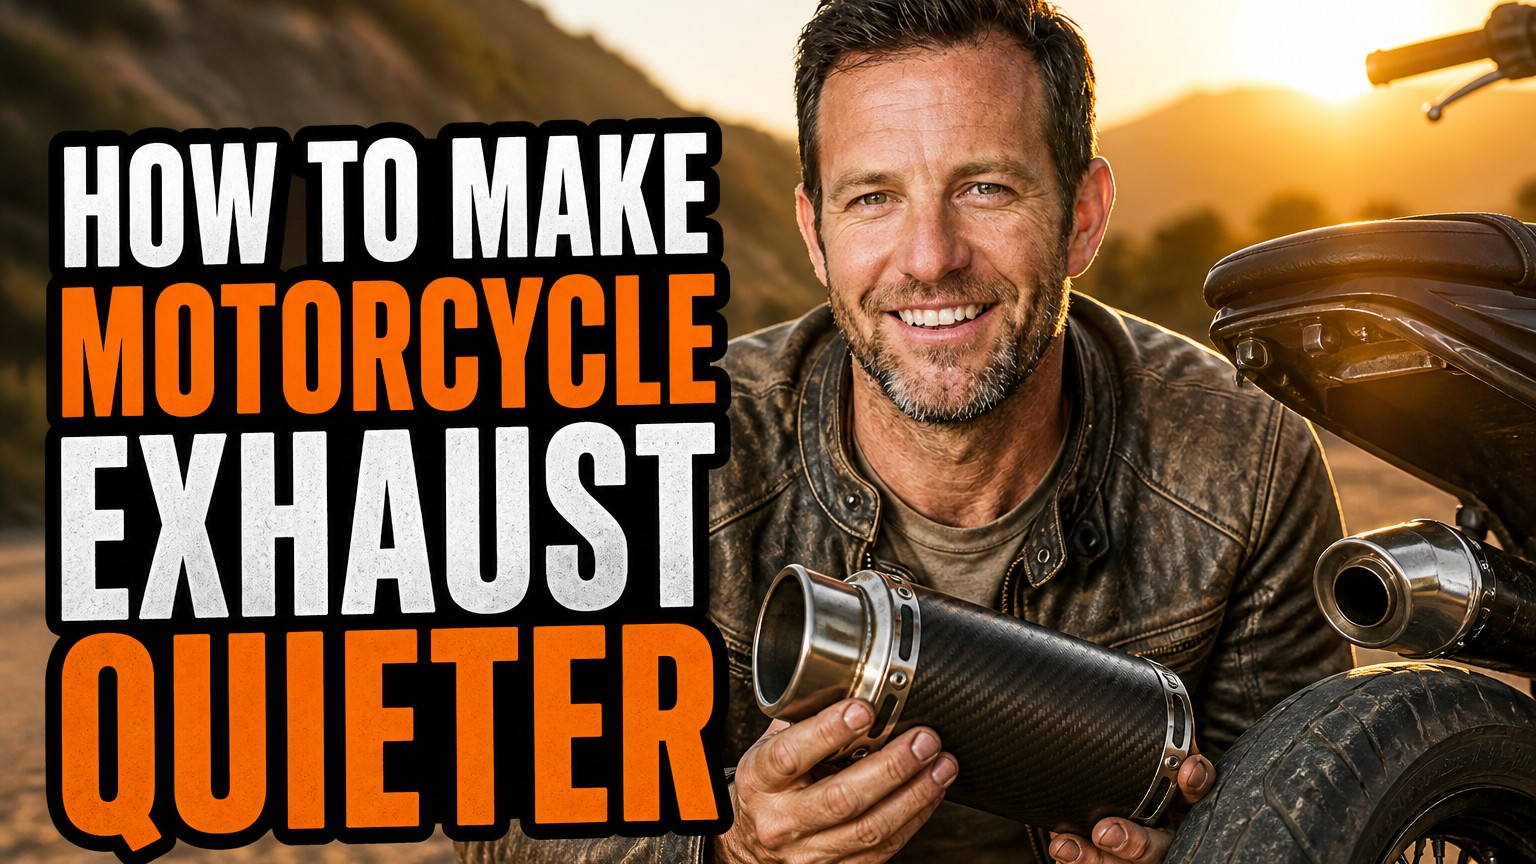
I love the sound of a motorcycle as much as anyone. But there’s a point where a rumble turns into a roar that rattles windows, annoys the neighbors, and gives me a headache on long rides.
I’ve been through this myself. After fitting a loud aftermarket pipe to one of my bikes, I realized I’d traded comfort and good manners for volume. So I spent a few months testing ways to bring the noise down without ruining the character of the bike.
In this guide I’ll walk you through what worked for me, what didn’t, and what to watch out for. Whether you want to avoid tickets, ride more comfortably, or just be a better neighbor, there’s a fix here that suits your budget.
- The easiest fixes are a removable DB killer, a baffle insert, or fresh muffler packing.
- For the biggest drop in noise, swap to a quieter, properly sized muffler or return to the stock system.
- Engine health and tuning affect exhaust sound, so check oil, fuel, and mixture before blaming the pipe.
- Exhaust wrap is not a real noise solution, and it can cause heat problems.
Why Is My Exhaust So Loud in the First Place?
Before I changed anything, I wanted to understand where the noise was coming from. Loud exhausts usually come down to a handful of causes, and knowing which one applies to you saves money.
Aftermarket Pipes and Removed Baffles
Most aftermarket slip-ons are built to sound aggressive. Many ship with a removable baffle, and plenty of riders pull it out on day one. That alone can add several decibels.
Worn-Out Muffler Packing
Inside many mufflers is fiberglass or steel wool packing that absorbs sound. Over time, heat and vibration burn it away. I’ve seen a once-mellow pipe turn raspy after just a few seasons.
Leaks and Damage
A cracked weld, a loose header connection, or a failed gasket lets sound escape before it reaches the muffler. It often produces a sharp ticking or a harsh, popping tone. That’s not a character feature, it’s a repair job.
Engine and Fuel Issues
A lean mixture can cause popping on deceleration, and a misfiring cylinder makes the exhaust note uneven and loud. I’ll come back to this, because it surprised me how much a healthy engine matters.
Know Your Limits Before You Start
I always start with a measurement. A free decibel meter app on your phone isn’t perfect, but it gives you a baseline so you can see whether a fix actually helped.
Stand about 20 inches from the exhaust outlet at a 45-degree angle, and hold the engine at around half of its redline. This is similar to how many roadside noise tests are done. Write down the number before you change anything.
Also check your local laws. Many regions cap bike noise at roughly 80 to 96 dB depending on the test method, and some require a stamped, approved exhaust. Always confirm the exact rules where you ride.
Method 1: Install a DB Killer
This is the first thing I tried, and it’s the cheapest. A DB killer is a small insert that slides into the end of your exhaust and restricts the flow of sound.
How It Works
The insert forces exhaust gas through a narrower, baffled path. That breaks up sound waves and lowers volume. Most are held in place with a bolt or a set screw, so installation takes minutes.
My Experience
On my slip-on, a DB killer dropped the volume noticeably, and the tone went from sharp and barky to deep and round. I lost a touch of throttle crispness at the top end, but honestly, I only noticed it on a dyno chart.
Make sure you buy one that matches your pipe’s outlet diameter. A poor fit can rattle, rust in place, or shoot out on the road. I learned that the annoying way, so double-check the size before you order.
Method 2: Use or Replace the Baffle
If your pipe came with a removable baffle that’s now sitting in a toolbox, put it back in. It’s what the manufacturer designed to meet noise limits.
If it’s lost, most brands sell replacement baffles. Some even offer different lengths or designs, such as a quiet-core option for road use and a freer-flowing one for track days.
Choosing the Right Baffle
Look for a baffle designed specifically for your exhaust model. Universal ones often fit loosely and don’t dampen as much. I’d rather pay a bit more for the exact part.
Method 3: Re-Pack the Muffler
This one is underrated. If your muffler has gotten louder over time, the packing has probably burned out. Re-packing restores the original sound-absorbing performance.
What You’ll Need
- Fresh fiberglass or stainless steel packing material
- Gloves, a dust mask, and eye protection
- A drill or rivet tool, depending on your muffler
- Replacement rivets or fasteners
Step-by-Step
1. Remove the muffler
Let the exhaust cool fully. Unbolt the muffler from the bike and take it to a clean work area.
2. Open the end cap
Drill out the rivets or remove the screws holding the end cap. Pull out the inner core carefully.
3. Replace the packing
Wrap fresh packing around the perforated core. Don’t compress it too tightly, or it’ll restrict flow. Don’t leave gaps either.
4. Reassemble
Slide the core back in, refit the end cap, and mount the muffler with new gaskets if needed. Then test it against your baseline.
When I did this on an older pipe, the harsh edge was gone and the bike sounded almost new. It cost me less than a nice lunch.
Method 4: Swap to a Quieter Muffler
If inserts and packing aren’t enough, a different muffler is the next step. This is where you get the biggest reduction, but it costs more.
Go Back to Stock
Your original exhaust was designed to be quiet, clean, and legal. If you saved it, refitting it is the most reliable fix there is. I keep every stock part I remove for exactly this reason.
Choose a Larger or Better-Designed Muffler
Larger canisters usually have more internal volume to absorb sound. Look for models advertised with noise ratings and legal certification. A chambered or multi-baffle design tends to be mellower than a straight-through design.
Think About Finish and Longevity
When you install a new pipe, you may want to protect it. I’ve looked into the best paint for motorcycle exhaust pipes for restoring tired mufflers, and I’ve also compared the best heatcoating for motorcycle exhaust pipes for a more durable finish. Neither changes the sound much, but they keep a new setup looking good.
Method 5: Fix Leaks and Loose Connections
I once chased a “loud exhaust” for weeks, only to find a leaking header gasket. Leaks create a sharp, tinny noise that no insert can hide.
Where to Look
- The joint between the header and the engine head
- Slip-fit connections and clamps
- Welds along the muffler body
- Cracks near mounting brackets
A black soot trail is the giveaway. If you see one, replace the gasket or re-weld the crack. Many riders notice an immediate improvement in tone and volume.
Method 6: Make Sure the Engine Is Healthy
This was the biggest surprise in my testing. An engine that isn’t running right can sound louder and rougher at the tailpipe.
Check Your Basics
Start with maintenance. If you’re not sure where your oil level stands, here’s my walkthrough on how to check motorcycle oil. Low or dirty oil can cause rough running and extra mechanical noise that blends with the exhaust note.
Fuel matters too. Old gas and rust can clog jets and injectors, leading to misfires and popping. If your tank is dirty, take a look at how to clean a motorcycle gas tank before you spend money on a new exhaust.
Watch the Heat
A lean-running engine runs hot and can pop loudly through the pipe. If your bike seems to be running hotter than normal, read my guide on how to diagnose overheating engine problems. Fixing the root cause often calms the exhaust as well.
Method 7: Get a Fuel Tune
If you’ve added an aftermarket exhaust and an air filter without retuning, your bike may run lean. That tends to cause backfires and deceleration pops, which are loud and unpleasant.
A fuel controller, a flash tune, or a carburetor rejet can smooth things out. When I had my bike tuned, the crackling vanished, and the overall sound became cleaner and deeper.
It’s worth the money. A tuned bike is quieter, smoother, and usually better on fuel too.
Method 8: Try Exhaust Tips and Resonators
Some riders add a resonator or an inline silencer to their system. These devices cancel certain sound frequencies, especially the harsh, droning ones.
Resonators
A resonator mounts between the header and the muffler, and it can reduce drone at cruising speeds. I found it particularly helpful on long highway rides where a constant buzz wears me out.
Extended Tips
Some tips and end caps are made to reduce volume slightly. They’re a modest fix, but they can combine well with a DB killer for a fuller reduction.
Method 9: Skip the Exhaust Wrap
You’ll see forums recommending exhaust wrap as a noise fix. I tried it, and I don’t recommend it.
The wrap muffled the sound by only a tiny amount. Worse, it trapped moisture and heat against the metal, which can lead to premature rust and cracking. It’s not worth the risk when better options exist.
Comparing Your Options
Here’s how I’d rank the methods based on cost, effort, and results from my own experience.
| Method | Cost | Difficulty | Noise Reduction |
|---|---|---|---|
| DB killer | Low | Easy | Moderate |
| Baffle replacement | Low to medium | Easy | Moderate |
| Re-packing | Low | Medium | Moderate |
| New or stock muffler | Medium to high | Medium | High |
| Leak repair | Low | Medium | Varies |
| Fuel tune | Medium | Medium | Reduces pops and crackle |
My Recommended Approach
If I were starting from scratch with a loud bike, I’d follow a simple order. It saves money and avoids guesswork.
- Measure your baseline with a decibel app.
- Inspect for leaks and fix any you find.
- Install the baffle or a DB killer that fits your pipe.
- Re-pack the muffler if it’s old.
- Check engine health and tuning to remove pops and roughness.
- Upgrade the muffler only if it’s still too loud.
Most riders I know never need to go past step four. The cheap fixes do the heavy lifting.
Mistakes I’d Avoid
Buying the Wrong Size Insert
Measure the outlet diameter before ordering. A loose insert rattles and can fall out.
Over-Packing the Muffler
More packing isn’t always better. Overstuffing can restrict flow, raise temperatures, and hurt performance.
Ignoring the Rules
A pipe that’s quiet but not certified can still fail an inspection in some areas. Keep your paperwork and stamps handy.
Chasing Silence Completely
Part of the joy of riding is hearing your engine. I aim for pleasant, not silent. A deep, steady note is easier on my ears and on everyone around me.
Final Thoughts
Quieting a loud exhaust doesn’t have to be a big project or an expensive one. I started with a simple insert and ended up with a bike that sounds better, rides more comfortably, and keeps me on good terms with the neighbors.
Start small, measure your results, and work your way up only if you need to. Your ears, your neighbors, and probably your local police will thank you.
Got a method that worked for you? I’m always looking for new tricks, so keep experimenting and ride safe.
Frequently Asked Questions
Will a quieter exhaust hurt my motorcycle’s performance?
Usually not by much. A DB killer or baffle adds a little backpressure, which can slightly change the fuel mixture on some bikes. On most street bikes the difference is small, but a loud aftermarket pipe with a restrictive insert may need a fuel tune to run its best.
What is the cheapest way to quiet a loud motorcycle exhaust?
The cheapest option is usually a removable DB killer or a baffle insert made for your pipe. Re-packing a worn muffler with fresh sound-absorbing material is another budget-friendly fix.
Does wrapping my exhaust make it quieter?
Exhaust wrap can dull the sound slightly, but the effect is small compared with baffles or a proper muffler. It also traps heat and can shorten the life of the pipe, so I do not recommend it as a noise solution.
Is a loud motorcycle exhaust illegal?
In many places, yes. Most regions set a maximum decibel level or require an exhaust to carry an approved stamp. Check your local rules, because fines and failed inspections are common with non-compliant pipes.

Related Articles
7 Best Batteries for Motorcycles I’ve Tested and Trust in 2026
I've tested dozens of motorcycle batteries to find the best performers. From AGM to lithium, here are my top picks…
Jake Miller
15 min read

The Perfect Battery for Your Harley Davidson Softail: A Rider’s Complete Guide
Discover the perfect battery for your Harley Davidson Softail. I've tested multiple options and share real-world performance data, maintenance tips,…
Jake Miller
14 min read

The Best Battery for Your Harley Davidson: My Complete Guide After Years of Testing
Discover which battery truly performs best for Harley Davidson motorcycles. Real rider experience with AGM, lithium, and OEM options to…
Jake Miller
12 min read