
Harley Fuel Pump Problems: What I’ve Learned Fixing My Own Bikes
 Jake Miller
8 min read
Jake Miller
8 min read
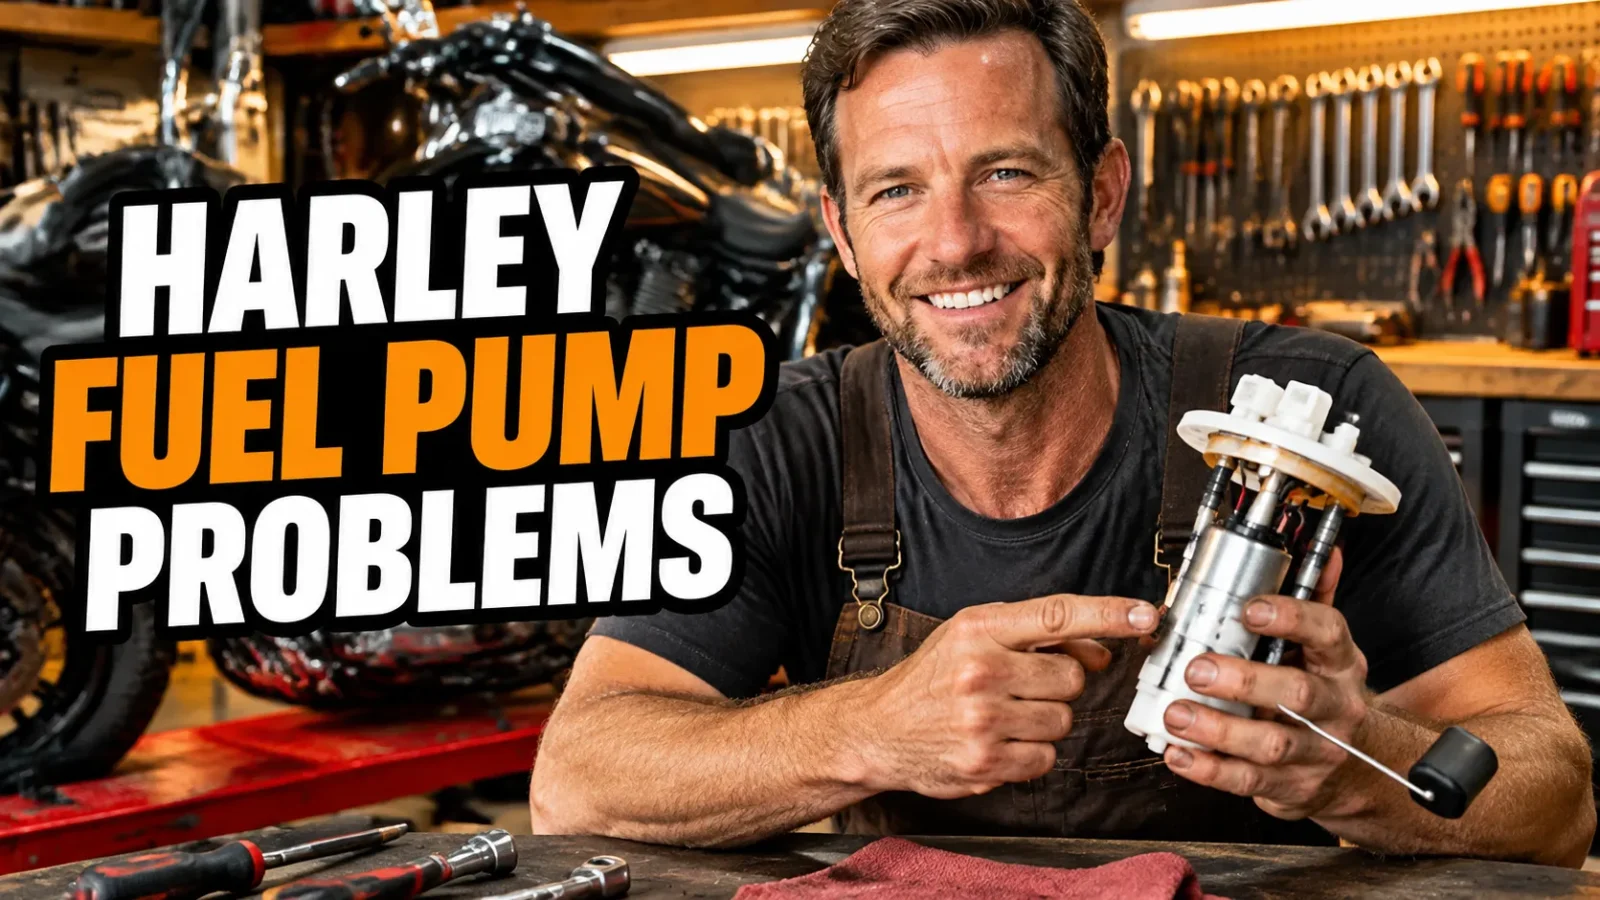
I’ve owned four fuel-injected Harleys and wrenched on plenty of my friends’ bikes, and I can tell you that a failing fuel pump rarely announces itself with a bang. It whispers first. A little extra whine at key-on. A crank that takes two seconds longer than it should. A hiccup at 60 mph that you blame on bad gas.
Then one morning you’re stranded at a gas station in July, cranking a bike that sounds perfectly healthy but refuses to fire. I’ve been there twice. Both times, the pump was the culprit.
So in this post I’m sharing everything I’ve learned about Harley fuel pump problems — the symptoms, the real causes, how I diagnose them in my own garage, and what it actually costs to fix. If your bike is acting up, this should save you a diagnostic fee and maybe a tow.
- Whining on key-on, long hot cranks, and surging at steady throttle are the three symptoms I watch for first.
- Most EFI Harleys hold 55 to 62 psi at the rail; anything lower under load means pump, filter, or regulator.
- Ethanol, rust, and running the tank below a quarter are what actually kill these pumps over time.
- You can often replace just the pump and filter for a fraction of a full assembly, and it’s a real driveway job.
- Check the fuse, relay, and grounds before you drop the tank. I’ve seen a $12 relay mimic a dead pump.
The First Sign Is Almost Always Sound
Every fuel-injected Harley I’ve owned primes the pump for about two seconds when you flip the ignition on. It’s a soft, low hum. Once you know it, you know it.
When that hum turns into a high-pitched whine or a raspy buzz, pay attention. That’s usually the pump motor straining against a clogged filter or running with a worn brush set. It doesn’t mean it’s dead tomorrow, but it means you’re on borrowed time.
I keep a mental log of how long my pump primes and what it sounds like. On my 2012 Road King, the whine showed up about 3,000 miles before the pump finally quit. That gave me plenty of warning — and I ignored it for two of those months.
Symptoms I’ve Personally Dealt With
Here’s my short list, in the order I usually see them appear:
- Long crank when hot. Starts fine cold, cranks forever after a fuel stop. This is the classic check valve or regulator leak-down.
- Surging at steady throttle. Feels like someone is blipping the throttle for you on the highway.
- Loss of power under load. Fine around town, gutless climbing a grade two-up.
- Cranks but won’t start. Pump doesn’t prime at all. Check the fuse and relay first.
- Fuel gauge lying to you. Sender lives inside the same module, so it often fails alongside the pump.
What’s Actually Failing Inside That Tank
People say “the fuel pump” like it’s one part. It isn’t. On most modern Harleys you’ve got a whole module in there, and any one piece can let you down.
The Pump Motor Itself
This is the part that whines. Brushes wear, windings get hot, and ethanol-laced fuel with water in it corrodes the internals. Once the motor draws too much current, it can also start blowing fuses — that’s a big clue.
The In-Tank Filter and Strainer
In my experience, this is the most overlooked failure point. The filter clogs, the pump works harder, and pressure at the rail drops. You get surging and power loss long before the pump dies.
If your bike has 30,000+ miles on the original filter, that’s the first thing I’d replace. It’s cheap and it fixes a surprising number of “weak pump” complaints.
The Pressure Regulator and Check Valve
A leaky check valve lets fuel drain back into the tank when you shut off the engine. The result is that long, embarrassing crank at every fuel stop while the system re-pressurizes.
I chased this on a friend’s Softail for a week before I tested for pressure bleed-down. Ten minutes with a gauge would have saved us both an evening.
Cracked Lines and Tired O-Rings
The corrugated in-tank fuel line gets brittle and can crack or balloon. The quick-disconnect fitting on the tank crossover has tiny o-rings that harden and weep. Both cause pressure loss that looks exactly like a dying pump.
Quick note on the quick-disconnect
If you smell gas or see a damp spot near the tank fitting, replace those o-rings before you touch anything else. It’s a five-dollar fix that resolves a lot of weird running issues.
What Actually Kills These Pumps
Pumps don’t just wear out randomly. In my experience, there are three real culprits, and all of them are preventable.
Ethanol and Water
E10 is fine in a bike that gets ridden. The problem is what happens when it sits. Ethanol absorbs moisture from the air, and that water ends up sitting right on top of your pump and sender.
That’s why I run non-ethanol premium whenever I can find it, and why I add fuel stabilizer before any winter storage. It’s the cheapest insurance I buy all year.
Rust and Debris
An older steel tank that sat empty will shed rust flakes straight into the strainer. I’ve pulled modules that looked like they’d been dipped in coffee grounds.
If you buy a used bike that sat for years, flush the tank first. I learned that the hard way after killing a brand-new pump in under 500 miles.
Running Below a Quarter Tank
The pump is cooled and lubricated by the fuel around it. I know the range anxiety is real, but habitually running to fumes is one of the fastest ways to shorten pump life. I fill up at a quarter tank now, every time.
How I Diagnose It in My Own Garage
This is the sequence I follow. It takes about 30 minutes and saves me from throwing parts at a problem.
Step 1: Listen and Watch
Key on, kill switch set to run. Does the pump prime for two or three seconds? No sound at all usually means electrical, not mechanical.
Step 2: Check Fuse, Relay, and Grounds
I swap the fuel pump relay with an identical one nearby, check the fuse, and inspect the grounds. I’ve fixed two “dead pumps” this way for the cost of nothing.
Step 3: Pull Codes
Any Harley with a diagnostic port will tell you a lot. Low fuel pressure codes and injector codes together usually point at the supply side rather than the injectors themselves.
Step 4: Test Fuel Pressure
This is the one that settles arguments. Hook a gauge to the rail and compare the reading to spec, usually 55 to 62 psi for most Delphi-based systems. Then shut the key off and watch how fast it bleeds down. Fast bleed-down equals a check valve or regulator issue.
Step 5: Visual Inspection
If pressure is low or dropping, the module comes out. I look for cracked lines, a swollen filter, rust, and a sender that’s clearly had better days.
Repair Options and What I’d Spend
You’ve got three realistic paths, and I’ve taken all of them at some point.
Full OEM Assembly
Dealer pricing on a complete module and the labor to install it lands most people somewhere between $700 and $1,200, depending on the model. It’s the safest route and it’s genuinely what I’d recommend if you’re not comfortable pulling the tank.
Pump and Filter Kit
This is my usual choice. A good kit runs roughly $150 to $400 and replaces the motor, filter, and often the strainer. I did this on my Touring bike in an afternoon with basic hand tools and a torque wrench.
Buy a quality kit, not the cheapest thing on the internet. I’ve seen cheap pumps fail in a season.
Aftermarket Performance Module
If your bike is built and you’re chasing fuel delivery under big horsepower, an upgraded module makes sense. For a stock or lightly modified cruiser, I don’t think the extra money buys you much.
How I Make Pumps Last
None of this is glamorous, but it works.
- Keep the tank above a quarter full.
- Run non-ethanol fuel when it’s available.
- Add stabilizer before any storage longer than a month.
- Ride the bike. Sitting is the enemy.
- Replace the fuel filter on schedule, even when it seems fine.
I also keep a spare relay in my saddlebag. It weighs nothing and it’s saved a ride more than once.
My Honest Take
Fuel delivery problems on a Harley are usually not mysterious. They follow a pattern: noise first, then drivability, then a no-start. If you pay attention to the early signals, you can plan the repair on your terms instead of on the shoulder of a highway.
If you’re hearing a whine and noticing a longer crank, don’t wait. Test the pressure, check the cheap stuff first, and replace what’s actually failed. Your future self, standing at a gas station in the heat, will thank you.
Frequently Asked Questions
How do I know if my Harley’s fuel pump is failing?
The classic signs are a loud whining or buzzing on key-on, a long crank when the engine is hot, surging at steady throttle, and a pump that no longer primes for two or three seconds. If it cranks but never fires, check the fuse and relay before you pull the tank.
Can I replace just the pump instead of the whole assembly?
Yes. On most Delphi-style Harley modules you can install a pump and filter kit for far less than a complete assembly. I’ve done it on 2007 and later Touring bikes with basic hand tools, though you should replace the module seal and quick-disconnect o-rings at the same time.
Does ethanol fuel ruin Harley fuel pumps?
E10 is usually fine, but ethanol attracts water, and that water corrodes the pump’s internals and the fuel level sender. I run non-ethanol when I can, add stabilizer before storage, and never let a bike sit for months on a half tank.
What fuel pressure should a Harley EFI system hold?
Most Delphi-based Harley EFI systems hold roughly 55 to 62 psi at the rail while running. If you’re seeing low pressure at idle that drops further under load, the pump, filter, or regulator is the usual suspect, not the injectors.

Related Articles

Does a Bigger Carburetor Really Mean More Power? What I Learned Losing (and Gaining) Horsepower
I've bolted on oversized carbs and lost horsepower. Here's the honest truth about carb sizing, airflow velocity, jetting, and when…
Jake Miller
9 min read

How to Clean a Dirt Bike Carburetor the Right Way: A Rider’s Step-by-Step Garage Guide
A rider's step-by-step guide to cleaning a dirt bike carburetor: tools, jet cleaning, float checks, and the mistakes that cost…
Jake Miller
11 min read

Why Your Carburetor Overflows (And How I Finally Stopped Mine From Dumping Fuel)
Fuel pouring out of your carb? I've chased this gremlin on my own bikes. Here's why carburetors overflow and how…
Jake Miller
9 min read