
How to Clean a Dirt Bike Carburetor the Right Way: A Rider’s Step-by-Step Garage Guide
 Jake Miller
11 min read
Jake Miller
11 min read
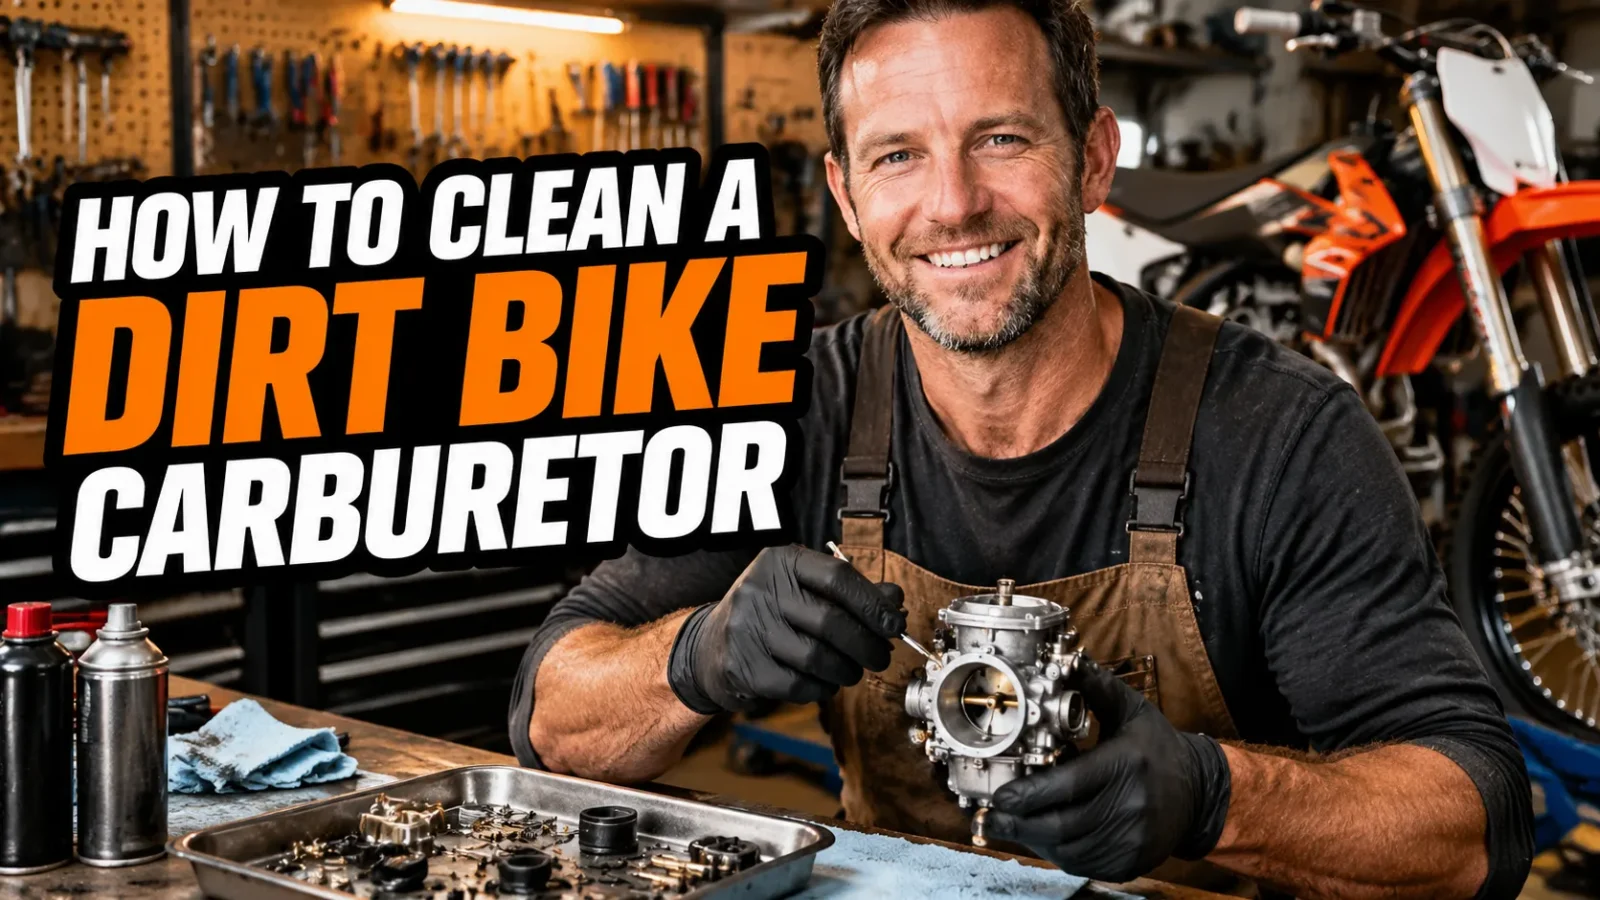
I’ve cleaned more dirt bike carburetors than I care to admit. Some were on a folding table in a motel parking lot the night before a race, and some were in my garage with the heater running and a podcast in my earbuds. Either way, the process is basically the same, and once you’ve done it three or four times you stop being scared of it.
The truth is, carburetors don’t fail very often. They just get dirty, and the modern pump fuel we’re stuck with is the main culprit. Ethanol absorbs water, turns to varnish, and leaves a green-ish crust in the tiny passages that control your idle and off-idle fueling.
In this guide I’ll walk you through exactly how I do it, from the tools I actually reach for to the mistakes that cost me a whole weekend of riding. Whether you’re on a two-stroke with a Keihin PWK or a four-stroke with an FCR, the fundamentals don’t change much.
- Rough idle, hard cold starts, and a bog off the bottom are the classic signs of a dirty carb, not a worn-out engine.
- Use JIS screwdrivers, real carb cleaner, compressed air, and a fine wire to clear jets. Cheap tools strip brass fast.
- The pilot jet and the air passages are where 90% of running problems live, so clean those first and clean them thoroughly.
- Never soak rubber parts in solvent, and always recheck float height before you bolt everything back together.
- Ethanol-free fuel plus draining the bowl for storage will keep your carb clean far longer than any additive.
Why Carburetors Get Dirty in the First Place
Every carburetor is basically a set of carefully sized holes that meter fuel and air. The pilot jet might be a 0.4mm opening. That’s smaller than the lead in a mechanical pencil, and it doesn’t take much to plug it.
When fuel sits, the lightest fractions evaporate and leave behind a sticky residue. Add ethanol, which pulls moisture out of the air, and you get corrosion plus varnish in the same package. That’s why a bike that ran perfectly in October often won’t idle in April.
Dirt plays a role too, but less than people think. If your air filter is oiled and sealed properly, very little grit makes it into the carb. The real enemy is old fuel, and it wins that fight every single time.
Signs Your Carburetor Needs Attention
I keep a mental checklist, and if two or more of these show up, I pull the carb. The first and loudest symptom is a bike that needs the choke for ten minutes and then still won’t hold a steady idle.
Then there’s the bog. You crack the throttle off the bottom and the engine hesitates, coughs, or flat-out dies before it catches. That’s almost always the pilot circuit or the fuel screw passage, not your jetting.
Other giveaways I’ve learned to trust:
- Fuel weeping from the overflow tube while the bike sits
- A hanging idle that drops slowly after you blip the throttle
- Black, sooty plug readings even after a fresh plug
- Rough running that gets worse as the bike warms up
If you’re seeing any of those, don’t touch the jetting yet. Clean first, then tune. I’ve watched plenty of riders chase a jetting ghost when all they needed was thirty minutes with a can of cleaner.
The Tools I Actually Use
You don’t need a fancy setup. I’ve done this job successfully with a socket set, a can of cleaner, and a paperclip, but my results got a lot better once I bought the right stuff.
Here’s what lives in my carb box:
Essential
- JIS screwdrivers (#1 and #2). This is the single most important purchase. Japanese bikes use JIS heads, and a Phillips driver will round them out. Every stripped bowl screw I’ve ever dealt with was caused by this.
- 8mm and 10mm sockets plus a small ratchet
- Aerosol carburetor cleaner with the thin straw
- Compressed air, either a compressor or a can
- A fine wire or dedicated jet cleaning tool set
- Nitrile gloves and safety glasses
- A shallow tray or coffee can to hold parts
Nice to Have
An ultrasonic cleaner is the upgrade I resisted for years and now recommend to everyone. Drop the stripped carb body and jets in with a mild cleaner, run it for fifteen minutes, and it reaches passages you’ll never get with a spray can.
A digital caliper makes float height measurement painless, and a set of new gaskets, O-rings, and a float needle valve should be on the bench before you start. Gaskets that come out swollen rarely go back in cleanly.
What to Avoid
Skip wire brushes on brass. Skip anything abrasive inside the carb body. And never soak rubber components in carb dip, because they’ll swell up and you’ll be chasing a leak for weeks.
How to Clean a Dirt Bike Carburetor: My Step-by-Step Process
I’ll assume the bike is cool and you’ve got a clean bench. Give yourself two hours the first time. The second time it’ll take forty-five minutes.
Step 1: Prep and Remove the Carb
Turn the fuel petcock off and drain the float bowl using the drain screw at the bottom. Catch the fuel in a container so you can see what’s coming out. If it’s cloudy or smells like old paint thinner, you’ve found your problem.
Pull the seat and tank, then loosen the clamps on both the intake boot and the air boot. On most bikes you can rotate the carb and pull it out the side. Take a photo of the hose routing before you disconnect anything, because vent hoses are a puzzle on reassembly.
Plug the intake port with a clean rag immediately. The last thing you want is a bolt or a washer dropping into the cylinder head.
Step 2: Open It Up
Set the carb on your tray and remove the float bowl screws. Take the bowl off gently, because the float and needle hang from the top and you don’t want to bend anything.
Pull the float pin, lift the float out, and set the needle valve aside. Then remove the main jet, the pilot jet, and the needle jet or emulsion tube if your carb has one. Note their sizes before you clean them so there’s no confusion going back together.
If you’ve got a slide carb like a PWK, pull the top cap and remove the slide and needle as one assembly. Pay attention to the slide plate orientation. On a PWK, the small hole in the plate must face down, and getting that wrong causes a stumble nobody can diagnose.
Step 3: Clean Every Passage
This is the part people rush, and it’s the part that matters. Spray carb cleaner through the pilot jet from both directions until it shoots through freely. Then do the same with the main jet, the needle jet, and every air passage in the body.
When a jet won’t flow, use a fine wire to gently push out the blockage, then spray again. Work from the inside outward, and don’t force anything. Brass is soft and a scratch in the bore changes the fuel curve permanently.
Follow every spray with compressed air. The combination of solvent and air is what actually clears varnish. I spray, blow, spray, blow, and repeat until I see a clean, even pattern from each passage.
Step 4: Inspect the Wear Parts
Carburetors do wear out, just slowly. Check the float needle tip for a groove or a shiny ring. Look at the float itself for fuel inside the pontoon, which means a leak and a replacement.
Check the slide for deep scoring, the needle for a worn taper, and every O-ring for flat spots. The fuel screw O-ring and the float valve seat O-ring are the usual suspects for a mystery air leak.
A Quick Word on Float Height
Reset your float height to the factory spec while everything is apart. Measure with the carb tilted so the float tang just contacts the needle without compressing the spring, then compare to your manual. Being 2mm off is enough to make a bike run rich, leak fuel, or starve at high RPM.
Baseline Settings to Start From
Set the fuel or air screw to 1.5 to 2 turns out from lightly seated. Snug the jets down firmly but never gorilla-tight, because brass threads strip easily. Set the slide needle clip back to the stock position before you start tuning.
Step 5: Reassemble and Test
Reassemble in reverse order with fresh gaskets and O-rings. Before you install the carb, hook it up to a fuel source on the bench and check for leaks at the bowl. Better to find that on the bench than over a hot engine.
Install it, reconnect the fuel line, turn the petcock on, and give it a minute to fill the bowl. Start the bike with the choke, let it warm up, and see how it idles. Then ride it gently for the first few minutes and recheck the fuel screw adjustment in small increments.
Can You Clean It Without Removing It?
Yes, and I do this on trail rides all the time. There’s a decent chance you’ve seen someone do it in a parking lot with a can of spray and a rag, and honestly, it works more often than it should.
Turn off the fuel, drain the bowl, remove the fuel screw carefully, and spray cleaner into the screw passage and the bowl drain until it runs clear. Then shoot carb cleaner into the pilot jet from the bowl side if you can reach it. Blow it out and put it back together.
This is a field fix, not a proper clean. It won’t touch a badly varnished main circuit, and it won’t fix a sunk float. But for a bike that sat three weeks and got cranky, it has saved plenty of my afternoons.
Mistakes I’ve Made So You Don’t Have To
I’ve stripped a bowl screw with a Phillips driver and had to drill it out. I’ve soaked a slide diaphragm in carb dip and watched it turn into a wavy mess. I’ve also flipped a PWK slide plate and spent an entire ride convinced my jetting was ruined.
The most common error I see is overtightening jets. They seat on a soft washer and only need to be snug. If you’re straining, you’re doing damage.
The second most common is skipping the compressed air. Solvent alone leaves loosened varnish sitting in the passage. You need airflow to push it out, and you should always finish with air.
Third, and this one is sneaky: reinstalling the carb with a cracked or loose intake boot. It mimics a lean jetting condition and makes you chase a carb problem that doesn’t exist. Squeeze the boot and look for cracks before everything goes back together.
How to Keep It Clean Longer
The single best thing I ever did for my carburetors was switching to ethanol-free fuel. It costs more per gallon, but I clean my carbs roughly once a year now instead of twice a season.
If you can’t find ethanol-free gas, use a quality stabilizer and never leave fuel sitting in the bowl. Draining the bowl after every ride takes ninety seconds and eliminates the entire varnish problem for anyone storing a bike more than a couple of weeks.
Keep your air filter clean and properly oiled, check the intake boot for cracks, and use a fuel filter if your tank doesn’t have one. Small habits, big payoff.
How Often Should You Clean It?
For a bike ridden regularly on fresh fuel, I’d do a full teardown once a year as maintenance. If you’re running pump gas with ethanol, twice a year is smarter.
For bikes that sit, clean it before storage and again before the first ride of the season. It sounds excessive, but it’s far cheaper than a new carburetor, and it takes less time than loading the bike for a ride that ends in the first ten minutes.
Final Thoughts
Cleaning a dirt bike carburetor is one of those jobs that feels intimidating until you’ve done it once. Get the right screwdrivers, use real carb cleaner and compressed air, and take your time on the passages that matter.
Do that, and you’ll spend a lot less time fiddling with jetting and a lot more time riding. And when you finally hear that engine settle into a clean, steady idle, you’ll know exactly why you bothered.
Frequently Asked Questions
How often should I clean my dirt bike carburetor?
For most riders, a full teardown once a year is plenty, plus a quick bowl drain and spray after any long storage. If you run pump gas with ethanol, I would clean it every six months. Riders who use ethanol-free fuel and ride regularly can often stretch that to 18 months.
Can I clean a dirt bike carburetor without removing it?
Yes, and I do it all the time on the trail. Drain the float bowl, pull the fuel screw, and spray carb cleaner through the pilot circuit and the bowl drain, then blow everything out with compressed air. It is a band-aid, not a cure, but it has saved plenty of my ride days.
What is the best thing to soak carburetor parts in?
I use a dedicated carburetor dip or an ultrasonic cleaner with a mild parts cleaner. Never soak rubber parts like O-rings, slide diaphragms, or the float needle tip, because the solvent will swell them and you will chase a fuel leak for weeks.
Why does my bike still run bad after cleaning the carb?
Nine times out of ten it is a clogged pilot jet, a float height that is off, or an air leak at the intake boot. Double check that every passage passes carb cleaner and compressed air, then recheck your float measurement with the carb held at the correct angle.

Related Articles

Harley Fuel Pump Problems: What I’ve Learned Fixing My Own Bikes
From dead primes to hot-start stumbles, here's how I diagnose and fix Harley fuel pump problems, what repairs cost, and…
Jake Miller
8 min read

Does a Bigger Carburetor Really Mean More Power? What I Learned Losing (and Gaining) Horsepower
I've bolted on oversized carbs and lost horsepower. Here's the honest truth about carb sizing, airflow velocity, jetting, and when…
Jake Miller
9 min read

Why Your Carburetor Overflows (And How I Finally Stopped Mine From Dumping Fuel)
Fuel pouring out of your carb? I've chased this gremlin on my own bikes. Here's why carburetors overflow and how…
Jake Miller
9 min read