
Motorcycle Wheel Bearings: How Often Should You Really Replace Them?
 Jake Miller
9 min read
Jake Miller
9 min read
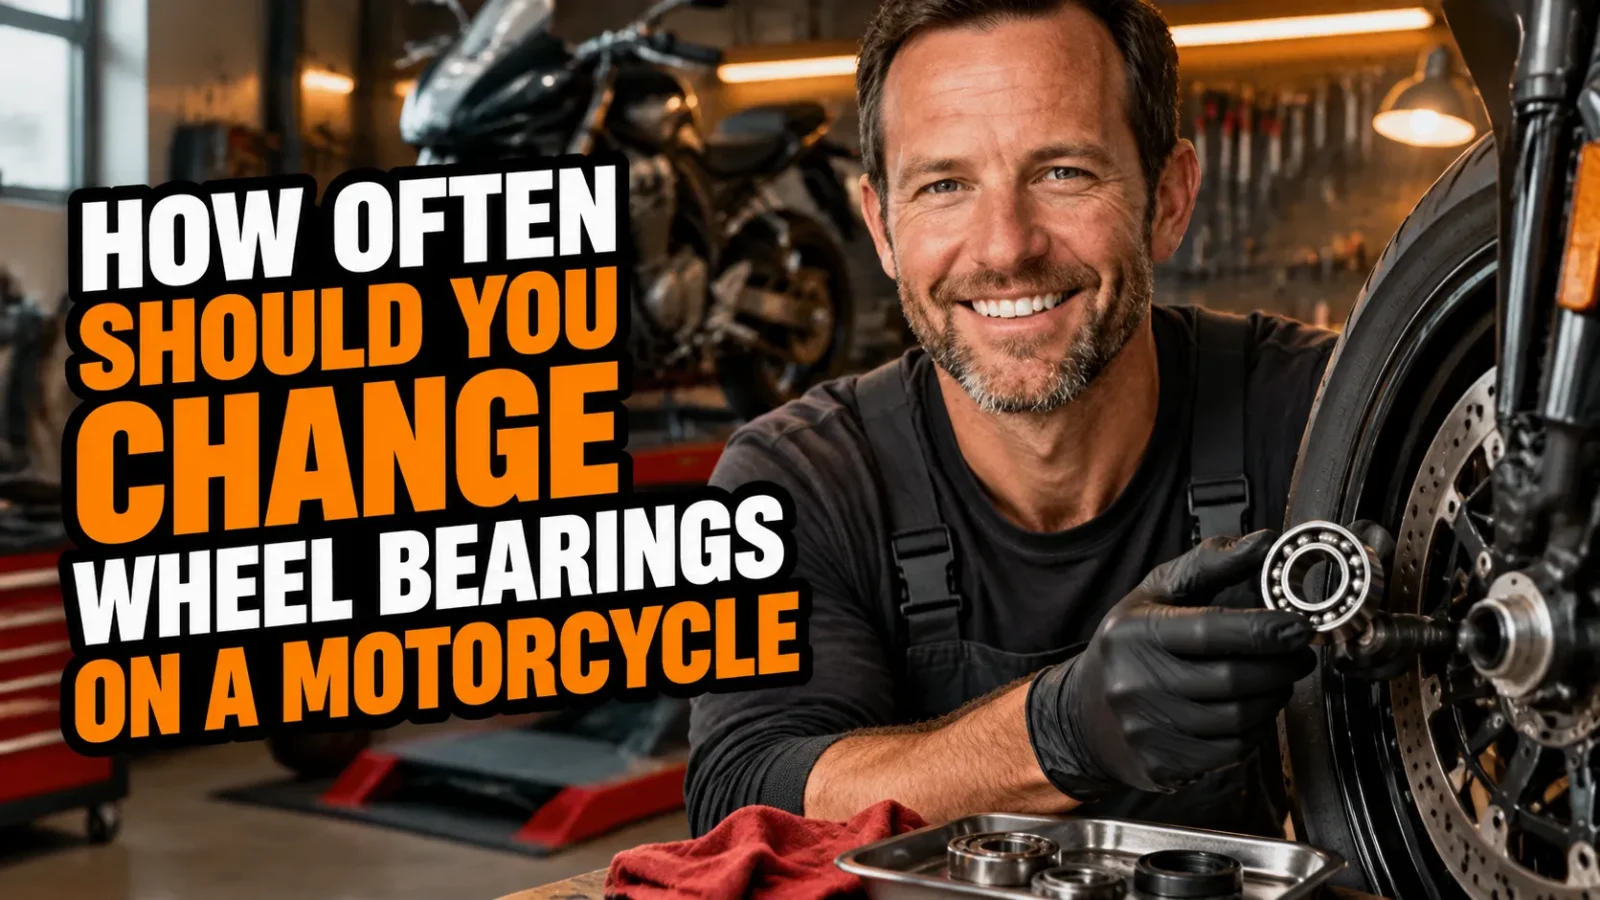
I was 400 miles from home when my rear wheel started talking to me. Not a scream, just a low grinding hum that got louder every time I tipped into a corner. I pulled over, grabbed the tire at twelve and six o’clock, and felt the clunk. My rear wheel bearing was toast. I limped to a shop, paid for an emergency repair, and missed a day of my trip.
That was a decade and a lot of miles ago. Since then I’ve replaced wheel bearings on dirt bikes, touring bikes, and a ratty old commuter I refuse to sell. I’ve also learned that the question of how often to change them has a boring answer and a useful answer.
The boring answer is a mileage number. The useful answer is that bearings tell you when they’re done, and most riders simply aren’t listening. Here’s exactly how I handle it.
- Most manufacturers don’t list a service interval, but in my experience wheel bearings last roughly 20,000 to 30,000 miles before they need replacing.
- Inspect them at every tire change, which is the easiest time to grab the wheel and check for play.
- Water ingress, pressure washing, and misaligned spacers kill bearings far faster than mileage does.
- Replace both sides and the seals together. Bearings are cheap, but a seized one at speed is not.
Is There a Factory Interval for Wheel Bearings?
Almost never, and that surprises a lot of riders. Flip through your owner’s manual and you’ll find intervals for oil, valves, chain slack, and brake fluid. Wheel bearings usually get a single line that says “inspect” with no replacement mileage attached.
There’s a reason for that. Manufacturers know bearing life depends enormously on how and where you ride. A bike that lives in a garage in Arizona will run its original bearings for 60,000 miles. The same model parked outside in a coastal town will eat a set every 15,000 miles.
So instead of a number, they give you a check. That check is the whole game, and it’s the part most people skip.
The Interval I Actually Recommend
Here’s the schedule I’ve settled into after a lot of trial and error. It’s not official, but it has kept me out of trouble for years.
Every Tire Change
This is non-negotiable for me. The wheel is already off the bike, the axle is out, and I have full access. It takes ninety seconds to spin each bearing with a finger and feel for roughness.
Tire changes happen roughly every 6,000 to 8,000 miles on my bikes, which means bearings get a proper look every season or so. That’s frequently enough to catch a problem long before it becomes a roadside emergency.
Every 20,000 to 30,000 Miles
This is my working replacement window for a bike ridden in normal conditions. If I’ve hit 25,000 miles on original bearings and I ride in rain regularly, I replace them whether they feel bad or not.
That might sound wasteful. It isn’t. A set of quality bearings and seals costs less than a tank of fuel, and I’d rather do the job in my garage on a Saturday than on the shoulder of a highway at dusk.
Every 10,000 to 15,000 Miles in Harsh Conditions
If you ride through winters, live near the ocean, cross a lot of water, or use a pressure washer on your bike, cut those numbers hard. I’ve seen bearings destroyed in under 10,000 miles by nothing more than aggressive pressure washing.
The Two Minute Test I Do Every Month
You don’t need to wait for a tire change to check bearings. You can do this in your driveway with the bike on its sidestand or centerstand.
The Rock Test
Grab the top of the tire at twelve o’clock and the bottom at six o’clock. Rock the wheel back and forth firmly. There should be a tiny amount of free play from the brakes and suspension, but you should not feel a distinct clunk at the hub.
If you do, the bearing is worn or the axle isn’t torqued correctly. Check the torque spec first, then re-test. If the clunk remains, the bearing is done.
The Spin Test
Spin the wheel slowly by hand. Listen for a dry grinding sound or a rough, gravelly feel. A healthy bearing is smooth and nearly silent.
Then grab the wheel at three and nine o’clock and try to rock it side to side. Vertical play tells you about the bearing. Side play often points to a loose axle or a worn spacer.
The Finger Test
When the wheel is off for a tire change, I push a finger into the center and spin the inner race. It should rotate freely with zero grit. Any notchy feeling at all means replacement.
This test is the most reliable one I know. By the time a bearing feels notchy to your finger, it’s been failing for a while.
Warning Signs You Should Never Ignore
Bearings rarely fail without warning. The trick is knowing what the warning sounds and feels like.
Vague or wandering steering is a big one. If your bike suddenly needs constant correction in a straight line, the front bearings may be letting the wheel move around.
A hum or growl that rises with speed is the classic symptom. It often changes pitch when you lean, because the load shifts across the bearing. If it disappears when you pull in the clutch, it’s probably drivetrain. If it stays, look at the wheels.
Wobble in corners scared me enough to pull over on that trip years ago. A rear bearing with play lets the whole back end squirm under load.
Grease leaking past the seal means the seal is compromised. Once water gets in, the bearing’s days are numbered. I replace the seal and the bearing together at that point.
Why Rear Bearings Usually Go First
In my experience, the rear wheel bearing fails roughly twice as often as the front. There are several reasons for that.
The rear carries drivetrain load. Every time you accelerate, the chain or belt pulls the wheel sideways against the bearing. The front just rolls.
The rear also carries more weight. Add a pillion and luggage and you’ve doubled the load on a bearing that’s often the same physical size as the front one.
And the rear sits in the firing line for everything the front tire throws up. Water, grit, and road salt all end up at the rear hub. If you have a sprocket carrier bearing on your bike, that one deserves special attention too.
What Really Shortens Bearing Life
Pressure Washing
This is the number one killer I see. High pressure water blasts past the seals and sits inside the hub. I never point a pressure washer at a wheel hub, and honestly I barely use one at all anymore.
Water Crossings and Deep Puddles
Submerging a hot hub in cold water is brutal. The sudden temperature change can pull water past a seal that would otherwise hold fine. If I do cross water, I check the bearings soon afterward.
Misaligned Spacers and Overtorqued Axles
If you’ve just had a tire changed and your bearings fail 2,000 miles later, suspect the install. A spacer left out or installed backward side loads the bearing and kills it fast.
Cheap Bearings
I’ve bought budget bearings and regretted it. Branded bearings from known manufacturers cost a few dollars more and last dramatically longer. For something this critical, I don’t gamble.
How I Make Bearings Last Longer
I keep water away from the hubs. I use a low pressure hose and a soft brush instead of a pressure washer.
I check axle torque with an actual torque wrench rather than by feel. Overtightening is a real and common mistake.
I replace seals every time I replace bearings, even if the old seal looks fine. A new bearing behind an old, hardened seal is a false economy.
And I inspect at every tire change, without exception. That single habit has saved me more money than any other maintenance practice.
Should You Replace Both Sides at Once?
Yes, and I feel strongly about this. If one bearing in a wheel is worn, the other has lived the exact same life for the exact same miles.
Replacing one and leaving the other means you’ll be back in there soon. It also means paying for labor or spending your Saturday twice.
I do both sides of the wheel, both wheels if one wheel is suspect, and all the seals. It’s the only approach that makes sense to me.
DIY or Shop?
The parts are cheap. On most bikes a full set of wheel bearings and seals runs somewhere between thirty and eighty dollars.
The labor is what costs you. A shop might charge an hour or two per wheel, which quickly dwarfs the part cost.
That said, pressing bearings in wrong is easy. If you don’t own a bearing puller, a driver set, and a torque wrench, I’d let a shop handle it. If you do, this is a genuinely satisfying job to learn.
Just remember to drive on the outer race only. Hitting the inner race will destroy a brand new bearing before it ever turns a wheel.
My Final Take
If you want a single number, use 25,000 miles as your mental replacement point for normal riding. But don’t treat that as a rule you can hide behind.
Wheel bearings are one of the few components on a motorcycle that give you clear, early warnings. A rock test, a spin, and a finger on the inner race tells you almost everything you need to know.
Do that check at every tire change. Replace both sides and the seals when one goes. Keep the pressure washer away from your hubs.
Do those three things and you’ll almost certainly never experience the grinding hum, the wobble, and the overpriced roadside repair that taught me this lesson in the first place.
Frequently Asked Questions
How often should I replace motorcycle wheel bearings?
Most riders should inspect them at every tire change and replace them somewhere between 20,000 and 30,000 miles, or sooner if you ride in rain, dust, or near salt water. Inspection matters more than the calendar.
What are the signs of worn wheel bearings?
Grab the wheel at 12 and 6 o’clock and rock it. Any clunk means play. Spin it and listen for grinding or roughness. Vague steering, wobble in corners, and a hum that rises with speed are also common warning signs.
Can I replace wheel bearings myself?
Yes. Bearings and seals are inexpensive, but you need a puller, a driver set, and a torque wrench. A shop charges mostly for labor, so doing it yourself saves real money if you have the tools.
Do front and rear wheel bearings wear at the same rate?
Rarely. The rear usually fails first because it carries drivetrain load, more weight, and takes the brunt of water and grit thrown up by the front tire. I always replace both ends when one side goes.

Related Articles

8 Best Cruiser Motorcycle Tires for Street Riding: My Real-World Picks
I rank the 8 best cruiser motorcycle tires for street riding, from Michelin to Pirelli, with real notes on grip,…
Jake Miller
9 min read

8 Best Michelin Motorcycle Tires for Every Riding Style (Tested Picks)
Looking for the best Michelin motorcycle tires? I break down my 8 favorite models for sport, touring, adventure, cruiser, and…
Jake Miller
9 min read

Yamaha Tire Pressure Guide: The Right PSI for Safer, Smoother Rides
Learn the right tire pressure for your Yamaha, from sportbikes to cruisers and dirt bikes. Check, adjust and maintain PSI…
Jake Miller
9 min read