
Yamaha Tire Pressure Guide: The Right PSI for Safer, Smoother Rides
 Jake Miller
9 min read
Jake Miller
9 min read
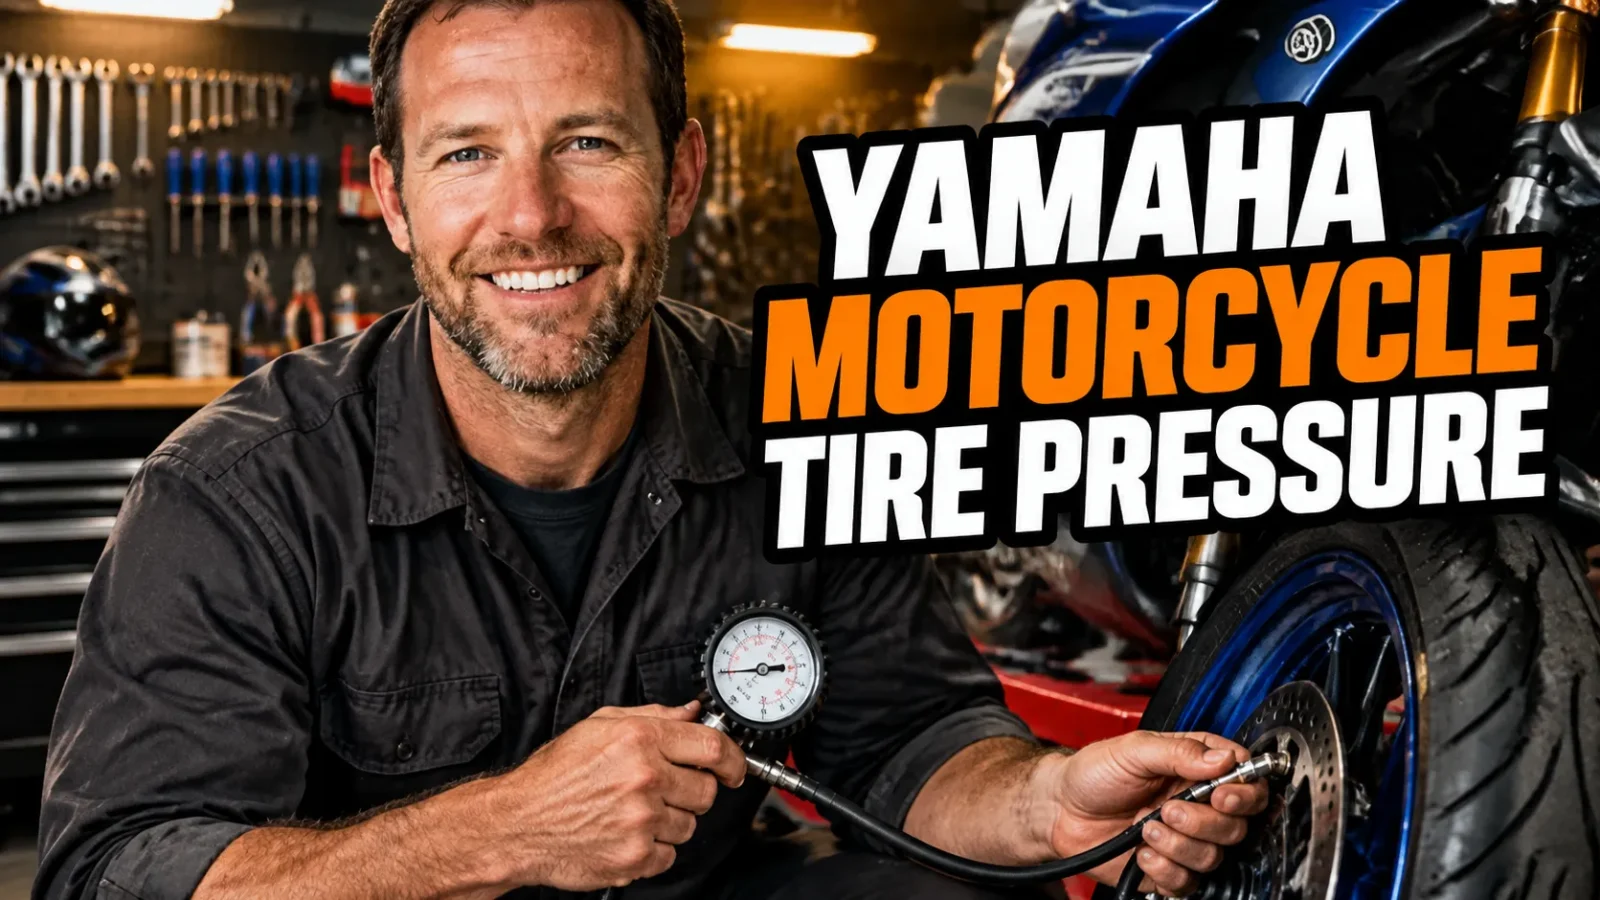
I’ve ridden Yamahas for years, from lightweight commuters to sport-tuned machines, and one habit has never let me down: checking my tire pressure. It takes about two minutes, costs next to nothing, and affects almost everything about how a bike feels, from turn-in to braking to tire life.
If you’ve ever wondered whether your bike feels a bit vague or twitchy, pressure is the first place I’d look. In this guide I’ll share what I’ve learned about setting the right numbers on a Yamaha, how to check them properly, and the mistakes I see riders make most often.
- Your Yamaha’s correct pressure is on the swingarm or frame sticker and in the owner’s manual. Start there.
- Always measure when the tires are cold, and check at least weekly or before every ride.
- Load, passengers, weather and riding style all justify small adjustments.
- A quality gauge and a monitoring system are the best cheap upgrades for safety.
Why Pressure Matters More Than You Think
A motorcycle tire has a small contact patch, roughly the size of the palm of your hand. That patch is all that connects you to the road, and air pressure determines its shape and how it behaves under load.
Get it wrong and everything gets worse at once. Handling, grip, braking distance, fuel economy and tire life all depend on that unglamorous number.
What Happens When Pressure Is Too Low
Underinflated tires feel heavy and slow to steer. In my experience, the front end flops into corners and the bike feels like it wants to fall inward rather than track cleanly.
Low pressure also makes the sidewalls flex more, which builds heat. Heat is the enemy of rubber, and a hot, flexing tire wears faster and can fail suddenly. It’s the more dangerous mistake of the two.
What Happens When Pressure Is Too High
Overinflated tires feel harsh and skittish. The contact patch shrinks and becomes more rounded, so you get less grip, especially on cold or damp pavement.
You’ll also notice the center of the tread wearing out early. I’ve seen riders chasing “sharper handling” with extra air, only to end up with a tire that slides sooner than it should.
Where to Find the Right Number for Your Bike
Yamaha publishes a recommended cold pressure for every model. You’ll usually find it in one of three places, and I always cross-check at least two.
- The sticker on the swingarm, frame or under the seat
- The owner’s manual, in the specifications or tire section
- The tire sidewall, which shows the maximum pressure, not the recommended one
That last one trips people up. The number molded into the sidewall is the tire’s maximum rating, and it is not the pressure you should run day to day.
Typical Ranges by Yamaha Type
Exact figures change by model, year and tire brand, so treat these as general ballparks rather than gospel. Your manual always wins.
- Sportbikes (R-series, MT-series): usually in the mid-30s to low-40s PSI, often with a slightly higher rear figure
- Touring and sport-touring models: similar to sportbikes, with higher rear pressure when loaded
- Cruisers (V Star, Bolt): often in the low-to-high 30s PSI depending on load
- Dual-sport and off-road (WR, YZ, XT): far lower, commonly in the low-to-mid teens for dirt riding
Notice the huge gap between road and dirt. If you ride a dual-sport on both surfaces, you’ll need to adjust the pressure as you switch between them.
How I Check Tire Pressure the Right Way
Checking is simple, but a few details separate a useful reading from a misleading one. Here’s the routine I follow every time.
Step-by-Step Process
- Start cold. Let the bike sit for at least three hours, or ride less than a mile before checking.
- Remove the valve cap and keep it somewhere safe. I tuck mine in a pocket.
- Press the gauge on firmly and read the number. A hissing sound means a poor seal, so try again.
- Compare to the spec and add or release air in small amounts.
- Re-check after adjusting, then refit the valve caps.
I always check the front and rear separately, since they’re rarely the same number on a Yamaha. A quick glance at the sticker beats trusting memory.
Choosing a Good Gauge
Gas station gauges are often inaccurate and beaten up. I carry my own digital or dial gauge and compare it against a second one every so often.
Accuracy within one PSI is what I look for. A reliable gauge is a small purchase that pays off every single ride.
Adjusting for Load, Passengers and Conditions
The sticker number is a baseline for a typical rider on a typical day. Real riding is rarely typical, and a few situations call for a tweak.
Riding Two-Up or Fully Loaded
Extra weight squashes the tire and increases heat, so the rear usually needs more pressure. Many Yamaha manuals list a separate loaded figure for exactly this reason.
If you ride with a partner often, I’d read up on motorcycle tire pressure with passenger before your next trip. Luggage counts too, so don’t forget saddlebags and a tail bag.
Considering Your Own Weight
Rider size matters more than most people admit. A lighter rider and a heavier rider on the same bike will see the tire behave differently under load.
If you’re well above or below average, it’s worth learning how motorcycle tire pressure based on rider weight can shift your ideal setting. Make changes in small steps and stay within the manufacturer’s limits.
Temperature and Weather
Air pressure changes with temperature. As a rough rule, a drop of 10°F in ambient temperature can lower pressure by about 1 PSI.
That means a bike that was perfect in July can be noticeably low by November. I recheck whenever the weather turns, not just on a schedule.
Cruisers Versus Sportbikes: Different Needs
Yamaha’s lineup covers very different riding styles, and the tires reflect that. A heavy cruiser with a wide rear and a sharp sportbike on soft rubber don’t want the same approach.
With cruisers, I pay special attention to the rear, which carries a lot of weight and torque. If you ride one, it’s worth reviewing cruiser motorcycle tire pressure guidance, because long, loaded highway miles can punish a tire that’s slightly low.
On sportbikes, the temptation is to tweak pressure for grip. For street riding, I stick to the factory figure and only experiment if I’m on a track with proper tires and knowledge.
A Note on Dirt and Dual-Sport Use
Lower pressure helps off-road tires conform to rocks and roots, giving more traction. The trade-off is a higher risk of pinch flats and rim damage.
If I’m switching from pavement to trail, I drop pressure at the trailhead and carry a compact pump to bring it back up for the ride home. Never run trail pressures at highway speed.
Gear That Makes Life Easier
You don’t need a garage full of tools to stay on top of your tires. A few well-chosen items make the routine faster and more reliable.
A Monitoring System Worth Having
Manual checks are great, but they only capture a single moment. A sensor system warns you the instant pressure starts dropping mid-ride, which can catch a slow puncture before it becomes a crisis.
I’m a big fan of the idea, and if you’re shopping, I’d start by reading up on the best tire pressure monitoring system for motorcycle options. Look for accurate sensors, easy installation and a clear display you can read at a glance.
Balance and Vibration
Pressure isn’t the only thing that affects how a tire feels. If you notice a wobble or vibration at speed even with correct PSI, an unbalanced wheel could be the culprit.
That’s where a good balancer helps if you do your own tire changes. I’d compare a few choices, including the best tire balancer for motorcycle setups, before buying one for your garage.
Other Handy Items
- A small, reliable 12V compressor or hand pump
- Spare valve caps and a valve core tool
- A tread depth gauge to monitor wear
- A notebook or phone note to log your readings
Common Mistakes I See Riders Make
After years of riding and chatting with other owners, the same errors come up again and again. The good news is that every one of them is easy to fix.
Mistakes Worth Avoiding
- Checking hot tires. A warm tire reads high, so you end up underinflated once it cools.
- Using the sidewall number. That’s the maximum, not your target.
- Trusting your eyes. Motorcycle tires can look fine while being several PSI low.
- Forgetting the valve cap. Caps keep dirt and moisture out of the valve.
- Setting it and forgetting it. Pressure drifts naturally, even with no leak.
The “eyeball test” deserves special mention. Unlike car tires, motorcycle tires have rounded profiles that hide a lot of pressure loss.
Signs Your Pressure Might Be Off
Your bike will often tell you something’s wrong before a gauge does. Learning to notice these signals has saved me from a few unpleasant surprises.
What I Watch and Feel For
- The bike feels heavy or reluctant turning in
- You notice a vague or wallowy feeling mid-corner
- The ride feels unusually harsh over bumps
- Tread wear looks uneven, either center or edges
- Fuel economy quietly drops
If any of these show up, stop and check before blaming suspension or tires. More often than not, a few PSI is the whole story.
Building a Simple Maintenance Habit
The best pressure setup in the world is useless if you only check once a year. I treat it like brushing my teeth: quick, boring and non-negotiable.
Here’s the rhythm I follow, and it’s easy to copy.
- Before every ride: a quick visual check for nails, cracks or bulges
- Weekly: a gauge reading of both tires while cold
- Monthly: a closer look at tread depth and valve condition
- Before long trips: a full check, adjusted for luggage and passenger
Over time you’ll develop a feel for how your specific bike behaves, and small differences will start to jump out. That awareness is one of the best safety tools you can build.
Final Thoughts
Getting your Yamaha’s tire pressure right isn’t complicated, but it does demand consistency. Use the manufacturer’s figure as your baseline, check cold, and adjust thoughtfully for load, weather and terrain.
In my experience, riders who build this habit enjoy better handling, longer tire life and far fewer scary moments. Grab a good gauge, set a reminder, and give your tires two minutes of attention before your next ride. Your bike, and your safety, will thank you.
Frequently Asked Questions
What is the correct tire pressure for my Yamaha?
The correct pressure is printed on the sticker on your swingarm or frame and in your owner’s manual. It varies by model, load and tire, so always use the manufacturer’s cold-tire figure as your starting point.
How often should I check my Yamaha’s tire pressure?
I check mine before every ride or at least once a week. Motorcycle tires lose air gradually, and temperature swings can change pressure noticeably overnight.
Should I check tire pressure when the tires are hot or cold?
Always check when the tires are cold, meaning the bike has sat for at least three hours or been ridden less than a mile. Riding heats the air inside the tire and gives you a falsely high reading.
Does carrying a passenger change the recommended pressure?
Yes. Most Yamaha manuals list a higher rear pressure for two-up riding or heavy loads. Always follow the loaded figure in your manual when you carry a passenger or luggage.

Related Articles

8 Best Cruiser Motorcycle Tires for Street Riding: My Real-World Picks
I rank the 8 best cruiser motorcycle tires for street riding, from Michelin to Pirelli, with real notes on grip,…
Jake Miller
9 min read

8 Best Michelin Motorcycle Tires for Every Riding Style (Tested Picks)
Looking for the best Michelin motorcycle tires? I break down my 8 favorite models for sport, touring, adventure, cruiser, and…
Jake Miller
9 min read

7 Best Tools for Mounting a Motorcycle Tire at Home (Garage-Tested Picks)
Changing your own motorcycle tires? These 7 proven tools, from Motion Pro tire irons to the Bikemaster stand, make mounting…
Jake Miller
10 min read