
How to Adjust Rear Wheel Alignment on a Motorcycle (The Way I Actually Do It in My Garage)
 Jake Miller
9 min read
Jake Miller
9 min read
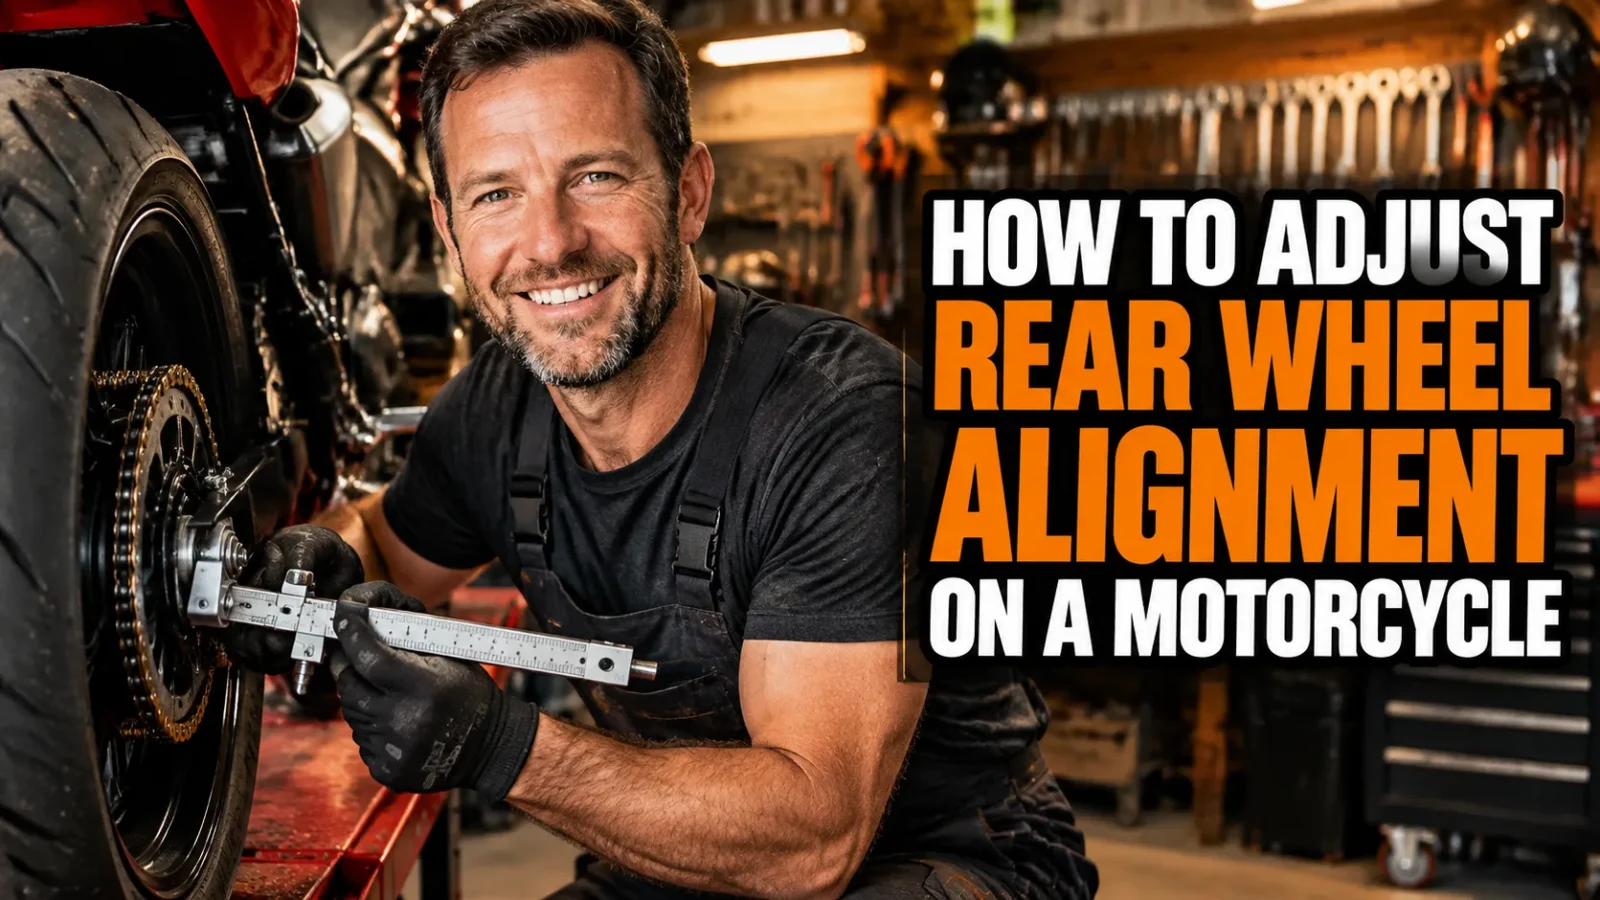
I’ll be honest with you: for the first few years I owned a motorcycle, I treated rear wheel alignment as a “close enough” job. I’d loosen the axle, tug the chain adjusters until the notches looked sort of even, and torque everything down with a shrug. Then I went through two chains and one rear sprocket in a single riding season, and my mechanic asked me a question that stung.
“How’s your alignment?”
It wasn’t. That’s when I actually sat down and learned how to adjust rear wheel alignment on a motorcycle properly — not the YouTube version, the real version, with string, a tape measure, and a lot of squinting at a flashlight-lit swingarm at 9 PM.
This is everything I wish someone had told me back then. It takes about twenty minutes, needs tools you probably already own, and it will genuinely save you money.
- Rear wheel alignment means the rear wheel is centered in the frame and parallel to the front wheel, not just that the axle is straight.
- The string method is the most accurate home technique — the swingarm marks are only a starting point.
- Always loosen the axle nut fully, adjust both sides in small increments, and re-check after tightening.
- Set correct chain slack before alignment, never after, because tightening the axle changes tension.
- Torque the axle nut to spec every single time — an undertightened axle is far more dangerous than a misaligned wheel.
Why I Stopped Treating This as a Minor Job
Your rear wheel is the driven end of everything. If it sits even slightly crooked in the swingarm, the chain has to run at an angle across the sprockets. That side load eats chain O-rings, hooks sprocket teeth, and puts lateral stress on the counter shaft bearing.
It also changes how the bike handles. A misaligned rear wheel makes the motorcycle want to turn one way more than the other, which you’ll feel most clearly at low speed or when braking hard into a corner.
And here’s the part nobody mentions: it chews rear tires. I once burned through a sport-touring rear in 3,000 miles with a weirdly scalloped left edge, and alignment was the culprit.
The Signs That Told Me My Wheel Was Out
Before you start turning wrenches, confirm you actually have a problem. These are the symptoms I’ve learned to spot.
Chain and sprocket clues
Look at your rear sprocket from directly behind the bike. The chain should sit centered on the teeth. If it’s riding hard against the inner or outer face of the sprocket, something is off.
Then check chain wear. If one side of the chain looks shinier, tighter, or more worn than the other, you’ve been running at an angle for a while.
Handling and wear clues
Rear tire wear should be roughly symmetrical on a bike with correct alignment. Uneven shoulder wear on one side, especially if your riding is mostly commuting on straight roads, is a red flag.
And the classic test: on a flat, empty stretch of road at low speed, the bike should track straight when you relax your grip on the bars. If it veers, check alignment before you blame the steering head bearings.
The Tools I Use Every Time
Nothing exotic here. My alignment kit is a length of thin, non-stretchy string (masonry line is perfect), a 6-foot steel ruler or a straightedge, a tape measure, a socket set, and a torque wrench.
I also keep a small pick or a scribe to mark the adjuster position, and a pen and paper or my phone to note the numbers. Writing down your measurements matters more than you’d think, because you’ll forget them between the left and right side.
One thing I’d buy again
A dedicated chain alignment tool that clamps to the rear sprocket and points a rod along the chain is genuinely useful, and they’re cheap. I use mine as a fast first check, then confirm with string.
The String Method (My Go-To Technique)
I’ve tried laser levels, digital gauges, and expensive alignment jigs. The string method still beats all of them for accuracy per dollar, and it works on any bike with a rear axle.
Setting it up
Put the bike on a rear stand or center stand on flat, level ground. Make sure the front wheel is pointing dead straight — this matters enormously. If the bars are turned even a few degrees, your measurement is garbage.
Run the string around the front tire at axle height, and pull both ends back past the rear tire. You want two parallel lines on each side of the bike, touching the front tire’s widest point and running alongside the rear tire.
Reading the result
Now measure the gap between the string and the rear tire’s sidewall on the left, then on the right. On most bikes, those gaps should match.
If the gap is bigger on one side, the rear wheel is rotated in the swingarm. If both gaps are equal but the string doesn’t touch the front tire evenly, your front wheel might be the crooked one — check that separately.
I check this at the front of the rear tire and behind it. If the gap changes along the length of the tire, you’re measuring tire shape rather than alignment, which is why I always rotate the wheel a quarter turn and re-measure before I trust the number.
The Quick Way: Swingarm Marks
Most swingarms have stamped alignment marks and notches on the chain adjuster blocks. They’re a useful starting point, and on a well-manufactured bike they’re not bad.
But I’ve owned bikes where the marks were off by nearly two millimetres from one side to the other. That’s enough to wear a chain noticeably over a season.
So my routine is: set it with the marks, then verify with string. If the string says the marks are lying, I trust the string and note how many marks’ worth of offset is correct for future reference.
Actually Adjusting It: Step by Step
Here’s the sequence I run, in order, every single time.
Step 1: Loosen everything properly
Break the rear axle nut loose, but leave it snug enough that the wheel doesn’t shift. Loosen the lock nuts on both chain adjuster bolts.
If your bike has axle blocks that can flip or slide, make sure they’re seated correctly in the swingarm slot. A block sitting crooked will throw off your adjustment no matter how careful you are.
Step 2: Set chain slack first
This is the mistake I made for years. Adjust chain slack to spec before you do alignment work. Then, once the axle is torqued, re-check slack and alignment again.
Why? Because tightening the axle nut pulls the axle blocks slightly, which changes tension. What looked perfect at 5 Nm can be too tight at 90 Nm.
Step 3: Turn the adjusters in small increments
Turn each adjuster in quarter-turn increments, alternating sides. Push the rear wheel forward or backward as needed to keep it against the adjusters. Small moves, measured frequently.
Don’t try to do it in one big swing. Overshooting and backing off introduces slop in the block-to-swingarm interface.
Step 4: Verify, then verify again
Measure with the string. Check the swingarm marks. Look at the sprocket from behind. Three separate checks, all telling you the same thing, is when I feel confident.
Step 5: Torque to spec
Tighten the axle nut to the manufacturer’s specification with a real torque wrench, then tighten the adjuster lock nuts. Then check alignment one final time — torque can and does shift things.
Common Mistakes I’ve Made So You Don’t Have To
First: I used to tighten the adjuster bolts against a snug axle instead of a loose one. That gives you a false reading because the axle is fighting you.
Second: I once forgot to recheck chain slack after torquing. The chain ended up over-tight, which is the fastest way to destroy a countershaft seal. If you take one thing from this article, let it be that over-tight chains do more damage than slightly loose ones.
Third: I neglected the rear brake caliper. If your caliper bracket has a slot that engages the swingarm, it can shift slightly during adjustment and rub. Spin the wheel by hand after you’re done and listen.
Fourth, and this one cost me real money: I never wrote anything down. Now I note the number of exposed adjuster threads on each side, so future adjustments are quick and I can spot if something has moved on its own.
How Often Should You Check?
I check alignment every time I adjust chain slack, which works out to roughly every 500 to 1,000 miles on my commuter. I also check after every tire change, every chain replacement, and after any drop or crash.
If you ride in the rain, on dirt, or do a lot of hard acceleration, check more often. Dirt bikes and adventure bikes shift their axles surprisingly easily.
Honestly, the check takes five minutes with the swingarm marks and ten with string. There’s no good reason to skip it.
A Quick Note on Related Jobs
Rear wheel alignment is not the same thing as wheel balancing, and it isn’t the same as rear suspension sag setup. Alignment is purely about the wheel’s position and angle relative to the frame.
That said, if your chain is already stretched unevenly or your sprockets are hooked, no amount of alignment will fix the vibration. Replace worn drivetrain parts first, then align.
And if you’re chasing a handling problem, don’t forget that front and rear alignment work together. I check both when something feels off.
My Final Take
Learning how to adjust rear wheel alignment on a motorcycle properly was one of the best small skills I ever picked up. It costs nothing, it takes twenty minutes, and it protects a drivetrain that costs hundreds to replace.
Start with the swingarm marks if you want, but graduate to the string method. Write your numbers down. Torque to spec. Re-check after tightening, every time.
Do that, and your chain will last longer, your tires will wear evenly, and your bike will track straight down the road the way it was designed to. That’s a pretty good return on twenty minutes in the garage.
Frequently Asked Questions
How do I know if my rear wheel is misaligned?
The most common clues are uneven chain wear on one side, the chain riding toward the inner or outer edge of the sprocket teeth, unusual rear tire edge wear, and a bike that feels like it wants to steer slightly left or right with your hands off the bars at low speed.
Can I align my rear wheel using only the swingarm marks?
You can get close, but on most bikes the stamped marks are only accurate to within a millimetre or two. I use them for a quick baseline, then confirm with the string method or a straightedge before I torque everything down.
Will a misaligned rear wheel damage my chain and sprockets?
Yes, and faster than most riders expect. A misaligned wheel side loads the chain, which stretches it unevenly and chews the sprocket teeth on one side. It is one of the cheapest problems to prevent and one of the most expensive to ignore.
How often should I check rear wheel alignment?
I check mine every time I adjust chain slack, after any tire change, and after every crash or drop. For a commuter bike that is roughly every 500 to 1,000 miles, and more often if you ride in the rain or on dirt.

Related Articles

8 Best Cruiser Motorcycle Tires for Street Riding: My Real-World Picks
I rank the 8 best cruiser motorcycle tires for street riding, from Michelin to Pirelli, with real notes on grip,…
Jake Miller
9 min read

8 Best Michelin Motorcycle Tires for Every Riding Style (Tested Picks)
Looking for the best Michelin motorcycle tires? I break down my 8 favorite models for sport, touring, adventure, cruiser, and…
Jake Miller
9 min read

Yamaha Tire Pressure Guide: The Right PSI for Safer, Smoother Rides
Learn the right tire pressure for your Yamaha, from sportbikes to cruisers and dirt bikes. Check, adjust and maintain PSI…
Jake Miller
9 min read