
Motorcycle Wheel Bearings: How I Know When They’re Shot (And When to Swap Them)
 Jake Miller
10 min read
Jake Miller
10 min read
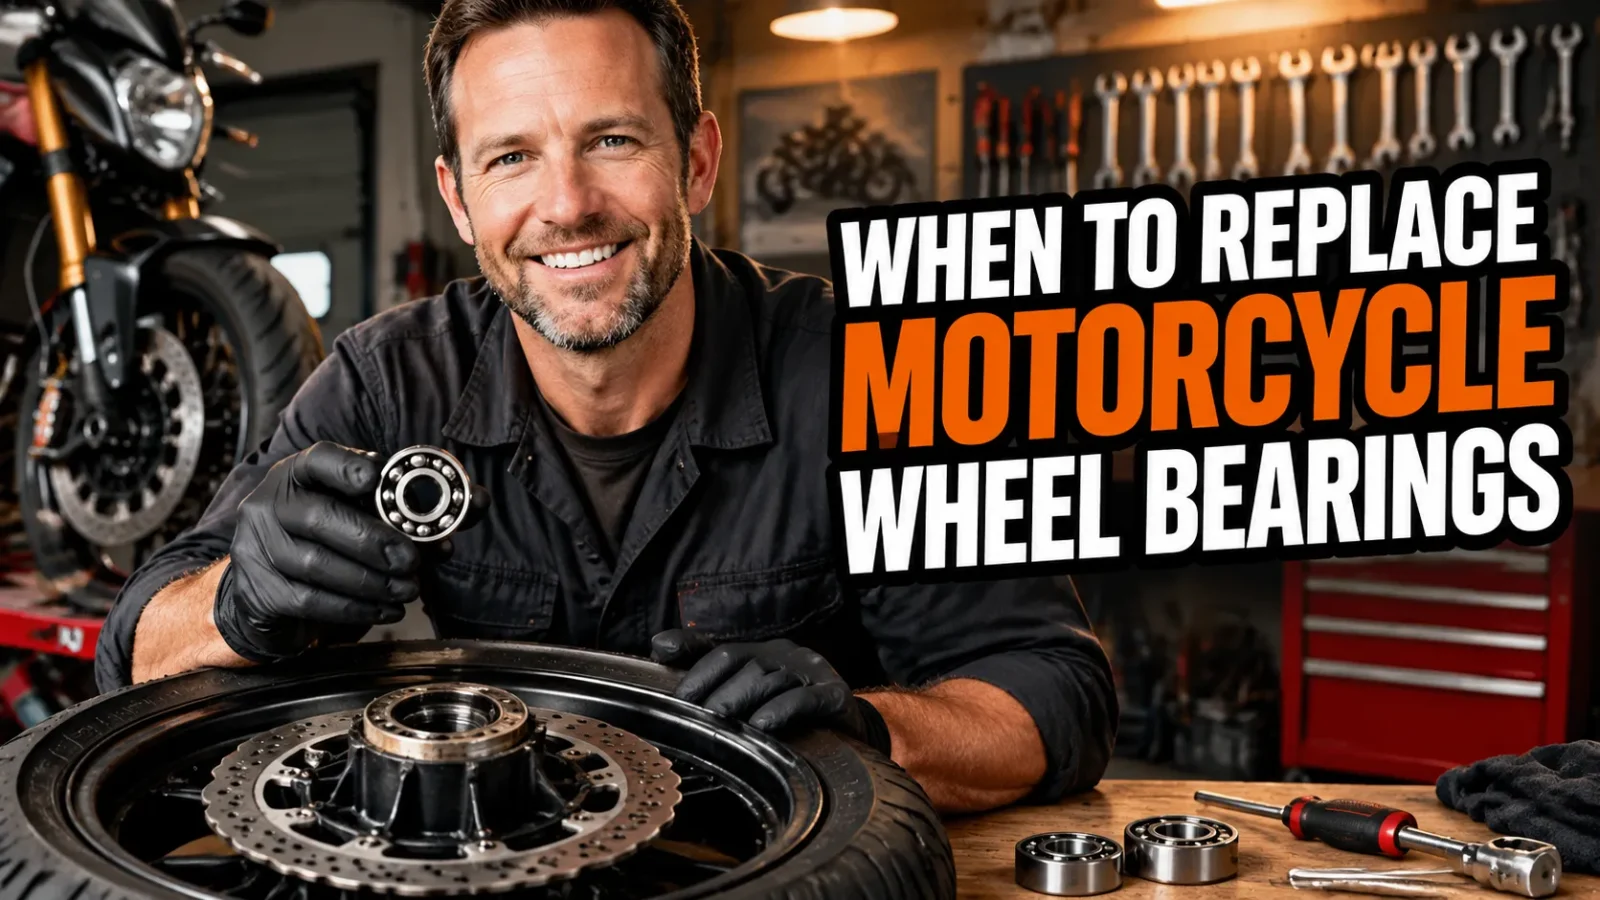
I’ve owned bikes that rolled past 80,000 miles on their original wheel bearings, and I’ve owned one that destroyed a rear set in under 12,000. So when a riding buddy asks me when to replace motorcycle wheel bearings, my honest answer is always the same: mileage tells you almost nothing.
What actually matters is how the bike has been ridden, how often it’s been hosed down with a pressure washer, and whether anyone has touched the wheel with a pry bar. In my experience, bearings don’t fail on a schedule — they fail on conditions.
This is the checklist I’ve built over roughly two decades and a lot of roadside regrets. It’s what I do in my own garage, on my own bikes, and it’s saved me at least twice from a wheel that was quietly getting ready to lock up.
- Mileage is a weak indicator — most bearings last 20k to 50k miles, but water, salt, and pressure washing kill them far earlier.
- The tests that actually matter: wheel play at 12 and 6 o’clock, a dry growl when spinning, and a notchy feeling in the inner race.
- I inspect at every tire change and replace bearings every second or third tyre, or the moment anything feels rough.
- Never replace just one bearing — do the whole set, including the sprocket carrier bearing, and never reuse the seals.
- A seized bearing can lock a wheel at speed. If you’re unsure, swap it. It’s cheap insurance.
Why Bearings Matter More Than Most Riders Realise
Wheel bearings do a deceptively simple job: they let the wheel spin while carrying the entire weight of the bike, plus you, plus whatever luggage you’ve strapped on. All of that load rides on a few rows of tiny steel balls and a smear of grease.
When they’re healthy, you never think about them. When they’re not, the symptoms range from a faint hum to a front end that wanders across the lane like it’s hunting for a scent.
I’ve had a rear bearing fail progressively over a few hundred miles and I caught it early. I’ve also seen a friend’s front bearing let go with almost no warning at all, and he was lucky to be doing 30 mph in a car park rather than 70 on a motorway.
That’s the thing about bearings: the failure mode is rarely graceful.
The Mileage Question: Is There a Magic Number?
If you want a rough number, most sealed OEM wheel bearings will comfortably do somewhere between 20,000 and 50,000 miles. I’ve personally taken one set to just shy of 80,000 on a lightly loaded tourer that never saw a pressure washer.
But I’ve also replaced a rear set at 11,000 miles on a bike that lived outside, got hosed down weekly, and saw two British winters of gritted roads. Same bearing design, wildly different lifespan.
What the manual says versus what I actually do
Most owner’s manuals won’t give you a bearing replacement interval at all. They’ll tell you to check for play at each service, which is vague enough to be useless to most riders.
My own rule is simple: I inspect the bearings every single time a tyre comes off, and I replace them at the second or third tyre change regardless of how they feel. That puts me somewhere around the 25,000 to 35,000 mile mark on most bikes.
On a bike that’s used in winter, or one that does a lot of river crossings and green laning, I halve that.
The Warning Signs I Never Ignore
Bearings rarely fail instantly. There’s almost always a window where something feels slightly off, and that window is where you want to catch it. These are the symptoms that make me stop and investigate.
1. Play in the wheel
Grab the top of the tyre with one hand and the bottom with the other, then rock it side to side. Any clunk or visible movement is a problem.
Be aware that play can also come from a loose axle nut, worn spacers, or a collapsed swingarm bearing, so don’t assume it’s the wheel bearing until you’ve checked the axle torque.
2. A dry growl or grinding noise
Spin the wheel slowly with the bike on a stand. Healthy bearings are silent. A worn one makes a low, dry, gravelly growl that you can usually hear better with your ear near the hub.
Here’s the tell I use most: if the noise changes pitch when you lean the bike over, it’s almost certainly a wheel bearing. That’s load shifting onto a different part of the race.
3. A notchy or gritty feel
This is the definitive test for me, and it requires pulling the wheel. Push a finger into the inner race and rotate it. It should feel like silk — smooth, with a hint of drag from the grease.
If it feels like there are tiny pebbles in there, or if it catches at a specific point in the rotation, the bearing is done. There’s no saving it, no re-greasing it, no “it’ll be fine for a bit longer.”
4. Wandering or vague steering
A worn front bearing lets the wheel move slightly off-axis, and you feel it as a front end that won’t hold a line. On a bike with a fresh bearing, the steering is crisp and predictable. With a dead one, it feels like you’re riding on a slightly flat tyre all the time.
5. Grease weeping or rust-coloured dust
Look closely at the seal area. Fresh grease streaks, or a rusty orange residue around the seal, means water has got in and the bearing has started to corrode. Once rust starts, it’s terminal.
6. Heat at the hub
After a ride, carefully touch the hub near the axle. On a healthy bike it should be warm but not hot. A bearing that’s running dry or binding will transfer noticeable heat. If you can’t hold your hand on it comfortably, something is wrong.
How I Test Bearings Properly
The quick road-side check takes 60 seconds. The proper check takes 20 minutes and involves a paddock stand and a set of spanners. I do the quick check monthly and the full check at every tyre change.
The 60-second driveway check
Bike on a stand, front wheel off the ground. Rock the wheel vertically and horizontally for play. Spin it and listen. Repeat on the rear. That’s it, and it catches the vast majority of problems.
The full wheel-off inspection
With the wheel out, I check three things. First, the inner races for smoothness. Second, the seals for water ingress or damage. Third, the spacer and axle for scoring or fretting marks.
That third one matters more than people realise — a scored spacer will let the new bearing sit slightly off and wear out prematurely. I replace spacers whenever they show any wear.
Sealed versus serviceable bearings
Nearly every modern motorcycle uses sealed bearings, which are effectively a non-serviceable part. You can’t repack them, and trying to pop the seal to add grease usually does more harm than good.
Some older or off-road bikes use serviceable bearings, which you can clean and repack. Even then, I rarely bother — for the price of a new bearing, the effort isn’t worth it.
Things That Kill Bearings Early
If any of these apply to you, move your inspection and replacement schedule forward. I’ve learned all of these the hard way.
Pressure washing. This is the single biggest killer. A jet of water aimed at a wheel seal will push past it and destroy the grease inside. I now use a garden hose and a brush, and I never aim water directly at a hub.
Water crossings and deep puddles. Submerging a hot hub in cold water causes a pressure difference that sucks water past the seals. If I’ve been through a deep ford, I check the bearings within a week.
Winter road salt. Salt water is brutal. Bikes used through gritted winters eat bearings at two or three times the normal rate.
Long-term storage. Bearings that sit for years can develop corrosion in the race where the balls rest. I always rotate wheels a quarter turn every few weeks when a bike is laid up.
Careless tyre changes. Dropping a wheel, levering against the hub, or leaving it on a concrete floor face-down can all damage the bearing or seal. I always insist the shop uses a proper tyre-changing machine.
Over-torqued axles. Cranking an axle nut beyond spec preloads the bearing and shortens its life. Always use a torque wrench.
Do Front and Rear Bearings Fail at the Same Rate?
Not exactly, but they’re close enough that I always do both at once. The rear carries more weight and lives near the sprocket, chain lube, and drivetrain grit, so it often goes first.
The front sees more spray off the road and takes the brunt of braking loads, so it’s not exactly pampered either. If one set is rough, I’d bet good money the other isn’t far behind.
While the rear wheel is off, I also check the sprocket carrier bearing and the cush drive rubbers. Those wear out on a similar timescale and cost almost nothing to replace while you’re in there.
What Happens If I Keep Riding on a Bad Bearing?
Plenty of people do, and plenty of people get away with it. But the worst case is genuinely frightening: a seized bearing can lock a wheel completely, and a locked front wheel at speed is close to unrecoverable.
The more common outcome is expensive rather than catastrophic. A rough bearing spins its outer race in the hub bore, and once the bore is worn, no new bearing will sit properly. That means a new wheel or a machined hub.
It can also chew up the axle, damage the spacers, and distort the brake disc alignment. What starts as a cheap fix becomes a very expensive one.
Choosing Replacement Bearings
I stick to known brands. SKF, NTN, NSK and Koyo all make excellent bearings, and most OEM bearings are one of those names in a manufacturer box. Budget kits from All Balls and Pivot Works are perfectly good for most riders and include seals.
What I avoid is the unbranded bargain bin. Bearings are precision parts, and the difference between a good one and a bad one isn’t visible from the outside.
Always buy a full kit for the wheel — both bearings plus seals — and always replace seals rather than reusing them. Seals are the cheap part that protects the expensive part.
Tools and Time: What the Job Actually Takes
Realistically, a competent home mechanic can do a wheel’s worth of bearings in 45 to 90 minutes with the wheel off the bike. The first time will be slower, mostly because driving out a stubborn bearing is a skill you learn by doing.
My kit is simple: a drift punch or brass rod, a blind bearing puller for the tricky side, a socket or bearing driver matched to the outer race, and a heat gun. Heating the hub evenly and freezing the new bearing makes the job dramatically easier.
One rule I never break: always drive the new bearing in by its outer race only. Hitting the inner race transfers shock through the balls and can damage a brand new bearing before it’s even fitted.
My Final Take
If you take one thing from this, make it this: check your bearings every time you change a tyre, and trust your gut if something feels rough.
Mileage is a rough guide. Water, salt, and pressure washing are the real enemies. Play in the wheel, a dry growl, or a notchy inner race are the three signals that mean it’s time.
And if you’re standing in the garage, spinning a bearing and wondering whether it’s still good — you already know the answer. Replace it. A set of bearings and seals costs less than a tank of fuel, and it’s the cheapest peace of mind you’ll ever buy for a motorcycle.
Frequently Asked Questions
How many miles do motorcycle wheel bearings last?
Most sealed OEM bearings last somewhere between 20,000 and 50,000 miles, but that number swings wildly. I’ve seen bikes go 80,000 miles on originals and others chew through a set in 12,000 because of pressure washing, water crossings, or a ham-fisted tire change. Mileage is a guide, not a rule.
Can I ride with a bad wheel bearing?
I wouldn’t. A failing bearing can seize, and when a front wheel bearing locks up at speed you have almost no warning and very little control. Even a mildly rough bearing causes vague steering and can chew up the hub bore or axle, turning a $40 job into a $400 one.
How do I check wheel bearings without removing the wheel?
Put the bike on a stand, grab the wheel at 12 and 6 o’clock, and rock it side to side. Any clunk or visible play is a red flag. Then spin the wheel slowly and listen for a dry growl or grinding. It’s a 60-second check I do every couple of months.
Should I replace front and rear wheel bearings at the same time?
I do, and I recommend it. They usually wear at similar rates, they cost about the same, and you’re already in the garage with the tools out. While I’m there I also check the sprocket carrier bearing and the cush drive rubbers on the rear.

Related Articles

8 Best Cruiser Motorcycle Tires for Street Riding: My Real-World Picks
I rank the 8 best cruiser motorcycle tires for street riding, from Michelin to Pirelli, with real notes on grip,…
Jake Miller
9 min read

8 Best Michelin Motorcycle Tires for Every Riding Style (Tested Picks)
Looking for the best Michelin motorcycle tires? I break down my 8 favorite models for sport, touring, adventure, cruiser, and…
Jake Miller
9 min read

Yamaha Tire Pressure Guide: The Right PSI for Safer, Smoother Rides
Learn the right tire pressure for your Yamaha, from sportbikes to cruisers and dirt bikes. Check, adjust and maintain PSI…
Jake Miller
9 min read