
How to Align a Rear Motorcycle Wheel Side to Side: My Garage-Tested Method
 Jake Miller
11 min read
Jake Miller
11 min read
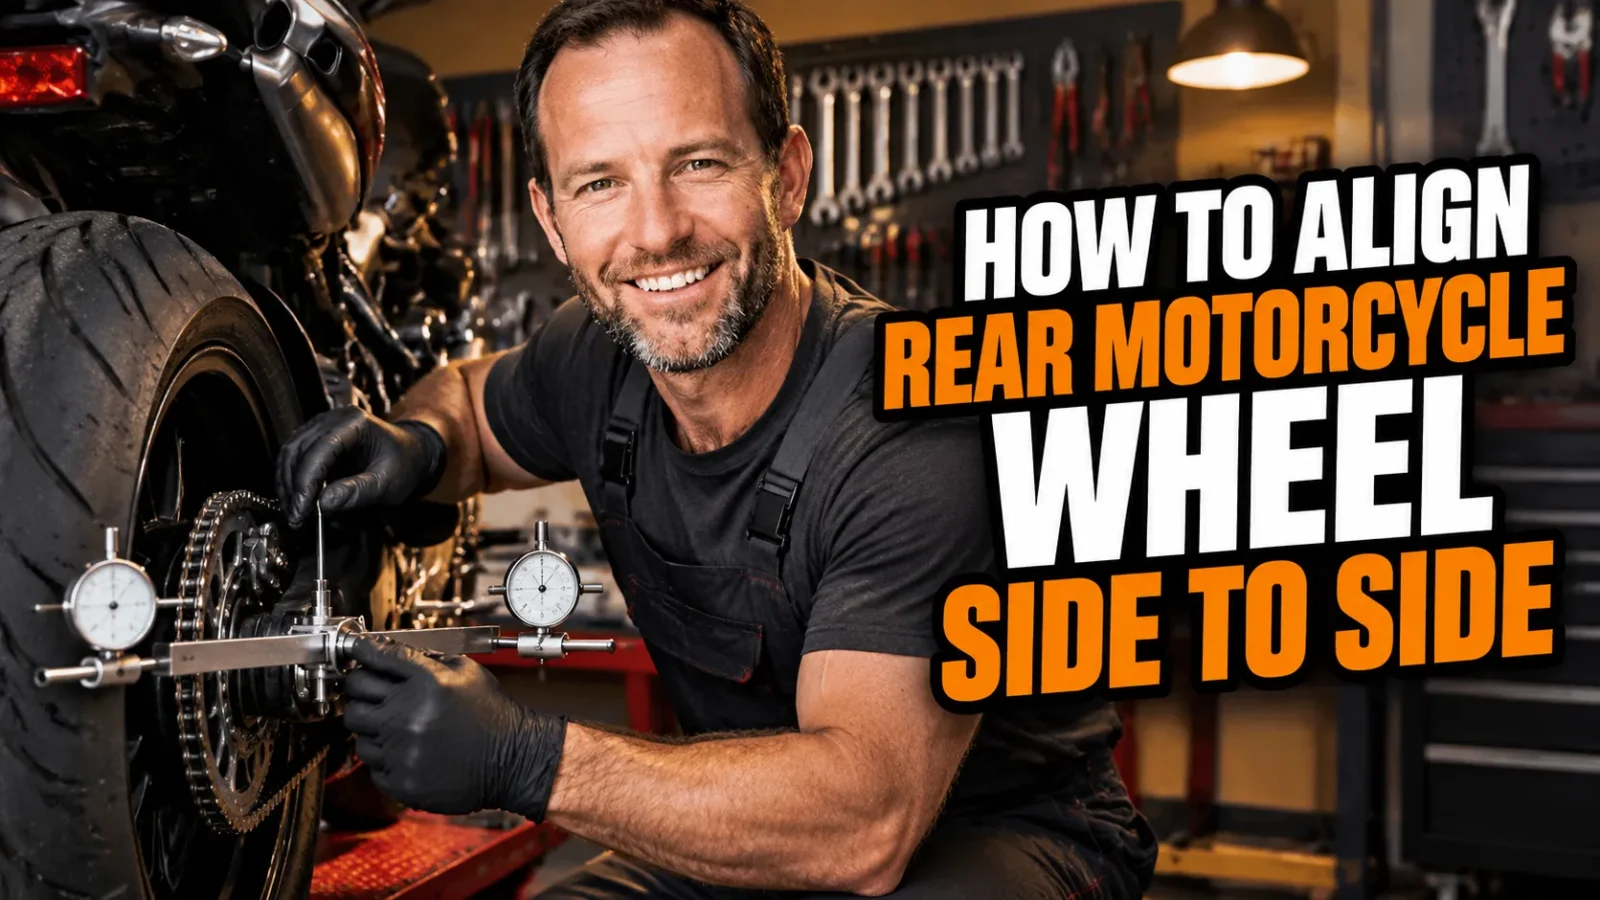
There is a certain kind of quiet that settles over my garage when I am crouched behind the back tire with a piece of paracord in one hand and a 24 mm wrench in the other. It is not glamorous work. But learning how to align a rear motorcycle wheel side to side was honestly one of the biggest handling improvements I ever made, and it cost me nothing but an afternoon and a bit of patience.
I have done this job on chain-drive sportbikes, a shaft-drive tourer, and a couple of rattly old dual sports. The procedure barely changes between them. The consequences of skipping it absolutely do.
If your rear wheel is sitting three or four millimeters off to one side, you are not just chewing through chain and sprockets faster. You are riding a motorcycle that crabs slightly down the road, and you are quietly fighting it through the bars every single mile without ever realizing why your shoulders ache after a long ride.
- Set chain slack to spec before you touch the adjusters, because moving the axle changes tension.
- Never trust the stamped swingarm marks alone. Measure from the swingarm pivot to the axle on both sides.
- Confirm with a string line or straightedge against the rear tire, then recheck after torquing the axle nut.
- Adjust in tiny increments (a quarter turn or less per side) and expect to go back and forth a few times.
- Finish with a short test ride and light hands on the bars. Any pull means you are not done yet.
What “Side to Side” Alignment Actually Means
When people talk about aligning a rear motorcycle wheel side to side, they mean the horizontal plane. Picture looking straight down at your bike from above. The front wheel and the rear wheel should sit on the same centerline, like two beads threaded on the same wire.
That is different from vertical alignment, which is about the wheel being plumb and the axle sitting level in the swingarm. Both matter, but the side to side question is the one that affects how the bike tracks, how the chain wears, and how the tires cup over time.
The Geometry I Actually Care About
There are three reference points that matter: the steering head, the swingarm pivot, and the rear axle. If the rear axle is not sitting equidistant from the swingarm pivot on both sides, the whole rear of the bike is skewed relative to the front.
Skew the rear and you effectively introduce a permanent steering input. The bike wants to turn slightly all the time, so you unconsciously correct for it. That is the crabbing feeling so many riders describe but never quite diagnose.
Why a Small Error Feels Like a Big One
Three millimeters at the rear axle translates to a meaningful angle over the length of the wheelbase. It also means your chain is running at a slight angle relative to the sprockets, which side-loads the rollers and wears the teeth unevenly.
I have pulled sprockets off bikes where one side of every tooth was shiny and the other side was still painted. That is a wheel alignment problem, not a chain quality problem, and no amount of fancy lube would have fixed it.
The Tools I Reach For (And What You Can Skip)
My kit for this job is embarrassingly simple. You do not need a laser rig or a $300 alignment gauge, although I will admit the gadgets are fun to look at.
- A length of string or paracord, long enough to wrap around the front tire and run back past the rear axle.
- A steel ruler or calipers for measuring gaps to the nearest millimeter.
- A long straightedge, or two, if you prefer the aluminum angle method.
- The right socket or spanner for your axle nut, plus a torque wrench.
- A soft mallet for nudging the axle forward.
- Masking tape and a pen for marking reference points, which saves me a lot of squinting.
The one optional extra I do like is a chain alignment clamp, the little tool that bolts to the rear sprocket and gives you a straight rod to sight along. It is quick, but I treat it as a sanity check rather than gospel, and I will explain why in a moment.
Step 1: Set Chain Slack Before You Touch Anything
This is the step almost everyone gets wrong. Chain tension and wheel position are the same adjustment. When you turn an adjuster bolt, you move the axle back and you tighten the chain at the same time.
So start by checking slack at the midpoint of the bottom run, on the tightest part of the chain. Roll the wheel and check it in a few spots, because chains rarely wear evenly. Then set it to whatever your manual specifies.
If you set slack at the end instead, after positioning the wheel, you will drag the axle out of alignment trying to hit the number. Do it in the right order and the job gets twice as easy.
Step 2: Loosen Everything in the Right Order
With the bike on a rear stand or paddock stand, crack the axle nut loose. Do not remove it. Then back off the lock nuts on both adjuster bolts so the adjusters can actually move.
If you have not touched the adjusters in a long time, they may be seized with road grime. I have spent twenty minutes with penetrating oil on a bolt that should have taken thirty seconds. Clean the threads and save yourself the drama.
Once everything is free, push the wheel all the way forward until the chain is slack against the swingarm. That gives you a clean starting point, and it lets both adjusters begin from the same baseline.
Step 3: Measure Using Three Methods (Because One Is Never Enough)
No single measurement tells the whole story. I use three, and I cross-check them against each other. If all three agree, I know I am done.
Method One: Swingarm Pivot to Axle Center
This is my primary measurement. Hook a tape or ruler on the swingarm pivot bolt on the left side and measure back to the center of the axle. Write the number down. Then do exactly the same on the right side.
The two numbers should match. On most bikes, matching within one millimeter is realistic. If they differ by five, you have found your problem.
One caveat: this method assumes the swingarm itself is symmetrical and straight. On a bike that has been down the road on its side, or one with a bent arm, that assumption can bite you. That is exactly why I do not stop here.
Method Two: The String Line
Wrap a length of string around the front tire, roughly at axle height, and run both ends back past the rear tire. Pull it snug and weigh the ends down, or tie them to something solid so the line stays taut and parallel on both sides.
Now measure the gap between the string and the rear tire sidewall on the left, and the same on the right. Equal gaps mean the rear wheel is pointing straight down the same line as the front. Unequal gaps mean it is cocked.
This is the method I trust most, because it references the front wheel directly. It does not care what the stamped marks say or whether your swingarm is perfectly machined. It just tells you whether the two wheels agree.
Method Three: The Chain Alignment Clamp
The sprocket clamp tool is fast and satisfying, and I use it as a quick confirmation. But remember what it actually measures: the chain line, not the wheel line. Those two things are usually the same, and on a straight frame they always are.
On a bike with a slightly tweaked subframe or an offset rear sprocket, they can disagree. So I never let the clamp overrule my string line. It is a second opinion, not the judge.
So Which One Wins?
In my garage, the string line is the tiebreaker. The pivot measurement gets me close fast, and the clamp confirms the drivetrain is happy. If the string disagrees with everything else, I listen to the string and start asking harder questions about the frame.
Step 4: Make the Adjustment in Tiny Increments
Now the actual work. Turn one adjuster bolt in small steps, a quarter turn at a time at most. Then push the axle back against the adjuster blocks and re-measure.
You will go back and forth. Left side out a touch, right side in a touch, re-measure, repeat. I usually make four or five passes before the numbers line up, and I have never once nailed it on the first try.
Keep an eye on chain slack throughout this dance. It will change with every adjustment, and you may need to pull the axle back slightly on both sides to restore the tension you set earlier.
Step 5: Torque the Axle Without Knocking It Out of Line
This is where good work gets undone. Tightening the axle nut can drag the axle block against the adjuster and shift the wheel. I have watched a perfectly aligned wheel move two millimeters the moment I leaned on the wrench.
My trick is to hold the left adjuster bolt steady with a spanner while I torque the axle nut on the right side. That resists the pull. Then I re-measure everything before I lock the adjuster nuts down.
Torque to the figure in your manual, not by feel. And once the lock nuts are snug, check the alignment one final time. If it moved, loosen, reset, and do it again. It is annoying, and it is worth it.
Step 6: The Test Ride That Tells You the Truth
Numbers on a ruler are one thing. The road is another. I take a ten minute ride on a smooth, familiar stretch with my hands resting lightly on the bars.
If the bike pulls to one side, or if I have to hold a constant counter-pressure to go straight, something is still off. I also listen for a change in chain noise, and I feel for any new vibration through the pegs.
When it is right, the bike feels neutral in a way that is hard to describe but instantly recognizable. It tracks straight, turns in evenly on both sides, and just feels calmer at speed. That is the payoff.
Mistakes I Made So You Do Not Have To
I trusted the stamped marks for years. They got me close, but close is not aligned, and I was quietly wearing out chains because of it. Use them as a starting reference and nothing more.
I adjusted the wheel before setting chain slack. Every alignment attempt then fought the tension spec, and I ended up chasing my own tail for an hour. Order of operations matters more than tool quality here.
I measured to the tire instead of the rim. Tires are not perfectly symmetrical, and a slightly crooked bead will lie to you. Measure to the rim edge or the axle, never to rubber.
I forgot to check the axle blocks were seated. A block sitting crooked against the swingarm will give you a perfect measurement and a crooked wheel. Push the axle firmly forward before you measure anything.
I skipped the recheck after torquing. That one cost me a rear tire with a strange wear pattern and a very confusing conversation with a mechanic.
How Often Should You Check It?
I check alignment any time I adjust the chain, which for me is roughly every 600 to 1,000 miles depending on the bike and the weather. I also check it after every rear tire change, because that is when things most often get reinstalled slightly off.
If you have just had a shop mount a new rear tire, do yourself a favor and verify the alignment at home. Most shops do this correctly, but I have seen enough sprocket carriers seated wrong to know it is worth two minutes of checking.
And if you ever drop the bike, or hit something hard in the road, check it that weekend. A tweaked swingarm will show up in your measurements long before it shows up as anything dramatic on the road.
Final Thoughts
Aligning a rear motorcycle wheel side to side is one of those jobs that feels intimidating until you have done it once. It is really just measuring, nudging, and re-measuring until the numbers agree and the bike rides straight.
You do not need expensive tools. You need a piece of string, a ruler, a torque wrench, and the discipline to check your work after the axle nut is tight. That last part is what separates a wheel that is aligned from a wheel that was aligned five minutes ago.
Give it an afternoon. Then go ride a straight road with light hands and feel the difference. I promise you will notice it, and you will never go back to eyeballing it again.
Frequently Asked Questions
Can I just use the factory axle marks to align my rear wheel?
They will get you close, but I never treat them as the final answer. Stamped marks, paint thickness, and normal wear can be off by a couple of millimeters, which is enough to make the bike feel like it is crabbing down the road.
How tight should the chain be before I start aligning the wheel?
Set chain slack to your manual’s spec first, usually around 25 to 35 mm on a street bike, because every turn of the adjuster changes chain tension at the same time as it changes wheel position.
How do I know the rear wheel is finally straight?
The rear tire should sit centered in the swingarm, your string or straightedge measurements should match within about a millimeter on both sides, and a short test ride with light hands on the bars should show no pull in either direction.
Do I really need a laser alignment tool?
Not in my experience. A length of paracord, a straightedge, and twenty minutes of patience gets me as close as any laser gadget, and I can spend the money on tires instead.

Related Articles

8 Best Cruiser Motorcycle Tires for Street Riding: My Real-World Picks
I rank the 8 best cruiser motorcycle tires for street riding, from Michelin to Pirelli, with real notes on grip,…
Jake Miller
9 min read

8 Best Michelin Motorcycle Tires for Every Riding Style (Tested Picks)
Looking for the best Michelin motorcycle tires? I break down my 8 favorite models for sport, touring, adventure, cruiser, and…
Jake Miller
9 min read

Yamaha Tire Pressure Guide: The Right PSI for Safer, Smoother Rides
Learn the right tire pressure for your Yamaha, from sportbikes to cruisers and dirt bikes. Check, adjust and maintain PSI…
Jake Miller
9 min read