
Harley Bank Angle Sensor Problems: What I’ve Learned From the Road
 Jake Miller
10 min read
Jake Miller
10 min read
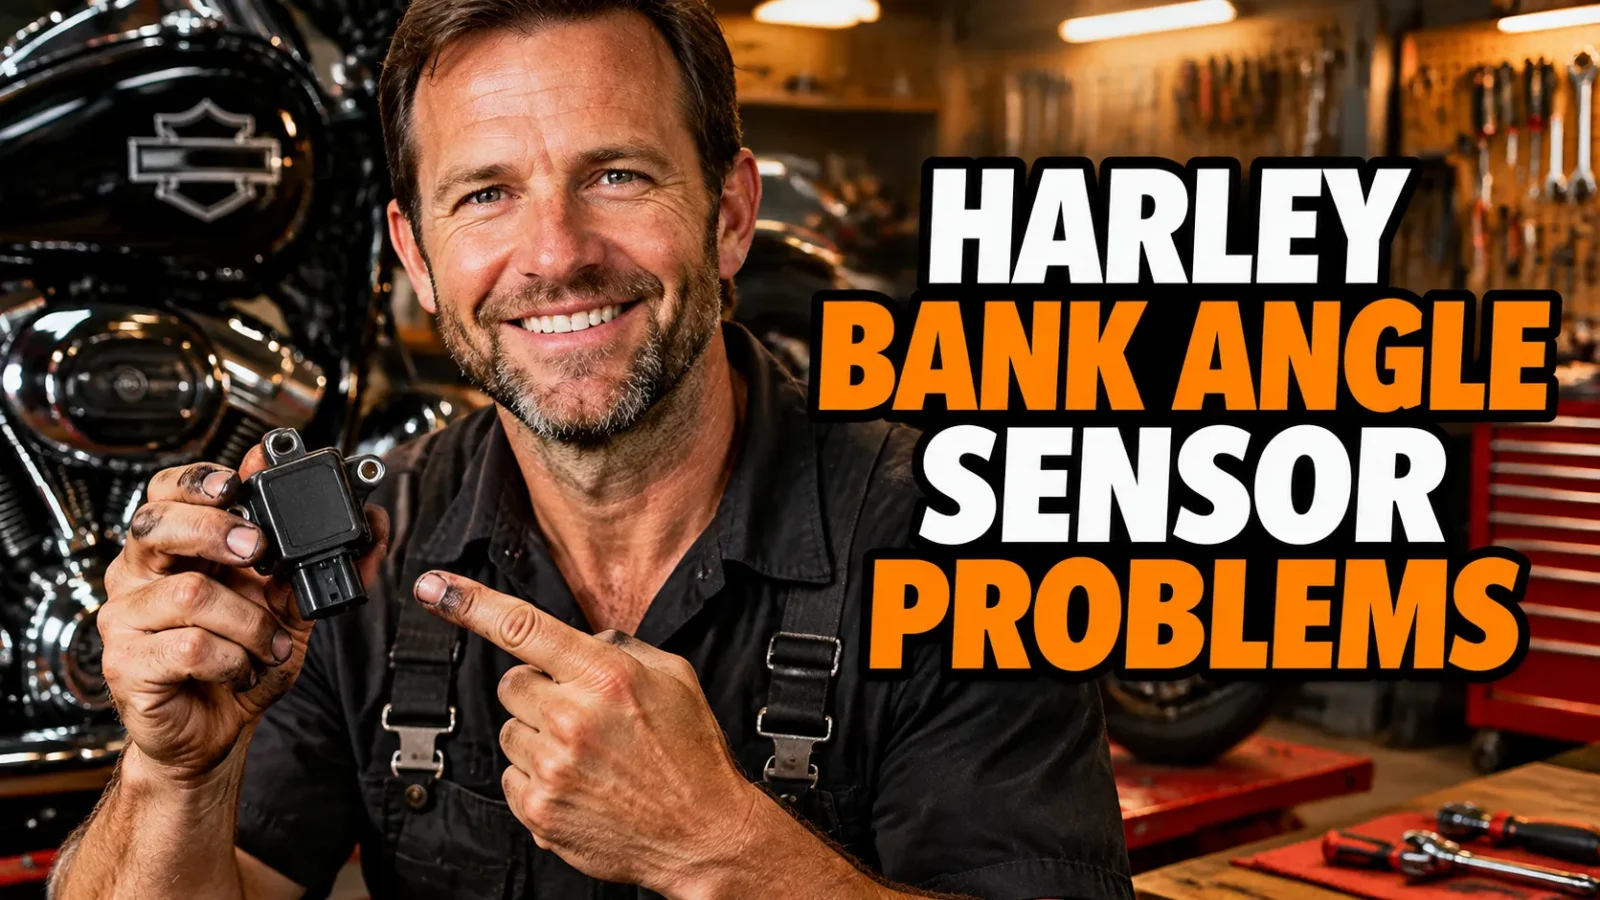
I’ll be honest: when my Road King first died mid-corner, I thought I’d run out of gas or bumped the kill switch. It turned out to be something much sneakier — a failing bank angle sensor. That little black box had me chasing my tail for a weekend, and I’ve since talked to plenty of riders who’ve gone through the same thing.
If you’re dealing with intermittent stalls, no-start gremlins, or a bike that quits after a tip-over, you’re in the right place. I’m going to walk you through what I’ve learned about Harley bank angle sensor problems from real-world experience, not just a service manual.
- A faulty bank angle sensor often mimics fuel or ignition problems, so it gets misdiagnosed.
- Common symptoms include engine cutouts while leaning, no-start after a tip-over, and stored trouble codes.
- You can test the sensor with a basic multimeter and a tilt test before throwing money at parts.
- Bypassing the sensor can work for testing, but riding without one removes a key safety feature.
What That Little Black Box Does Every Time You Ride
Before I dive into the problems, let me explain what this sensor is actually doing for you. The bank angle sensor is basically the motorcycle’s tip-over switch. If the bike leans past a certain angle, the sensor kills the engine and fuel pump to protect you and the bike.
On most Harley-Davidson models, it’s a sealed electronic component mounted near the battery or under the seat. Inside, a small pendulum or ball bearing moves with gravity. When the bike goes too far over, that internal mechanism breaks or completes a circuit that shuts everything down.
The Basics of the Bank Angle Sensor
I used to think this sensor only mattered after a crash. The reality is it’s always working, even during normal riding. It doesn’t just wait for a full tip-over; it monitors lean angle constantly.
When the sensor fails, it can send a false “bike is down” signal to the ECM. That’s why you might be riding straight and suddenly lose all power. The bike thinks it’s on its side when it isn’t.
The Most Common Symptoms I’ve Encountered
Harley bank angle sensor problems rarely announce themselves with a clear dashboard warning. Instead, they disguise themselves as fuel or ignition faults. That’s exactly why I spent an entire afternoon changing a perfectly good fuel pump relay before I figured out what was really wrong.
The following symptoms are the ones I’ve either experienced personally or helped other riders diagnose. If your bike is doing any of these, the bank angle sensor deserves a spot on your suspect list.
Engine Cuts Out Mid-Corner or Over Bumps
The first time my sensor acted up, I was leaning into a long sweeping left-hand turn. The engine just went silent for a split second, then came back. It felt like hitting the kill switch and turning it back on instantly.
That’s a classic sign. When the sensor gets overly sensitive or the internal pendulum sticks, normal lean angles can trigger a shutdown. Rough pavement and hard bumps can also jar the sensor into false activation.
No Start After a Simple Drop or Tip-Over
Years ago, I dropped my Softail in a parking lot at walking speed. No real damage, but the bike wouldn’t restart. I killed the battery trying before I remembered the bank angle sensor.
After a tip-over, the sensor is designed to keep the engine off until you cycle the ignition. If it won’t reset or stays stuck, you’ll get a no-start condition even though the bike is upright and fine.
Check Engine Light and Hidden Diagnostic Codes
On fuel-injected Harleys, the ECM stores trouble codes when the bank angle sensor sends a bad signal. I’ve pulled codes like B1121 and B1122, which point straight to the bank angle sensor circuit.
However, not all codes are obvious. Some generic codes for “loss of serial data” or “engine shutdown” can also trace back to this sensor. A quick code check can save you from replacing coils or injectors unnecessarily.
Why Do Harley Bank Angle Sensor Problems Happen in the First Place?
I’ve taken apart a few failed sensors to understand what goes wrong. Most of the time, the issue isn’t the sensor’s internal logic — it’s physical wear, corrosion, or wiring damage. Here are the main culprits I’ve found.
Vibration and Heat Take a Toll
Harleys shake. That’s part of their charm, but it’s hard on electronics. Over thousands of miles, constant vibration can crack solder joints inside the sensor or loosen its internal pendulum mechanism.
Heat from the engine and exhaust also degrades the sensor’s plastic housing and internal components. I’ve seen sensors that looked fine on the outside but were baked and brittle inside.
Water and Corrosion Sneak In
Most bank angle sensors are sealed, but that seal doesn’t last forever. Riding in heavy rain, washing the bike aggressively, or storing it in a damp garage can let moisture inside.
Once corrosion starts on the circuit board or connector pins, the sensor can send erratic signals. I once opened a sensor that had green fuzz growing across the pins — no wonder the bike was stalling randomly.
Wiring and Connector Issues
Sometimes the sensor itself is fine, but the wiring leading to it is damaged. The wires run along the frame and can rub against sharp edges or get pinched when you reinstall the seat.
I always check the connector for looseness or bent pins. A poor connection can cause the exact same symptoms as a dead sensor, and it costs nothing to clean and tighten.
How I Test a Bank Angle Sensor Without Losing My Mind
Testing the sensor is easier than most riders think. You don’t need a dealership scanner or a degree in electrical engineering. A basic multimeter and a little patience will give you a solid answer.
Tools You’ll Need
I use a digital multimeter, a service manual for the correct resistance specs, and a helping hand or a bench vise to hold the sensor while I tilt it. A can of electrical contact cleaner is also handy.
Step-by-Step Multimeter Test
First, disconnect the sensor from the wiring harness. Set your multimeter to measure resistance or continuity, depending on your manual. Check the resistance across the sensor’s terminals.
Compare that reading to the spec in your service manual. If it’s way off, the sensor is likely dead. Then tilt the sensor slowly and watch the reading. It should change abruptly at a certain angle, usually around 45 to 60 degrees.
On many Harleys, the sensor is a simple on/off switch. Upright, the circuit is closed. Tilted past the threshold, the circuit opens. If the sensor doesn’t switch at all, you’ve found your problem.
The Tilt-and-Listen Method
If you don’t have a manual handy, you can still do a basic functional test. Reconnect the sensor and turn the ignition on. Tilt the sensor by hand while listening for the fuel pump to prime or the fuel pump relay to click.
When you tilt it past the limit, the fuel pump should shut off. When you bring it upright and cycle the ignition, the pump should prime again. If that doesn’t happen, the sensor isn’t doing its job.
Replacement and Repair: What Actually Worked for Me
After confirming my sensor was bad, I had two choices: replace it or try to repair it. I’ve done both, and my honest advice is to replace a failing bank angle sensor rather than repair it. The risks of a bad repair aren’t worth the savings.
Buying OEM vs Aftermarket
I usually stick with OEM Harley parts for critical safety components. The bank angle sensor is one of those parts where a cheap knockoff can be more trouble than it’s worth. I’ve seen aftermarket sensors fail within a few months.
That said, a quality aftermarket unit from a reputable brand can work fine. Just make sure it’s designed for your specific model year and ECM.
Installation Tips From My Garage
Installation is usually straightforward — one or two bolts and a connector. The trick is to mount the sensor in the exact same orientation as the original. Even a slight rotation can change the lean angle threshold.
I also apply a thin coat of dielectric grease to the connector pins before plugging it in. That helps keep moisture out and prevents corrosion from coming back.
Can You Reset or Bypass a Harley Bank Angle Sensor?
This is one of the most common questions I get. The short answer is yes, you can bypass it for testing. The longer answer is that I don’t recommend riding without a working sensor on the street.
Temporary Bypass for Testing
To rule out the sensor, some riders jump the connector with a short piece of wire. That simulates an upright sensor and lets the bike start. This can confirm that the sensor was the no-start cause.
I’ve done this in my garage to get a bike running long enough to move it. It works, but it’s strictly a diagnostic trick, not a permanent fix.
Why I Won’t Ride Without One
The bank angle sensor is a safety feature. If you crash and the bike stays running, you have a spinning rear wheel and a fuel pump still pumping gas. That’s a recipe for fire or worse.
I understand the temptation to bypass it and ride home, especially if you’re stranded. But I strongly recommend replacing the sensor before you put any real miles on the bike.
Preventing Future Bank Angle Sensor Failures
After replacing two sensors on different Harleys, I started paying more attention to prevention. A few simple habits have kept my current bank angle sensor trouble-free for over 30,000 miles.
Keep the Connector Clean and Sealed
I clean the connector every time I have the seat off. A quick shot of contact cleaner and a fresh dab of dielectric grease keeps corrosion at bay. It takes two minutes.
Inspect During Regular Service
Whenever I’m doing an oil change or battery service, I check the sensor’s mounting bolts and wiring. A loose sensor can vibrate more than normal and fail early.
I also avoid pointing a pressure washer directly at the sensor. Water forced into the connector is one of the fastest ways to kill it.
Final Thoughts From the Saddle
Harley bank angle sensor problems can be frustrating because they mimic so many other issues. But once you know the symptoms and how to test the sensor, the mystery disappears. I’ve saved myself and other riders hundreds of dollars by checking this little part first.
If your bike stalls while leaning, won’t restart after a drop, or throws strange codes, don’t overlook the bank angle sensor. Test it, replace it if needed, and get back to enjoying the ride with confidence.
Frequently Asked Questions
What are the symptoms of a failing Harley bank angle sensor?
Common symptoms include the engine cutting out or stalling, a no-start condition after a tip-over, an illuminated check engine light, and intermittent power loss while riding.
Can I bypass the bank angle sensor on my Harley?
Some riders bypass it for temporary testing, but I don’t recommend running on the street without a working sensor because it’s a critical safety feature.
How do I test a Harley bank angle sensor?
Use a multimeter to check resistance across the sensor terminals. Compare your readings to your service manual, and tilt the sensor to see if the circuit opens or closes as designed.
Where is the bank angle sensor located on a Harley?
It’s usually under the seat, near the battery, or mounted to the frame. Check your model’s service manual for the exact location.

Related Articles

Harley RDRS Problems: 7 Frustrating Issues I’ve Dealt With (and Fixes)
I've ridden Harley-Davidson bikes with RDRS for years. These are the most common Harley RDRS problems, how to diagnose them,…
Jake Miller
9 min read

Harley Davidson ABS Problems: My Honest Rider’s Guide to Diagnosing and Fixing Brake Failure
Struggling with Harley Davidson ABS problems? I’ll walk you through the most common causes, warning signs, diagnostic steps, and fixes…
Jake Miller
10 min read

Harley Davidson Radio Display Not Working? My Troubleshooting Guide and Real Fixes
Is your Harley Davidson radio display not working? I'll walk you through the most common causes, DIY resets, and real…
Jake Miller
10 min read