
Harley Davidson Radio Display Not Working? My Troubleshooting Guide and Real Fixes
 Jake Miller
10 min read
Jake Miller
10 min read
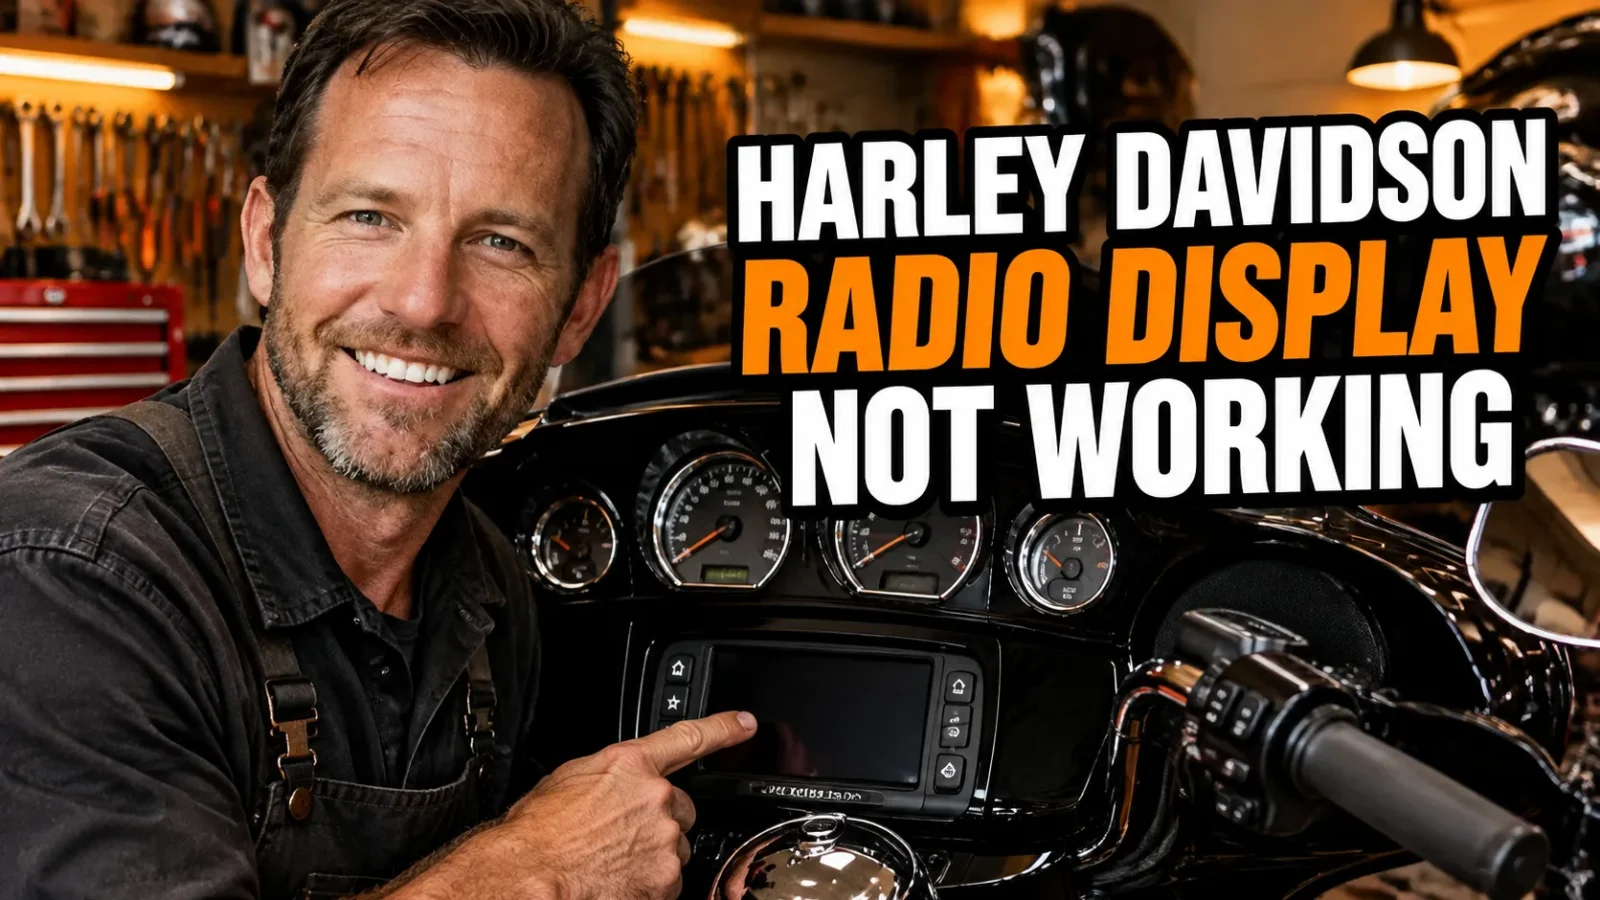
I’ll never forget the moment my Harley radio display went completely dark in the middle of a long ride. I was cruising along, enjoying my playlist, when I glanced down and saw nothing but a black screen. The audio still worked, but the display was dead. That’s when I fell down the rabbit hole of diagnosing a Harley Davidson radio display not working issue on my own bike.
Since then, I’ve helped several riding buddies troubleshoot the same problem. Some fixes take five minutes, while others require digging into the wiring harness. In this guide, I’m sharing everything I’ve learned from hands-on experience, including the exact steps I use to bring a dead display back to life.
- A blank Harley radio display often comes from a simple power issue, fuse, or software glitch, not a catastrophic failure.
- Start with a battery disconnect reset and checking the radio fuse before you spend money on parts.
- Loose or corroded connectors behind the fairing are a frequent hidden culprit.
- If the audio still plays but the screen is blank, the backlight or LCD may have failed and might need professional repair.
Understanding Why Your Harley Radio Display Goes Dark
Before I started wrenching, I assumed a dead radio display meant the entire head unit was toast. But that’s rarely the case. Most of the time, the problem is electrical, not mechanical. The radio module itself is usually fine, but something between the battery and the screen is interrupting the signal.
Harley Davidson motorcycles use two main radio platforms: the older Boom Box and the newer GTS infotainment system. Both can suffer from display failures, but the underlying causes are often the same. In my experience, the GTS units are a bit more sensitive to voltage drops, while the Boom Box units tend to have more connector issues.
Common Symptoms I’ve Seen on Harley Audio Systems
The phrase Harley Davidson radio display not working covers a lot of ground. You might see a completely black screen while the music keeps playing. Or the screen could flicker, show random lines, or freeze on a single image. Sometimes the backlight illuminates but no text appears.
I’ve also dealt with a display that works fine when the bike is cold but dies after the engine heats up. That one turned out to be a cracked solder joint on the circuit board. Each symptom points to a slightly different root cause, so it’s worth paying attention to exactly what your screen is doing.
The Boom Box and GTS Difference
If you ride a 2014 or later Touring model, you likely have the Boom Box 6.5GT or 4.3. The newer GTS system showed up around 2019. Both have similar connector layouts, but the GTS has a more integrated touchscreen. I’ve found that the older Boom Box units are easier to take apart and clean, while the GTS units respond better to software resets.
Either way, the diagnostic process I follow is the same. Start simple, then work your way deeper. That approach has saved me from replacing expensive parts I didn’t need.
Step-by-Step Diagnostic Process I Follow
When a friend calls me with a blank radio screen, I always start with the same three questions. Does the audio still work? Does the screen backlight come on at all? Has the bike been sitting for a while or recently exposed to heavy rain? The answers usually point me in the right direction within a few minutes.
Here’s the exact sequence I use to diagnose a Harley Davidson radio display not working issue. I recommend following it in order before spending any money on replacement parts.
Quick Checks Before You Tear Anything Apart
First, turn the ignition on and listen carefully. If you hear a faint pop or static from the speakers, the radio is getting power. That means the display itself is the problem, not the main unit. If there’s no sound at all, you’re likely dealing with a power or fuse issue.
Second, check the brightness setting. I know it sounds obvious, but I’ve seen more than one rider accidentally set the display brightness to zero while fumbling with the controls. Press the brightness button or go into the settings menu with a flashlight to see if the screen is actually on but just extremely dim.
Getting Into the Wiring and Fuses
If the brightness setting isn’t the culprit, the next stop is the fuse box. On most Harley Touring models, the radio fuse is located in the left side cover fuse block. Pull it out and inspect it closely. A blown fuse might look fine at a glance, so use a multimeter or test light to confirm continuity.
While you’re in there, check the main battery connections. A loose negative terminal can cause all sorts of weird electrical gremlins, including a radio display that cuts out intermittently. I always carry a 10mm wrench in my saddlebag for exactly this reason.
The Reset Trick That Saves Hours
Before you remove a single panel, try the battery disconnect reset. Disconnect the negative battery cable, wait 10 to 15 minutes, then reconnect it. This forces the radio module to reboot and clear any temporary software glitches. I’ve seen this simple trick bring a dead GTS screen back to life more times than I can count.
If the display comes back after the reset, keep an eye on it. A one-time glitch is usually harmless. But if the problem returns within a few days, you have an underlying issue that needs attention.
Most Common Culprits I’ve Encountered
Over the years, I’ve narrowed the causes down to a handful of repeat offenders. Some are easy to fix, others require patience and a bit of soldering skill. Here’s what I’ve found most often when chasing a Harley Davidson radio display not working.
Loose or Corroded Connectors
This is my number one suspect, especially on bikes that live outdoors or get ridden in the rain. The radio display connects to the main harness through a multi-pin plug behind the fairing. Vibration and moisture can cause those pins to loosen or develop corrosion over time. I’ve seen green fuzz on connector pins that completely blocked the display signal.
The fix is simple: remove the outer fairing, unplug the radio connector, and spray it with electrical contact cleaner. Use a soft brush to remove any visible corrosion, then apply a thin coat of dielectric grease before reassembling. This took me about 30 minutes the first time and solved a flickering screen issue permanently.
Backlight Failure vs. Complete Screen Failure
One important distinction I learned the hard way: if the screen is black but you can still faintly see the display when you shine a flashlight at it, the backlight has failed. The LCD itself is working, but the lighting behind it is dead. That’s a much cheaper repair than replacing the entire display module.
On the other hand, if the screen is completely blank even with a flashlight, the LCD panel or its driver circuit has likely failed. In that case, you’re looking at a replacement screen or a rebuilt radio unit. I’ve sent a Boom Box out for repair and gotten it back working perfectly for a fraction of the cost of a new one.
Firmware Corruption and Software Glitches
Modern Harley radios run complex software, and sometimes that software just gets stuck. A failed firmware update, a power surge, or a weak battery can corrupt the radio’s operating system. The symptom is often a frozen screen, a boot loop, or a completely unresponsive display.
The solution is usually a USB firmware update. Harley Davidson provides map and software updates through their website. You’ll need a USB drive formatted to FAT32, the correct update file for your radio model, and about 15 minutes. I’ll walk through the exact process in a moment.
Fixes That Actually Worked for Me
Once I identified the root cause, the actual repair was usually straightforward. Here are the fixes I’ve personally used to bring a dead Harley radio display back from the grave. They’re listed in order from easiest to most involved.
Battery Disconnect Reset
I already mentioned this earlier, but it deserves a detailed explanation because it works so often. Start by turning the ignition off and removing the key. Then disconnect the negative battery cable. I usually wait at least 10 minutes, but 15 is even better. This drains the capacitors in the radio module and forces a full reboot.
When you reconnect the cable, turn the ignition on and wait. The radio should boot up normally. If the display comes back, you’ve fixed the problem for free. I make this my first move every single time because it costs nothing and takes almost no effort.
USB Firmware Update
If the reset doesn’t stick, the next step is a firmware update. Go to the official Harley Davidson service portal and download the latest software for your specific radio. You’ll need a USB drive with at least 8GB of space, formatted to FAT32. Follow the on-screen instructions to load the update onto the drive.
Insert the USB drive into the radio’s USB port and turn the ignition on. The system should detect the update and prompt you to install it. Do not turn the bike off during the update. I’ve seen failed updates brick a radio, so make sure your battery is fully charged or connected to a tender during this process.
When to Call a Professional
If the display still won’t come back after a reset and firmware update, the problem is likely internal. This is where I stop and seek professional help. There are several companies that specialize in Harley Davidson radio repair. They can replace the LCD, repair the backlight, or rebuild the circuit board at a reasonable cost.
I’ve also seen riders tackle the repair themselves with a soldering iron. It’s possible if you have electronics experience, but the risk of damaging the unit further is real. For most people, professional repair is the smart move.
Preventing Future Radio Display Failures
Once I fixed my radio display, I wanted to make sure it didn’t happen again. A few simple habits have kept my Harley audio system running reliably ever since. These preventive steps are especially important if you ride in wet or humid conditions.
First, keep the radio area dry. Use a bike cover if you park outside, and avoid blasting the fairing with a high-pressure washer. Water intrusion is a leading cause of connector corrosion. I learned that lesson after a particularly aggressive wash left my display flickering for a week.
Second, maintain a healthy battery. A weak or dying battery can cause voltage drops that confuse the radio’s electronics. I always use a battery tender when the bike sits for more than a couple of weeks. A stable voltage keeps the radio module happy and prevents software glitches.
Finally, inspect the fairing connectors once a season. It only takes a few minutes, and a little dielectric grease goes a long way. I now add this to my regular spring maintenance checklist, right alongside the oil change and tire pressure check.
My Final Thoughts on a Dead Harley Radio Display
Dealing with a Harley Davidson radio display not working is frustrating, but it’s rarely the end of the road. In my experience, the majority of cases are caused by simple power issues, loose connectors, or software glitches. A battery reset costs nothing and fixes the problem more often than you’d expect.
If you’re currently staring at a blank screen, start with the basics. Check the fuse, clean the connectors, and do the reset. Only after those steps fail should you consider professional repair. I hope my experience saves you time, money, and a whole lot of head-scratching.
Ride safe, and keep the tunes playing.
Frequently Asked Questions
What causes a Harley Davidson radio display to go blank?
The most common causes include a blown fuse, loose or corroded wiring connectors, a failed display backlight, or corrupted firmware on the Boom Box or GTS radio module.
How do I reset my Harley Davidson radio display?
Try disconnecting the negative battery cable for 10-15 minutes, then reconnect it. If that doesn’t work, check the radio fuse and attempt a USB firmware update using the latest Harley Davidson software.
Can I fix a Harley Davidson radio display myself?
Yes, many issues are DIY-friendly. Start with the battery reset, fuse check, and connector cleaning. If the screen is physically cracked or the internal LCD has failed, you may need professional repair or a replacement unit.

Related Articles

Harley RDRS Problems: 7 Frustrating Issues I’ve Dealt With (and Fixes)
I've ridden Harley-Davidson bikes with RDRS for years. These are the most common Harley RDRS problems, how to diagnose them,…
Jake Miller
9 min read

Harley Davidson ABS Problems: My Honest Rider’s Guide to Diagnosing and Fixing Brake Failure
Struggling with Harley Davidson ABS problems? I’ll walk you through the most common causes, warning signs, diagnostic steps, and fixes…
Jake Miller
10 min read

Harley Bank Angle Sensor Problems: What I’ve Learned From the Road
Discover common Harley bank angle sensor problems, from stalling to no-start gremlins. My real-world guide covers symptoms, testing, and fixes…
Jake Miller
10 min read