
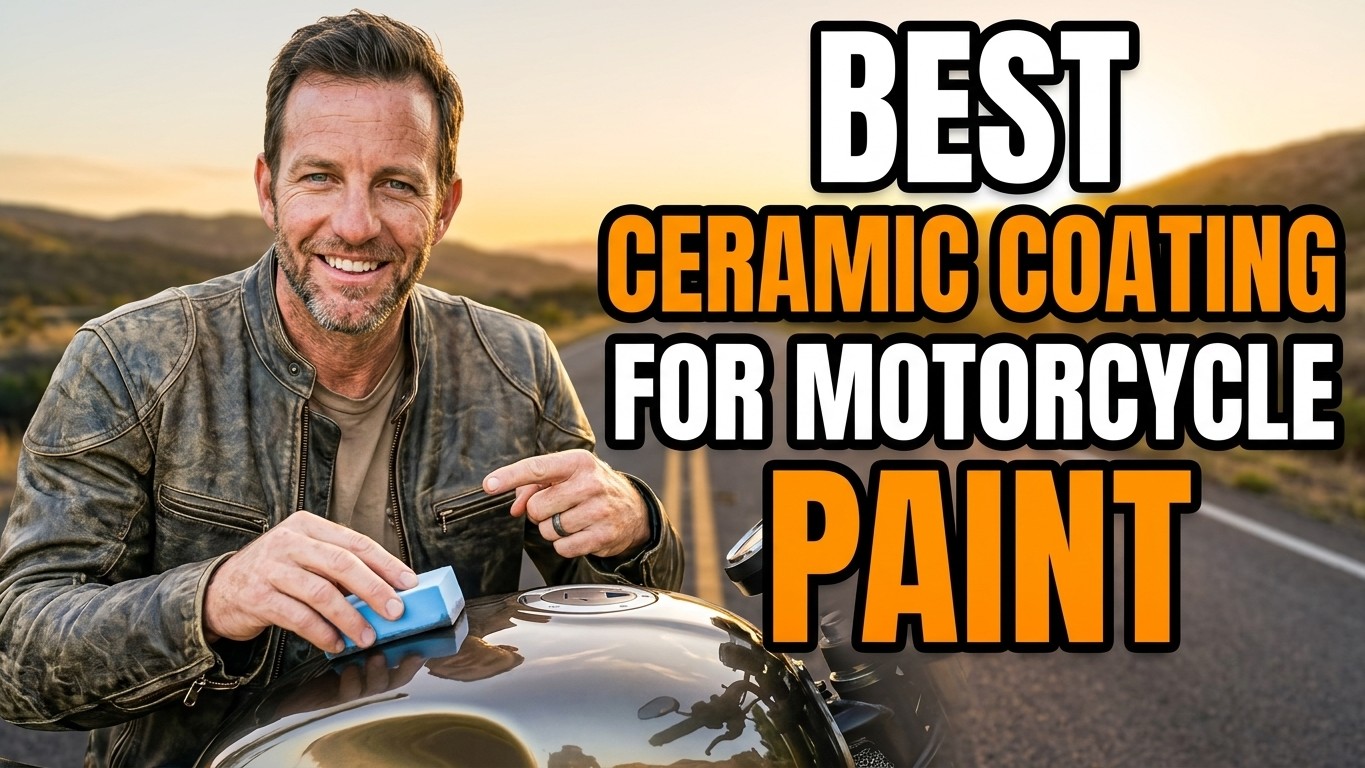
I’ve been obsessed with keeping my motorcycles looking showroom-fresh for over a decade, and I can confidently say that ceramic coating has revolutionized how I protect my bike’s paint. After testing more than 15 different products on various motorcycles, I’ve learned what separates genuine protection from marketing hype.
The right ceramic coating creates a sacrificial layer that shields your paint from UV rays, road grime, bug splatter, and minor scratches. More importantly, it makes washing your bike so much easier—dirt literally slides off with minimal effort. But here’s the thing: not all ceramic coatings deliver on their promises.
I’ve burned through cheap products that barely lasted three months and premium options that required professional installation. Through trial and error, I’ve identified the coatings that offer the best balance of durability, ease of application, and real-world performance for motorcycle enthusiasts like us.
- Gtechniq Crystal Serum Ultra offers the longest-lasting protection (5+ years) but requires professional installation
- CarPro CQuartz UK 3.0 is my top pick for DIY application with excellent durability and hydrophobic properties
- Proper surface preparation (wash, clay bar, polish, IPA wipe) is absolutely critical for any ceramic coating to bond correctly
- Budget options like Nexgen Ceramic Spray can work for beginners, but don’t expect multi-year protection
- Most quality ceramic coatings need 24-48 hours of curing time before exposure to water
1. Gtechniq Crystal Serum Ultra — Best Professional-Grade Protection
When I wanted the absolute best protection for my pristine Ducati Panigale, I chose Gtechniq Crystal Serum Ultra. This isn’t a product you can buy and apply yourself—it’s exclusively available through Gtechniq-accredited detailers, and for good reason.
The formula contains an incredibly dense 85% active ingredient concentration, creating a rock-hard 10H hardness layer on your paint. I’ve had Crystal Serum Ultra on my bike for over four years now, and the gloss and protection remain exceptional.
What Makes It Stand Out
Crystal Serum Ultra uses a two-layer system where the installer applies the ultra-hard base layer first, followed by Gtechniq’s EXO v4 topcoat. This combination gives you unmatched scratch resistance and chemical protection that I haven’t found in any DIY product.
The hydrophobic properties are insane—water beads up into tight spheres and rolls off at minimal angles. After rain rides, my fairings are nearly dry by the time I get home. Bug guts and road tar wipe away with a damp microfiber cloth.
The downside? Professional installation typically costs $400-800 depending on your bike’s size and the detailer’s rates. But considering the five-year durability and superior protection, I’ve calculated it’s actually cheaper than reapplying DIY coatings every year.
2. CarPro CQuartz UK 3.0 — Best DIY Ceramic Coating Overall
For riders who want professional-level results without the professional price tag, CarPro CQuartz UK 3.0 is my absolute top recommendation. I’ve applied this coating to three different motorcycles, and it’s never let me down.
CQuartz UK 3.0 offers 7H hardness and lasts 2-3 years with proper maintenance. The application process is straightforward if you follow the instructions carefully, and the 30ml kit provides enough product for 2-3 motorcycle applications depending on your bike’s size.
Application Tips From My Experience
I learned the hard way that surface preparation matters more than the coating itself. Before applying CQuartz UK 3.0, I always wash the bike thoroughly, clay bar every panel, do a light polish to remove any oxidation, and finish with an IPA (isopropyl alcohol) wipedown to remove all oils.
The coating goes on thin and flashes quickly—you’ll see it rainbow slightly before it hazes. Work in 2×2 foot sections and level it immediately with a microfiber towel. The key is maintaining consistent lighting so you can spot any high spots before they cure.
After curing for 48 hours in a controlled environment, the gloss depth is stunning. My black sportbike looks like it has three extra coats of paint. The hydrophobic effect is excellent, though not quite as extreme as Crystal Serum Ultra.
Long-Term Performance
I’ve been running CQuartz UK 3.0 on my daily rider for 18 months now. The coating still beads water aggressively and makes maintenance washes quick and easy. I use a pH-neutral shampoo and avoid automatic car washes, which helps maximize longevity.
3. Gyeon Q² Mohs — Best for Scratch Resistance
When I rebuilt my vintage café racer with a fresh custom paint job, I needed maximum scratch protection. Gyeon Q² Mohs delivers the hardest coating available for DIY application at 9H+ hardness on the pencil scale.
Mohs creates an incredibly dense protective layer that has genuinely prevented swirl marks during washing. I’m admittedly paranoid about my paint, and this coating gives me peace of mind that my wash technique won’t gradually dull the finish.
The Trade-Off You Need to Know
Here’s what Gyeon doesn’t advertise as prominently: Q² Mohs sacrifices some hydrophobic performance for increased hardness. The water sheeting is good but not as dramatic as CQuartz UK 3.0 or Crystal Serum Ultra.
Gyeon addresses this by offering Q² Mohs as part of a two-layer system. You apply Mohs first for scratch protection, then top it with their Q² SyncroShield for enhanced water behavior. I did exactly this on my café racer, and the combination is phenomenal.
The application technique requires precision. Mohs is thicker than most ceramic coatings and needs to be leveled carefully within 60-90 seconds. Work in small sections and have multiple microfiber towels ready—you’ll go through them faster than with other coatings.
Durability and Maintenance
Gyeon claims 3-4 years of protection, and based on my two years of experience, that seems accurate. The coating has shown minimal degradation even with weekly washing and occasional highway bug impacts. I’ve noticed the water beading hasn’t diminished at all in 24 months.
4. System X Max — Best for UV Protection
Living in Arizona means my motorcycles face brutal UV exposure, and System X Max has proven itself as the best ceramic coating for preventing sun damage. I applied it to my adventure bike that sits outside under a cover, and the paint still looks flawless after two desert summers.
System X Max contains advanced UV inhibitors that prevent oxidation and color fading better than any coating I’ve tested. The gloss retention in direct sunlight is remarkable—my red plastics haven’t shown any of the typical pinking or chalking that unprotected panels develop.
Professional-Grade Formula for Enthusiast Application
System X positions Max as a professional product, but it’s available to consumers through authorized distributors. The 8H hardness and claimed 3-5 year durability put it in the same category as CQuartz UK 3.0, but the UV protection is noticeably superior.
I appreciate that System X Max comes with detailed instructions and application accessories. The included leveling cloths are actually high-quality, unlike some coating kits that throw in cheap microfiber towels as an afterthought.
Application requires careful timing—the coating flashes faster in warm environments, so I work in my climate-controlled garage. Each panel takes about 10-15 minutes from application to final leveling. Don’t rush this process; high spots will cure if you don’t catch them early.
Real-World Weather Performance
After 18 months of Arizona sun, monsoon rains, and dust storms, my adventure bike’s coating is still performing exceptionally. The panels that receive the most sun exposure (tank, side covers) show no signs of UV damage or gloss degradation. This coating has genuinely saved my paint from the elements.
5. Adam’s Advanced Graphene Ceramic Coating — Best for Ease of Application
Let me be honest: my first ceramic coating application was a disaster. I left high spots, created uneven coverage, and basically had to strip and reapply. That’s why I recommend Adam’s Advanced Graphene Ceramic Coating to anyone attempting their first ceramic coating application.
Adam’s formulation gives you more working time than traditional ceramic coatings—approximately 3-5 minutes per panel instead of 60-90 seconds. This extended flash time means you can work larger sections without panicking, making it much more forgiving for beginners.
Graphene-Enhanced Formula Explained
The graphene additives in Adam’s coating provide enhanced thermal resistance and slightly better water behavior than pure SiO2 coatings. I’ve noticed the surface stays cooler to the touch in direct sunlight, which theoretically reduces thermal expansion stress on the paint.
Water beading with Adam’s coating is excellent—tight beads that roll off easily at low angles. The self-cleaning effect works well for daily riding dirt, though heavy bug splatter still requires some manual cleaning (as it does with all ceramic coatings).
The 50ml bottle provides enough coating for 3-4 motorcycle applications. I’ve coated my bike and had plenty left over to do my girlfriend’s scooter and still have some remaining for future top-ups.
Durability Expectations
Adam’s claims 3+ years of protection, though my experience suggests 2-3 years is more realistic with regular riding. The coating remains hydrophobic and glossy after 14 months, but I’ve noticed slightly less intense water beading compared to month one. That said, it’s still performing far better than any wax or sealant I’ve used previously.
6. Ceramic Pro 9H — Best for Complete Bike Protection
Most ceramic coatings focus on painted surfaces, but Ceramic Pro 9H offers versatility that makes it perfect for comprehensive motorcycle protection. I’ve used it not only on my bike’s fairings but also on wheels, exhaust shields, and even plastic trim pieces.
Ceramic Pro 9H creates a semi-permanent bond with various surfaces including paint, metal, plastic, and glass. This multi-surface capability means I can coat my entire motorcycle with one product, ensuring consistent protection and appearance across all components.
The Multi-Layer Installation Approach
Ceramic Pro’s unique selling point is the layering system. Each layer adds approximately 0.2-0.3 microns of thickness, and you can apply up to 10 layers for extreme protection. I typically apply 3-4 layers on painted surfaces and 2 layers on wheels and trim.
Each layer must cure for 1-3 hours before applying the next, so a full multi-layer application is a weekend project. The process is tedious but worth it—the depth of gloss after four layers is absolutely stunning, giving the paint a liquid-like appearance.
The application technique is standard for ceramic coatings: apply thin and even, let it flash until you see the rainbow effect, then level with a clean microfiber towel. The working time is moderate—about 90-120 seconds per section.
Wheel and Trim Protection
What I love most about Ceramic Pro 9H is how well it works on wheels. Brake dust buildup has decreased dramatically, and cleaning my wheels now takes minutes instead of the scrubbing session it used to be. The coating handles the heat from brake systems without degrading.
I’ve also coated black plastic trim pieces that typically fade over time. After one year, the plastics maintain their deep black color without any whitening or chalking. This alone makes Ceramic Pro 9H worth considering for comprehensive motorcycle protection.
7. Nexgen Ceramic Spray — Best Budget-Friendly Option
Not every rider needs or wants a $60-100 ceramic coating with years of durability. For my track bike that gets crashed, repaired, and repainted semi-regularly, Nexgen Ceramic Spray provides adequate protection without the investment of premium coatings.
Let’s set realistic expectations: Nexgen is a spray-on ceramic coating that lasts 6-12 months, not years. It’s essentially a hybrid between a traditional spray sealant and a true ceramic coating. But for $25-30, it offers impressive value.
Application Is Genuinely Simple
Unlike the coatings above that require extensive prep and careful application, Nexgen goes on in minutes. Wash and dry your bike, spray Nexgen onto a microfiber applicator pad, wipe it onto the surface, and immediately buff to a shine. That’s it.
I can coat my entire sportbike in under 30 minutes, including wheels and trim. There’s no curing time—the bike is ready to ride immediately. This convenience makes Nexgen perfect for riders who want some protection without committing to a weekend detailing project.
The hydrophobic effect is noticeable but not as dramatic as true ceramic coatings. Water beads nicely and sheeting is decent, but you’ll see more water spots and the self-cleaning effect is moderate at best.
When Nexgen Makes Sense
I recommend Nexgen for several scenarios: track bikes, riders new to ceramic coating who want to test the concept, bikes in harsh winter climates where salt damage might compromise a premium coating, or as a topper for existing ceramic coatings to refresh water behavior.
I reapply Nexgen every 3-4 months on my track bike, and this maintenance schedule works perfectly. The gloss enhancement is real—my bike looks freshly detailed after each application. For the price and convenience, it’s hard to complain about 6-month durability.
How I Prepare Motorcycle Paint for Ceramic Coating
I’ve learned that surface preparation determines 80% of your coating’s success. No matter which product you choose from this list, follow this prep process for optimal results.
Step 1: Deep Wash and Decontamination
I start with a thorough two-bucket wash using a pH-neutral shampoo. After washing, I clay bar every painted surface to remove bonded contaminants—you’d be amazed how much embedded dirt a clay bar pulls out even from a “clean” bike.
For motorcycles with heavy contamination (tar, industrial fallout, rail dust), I use a dedicated iron remover spray before clay barring. This chemical decontamination step saves clay bars from loading up too quickly.
Step 2: Paint Correction and Polishing
Ceramic coating magnifies whatever’s underneath it—if your paint has swirls and scratches, the coating will lock them in. I always do at least a single-stage polish with a finishing polish to remove minor imperfections and create a perfectly smooth surface.
For newer bikes with good paint, a light polish is sufficient. Older bikes or those with poor paint condition might need a two-stage correction with cutting compound followed by finishing polish. I use a dual-action polisher to minimize the risk of burning through clear coat.
Step 3: Final Surface Preparation
After polishing, I do a final IPA (isopropyl alcohol) wipedown using a 70/30 IPA-to-water ratio. This removes all polish oils and ensures the surface is completely clean. I wipe in one direction, then flip to a clean microfiber towel and wipe the opposite direction.
The bike needs to be completely dry before coating application. I let it air dry for 30-60 minutes, then do a final inspection under bright LED lighting to spot any missed areas or remaining contaminants.
Maintenance Tips to Maximize Ceramic Coating Longevity
I’ve extended my ceramic coatings’ lifespans significantly by following proper maintenance practices. These aren’t manufacturer requirements—they’re lessons I’ve learned from real-world experience.
Use pH-Neutral Wash Products Only
Harsh alkaline degreasers and acidic wheel cleaners will degrade ceramic coatings over time. I exclusively use pH-neutral motorcycle shampoos and avoid any product with strong chemicals. The coating’s hydrophobic properties make cleaning easier anyway, so aggressive chemicals are unnecessary.
I wash using the two-bucket method with grit guards and premium microfiber wash mitts. Never use automatic car washes or brush-style bike washes—the harsh chemicals and abrasive bristles will slowly wear down the coating.
Top Up Every 6-12 Months
Most ceramic coating manufacturers offer spray maintenance products (sometimes called “boosters” or “toppers”). I apply these every six months to refresh the hydrophobic properties and add an extra sacrificial layer.
These spray toppers take 10-15 minutes to apply and significantly extend the life of the base coating. I’ve found that coatings maintained with regular top-ups last 50-75% longer than those without any maintenance.
Avoid Parking Under Trees
Tree sap, bird droppings, and pollen are ceramic coating killers. While the coating provides chemical resistance, leaving acidic contaminants on the surface for days will eventually cause damage. I always park in my garage when possible, or use a quality bike cover when parking outdoors.
If bird droppings land on my bike, I remove them immediately with a quick detailer spray and microfiber towel. The same goes for bug splatter after rides—I don’t let it sit and cure on the coating for days.
Final Thoughts on Choosing Your Ceramic Coating
After years of testing and comparing ceramic coatings on multiple motorcycles, I’ve concluded that the “best” product depends entirely on your specific situation. Professional riders with show bikes should invest in Gtechniq Crystal Serum Ultra. Enthusiast DIYers will love CarPro CQuartz UK 3.0. Budget-conscious riders can achieve solid results with Nexgen Ceramic Spray.
The single most important factor isn’t which coating you choose—it’s proper surface preparation and correct application technique. I’ve seen cheap coatings outperform expensive ones simply because they were applied correctly to perfectly prepared surfaces.
Whatever product you choose, commit to doing it right. Set aside a full weekend, gather all necessary supplies, work in a controlled environment, and follow the manufacturer’s instructions precisely. Your motorcycle’s paint is worth the extra effort, and a properly applied ceramic coating will keep it looking stunning for years to come.
Frequently Asked Questions
How long does ceramic coating last on motorcycle paint?
In my experience, quality ceramic coatings last 2-5 years on motorcycles depending on the product and maintenance. Professional-grade coatings like Gtechniq Crystal Serum Ultra last longer than DIY products.
Can I apply ceramic coating to my motorcycle myself?
Yes! I’ve applied several DIY ceramic coatings successfully. Products like CarPro CQuartz UK 3.0 and Gyeon Q² Mohs are designed for enthusiast application, though you’ll need proper prep and workspace.
Is ceramic coating better than wax for motorcycles?
Absolutely. I’ve found ceramic coatings provide significantly longer protection (years vs. months), better chemical resistance, and superior hydrophobic properties compared to traditional wax.
Do I need to clay bar before applying ceramic coating?
Yes, proper paint preparation is critical. I always clay bar, polish, and do an IPA wipedown before applying ceramic coating to ensure the surface is completely clean and smooth.

Related Articles

Ceramic Brake Pads: My Honest Take on the Pros and Cons After Years of Testing
I've tested ceramic brake pads extensively on multiple vehicles. Here's my complete breakdown of the pros and cons to help…
 Jake Miller
11 min read
Jake Miller
11 min read

How Long Will 4mm Brake Pads Last? My Real-World Experience & Expert Insights
Discover how long 4mm brake pads will last based on my testing and experience. I'll share mileage estimates, safety factors,…
Jake Miller
15 min read

Is Ceramic Coating Worth It on a Motorcycle? My Honest Take After Years of Riding
I've tested ceramic coating on multiple bikes. Here's my brutally honest answer on whether ceramic coating is worth it for…
Jake Miller
11 min read