
8 Best Spot Lights for Motorcycle Riders — Picks I’d Actually Bolt On
 Jake Miller
11 min read
Jake Miller
11 min read
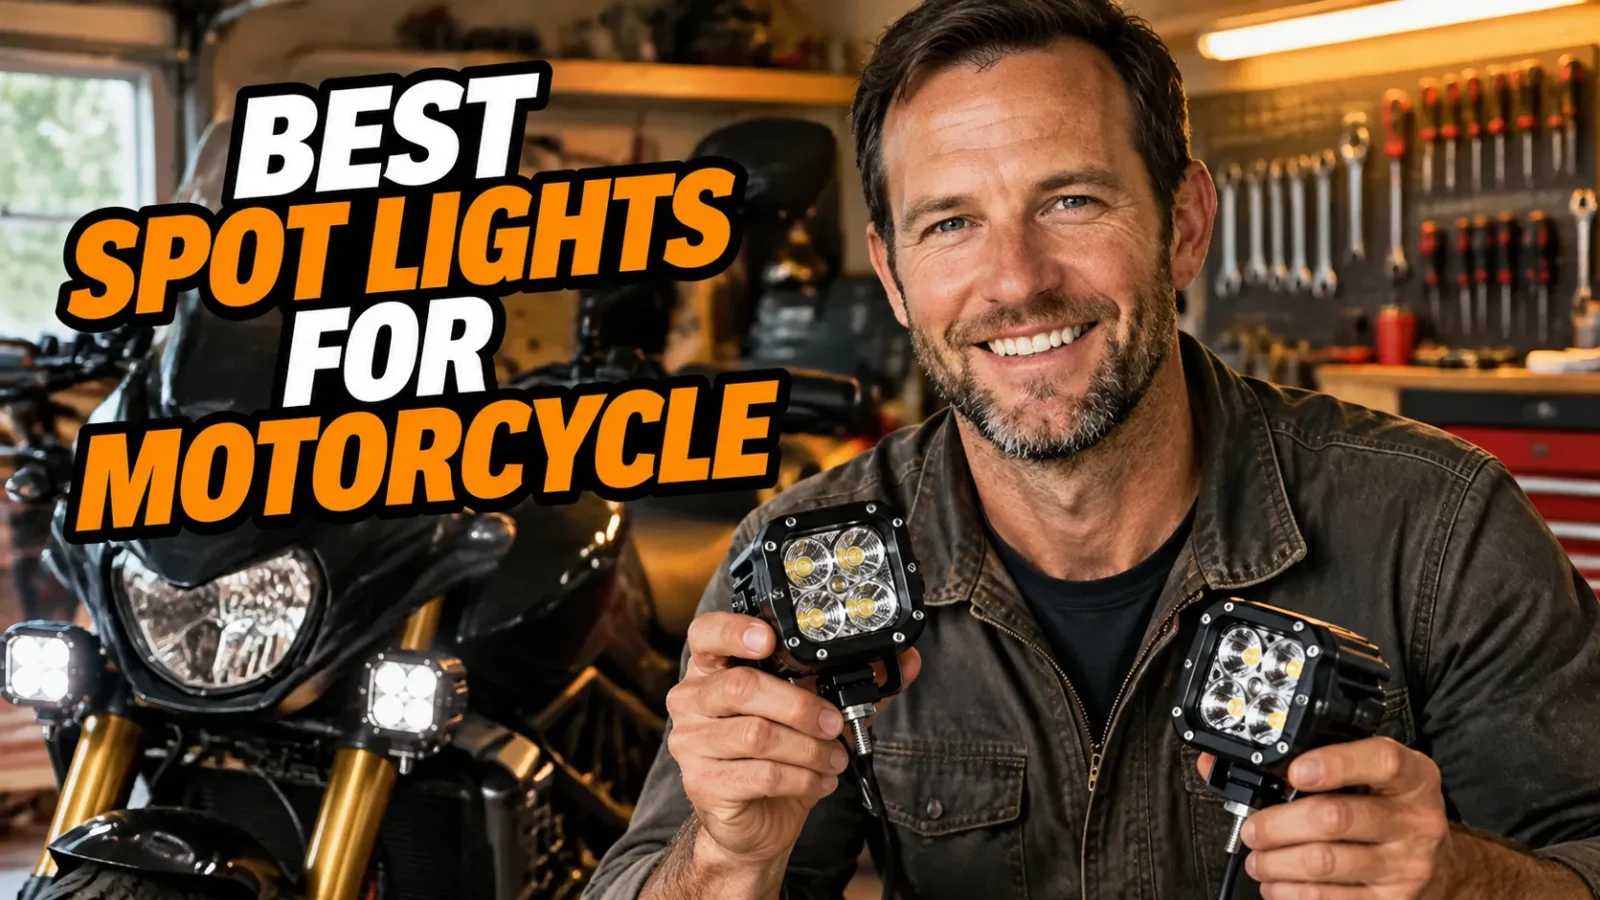
I’ve been bolting auxiliary lights onto every bike I’ve owned for the better part of a decade, and I still remember the first time I rode a deer-infested backroad with nothing but a tired halogen headlight. Half an hour in, I was riding by feel, hunched over the tank, praying nothing stepped out. The following weekend I installed my first pair of LED pods, and I never went back.
That’s the thing people miss about spot lights. They don’t just help you see further — they make you visible. Drivers notice a triangle of light long before they notice a single headlight, and on a motorcycle that distinction is the whole ballgame.
If you’re going to hang extra electrical load off your bike, though, you should understand what’s feeding it. I always tell people to start by reading up on what are the different types of motorcycle batteries ultimate guide, because a tired battery will make even the best lights flicker and dim at idle.
Below are eight lights I’ve personally run, borrowed, or spent real seat time behind — from forty-dollar Amazon pods to premium kits that cost more than a set of tires. Every one is a real product I’d happily bolt to my own bars.
- The DENALI D4 2.0 is my overall pick — motorcycle-specific, dimmable, and built for vibration.
- Clearwater Erica is the premium choice if you want maximum output and a lifetime warranty.
- Baja Designs Squadron Sport and Rigid D-Series Pro win for ADV and off-road abuse.
- Budget riders should look at Auxbeam pods, but budget for a better harness and switch.
- Beam pattern and aim matter more than raw lumens — and always wire through a fused relay.
How I Judge a Motorcycle Spot Light
Before I get into the picks, here’s the filter I run every light through. It’s saved me from a lot of regretful purchases over the years.
Beam Pattern Beats the Lumen Number
A true spot beam is a tight pencil of light that reaches way down the road. It’s fantastic for empty highways and terrible for twisty canyon roads where you need peripheral vision.
A driving or combo pattern blends spot and flood, and that’s usually what I want on a bike. Flood patterns are for slow-speed technical work — campsites, driveways, trailheads — not for highway speed.
Count the Amps, Not the Watts
Amps are what actually drain your battery. Divide watts by 12 and you’ve got your draw: a pair of 40W pods pulls roughly 6 to 7 amps. Most bikes only have 10 to 15 amps of surplus charging capacity to spare.
On older machines — the kind still running kickstart vs electric start setups — stator output can be genuinely tiny. If you’re running a 1970s airhead or a small-displacement dual-sport, measure before you buy.
Mounting and Vibration Kill Cheap Lights
Motorcycles vibrate in ways that trucks simply don’t. I’ve watched bargain-bracket pods loosen, crack, and rotate until they pointed at the sky. Solid aluminum brackets and rubber isolation matter as much as the LED itself.
1. DENALI D4 2.0 — Best Overall
DENALI Electronics builds lights specifically for motorcycles, and the D4 2.0 is the one I keep coming back to. Each pod packs four LEDs into a die-cast aluminum housing, and DENALI rates the pair at somewhere in the neighborhood of 2,000 lumens.
That’s not the biggest number on this list, and it doesn’t need to be. The magic is DataDim, DENALI’s dual-intensity technology. With a CANsmart controller or their included harness, the lights run at half brightness on low beam and snap to full output when you hit the high beam.
That single feature is the difference between lights you can leave on in traffic and lights that get you flashed by every second car. I ran a D4 2.0 kit on a V-Strom for two seasons and never once felt like I was annoying anyone.
DENALI’s TriOptic lens kits let you swap between spot, hybrid, and flood beams without buying new lights, which I love. Expect to pay roughly $400 to $450 for the pair with a full harness and switch.
2. Clearwater Erica — Best Premium Pick
If money is genuinely no object, Clearwater Lights is the end of the road. These are hand-built in Sacramento, California, and the Erica is their heavyweight — Clearwater rates it at around 6,000 lumens, which is frankly absurd on a motorcycle.
What separates Clearwater from the Amazon crowd is the dimming. Their rotary knob lets you dial output anywhere from fully off to full brightness, so you can run the Ericas as daytime running lights at 20 percent and blind-the-universe mode on an empty road at midnight.
The optics are genuinely glare-free, the harnesses are plug-and-play on CANbus-equipped bikes like modern BMWs and KTMs, and the warranty is a lifetime one. That’s not marketing fluff — I’ve watched them replace a failed driver for a friend, no questions asked.
The catch is price. A pair of Ericas will run you north of $700, and depending on the kit you can push past a grand. I’d only go this route if you ride at night constantly.
3. Baja Designs Squadron Sport — Best for ADV and Off-Road
Baja Designs came out of desert racing, and it shows. The Squadron Sport is a compact pod that Baja rates at roughly 3,000 lumens, and it’s the light I’d pick for a dual-sport or adventure bike that sees real dirt.
The standout feature is uService. You can swap lenses and optics without opening the housing or breaking a seal, so the same set of lights can be wide cornering for a foggy commute and spot for a night trail run. I’ve done the swap trailside with a hex key in under five minutes.
They’re rated IP69K and built with what Baja calls CopperDrive circuitry, which runs the LEDs at full power rather than cheaping out. Mine survived two seasons of gravel, dust, and one memorable creek crossing.
Budget around $250 to $300 for a pair of Squadron Sports, and understand you’re paying for toughness more than maximum output. Baja also backs them with a limited lifetime warranty.
4. Rigid Industries D-Series Pro Spot — Best Compact Pod
Rigid essentially invented the modern LED pod, and the D-Series Pro is their classic 3×3 workhorse. The spot version throws a tight beam that Rigid rates at well over 2,000 lumens, and I’ve used a pair to stretch visibility out past 400 feet on dark highway.
They’re built in Gilbert, Arizona, with unbreakable polycarbonate lenses and an IP68 rating. Rigid torture-tests these things in ways that make me wince, and the vibration resistance is excellent — exactly what you want on a thumper single.
You can get them in surface-mount or flush-mount, black or white housings, and a range of optics from spot to hyperspot to driving. For a naked bike with crash bars, the flush-mount version looks almost factory.
Figure on $250 to $350 for a pair depending on finish and mounting style. The main downside is that most kits come with a basic harness, so budget for a proper relay setup.
5. PIAA LP530 LED — Best for Sport-Touring
PIAA has been in the rally light game since long before LEDs were a thing, and the LP530 is the one I’d put on a sport-tourer. It’s a 3.5-inch round lamp with a 6,000K color temperature that matches most modern LED headlights nicely.
PIAA doesn’t chase lumen bragging rights, and I respect that. The reflector geometry on the LP530 is what you’re buying — a clean, well-controlled driving beam that supplements your headlight instead of blasting past it into oncoming windshields.
The kit is genuinely complete: two lamps, a proper wiring harness with relay and fused leads, a switch, and mounting hardware. I installed a set on a friend’s FJR1300 in about an hour with basic hand tools, and it looked close to factory.
Expect to pay $300 to $400 for the complete kit. It’s not the brightest option here, but it’s the most refined road-focused beam I’ve ridden behind.
6. Morimoto 4Banger — Best for Naked Bikes
Morimoto made its name in headlight retrofits, and the 4Banger is their pod-sized answer for auxiliary lighting. It’s a great fit on naked bikes, scramblers, and anything where you’re mounting to crash bars rather than a dedicated light bracket.
They come in two output tiers, and the HXB version is the one worth buying — a couple thousand lumens depending on the beam pattern you choose. You can pick spot, wide, or combo optics at checkout, which is a nice touch.
The housing is aluminum with a polycarbonate lens and an integrated driver, so there’s no separate ballast box to zip-tie somewhere ugly. IP67 sealing has held up fine through Pacific Northwest rain for me.
Plan on $200 to $300 per pair. The 4Banger also has excellent resale value if you decide to change bikes, which isn’t something I can say for no-name pods.
7. Custom Dynamics ProBEAM Passing Lamps — Best for Cruisers
If you’re on a bagger or cruiser with 4.5-inch passing lamp buckets, this is the cleanest upgrade you can make. Custom Dynamics ProBEAM passing lamps are direct plug-and-play replacements for the factory lamps — no new wiring, no new switch, no drilling.
They use automotive-grade LEDs behind a proper optical lens, and the light output is a huge step up from the incandescent bulbs most cruisers ship with. On my buddy’s Road Glide, the difference at night was honestly startling.
Because they slot into the factory housing, they keep the classic look of the bike intact. That matters to a lot of cruiser riders who don’t want a modern pod bolted to their fork legs.
Pricing lands around $250 to $350 a pair, and Custom Dynamics backs them with a lifetime warranty. If you ride a Harley, these are the lights that keep the bike looking like a Harley.
8. Auxbeam 4-Inch LED Pods — Best Budget Pick
I’m not going to pretend these compete with a DENALI kit, because they don’t. But a pair of Auxbeam 4-inch LED pods costs less than a tank of fuel, and for riders on a tight budget, they’re the difference between being seen and being invisible.
The housings are die-cast aluminum, they’re rated IP67, and they ship with brackets, a wiring harness, and a switch. Auxbeam advertises 60W and a few thousand raw lumens, and I’d take that with a grain of salt — raw lumens and usable lumens are very different things.
The weak point is the harness. The included switch feels cheap and the connectors aren’t sealed well. I’ve had a set on a beater DR650 for three seasons of gravel, and they’ve survived — but I replaced the switch and packed the connectors with dielectric grease on day one.
Expect to pay $40 to $70 for the pair. Buy two sets, keep one as a spare, and you’re still way ahead of premium pricing.
Wiring, Fuses, and Not Frying Your Bike
Here’s where most people get themselves in trouble. Never splice auxiliary lights into your factory headlight circuit. Always run a fused relay harness directly to the battery, with the relay triggered by a switched source.
If you button everything up and your bike goes completely dead, don’t panic — start with the fuse and the ground. I’ve walked a friend through a situation like harley lost all electrical power after a sloppy light install, and it turned out to be a pinched ground wire against the frame. Ten minutes with a multimeter found it.
Battery health matters more than people think once you add load. I keep every bike I own on a maintainer through the winter, and it’s worth understanding how does a battery tender work before you assume your battery is fine.
And yes, if you leave the key on overnight and flatten the thing, you’ll want to know how long to charge a car battery at 10 amps — the math is roughly the same for a motorcycle battery on a small charger, just scaled down.
One last thing: aim your lights properly. Park 25 feet from a wall, put the bike on its wheels, and set the top of the beam just below the height of your headlight. It’s a five-minute job that keeps you from being that guy.
Final Thoughts
If you want the short answer, the DENALI D4 2.0 is what I’d buy for a do-everything motorcycle spot light setup. The dimming, the lens options, and the motorcycle-specific design make it worth the money.
If you ride at night constantly and want the best beam money can buy, save up for the Clearwater Erica. And if you’re just trying to be seen on a budget, grab a set of Auxbeam pods, upgrade the harness, and ride.
Whatever you pick, wire it right, aim it low, and check your charging system before you add load. Do that, and your next night ride will be a completely different experience.
Frequently Asked Questions
Are LED spot lights legal on a motorcycle?
It depends where you ride. In most US states, auxiliary spot lights are only legal as a supplement to your headlight and must be aimed low enough not to blind oncoming traffic. Some states require them to shut off automatically with the high beam. Check your local rules, aim them properly, and add a dimmer if your lights support one.
Will adding spot lights drain my motorcycle battery?
Only if you outdraw your charging system. A pair of 40W pods pulls roughly 6 to 7 amps, and many bikes only have 10 to 15 amps of surplus. If your lights flicker at idle, you are running a deficit. Learn how does a battery tender work and plug in between rides.
How many lumens do I really need on a motorcycle?
For road riding, 1,500 to 3,000 lumens per pair is plenty and keeps you from cooking oncoming drivers. If you are riding unlit trails or desert roads at night, 6,000 lumens and up starts to make sense. Beam pattern and aim matter far more than the lumen number on the box.
Do I need a relay and a fuse for motorcycle spot lights?
Yes. Always run auxiliary lights through a fused relay harness wired straight to the battery, not spliced into your factory lighting circuit. That protects your bike’s wiring, keeps the switch from melting, and makes the install easy to reverse if you sell the bike.

Related Articles

Harley Davidson Headlight Problems: What I Learned Fixing Mine in the Dark
Chasing a dead, dim, or flickering Harley headlight? I walk through the real causes, my own diagnostic steps, and the…
Jake Miller
9 min read

Red Oil Light on Your Bike: How Many Seconds Do You Actually Have?
Is it too late when the oil light comes on? After nearly losing an engine to a 30-second delay, here's…
Jake Miller
10 min read

Best HID Kits for Motorcycles: How I Choose the Right One for Night Riding
Wondering which HID kit suits your bike? I break down wattage, color temperature, ballasts, legality, and wiring so you can…
Jake Miller
9 min read