
14 Best Wiring Tools for Motorcycle Electrical Work (What I Actually Use)
 Jake Miller
13 min read
Jake Miller
13 min read
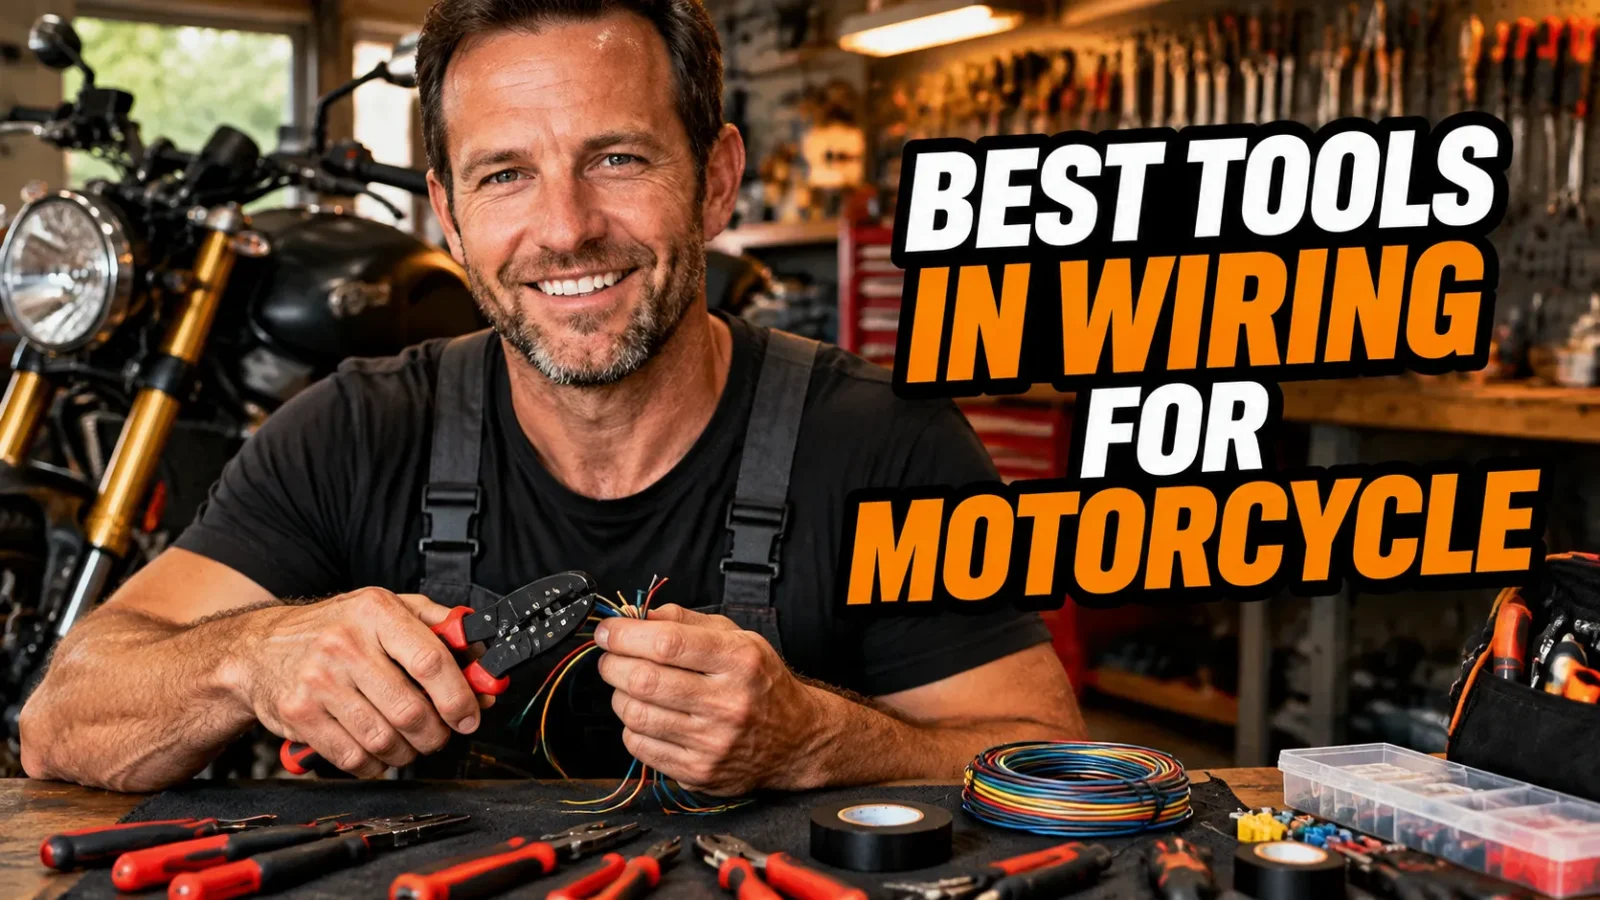
I have been rewiring bikes in a cold, badly lit garage for close to fifteen years, and I have learned one thing the hard way: motorcycle wiring punishes cheap tools faster than any other job on the bike.
A $9 set of strippers will nick a strand, that nick will flex, and three months later you are pushing a bike home. A cheap crimper makes a joint that looks fine and fails in the rain. The tools are not the fun part of the hobby, but they are the difference between a bike that starts every time and a bike that leaves you stranded.
Before you touch a single wire, it helps to know what you are actually feeding. I always start by refreshing myself on what are the different types of motorcycle batteries ultimate guide, because flooded, AGM, and lithium all behave differently under load and that changes how I test a circuit.
Below is the exact lineup I reach for. Nothing here is a hypothetical “would be nice” pick. Every tool on this list lives in my garage or my tail bag right now.
- Diagnosis comes first: a decent auto-ranging multimeter and a Power Probe III will find almost every fault on a bike.
- For repairs, spend your money on a Knipex automatic stripper, a ratcheting crimper, and adhesive-lined heat shrink, not on fancy connectors.
- Protection matters as much as repair: DeoxIT D5 and dielectric grease prevent the corrosion that causes most repeat failures.
- You can build a genuinely capable kit in three stages for well under $300 if you buy in the right order.
What I Look For Before I Buy Any Wiring Tool
I have three filters, and they have not changed in a decade of wrenching.
First, does it survive vibration? A motorcycle is a paint shaker with a license plate. Anything with a fragile plastic housing or a loose battery door is going to fail, and it will fail while you are standing on the shoulder of a highway.
Second, can I use it with gloves on? Cold-weather roadside repairs are real, and a tool with fiddly switches is useless when your hands are numb.
Third, is it repairable or replaceable? I will happily spend $100 on a multimeter I can trust for ten years over $30 on one I replace every spring.
With that in mind, here is the list.
1. Klein Tools MM700 — The Multimeter I Reach For First
If you buy one tool from this entire article, buy this one. The MM700 is auto-ranging and True RMS, which means I do not have to think about dial positions when I am chasing a fault in a dim garage.
It reads AC and DC voltage up to 1000V, plus resistance, continuity, capacitance, frequency, diode, and temperature. The continuity beeper is genuinely loud, so I can hear it over a running engine, and the non-contact voltage detection has saved me from a couple of unpleasant surprises.
Why it beats the cheap meters
Mine is rated CAT IV 600V, which matters more than most riders realize. Cheap meters can fail violently when they are connected to something they should not be, and I would rather not find that out with my hand on a live harness.
At roughly $90 to $110, it is not free, but I have had zero complaints in years of abuse. The rubber boot has taken drops onto concrete without a scratch on the display.
2. Power Probe III — Best Circuit Tester for Chasing Faults
A multimeter tells me what voltage exists. A Power Probe tells me whether the circuit actually works. Those are two very different questions, and the second one is where most people get stuck.
The Power Probe III lets me feed power or ground into a circuit with a trigger press, and it signals back with red, green, and audible indicators whether it found voltage, ground, or an open. I have found problems in minutes that would have taken an afternoon with a meter and a jumper wire.
It is my go-to whenever someone tells me their bike went dark out of nowhere. If you have ever dealt with a situation where your harley lost all electrical power, you already know how valuable fast circuit testing is.
One warning from experience: be careful applying power around an ECM or a sensor circuit. I use the probe freely on lighting, starting, and charging circuits, and I switch to a meter for anything that talks to a computer. Expect to pay around $100 to $130.
3. Hakko FX-888D — Best Soldering Station for Bench Work
Soldering is not always the right answer on a motorcycle, but when I am repairing a broken wire in the middle of a harness, it is the cleanest fix I know how to make.
The FX-888D is a 70W digital station with adjustable temperature from roughly 200 to 850 degrees Fahrenheit. It hits working temperature quickly, holds it steadily, and the ceramic heater has never let me down through hundreds of splices.
It lives on my bench and handles tinning, connector pins, and inline repairs. At around $110 to $120, it is the kind of tool you buy once and hand down to somebody else.
4. Milwaukee M12 Soldering Iron (2488-20) — Best Cordless Option
The problem with a bench station is that the bike is never on the bench. That is why I added the Milwaukee M12 Soldering Iron to the kit.
It runs off the same M12 batteries I already use for my impact driver, heats up fast, and lets me work right at the bike. There is no cord dragging across a freshly painted tank, which is worth real money.
The tip is chunkier than what I get from the Hakko, so for tiny 22-gauge signal wires I still go back to the bench. For anything from 18 AWG up, it is excellent. Tool only, it runs around $100.
5. Knipex 12 62 180 — Best Automatic Wire Stripper
This is the tool that made me realize how much damage cheap strippers were doing.
The Knipex 12 62 180 adjusts itself to the wire gauge automatically, so it strips the insulation without biting into the copper. On a 20-gauge signal wire, one nicked strand is enough to create a future failure point, and this tool simply does not do that.
It also has a built-in cutter and a crimping jaw for small terminals, so it covers a lot of ground on the bike. At around $60 to $70 it is not cheap, but I have replaced exactly zero of them.
6. Klein Tools 3005CR — Best Ratcheting Crimper
A ratcheting crimper will not release until the crimp is fully seated. That single feature eliminates the most common cause of bad connectors, which is a crimp that was “mostly” done.
The Klein Tools 3005CR handles insulated terminals from 22 down to 10 AWG, which covers everything from a turn signal pigtail to a main power feed. The handles are comfortable, and the release lever is easy to hit even with gloves on.
One clarification: for OEM-style sealed terminals like Metri-Pack or Delphi, I use a terminal-specific crimper. The 3005CR is my everyday tool for standard butt, ring, and spade connectors, and it costs about $40.
7. Wago 221 Lever-Nuts — Best Splice Connectors for Diagnostics
Purists will hate this, and I do not care. Wago 221 lever nuts have saved me hours while troubleshooting.
They are lever-actuated, tool-free, re-openable, and rated for 32A at 450V. When I am testing an accessory circuit or temporarily bypassing a suspect section of harness, being able to open and redo a connection in two seconds is a massive advantage.
They are small enough to tuck behind a side cover, and a pack of them costs about $10 to $20. I do not leave them in permanent, weather-exposed locations, but for diagnosis and swapping accessories they are brilliant.
8. Posi-Products Posi-Tap Connectors — Best No-Cut Tap
Sometimes I need to tap into an existing wire without cutting it: adding a USB charger, a voltmeter, or a heated grip feed.
Posi-Tap connectors do exactly that. They clamp onto the wire, pierce the insulation cleanly, and create a solid mechanical connection without severing the original conductor. That matters a lot on a main harness where cutting a wire is a permanent decision.
They come in several sizes for different wire gauges, and a pack runs about $20 to $30. I always follow up with a dab of dielectric grease to keep water out.
9. Ancor Adhesive-Lined Heat Shrink — Best Way to Seal a Splice
Heat shrink is not heat shrink. The cheap stuff just covers a joint. The good stuff seals it.
Ancor adhesive-lined tubing has a 3:1 shrink ratio and an inner adhesive that melts and flows as it shrinks, creating a waterproof, vibration-resistant seal around the splice. It is marine-grade, which is exactly the standard a motorcycle should be held to.
An assorted kit runs about $15 to $25 and lasts a long time. This is the single biggest upgrade most riders can make to their electrical repairs, and it costs less than lunch.
10. Wagner HT1000 Heat Gun — Best Heat Gun for Shrink Tubing
I used a lighter for years. I melted connectors, scorched insulation, and singed my fingers more times than I want to admit.
The Wagner HT1000 is a 1200W heat gun with two settings, roughly 600 and 1000 degrees Fahrenheit. It runs about $30, which is less than the cost of one replacement harness pigtail.
Keep it moving, stay a few inches back, and heat shrink will wrap itself neatly every time. The low setting is perfect for smaller tubing, and the high setting handles battery cable sleeving without a struggle.
11. Deltran Battery Tender Junior 800 — Best Battery Maintainer
Half the electrical problems I get asked about are actually battery problems, and most of those are self-inflicted by sitting unused for months.
The Battery Tender Junior 800 is a 12V, 800mA maintainer that charges and then floats, so you can leave it connected all winter without cooking the battery. If you want the full explanation of the charging stages, it is worth understanding how does a battery tender work before you buy one.
Getting to the battery is the annoying part on a lot of bikes. On something like a Street 750, it is worth knowing ahead of time how to remove harley street 750 battery so you are not learning under pressure in a parking lot.
I install the ring-terminal pigtail permanently on every bike I own. It costs about $45 and it means I never have to pull a seat just to top up a battery.
12. NOCO Boost Plus GB40 — Best Jump Starter
Modern bikes with fuel injection and no kick lever have exactly one way to start, and that way needs volts.
The NOCO Boost Plus GB40 is a 1000A peak, 12V lithium jump pack that fits in a tank bag. It has started everything I have pointed it at, and it holds a charge for months in the bottom of my bag.
This is the tool that turns a dead battery from a tow truck into a two-minute delay. It also charges phones over USB, which is a nice bonus on long trips.
There is something to be said for the old days here. I have a soft spot for the simplicity of kickstart vs electric start, but on a modern bike, a jump pack is non-negotiable for me. Expect around $100.
13. Caig DeoxIT D5 — Best Contact Cleaner
Every electrical gremlin I have ever chased started as corrosion. DeoxIT D5 is the only contact cleaner that has consistently impressed me.
It cleans oxidation off terminals and leaves a thin protective film behind, rather than evaporating and leaving bare metal to corrode again. I use it on every connector I separate, every bulb socket, and every ground point I touch.
A 5-ounce aerosol runs about $18 and lasts years. Given how many ground-related faults start with a green, crusty terminal, this is one of the highest-value items in my whole kit.
14. Permatex 81150 Dielectric Grease — Best Corrosion Insurance
Dielectric grease is not conductive, and that is exactly the point. It fills the air gap around a connection and keeps water and oxygen out.
The Permatex 81150 tube costs about $8 and will outlast most of your bikes. Every connector I reseat gets a small dab on the seal, every bulb base gets a smear, and every battery terminal gets a light coat.
I have watched bikes that lived outside for a decade with zero connector corrosion because the owner used this stuff religiously. It is the cheapest long-term protection you can buy.
How I Would Build a Wiring Kit in Stages
Not everyone wants to spend $400 at once. Here is the order I would buy things in if I were starting over.
Stage One: Diagnosis (about $150)
Start with the Klein Tools MM700 and a roll of decent electrical tape. A meter alone will help you solve the majority of problems you will ever encounter, and it teaches you how the bike actually works rather than guessing.
Stage Two: Repair (about $130)
Add the Knipex 12 62 180 stripper, the Klein Tools 3005CR crimper, and an assortment of Ancor adhesive-lined heat shrink. This trio is where the quality difference really shows up in your work.
Stage Three: Protection (about $70)
Finish with DeoxIT D5, Permatex dielectric grease, and a Wagner HT1000. These are the items you will reach for on almost every job, and they are the reason your repairs stay fixed.
One more tip: if you are topping up a battery with a regular charger instead of a maintainer, know your math. It helps to understand how long to charge a car battery at 10 amps, because the same logic applies to a motorcycle battery, just at a smaller scale.
Mistakes I Made So You Do Not Have To
I crimped without dielectric grease for years, and I paid for it with a corroded main ground that took an entire Saturday to find. Grease costs nothing. Do it.
I also trusted a $12 wire stripper for far too long. It was nicking strands on every single splice, and I blamed the bike for years when the problem was sitting in my hand.
Finally, I tried to test an ECM circuit with a Power Probe and a lot of confidence. Nothing died, but I got lucky. Use a meter for anything computer-controlled.
Final Thoughts
Motorcycle wiring has a reputation for being mysterious. It is not. It is a small number of simple circuits, and the whole game comes down to buying tools that measure accurately and make clean connections.
If I had to hand a new rider just three things, it would be the Klein Tools MM700, a proper ratcheting crimper, and a roll of adhesive-lined heat shrink. Add the rest as you go, and within a couple of seasons you will be the person your riding group calls when their bike goes dark.
Buy once, keep the joints sealed, and your electrical system will outlast the rest of the machine.
Frequently Asked Questions
Do I really need a multimeter to work on motorcycle wiring?
Yes. A basic auto-ranging meter like the Klein Tools MM700 is the one tool you cannot substitute. It runs about $100 and will find the vast majority of electrical faults on a bike, from a lazy ground to a failing regulator.
Can I use household lever connectors on a motorcycle?
I use Wago 221 lever nuts for troubleshooting and accessory circuits, but I never leave them in a high-vibration, weather-exposed spot. For permanent repairs I crimp or solder and then seal the joint with adhesive-lined heat shrink.
What gauge wire should I use for motorcycle accessories?
For lighting and most accessory runs, 16 to 18 AWG is plenty. Step up to 14 AWG for anything drawing more than about 5 amps, and always size the fuse to the wire, not to the device.
Is a soldered splice better than a crimp?
Both work when done properly. A ratcheting crimp with a sealed connector is faster and handles vibration well, while solder is my choice for repairing a broken wire inside a harness. I keep both options in my kit.

Related Articles

How to Fix a Short Circuit on a Motorcycle: A Rider’s Step-by-Step Guide
Learn how to find and repair a motorcycle short circuit step by step, from blown fuses to chafed wires, with…
Jake Miller
11 min read

What Does a CDI Unit Do on a Motorcycle? Purpose, Symptoms and Fixes
Wondering what a CDI does on your bike? I explain how the capacitor discharge ignition works, signs of failure, testing…
Jake Miller
10 min read

How to Test a 6 Volt Motorcycle Battery and Charging System (Step-by-Step)
Learn how to test a 6 volt motorcycle battery and charging system step by step, with multimeter readings, load tests,…
Jake Miller
10 min read