
Should You Tape Your Motorcycle Air Filter? What I’ve Learned the Dirty Way
 Jake Miller
9 min read
Jake Miller
9 min read
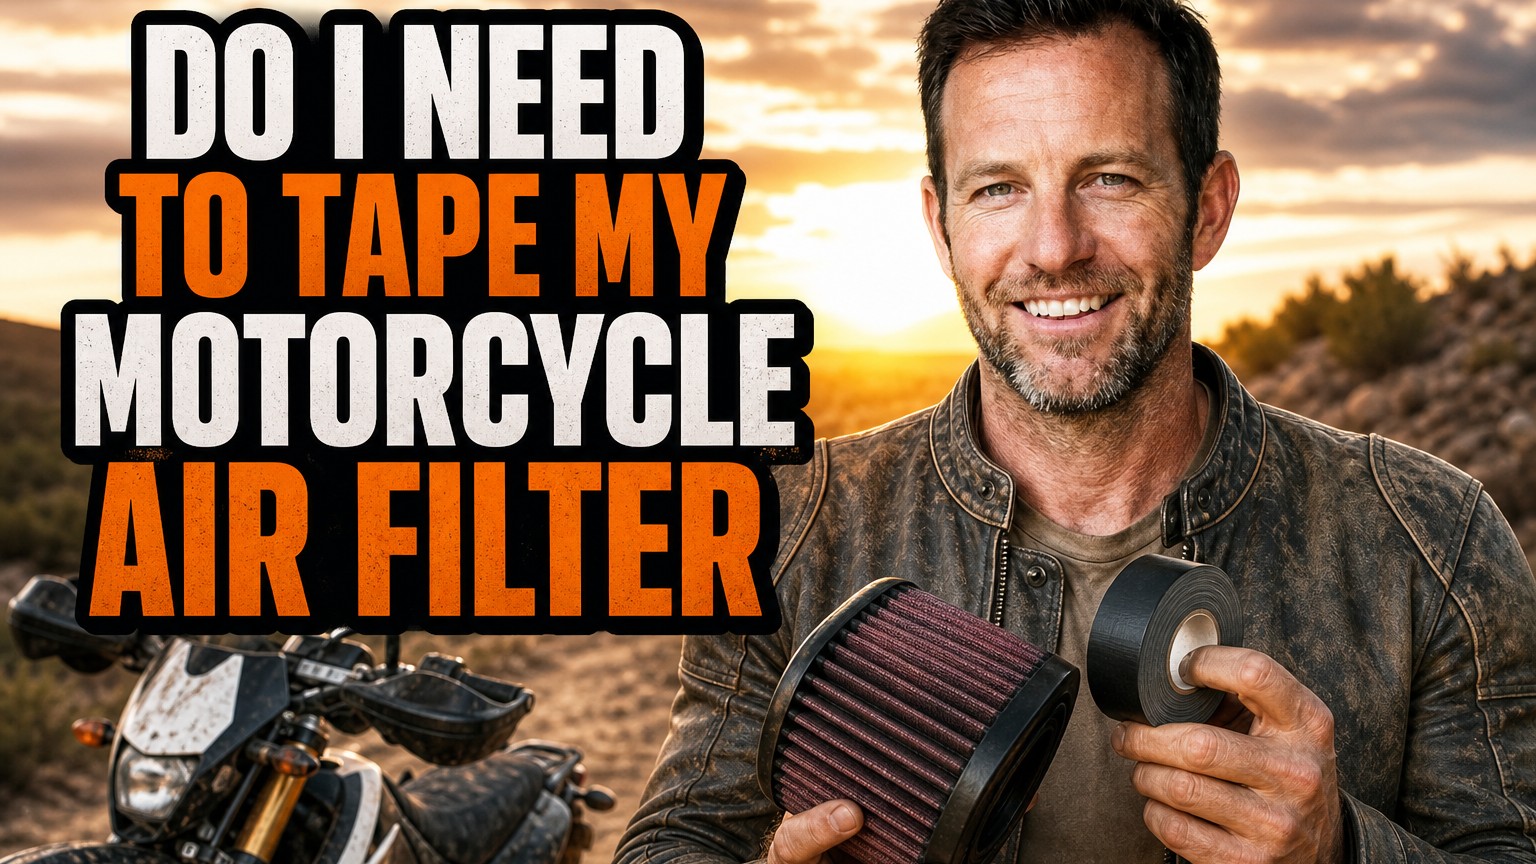
I’ll be honest: the first time I saw a buddy wrap tape around his air filter at the trailhead, I thought it was some kind of superstition. Then I watched him ride through a wall of dust and finish the day with a clean intake. Meanwhile, I was pulling a dirty airbox apart in my garage that night.
That moment sent me down a rabbit hole of testing, tearing down airboxes, and comparing notes with other riders. I’ve now run through enough filters, greases, and rolls of tape to have strong opinions. Here’s what I’ve figured out about whether tape belongs on your air filter at all.
- Most street bikes don’t need tape on the air filter. A properly seated filter and an intact airbox do the job.
- On dirt bikes, filter grease on the sealing edge matters far more than tape.
- Tape is a useful backup at airbox seams and the airboot joint for mud, sand, and water crossings.
- Never cover the filter’s working surface, and use low-tack tape that won’t leave residue.
The Short Answer From My Garage
For most riders, the answer is no, you don’t need to tape the filter itself. A clean filter that is correctly seated, with a healthy seal and an undamaged airbox, already does what tape is supposed to do.
That said, there are situations where I do reach for the tape roll. They almost all involve dirt bikes, dual-sport rigs, or bikes that see serious abuse. Let me break down exactly when it helps and when it’s wasted effort.
Why Riders Tape Air Filters in the First Place
The logic is simple. Your engine needs a lot of clean air, and even a tiny gap lets unfiltered air sneak past the element. Dust, silt, and grit are abrasive, and they wear down piston rings and cylinder walls surprisingly fast.
Tape is meant to close the gaps. Those gaps usually hide in a few predictable spots.
The Common Leak Points
- The filter’s sealing flange where it meets the cage or airbox.
- The airboot connection between the airbox and the carb or throttle body.
- The airbox lid seam, especially on older bikes with worn seals.
- Subframe or side panel gaps that let dust blow into the airbox cavity.
Notice what’s not on that list: the foam or paper surface of the filter. That part has to stay open to breathe. If someone tells you to tape over it, walk away.
Street Bikes: I Leave the Tape in the Drawer
On my road bikes, I’ve never taped an air filter, and I’ve never had a problem. Factory airboxes on street machines are designed with tight tolerances, rubber seals, and sealed intake tracts.
If the lid clips down properly and the filter sits flat in its housing, you’re good. Adding tape here usually just creates a mess when you service it.
What I Do Instead on the Street
I inspect the filter at every service interval and look closely at the rubber seal around the edge. If it’s cracked, flattened, or hardened, I replace the filter instead of trying to patch it with tape.
I also make sure the airbox lid screws are all present and snug. A missing screw causes far more intake leaks than anything tape could fix.
Dirt Bikes: Where Sealing Really Matters
Off-road is a completely different story. You’re riding in dust clouds, wet clay, deep sand, and sometimes through water. A dirt bike’s airbox gets punished, and I’ve learned to treat the sealing process as part of every ride prep.
Here’s my honest hierarchy of what actually works, from most important to least.
1. Filter Grease on the Sealing Edge
This is the real hero. A thick layer of waterproof filter grease around the rubber sealing flange creates an airtight, dust-proof gasket against the cage and airbox. I use my finger and make sure every millimeter is covered.
If you only do one thing, do this. In my experience, grease solves about 90 percent of the leaks people try to fix with tape.
2. Proper Seating on the Cage
A filter that’s slightly crooked will leak no matter how much grease you use. I always press the filter firmly onto the cage, rotate it a bit to seat the flange, and check that it sits evenly all the way around.
Then I tighten the retaining bolt or clamp until the seal compresses slightly, but not so much that it distorts.
3. Tape as a Backup
This is where tape finally earns a place. I use it at the airbox lid seam and sometimes around the airboot clamp when I know I’m facing ugly conditions. Think desert races, sand dunes, or a creek-heavy trail ride.
It’s cheap insurance, and it takes about two minutes.
My Step-by-Step Sealing Routine
After enough trial and error, I settled on a process that works every time. It’s quick, and I’ve never had a leak since I started doing it consistently.
Step 1: Clean Everything First
I wipe down the airbox interior and the filter cage so no grit sits under the new filter. Any debris trapped at the seal can create a channel for dirty air.
Step 2: Grease the Flange
I apply a generous bead of filter grease to the sealing edge and smooth it around with my finger. I also put a thin layer on the airbox mating surface where the filter seats.
Step 3: Seat and Tighten
I install the filter, press it into place, and tighten the retaining hardware. Then I double-check by running a finger around the edge to feel for gaps.
Step 4: Tape the Seams, Only If Needed
If conditions call for it, I run a strip of low-tack tape over the airbox lid seam. I fold over the end into a small tab so removal is easy later.
A Quick Note on Tape Choice
Not all tape is created equal. I prefer a quality cloth duct tape or electrical tape on exterior seams only. Cheap, gummy tape can leave sticky residue and attract dirt, which defeats the purpose.
Mistakes I See (and Have Made)
I’ve made most of these errors myself, so no judgment here. They’re common, and they’re easy to avoid once you know about them.
Taping Over the Filter Surface
This chokes airflow, makes the engine run lean or sluggish, and can even cause overheating. Never cover any part of the filter that air is supposed to pass through.
Using Tape Instead of Grease
Tape on a dry, ungreased flange does very little. Dust still creeps through the microscopic gaps. Grease fills them, and tape can’t.
Forgetting to Remove Old Tape
Old tape gets brittle and leaves residue. I always peel it off and clean the surface before applying fresh tape after a big ride.
Ignoring a Worn Filter
A damaged filter can’t be saved with tape. If the foam is torn or the rubber flange is warped, replace it. A new filter costs far less than a rebuilt top end.
What About Water Crossings?
Water is a unique problem. If you ride through deep creeks, intake water can be catastrophic, and no amount of tape will save you from submerging an airbox intake.
For shallow crossings, a well-greased filter and taped lid seams help keep splashes out. For anything deeper, I rethink the route, because hydrolock can destroy an engine in an instant.
Air Filters and Engine Longevity
I think of the air filter as one piece of a bigger engine health puzzle. Clean intake air protects your cylinders, but it only goes so far if the rest of your maintenance is lacking.
Oil quality matters just as much. If you ride an air-cooled machine, I’d point you toward the best oil for air cooled motorcycle engines, since these engines run hotter and rely heavily on their lubricant. I also found this list of the best oil for air cooled motorcycle engines top picks for performance handy when comparing options.
For Two-Stroke Riders
Two-strokes are especially unforgiving of dirty air, because any grit that gets in goes straight past the ring. If you run one, check out the best 2 cycle oil for air cooled motorcycle engines.
And if you’re keeping a classic alive, the best 2 cycle oil for air cooled vintage motorcycle engines is worth a look. Vintage engines also tend to have worn airboxes, which makes good sealing even more important.
For Four-Stroke Riders
Four-stroke owners should also match their oil to their riding style and conditions. I found this guide to the best motor oil for 4 stroke motorcycle useful for narrowing it down. Pairing good oil with a well-sealed filter is how you get engines to hit six figures on the odometer.
How Often Should I Check the Seal?
My rule is simple: before every dusty or wet ride, I pop the seat and look at the filter. It takes about a minute. I look for dry grease, dirt tracks along the flange, and any gap between the filter and cage.
If I see a clean “dust line” inside the airbox past the filter, I know something’s leaking. At that point, I stop and figure out why before I ride again.
Signs Your Filter Isn’t Sealing
- Visible dirt on the clean side of the airbox.
- Dusty residue inside the airboot or carb intake.
- Dry, cracked, or flattened filter sealing rubber.
- Unexplained loss of power or rough running in dusty conditions.
My Final Verdict
So, should you tape your air filter? On a street bike, skip it. On a dirt bike, grease the flange first, seat the filter properly, and use tape only as a secondary measure around the airbox seams and airboot.
The real secret isn’t tape at all. It’s consistent inspection, a fresh filter, a well-greased seal, and good oil in the crankcase. Do those things, and your engine will thank you with years of reliable power.
Next time you’re at the trailhead and someone is wrapping tape around a filter, you’ll know exactly what they’re doing and whether it’s actually necessary. Ride safe, keep it clean, and enjoy the dirt.
Frequently Asked Questions
Do I need to tape my motorcycle air filter?
Usually not the filter itself. On street bikes, no tape is needed. On dirt bikes, a good coat of filter grease on the sealing flange is the main defense, and tape is an optional extra at the airboot and airbox joints for sand, mud, or water crossings.
Can tape damage my air filter?
Yes, if you use the wrong kind or leave it on too long. Strong adhesive can tear foam or leave residue that blocks airflow. Use a low-tack tape such as quality duct or electrical tape on the outside seams, and never cover the filter’s working surface.
What is the best way to seal a dirt bike air filter?
Apply waterproof filter grease to the filter’s sealing edges, seat it fully on the cage and airbox, and confirm the airboot clamp is tight. Add tape over the airbox lid seam or subframe gaps only if you ride in extreme dust or water.
How often should I check my air filter seal?
Check it before every ride in dusty or wet conditions and clean or replace the filter regularly. A quick look for gaps, dirt tracks, or dry grease takes less than a minute and can save an engine.

Related Articles
7 Best Batteries for Motorcycles I’ve Tested and Trust in 2026
I've tested dozens of motorcycle batteries to find the best performers. From AGM to lithium, here are my top picks…
Jake Miller
15 min read

The Perfect Battery for Your Harley Davidson Softail: A Rider’s Complete Guide
Discover the perfect battery for your Harley Davidson Softail. I've tested multiple options and share real-world performance data, maintenance tips,…
Jake Miller
14 min read

The Best Battery for Your Harley Davidson: My Complete Guide After Years of Testing
Discover which battery truly performs best for Harley Davidson motorcycles. Real rider experience with AGM, lithium, and OEM options to…
Jake Miller
12 min read