
7 Best High Temp Paints for Motorcycle Exhausts That Won’t Blister or Peel
 Jake Miller
10 min read
Jake Miller
10 min read
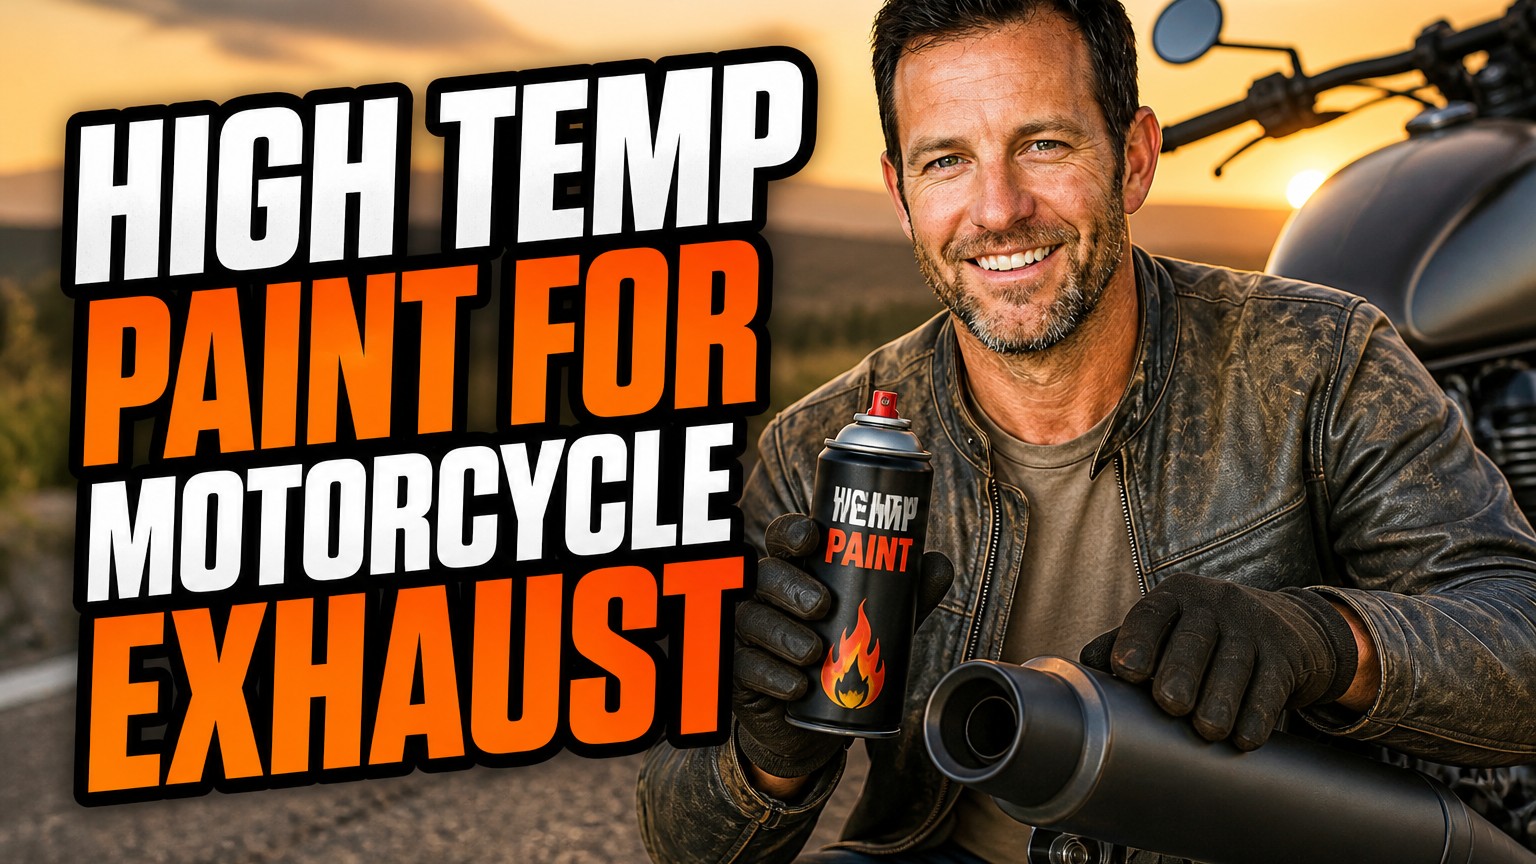
I’ve painted more exhaust pipes than I’d like to admit. Some looked great for years. Others turned into a flaky, rusty mess after one hot summer ride.
The difference almost always came down to two things: the paint I picked and how well I prepped the metal. In this guide I’m sharing the seven high temp paints and coatings I trust, what each one does best, and the mistakes I’ve made so you don’t have to.
- My top all-round spray pick is VHT Flameproof Flat Black, rated to 2,000°F when cured.
- For budget-friendly DIY, Rust-Oleum High Heat Ultra is hard to beat.
- For the toughest finish, a Cerakote C-Series ceramic coating wins, but it costs more.
- Prep and curing matter more than the brand. Degrease, scuff, thin coats, then heat cycle.
What I Look for Before Choosing an Exhaust Paint
Not every can labeled “high heat” can handle a motorcycle header. Some are rated for barbecues or wood stoves, which run far cooler than an exhaust port on a hard-working engine.
Temperature Rating
Header pipes near the cylinder head can easily pass 1,000°F. Mid-pipes and mufflers run cooler, often 300°F to 700°F. I match the paint to the zone, and I never go below a 1,200°F rating on headers.
Cure Requirements
Almost every serious high temp paint needs a heat cure. Some call for an oven bake, while others cure through staged engine heat cycles. Read the can before you buy, because it affects how you plan the job.
Finish and Durability
Flat black is the classic choice and hides imperfections well. Ceramic coatings add scratch and chemical resistance. If your bike sees rain, road salt, or lots of chain lube spray, durability should outrank looks.
1. VHT Flameproof Flat Black (SP102) — Best Overall Spray
When someone asks me what to buy, VHT Flameproof Flat Black is my first answer. It’s a ceramic-based coating designed for exhaust manifolds, headers, and mufflers, and it’s rated up to 2,000°F once cured.
I’ve used the VHT Flameproof on a set of air-cooled twin headers, and it still looked solid after multiple summers. It sprays smoothly and lays down evenly if you keep your coats light.
Why I Like It
- Rated to 2,000°F when properly cured
- Resists gasoline, oil, and brake fluid once hardened
- Available in several finishes beyond flat black
- Typically sells for about $12 to $18 per can
What to Watch For
The VHT Flameproof needs a proper multi-stage cure. I let it air dry, then ran staged heat cycles, and the result was far more durable than paint I’d rushed. Skip that step and it’ll stay soft and scuff easily.
2. Rust-Oleum High Heat Ultra 2000°F — Best Budget Pick
You can find Rust-Oleum High Heat Ultra at almost any hardware store, which makes it a lifesaver when you’re mid-project and out of paint. It’s rated to 2,000°F and usually costs well under $15 a can.
On my own project bike, I used Rust-Oleum High Heat Ultra on a stainless steel slip-on’s header section. It went on evenly and the flat black finish looked factory fresh once cured.
Pros and Cons
Pros: It’s easy to find, affordable, and forgiving for first-timers. The spray nozzle gives a decent fan pattern with little splatter.
Cons: In my experience it’s a touch softer than ceramic-based competitors. It can mark if you’re careless with boots, tools, or a rag during reassembly.
3. POR-15 High Heat Paint — Best for Rust-Prone Pipes
If you ride in wet climates, you know how fast bare steel exhausts rust. POR-15 High Heat Paint is a brush or spray-on coating rated to about 1,400°F and designed to stick and resist corrosion.
I used POR-15 High Heat on an older steel muffler hanger and collector section that kept rusting through cheaper paints. It held up through a wet winter with very little fuss.
Prep Is Everything
POR-15 is not a miracle on dirty metal. I wire brushed the surface, degreased it twice, and followed the manufacturer’s cure steps. It costs more than a rattle can, but the toughness is noticeable.
4. Cerakote C-Series — Best Premium Ceramic Coating
If I want a finish I won’t think about again, I go with Cerakote C-Series. These ceramic coatings are designed for exhaust components and are rated up to about 1,800°F.
Most riders have a local shop apply it, since the process involves blasting, precise spraying, and curing. Expect to pay roughly $100 to $400 depending on the pipe, but the finish is much harder than anything out of a can.
Why It’s Worth It
- Excellent abrasion and chemical resistance
- Thin film that won’t change pipe fitment
- Wide range of colors, not just black
- Handles heat cycling far better than most paints
The Trade-Off
It isn’t a casual DIY job. If you have a rare or expensive exhaust system, though, I think professional ceramic coating is a smart long-term move.
5. Rust-Oleum Specialty High Heat 1200°F — Best for Mufflers and Cooler Sections
For mufflers, heat shields, and mid-pipes, I often reach for Rust-Oleum Specialty High Heat 1200°F. It’s a simple enamel that’s inexpensive and covers well.
I wouldn’t use it on the headers of a hot-running engine. But on a muffler canister, which runs far cooler, the Rust-Oleum Specialty High Heat has held up nicely for me.
Best Use Cases
I use it on cans, brackets, and heat shield edges. It’s also great for touching up older paint where the bike is already looking tired.
6. Eastwood High Temp Exhaust Coating — Best for Restoration Projects
When I’m restoring a bike and want a tidy, period-correct look, I like Eastwood’s High Temp Exhaust Coating. Eastwood has long served the restoration crowd, so their coatings are tuned for people who care about finish detail.
Check the current rating on the can before you buy, since formulations get updated. I’ve found it sprays smoothly and builds a consistent satin black on bare, properly prepped steel.
Tips for Using It
Eastwood’s own prep products make a real difference. I followed their degrease and metal-prep steps and the coating bonded very well. Cheap shortcuts on prep show up fast with any paint.
7. Dupli-Color Ceramic Engine Paint — Best for Engine Cases and Cooler Parts
This one comes with a caveat. Dupli-Color Ceramic Engine Paint is rated at around 500°F, so it isn’t my choice for headers.
Where it shines is on engine cases, covers, brackets, and exhaust hangers. It’s a nice way to match the look of a freshly painted exhaust without overspending on a heavy-duty coating.
My Take
I like the color options and the ceramic-reinforced finish on engine parts. Just don’t use it where temperatures will blow past its limit, or you’ll be repainting in a month.
How I Prep an Exhaust for Paint
Good paint can’t save a badly prepped pipe. This is the routine I follow every time.
Step 1: Remove and Clean
I take the exhaust off the bike whenever possible. It’s easier to prep, and I avoid overspray on the engine, frame, and wiring.
I scrub away grease, soot, and old wax with a quality degreaser. Then I wipe everything with a clean rag and isopropyl alcohol or brake cleaner.
Step 2: Scuff or Strip
Flaky old paint has to go. I use a wire wheel or sandpaper on bare steel and 320 to 400 grit on stainless or chrome to scuff the surface.
On rusty pipes, I remove all loose rust and treat what’s left. Paint on top of rust will blister, no matter how good the can is.
Step 3: Mask Everything
I mask threaded areas, mounting flanges, and any part I don’t want painted. I wear gloves from this point on, since fingerprints leave oils that ruin adhesion.
My Application and Curing Routine
Apply Thin Coats
I shake the can for a full two minutes and spray from about 8 to 10 inches away. Two or three thin coats always beat one thick, drippy coat.
I wait the recommended time between coats, usually 10 to 15 minutes. Rushing causes runs and trapped solvent, which later leads to bubbling.
Heat Cure Properly
Most paints list a staged curing schedule. A common one is 30 minutes at a lower temperature, then increasing in steps. I follow the can’s instructions exactly, either in a home oven for small parts or with controlled engine heat cycles.
If you’re curing on the bike, I run the engine at idle for short periods and let it cool between cycles. Expect some smoke and odor on the first runs. That’s normal.
Use Your Maintenance Window Wisely
When the exhaust is off the bike, I treat it as a full service day. It’s the perfect time to handle other jobs that are awkward with the pipes in place.
For example, I’ll swap in one of the best high performance oil filter for motorcycle options while the bike is on the stand. If you’re not sure what to pour in, my notes on the best motor oil for 4 stroke motorcycle engines will help.
You can also compare the top engine oil for 4 stroke motorcycle picks before you buy. If you ride in hot, dusty conditions, check out this guide to the best engine oil for 4 stroke motorcycle in india.
Watch for Exhaust-Related Issues
While you’re in there, inspect gaskets and joints for leaks. A leaky exhaust can cause rough running and poor mileage. If your bike seems thirsty, take a look at these causes of high fuel consumption in motorcycle engines before you assume the exhaust is the culprit.
Common Mistakes I’ve Made (So You Can Skip Them)
Painting Over Oily Metal
Early on, I skipped a second degreasing pass. The paint looked fine for a week, then started peeling in sheets. Now I clean until a white rag comes away spotless.
Skipping the Cure
Another early mistake was assuming “dry to the touch” meant ready to ride. It didn’t. Uncured paint will soften, scuff, and discolor when it meets real heat.
Spraying Too Heavy
Thick coats trap solvents and crack when heated. I learned to be patient and build color slowly.
Using the Wrong Paint Zone
A 500°F engine paint on a header is a recipe for failure. Always match the product to the temperature range of the part.
Which One Should You Buy?
Here’s how I’d choose, based on what I’ve seen work in the real world.
- Best overall DIY: VHT Flameproof Flat Black
- Best budget: Rust-Oleum High Heat Ultra 2000°F
- Best for rust protection: POR-15 High Heat Paint
- Best long-term finish: Cerakote C-Series
- Best for mufflers: Rust-Oleum Specialty High Heat 1200°F
- Best for restorations: Eastwood High Temp Exhaust Coating
- Best for engine cases: Dupli-Color Ceramic Engine Paint
Final Thoughts
The best exhaust finish is the one that matches your bike, your budget, and your patience. A well-prepped, properly cured can of VHT or Rust-Oleum will look great for years.
If you want the toughest finish possible, spend the extra money on Cerakote. Whichever route you take, remember that prep and curing are what separate a showroom pipe from a flaking disaster. Happy painting, and ride safe.
Frequently Asked Questions
How hot does a motorcycle exhaust actually get?
Header pipes on a typical street bike commonly run between 400°F and 1,200°F, and can spike higher on a hard ride or on a turbocharged or high-compression engine. That is why I only use paints rated for at least 1,200°F on headers and collectors.
Do I need to cure high temp exhaust paint?
Yes. Most spray options such as VHT Flameproof and Rust-Oleum High Heat Ultra need a heat cure, usually a few staged heat cycles or an oven bake, to reach full hardness. Skipping the cure is the number one reason I see paint bubble or flake.
Can I paint a chrome exhaust with high temp paint?
You can, but the chrome must be thoroughly scuffed and degreased first, or the paint will not grip. Chrome that is blued or already peeling should be sanded back to bare metal. For a long-lasting result, I recommend a ceramic coating applied by a professional.
Is spray paint or ceramic coating better for motorcycle exhaust?
Ceramic coatings like Cerakote C-Series are more durable, resist chemicals and abrasion, and hold up better to heat cycling. High temp spray paint is cheaper and easier for DIY work, and it is plenty good if you prep and cure it properly.

Related Articles
7 Best Batteries for Motorcycles I’ve Tested and Trust in 2026
I've tested dozens of motorcycle batteries to find the best performers. From AGM to lithium, here are my top picks…
Jake Miller
15 min read

The Perfect Battery for Your Harley Davidson Softail: A Rider’s Complete Guide
Discover the perfect battery for your Harley Davidson Softail. I've tested multiple options and share real-world performance data, maintenance tips,…
Jake Miller
14 min read

The Best Battery for Your Harley Davidson: My Complete Guide After Years of Testing
Discover which battery truly performs best for Harley Davidson motorcycles. Real rider experience with AGM, lithium, and OEM options to…
Jake Miller
12 min read