
How to Remove Rust from a Motorcycle Gas Tank (Without Replacing It)
 Jake Miller
11 min read
Jake Miller
11 min read
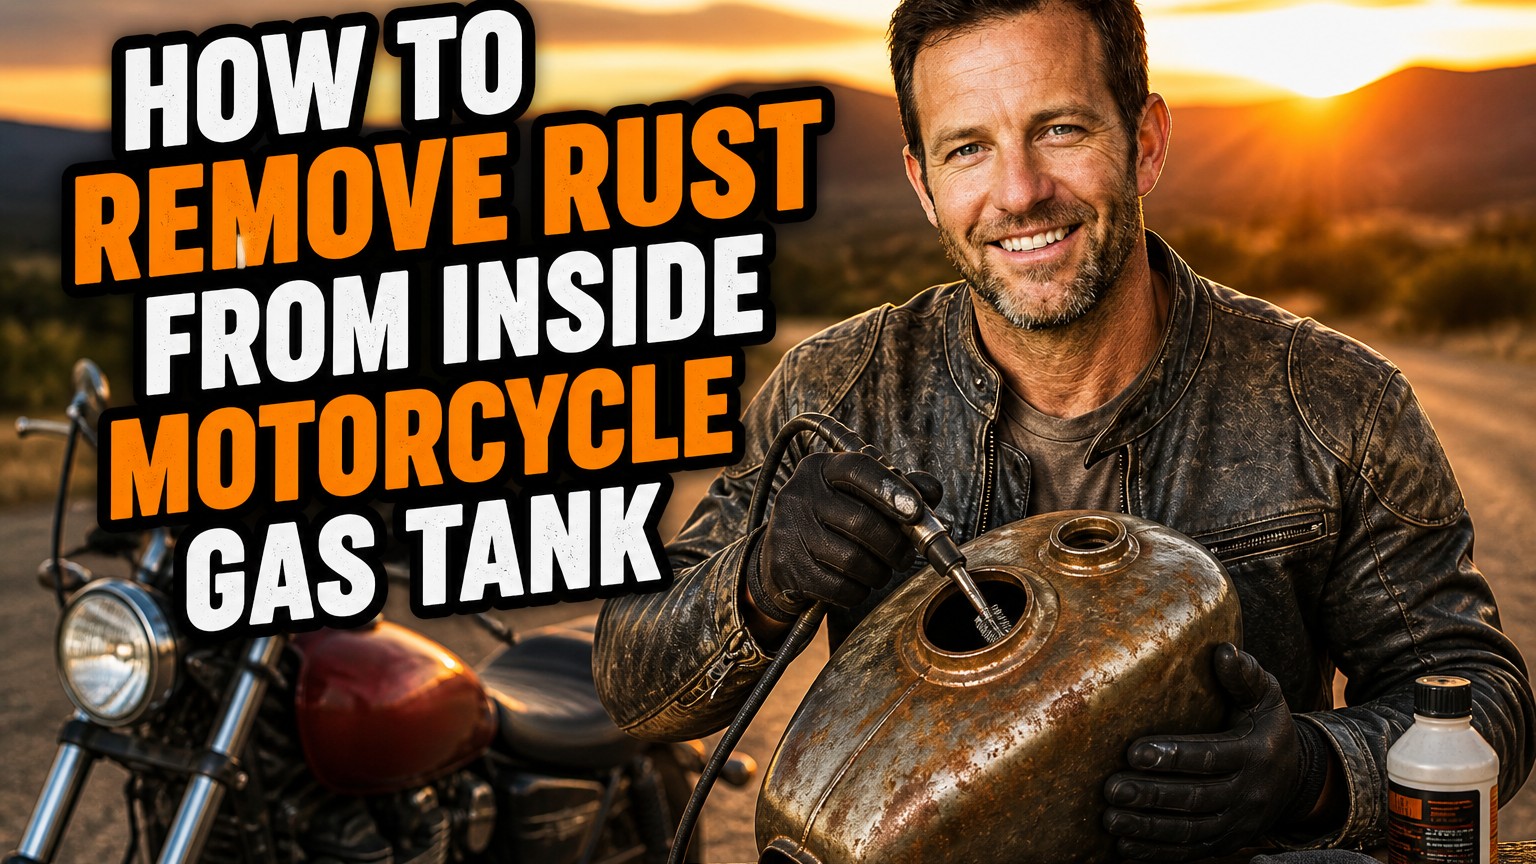
The first time I pulled the fuel cap off an old project bike and shined a flashlight inside, my stomach dropped. The bottom of the tank looked like a Martian landscape, with orange scale, brown sludge, and flakes the size of confetti.
I almost went shopping for a replacement tank. Instead, I spent a weekend learning how to clean it, and the tank has been spotless ever since. In this guide I’ll walk you through the methods I’ve actually used, the mistakes I made, and how I keep rust from coming back.
You don’t need to be a master mechanic, and most of the supplies cost less than a tank of gas.
- Drain the tank, remove it from the bike, and work outdoors. Fuel vapors are dangerous.
- Citric acid or a commercial rust remover is my go-to for most tanks. Vinegar works for light rust, and electrolysis is great for heavy rust.
- Rinse, neutralize, and dry the tank immediately. Flash rust forms within hours if you skip this.
- Finish with rust-preventive oil or a proper tank sealer, then store the bike with a full tank of stabilized fuel.
Why Rust Forms Inside a Motorcycle Tank in the First Place
Rust needs just two things: iron and moisture. Your steel tank provides the iron, and the air in a half-empty tank provides the moisture.
Temperature swings make it worse. As the tank cools overnight, water vapor condenses on the inner walls and sits there, quietly eating the steel.
The Ethanol Problem
Modern pump fuel often contains ethanol, which absorbs water from the air. Over weeks of sitting, that water separates and settles at the bottom of the tank, right where rust loves to grow.
That’s why bikes stored over winter with a quarter tank of gas are the most common victims. I learned that the hard way with my first bike.
Signs Your Tank Has a Rust Problem
You don’t always need a flashlight to know something is wrong. Here are the symptoms I’ve seen most often:
- Bike sputters or stalls, especially at higher RPM or on hills
- Clogged fuel filter or petcock screen
- Brown or orange particles in the carburetor bowls
- Fuel that looks cloudy or has visible sediment
- Rusty rattling when you shake an empty tank
Safety First: Don’t Skip This Part
Gasoline fumes are explosive, and an “empty” tank is often more dangerous than a full one because the vapor-to-air ratio is perfect for ignition.
I treat every tank like it’s still live, even after draining it.
My Safety Checklist
- Work outdoors or in a very well-ventilated space.
- Keep sparks, pilot lights, and cigarettes far away.
- Wear nitrile gloves and safety glasses.
- Store drained fuel in an approved container, and never pour it on the ground.
- Disconnect the battery before removing the tank.
If you use electrolysis, remember that it produces hydrogen gas. Ventilation matters even more for that method.
Gather Your Tools and Supplies
You don’t need a full workshop for this job. Here’s what I keep on hand:
- Socket set and screwdrivers for removing the tank
- Rubber plugs or caps for the fuel line outlets and petcock holes
- A flexible inspection light or a small endoscope camera
- Your chosen rust remover (citric acid, vinegar, or commercial product)
- Pressure washer or garden hose with a narrow nozzle
- Compressed air or a hair dryer
- Rust-preventive spray or a tank sealer kit
Step One: Remove and Inspect the Tank
Turn the petcock to off, disconnect the fuel line, and carefully lift the tank off the bike. Check your service manual, because some tanks have vacuum lines, fuel level sensors, or wiring that need to be unplugged first.
Drain any remaining fuel into a proper container. Then remove the petcock and fuel cap so you can see inside.
Assess the Damage
Shine a bright light into the tank and look at the walls, seams, and bottom. A cheap inspection camera is worth its weight in gold here.
If I see light surface rust or orange dusting, I know a simple soak will do. If I see thick scale, deep pits, or any sign of pinholes, I plan for a heavier treatment or consider replacement.
Step Two: Pick Your Rust Removal Method
I’ve tried four different approaches over the years. Each has a place, so choose based on how bad your rust is and how much time you have.
Method 1: White Vinegar (Best for Light Rust)
Vinegar is cheap and easy to find. Fill the tank completely with white vinegar and let it sit for 24 to 48 hours.
Swirl it around every few hours so the acid reaches every surface. After the soak, drain it and check your progress.
Honestly, it’s slow and sometimes leaves the tank looking dull and gray. But for a quick fix on a lightly rusty tank, it does the job.
Method 2: Citric Acid (My Favorite for Most Tanks)
This is the method I reach for first. Citric acid powder is sold as a canning or cleaning ingredient, and it’s gentle on bare steel while being tough on rust.
I mix about one cup of citric acid per gallon of hot water and pour it into the tank until it’s full. Let it soak for 12 to 24 hours, swirling occasionally.
The solution turns dark as it dissolves rust, and you can often see results the next morning. For moderate rust, I may repeat the soak with a fresh batch.
Method 3: Commercial Rust Removers
Products like Evapo-Rust or phosphoric-acid-based tank cleaners are formulated for exactly this job. I find them convenient and consistent, though they cost more than DIY solutions.
Follow the label directions carefully. Some products are reusable, which helps offset the price.
Avoid harsh muriatic acid. It can damage the tank’s interior, eat through thin spots, and attack any remaining paint or sealer.
Method 4: Electrolysis (For Heavy Rust)
When I tackled a tank with thick, flaky rust, electrolysis saved the day. You fill the tank with a washing soda solution, suspend a sacrificial steel rod inside, and connect a battery charger.
The positive lead goes to the rod and the negative to the tank. Rust transfers from the tank to the rod over several hours.
It works brilliantly, but it takes setup and care. You must keep the rod from touching the tank walls, and you must ventilate well because of hydrogen gas.
Bonus: The Mechanical Method
For chunky rust, I sometimes add a handful of loose chain links, nuts, or coarse gravel and shake the tank vigorously. The abrasive action knocks scale off the walls.
I pair this with a chemical soak for the best results. Just don’t use anything sharp enough to scratch the metal deeply.
Step Three: Rinse and Neutralize Immediately
This step is where many people lose the battle. Bare steel starts to flash rust within hours of being exposed to air and water.
As soon as the soak is done, drain it and flush the tank thoroughly with clean water. I use a pressure washer on low or a hose with a narrow nozzle.
Neutralizing Acids
If you used an acid-based cleaner, I recommend a quick rinse with a baking soda and water mix. That neutralizes any leftover acid and stops it from attacking the steel.
Then rinse again with plain water until it runs completely clear. Don’t rush this part.
Step Four: Dry the Tank Completely
Dry it fast and dry it thoroughly. I blow compressed air through the tank, then use a hair dryer or heat gun on low for 15 to 20 minutes.
Some riders pour in a small amount of isopropyl alcohol or acetone and swirl it around. It displaces water and evaporates quickly, which helps prevent flash rust.
Be careful with flammable solvents. Keep them away from ignition sources and make sure the area is ventilated.
Step Five: Protect the Bare Steel
Once the tank is clean and dry, the metal is vulnerable. If you leave it unprotected, the rust will return faster than you’d expect.
Option A: Rust-Preventive Oil
For a quick, low-cost fix, I spray a light coating of fogging oil or a tank-specific rust preventive inside. I tilt the tank in every direction to coat the walls.
Many riders swear by this, and it’s easy to redo yearly. It’s a good choice if the tank is in decent shape.
Option B: Tank Sealer or Liner
For tanks with pitting or a history of rust, I like a proper sealer kit. These kits usually include a cleaner, an etching solution, and an epoxy coating.
The process takes more effort, and surface prep is everything. A sloppy job can peel and clog your fuel system, so follow the instructions to the letter.
I only use a sealer on tanks I plan to keep long-term. It’s not a fix for tanks with holes or heavy structural damage.
Don’t Forget the Rest of the Fuel System
Cleaning the tank is only half the job. Rust particles can hide in the petcock, fuel lines, and carburetor.
I always replace the fuel filter and inspect the petcock screen. If the bike has a carburetor, I pull the float bowls and clean out any grit.
Fuel injection systems need the same attention. Check the in-tank pump screen, and replace the filter if there’s one.
Use the Downtime for Other Maintenance
With the tank off and the bike sitting in the garage, I like to catch up on other chores. It’s the perfect time for an oil change.
If you’re not sure what to pour in, I’ve found it helpful to compare the best motor oil for 4 stroke motorcycle options before buying. Fresh oil is cheap insurance for a bike that’s been neglected.
For a broader look, this guide to the top engine oil for 4 stroke motorcycle models helped me understand viscosity ratings and wet-clutch compatibility.
If you ride in warm, dusty conditions, this breakdown of the best engine oil for 4 stroke motorcycle in india is a useful read. Local climate affects which oil works best.
And if you’re still wondering what is the best engine oil for 4 stroke motorcycle owners should choose, that article covers the basics clearly. You can also check out this overview of the best engine oil for motorcycle riders in general.
When Cleaning Isn’t Enough
I’d love to say every tank can be saved, but that’s not true. Sometimes the rust has done permanent damage.
Signs It’s Time to Replace the Tank
- Visible pinholes or weeping seams
- Deep, widespread pitting that has thinned the metal
- Rust-through around the petcock bung or filler neck
- Repeated leaks after attempted repairs
A leaking tank is a fire hazard, and no sealer is worth risking your safety. In that case, I’d look for a used tank in good condition or a quality reproduction.
How I Keep Rust from Coming Back
Prevention is far easier than another weekend of scrubbing. These habits have kept my tanks clean for years.
My Prevention Habits
- Store the bike with a full tank. Less air means less condensation.
- Add a fuel stabilizer before any storage longer than a month.
- Use ethanol-free fuel when I can find it.
- Install an inline fuel filter to catch stray particles.
- Keep the fuel cap seal in good shape so moisture can’t sneak in.
- Ride regularly. A bike that’s used rarely rusts.
For long-term storage, I also toss a small desiccant pack near the bike and cover it with a breathable cover. It’s cheap and surprisingly effective.
Common Mistakes I’ve Made (So You Don’t Have To)
Skipping the Drying Step
I once rinsed a tank, got distracted, and came back an hour later to find a fresh orange coating on the bare metal. Dry it right away.
Using Harsh Chemicals
Early on, I thought stronger acid meant faster results. It also meant a thinned, damaged tank wall. Gentle and patient wins.
Ignoring the Fuel Filter
I once cleaned a tank perfectly but forgot to replace the old filter. Leftover grit clogged it within a week, and I had to start the troubleshooting process all over again.
Final Thoughts
A rusty tank looks scary, but in my experience it’s rarely a lost cause. With a little patience, a few basic supplies, and a careful process, you can bring most tanks back to life.
Start with the gentlest method that suits your rust level, rinse and dry thoroughly, and protect the steel afterward. Then build good storage habits so you never have to do this again.
If you take one thing from my experience, let it be this: don’t rush the rinse and dry steps. That’s where a good cleaning job is won or lost. Now grab a flashlight, take a look inside your tank, and get started. Your bike will thank you on the next ride.
Frequently Asked Questions
Can I remove rust from my motorcycle gas tank without removing it from the bike?
Technically yes, but I don’t recommend it. Pulling the tank lets you drain it fully, rinse it properly, and inspect the inside. It also keeps acid, rust remover, and fuel vapors away from your paint, wiring, and engine.
Is vinegar or citric acid better for cleaning a rusty motorcycle tank?
I prefer citric acid. It works faster, has no strong smell, and is easier to control. Vinegar still works on light rust, but it is slower and may need several soaks.
How do I stop rust from coming back after cleaning my tank?
Dry the tank completely right after rinsing, then spray the inside with a rust-preventive oil or apply a quality tank sealer. Keep the tank full with stabilized fuel during storage, and use a fuel filter to catch loose flakes.
When should I replace a rusty gas tank instead of cleaning it?
Replace it if the rust has eaten through the metal, if you find pinholes or seam leaks, or if the walls are deeply pitted and flaking. Surface rust and moderate scale are usually fixable. Structural rot is not.

Related Articles
7 Best Batteries for Motorcycles I’ve Tested and Trust in 2026
I've tested dozens of motorcycle batteries to find the best performers. From AGM to lithium, here are my top picks…
Jake Miller
15 min read

The Perfect Battery for Your Harley Davidson Softail: A Rider’s Complete Guide
Discover the perfect battery for your Harley Davidson Softail. I've tested multiple options and share real-world performance data, maintenance tips,…
Jake Miller
14 min read

The Best Battery for Your Harley Davidson: My Complete Guide After Years of Testing
Discover which battery truly performs best for Harley Davidson motorcycles. Real rider experience with AGM, lithium, and OEM options to…
Jake Miller
12 min read