
7 Best Tools for Mounting a Motorcycle Tire at Home (Garage-Tested Picks)
 Jake Miller
10 min read
Jake Miller
10 min read
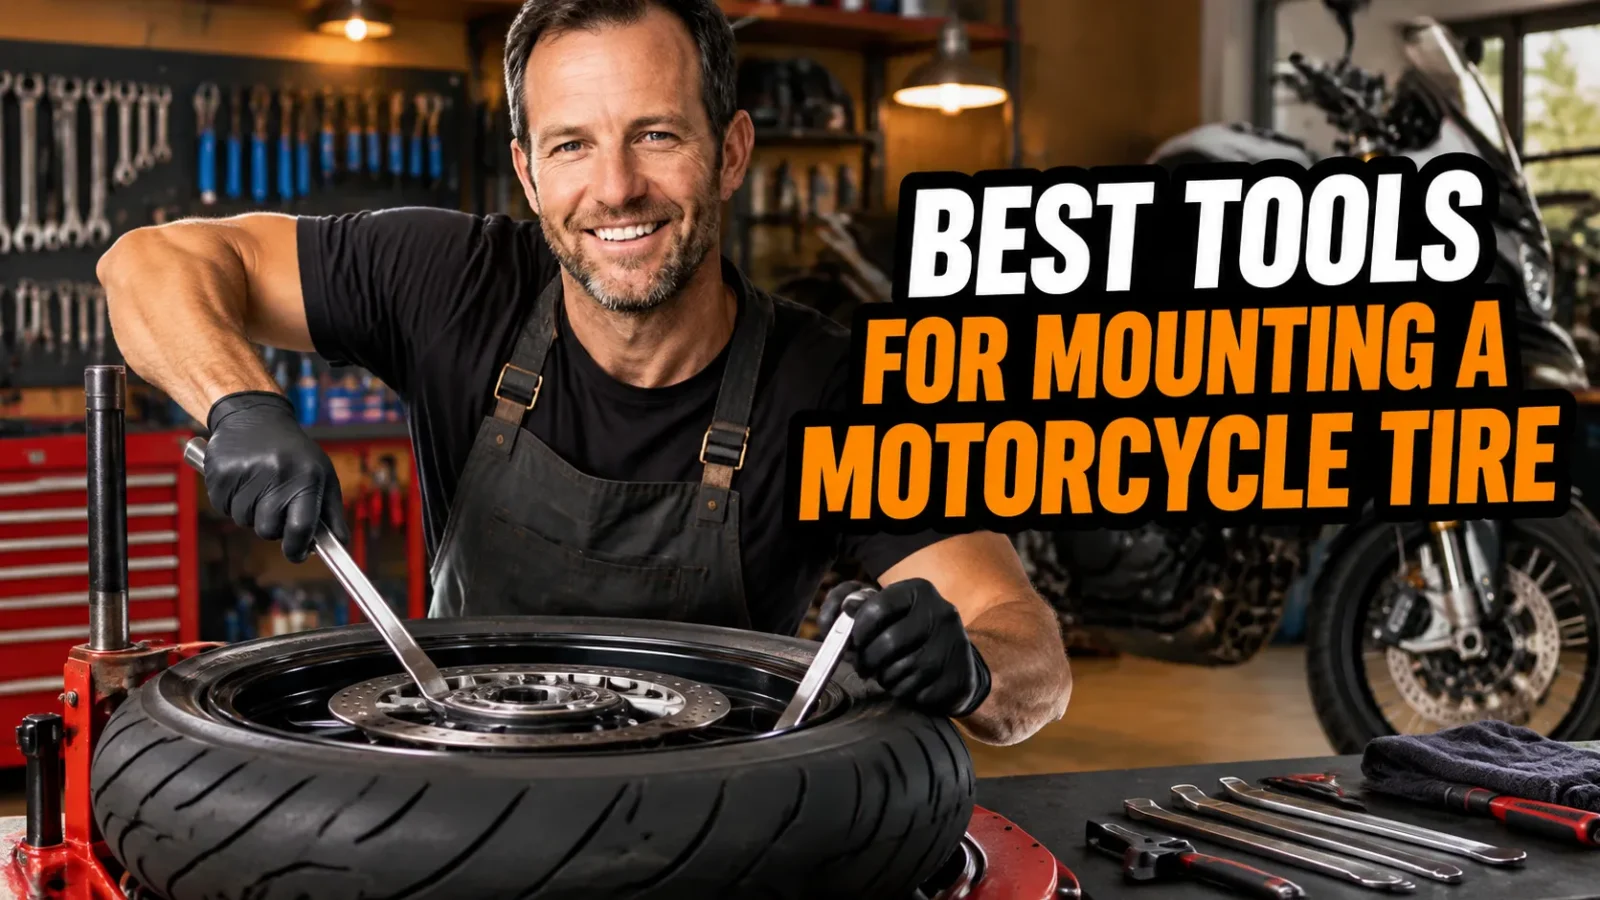
I changed my first motorcycle tire with a pair of mismatched screwdrivers, a rusty pry bar, and a lot of optimism. It went badly. I pinched a tube, scratched a rim, and spent an entire Saturday swearing at a rear tire that refused to cooperate.
Since then I’ve learned that the right tools turn a miserable job into a satisfying one. You don’t need a shop full of equipment, but you do need gear designed for the task. Below are the seven tools I’d buy again, starting with the one that makes the biggest difference.
- A dedicated stand like the Bikemaster Tire Changing Stand saves your back, your wheel, and your patience.
- Quality irons (Motion Pro BeadPro) and rim protectors (Motion Pro Rim Shields) prevent most DIY damage.
- A bead holder and proper lubricant make the last, hardest section of the bead far less painful.
- Always balance after mounting, and keep a repair kit on hand for the road.
1. Bikemaster Tire Changing Stand — Best Overall Starting Point
If I could only buy one big-ticket item, it would be the Bikemaster Tire Changing Stand. Bikemaster is the house brand of Parts Unlimited, a major powersports distributor, so it’s easy to find and support. The stand holds the wheel steady at a comfortable working height, which is half the battle.
Trying to mount a tire on the garage floor means chasing the wheel around while you fight the bead. The Bikemaster stand removes that problem. It gives you a stable platform so both hands stay on your irons.
Why I Like It
The stand is built around a mounting post and a wheel-securing setup that handles a wide range of wheel sizes. That makes it useful whether you ride a street bike, an adventure bike, or a dirt bike. Kits and configurations vary by seller, so check the listing for what’s included.
The main drawback is space. You’ll want a spot to bolt it down or weight it, and it takes up real room in a small garage. Still, for anyone planning to change more than one set of tires, it pays for itself quickly compared to shop labor.
Who Should Buy It
I’d recommend it for riders who change tires at least once or twice a year. If you ride dirt, where tires wear fast, it becomes even more valuable. Prices generally land in the low-to-mid hundreds of dollars, depending on the kit.
2. Motion Pro BeadPro Tire Iron — Best Tire Levers
Cheap tire irons flex, slip, and chew up your rim. The Motion Pro BeadPro Tire Iron is the opposite, a purpose-built lever from a brand that has served off-road riders for decades. It’s designed with a shaped tip to help you get under a stubborn bead.
The BeadPro’s biggest selling point is how it helps you keep progress as you work around the rim. A common frustration is gaining an inch of bead and then losing it when you move to the next spot. A bead-holding design reduces that problem.
What to Know Before Buying
Irons are only as good as your technique. Work in small bites, keep the bead pushed into the drop center, and never force a lever. The BeadPro makes that rhythm easier, but it won’t replace patience.
I suggest buying a set of two or three. Having multiple irons lets you hold your progress with one while you reposition another. Street prices are typically modest per iron, which makes this one of the best value upgrades on the list.
3. Motion Pro Rim Shields — Best Wheel Protection
Nothing hurts like watching a steel lever scrape fresh paint or anodizing off an expensive wheel. The Motion Pro Rim Shields are plastic guards that sit between your iron and the rim edge. They’re simple, cheap, and worth every penny.
On my own bikes, I treat these as non-negotiable. Even if your irons have rounded tips, a bit of grit or a slipped lever can leave a mark. The Rim Shields take that damage instead of your wheel.
Tips for Using Them
Place them wherever your iron contacts the rim, and slide them along as you work. Keep them clean, since embedded grit can defeat the purpose. If you have gold-anodized, powder-coated, or carbon wheels, I’d consider them essential.
4. Motion Pro Bead Buddy — Best Bead Holder
The Motion Pro Bead Buddy is a small clamp that holds the tire bead in the drop center of the rim while you work. It looks almost too simple to matter. Then you try mounting a stiff tire without one and understand immediately.
The last section of the bead is always the hardest. As you approach it, the tire wants to spring back out of the drop center and fight you. The Bead Buddy locks your progress in place.
Where It Shines
It’s especially helpful on stiff-sidewall tires. If you’re mounting a heavy-duty knobby, such as one of the tires from my guide to the best motorcycle tire for desert racing, a bead holder can save you serious frustration. Those sidewalls don’t forgive sloppy technique.
It’s also cheap and takes up almost no space. Toss a couple in your toolbox and forget about them until you need them.
5. Rabaconda Tire Changing Tool — Best for Tricky Beads
The Rabaconda is a different kind of tool. Instead of relying only on prying, it uses a leverage-based design that helps press the bead into the drop center. A lot of riders swear by it for stubborn tires, and I understand why.
For me, the Rabaconda earns its place when conventional irons struggle. Tight, cold, or stiff tires are the usual culprits. Anything that reduces the force you need to apply also reduces your risk of damaging the tire or wheel.
Things to Keep in Mind
It’s not a replacement for irons and rim protectors. I treat it as a specialist helper that complements the rest of the kit. Read the instructions for your wheel and tire size, since fit and technique matter.
If you ride sport bikes or sport-touring machines, it’s worth a look. Many of those tires, including the models in my breakdown of the best micheline sport tire for motorcycle, have firm carcasses that benefit from extra leverage.
6. Ru-Glide Tire Mounting Lubricant — Best Lube
Lubricant is the most overlooked tool in the whole process. Ru-Glide is a dedicated tire mounting lubricant that helps the bead slide over the rim and seat properly. It’s a small purchase that makes a surprisingly large difference.
I used to reach for dish soap. It works in a pinch, but I prefer a product made for the job. A purpose-made lube is designed to help the bead slide during mounting without leaving the kind of residue that can cause trouble later.
How I Use It
Apply it generously to both beads and the rim edges before you start. Reapply if the surface dries out partway through. A well-lubed bead often needs noticeably less force, which means less strain on your levers and your knuckles.
Ru-Glide also helps at the seating stage. When you inflate the tire to pop the bead onto the rim, lubricant lets it slide into place instead of hanging up. I’d say that alone justifies the cost.
7. Dynabeads Tire Balancing Beads — Best Finishing Touch
Mounting the tire isn’t the end of the job. Before you ride, you need to deal with balance. Dynabeads are small ceramic beads that go inside the tire and shift to counteract imbalance as the wheel spins.
I like them because they simplify the process. Instead of hunting for weight positions, you add the recommended amount of beads for your tire size. They also adapt as the tire wears, which static weights can’t do.
Beads Versus a Traditional Balancer
Plenty of riders still prefer a stand and stick-on weights, and that’s a valid approach. If you want to go that route, my guide to the best tire balancer for motorcycle covers the options. Either method beats skipping balance altogether.
One note: check compatibility with your tire setup before adding beads. Follow the manufacturer’s guidance on quantity, and make sure the interior of the tire is clean and dry first.
How I Put These Tools Together
The best kit is a system, not a pile of gear. My typical order of operations looks like this:
- Secure the wheel on the Bikemaster stand.
- Break the bead, then lubricate generously with Ru-Glide.
- Use Motion Pro Rim Shields and BeadPro irons to remove the old tire.
- Mount the new tire, using a Bead Buddy to hold progress.
- Use the Rabaconda if the last section fights back.
- Add Dynabeads or balance the wheel another way before riding.
That sequence has saved me countless hours and a fair number of bruised knuckles. It’s also much safer than improvising with whatever’s lying around.
Choosing the Right Tire Matters Too
Your tools only matter if the tire suits how you ride. If you commute or tour in the rain, take a look at my picks for the best motorcycle tire for wet roads before you shop. Compound and tread pattern make a bigger difference to safety than most riders realize.
A stiffer, more aggressive tire is harder to mount, so plan your tool kit around it. If you’re stepping up to something tougher, lean on the stand, the bead holder, and plenty of lube. Don’t try to muscle it.
Safety and Common Mistakes
I’ve made most of the classic errors, so let me save you some trouble. The biggest one is rushing. Forcing a tire on with brute strength is how rims get bent and tubes get pinched.
Here are the mistakes I see most often:
- Skipping rim protection and scratching an expensive wheel.
- Under-lubricating the bead, which makes everything harder.
- Ignoring rotation arrows and installing the tire backward.
- Over-inflating while seating the bead. Always stay within the tire’s rated maximum.
- Forgetting valve stem and rim-strip checks when replacing tubes.
Take your time and double-check the direction of rotation on the sidewall. Then torque your axle to the factory spec once the wheel is back on the bike. If you’re ever unsure about a step, a professional shop is a better choice than guessing.
Don’t Forget a Roadside Backup
Even a perfect mount can’t protect you from a nail on the highway. I always carry a repair kit, and I’d urge you to do the same. My roundup of the best tire repair kit for motorcycle will help you choose one.
A kit won’t replace a proper tire change, but it can get you home safely. Pair it with a compact pressure gauge and a small inflator, and you’ll handle most flats without stress.
Final Thoughts
Changing your own tires is one of the most rewarding skills a rider can learn. It saves money, builds confidence, and gives you a better feel for your bike. The right tools just make it a lot less painful.
If you’re starting from scratch, I’d begin with the Motion Pro BeadPro irons, Rim Shields, and a bottle of Ru-Glide. Add the Bead Buddy next, then graduate to the Bikemaster stand when you’re ready. Whatever you pick, take your time, protect your wheels, and enjoy the ride.
Prices and kit contents change often, so confirm details with the seller before you buy. Happy wrenching, and ride safe out there.
Frequently Asked Questions
Can I mount a motorcycle tire with just hand tools?
Yes. With quality tire irons, rim protectors, a bead holder, and plenty of mounting lubricant, most riders can mount a tire by hand. A stand makes the job much easier, especially on stiff sport and dual-sport tires.
What is the most important tool for mounting a motorcycle tire?
Good tire irons paired with rim protectors matter most. Irons do the actual work, and protectors keep you from scratching or gouging the wheel.
Do I need to balance a tire after mounting it?
Yes, in almost all cases. A freshly mounted tire should be balanced with a static balancer, wheel weights, or balancing beads before you ride.
Should I use soap or tire lube when mounting a tire?
Use a purpose-made tire mounting lubricant. Dish soap can leave residue that dries slippery or encourages corrosion, and some formulas keep the bead from seating properly.

Related Articles

8 Best Cruiser Motorcycle Tires for Street Riding: My Real-World Picks
I rank the 8 best cruiser motorcycle tires for street riding, from Michelin to Pirelli, with real notes on grip,…
Jake Miller
9 min read

8 Best Michelin Motorcycle Tires for Every Riding Style (Tested Picks)
Looking for the best Michelin motorcycle tires? I break down my 8 favorite models for sport, touring, adventure, cruiser, and…
Jake Miller
9 min read

Yamaha Tire Pressure Guide: The Right PSI for Safer, Smoother Rides
Learn the right tire pressure for your Yamaha, from sportbikes to cruisers and dirt bikes. Check, adjust and maintain PSI…
Jake Miller
9 min read