
P0641 Harley Code: I Fixed My Bike’s Sensor Reference Voltage Fault – Here’s How
 Jake Miller
12 min read
Jake Miller
12 min read
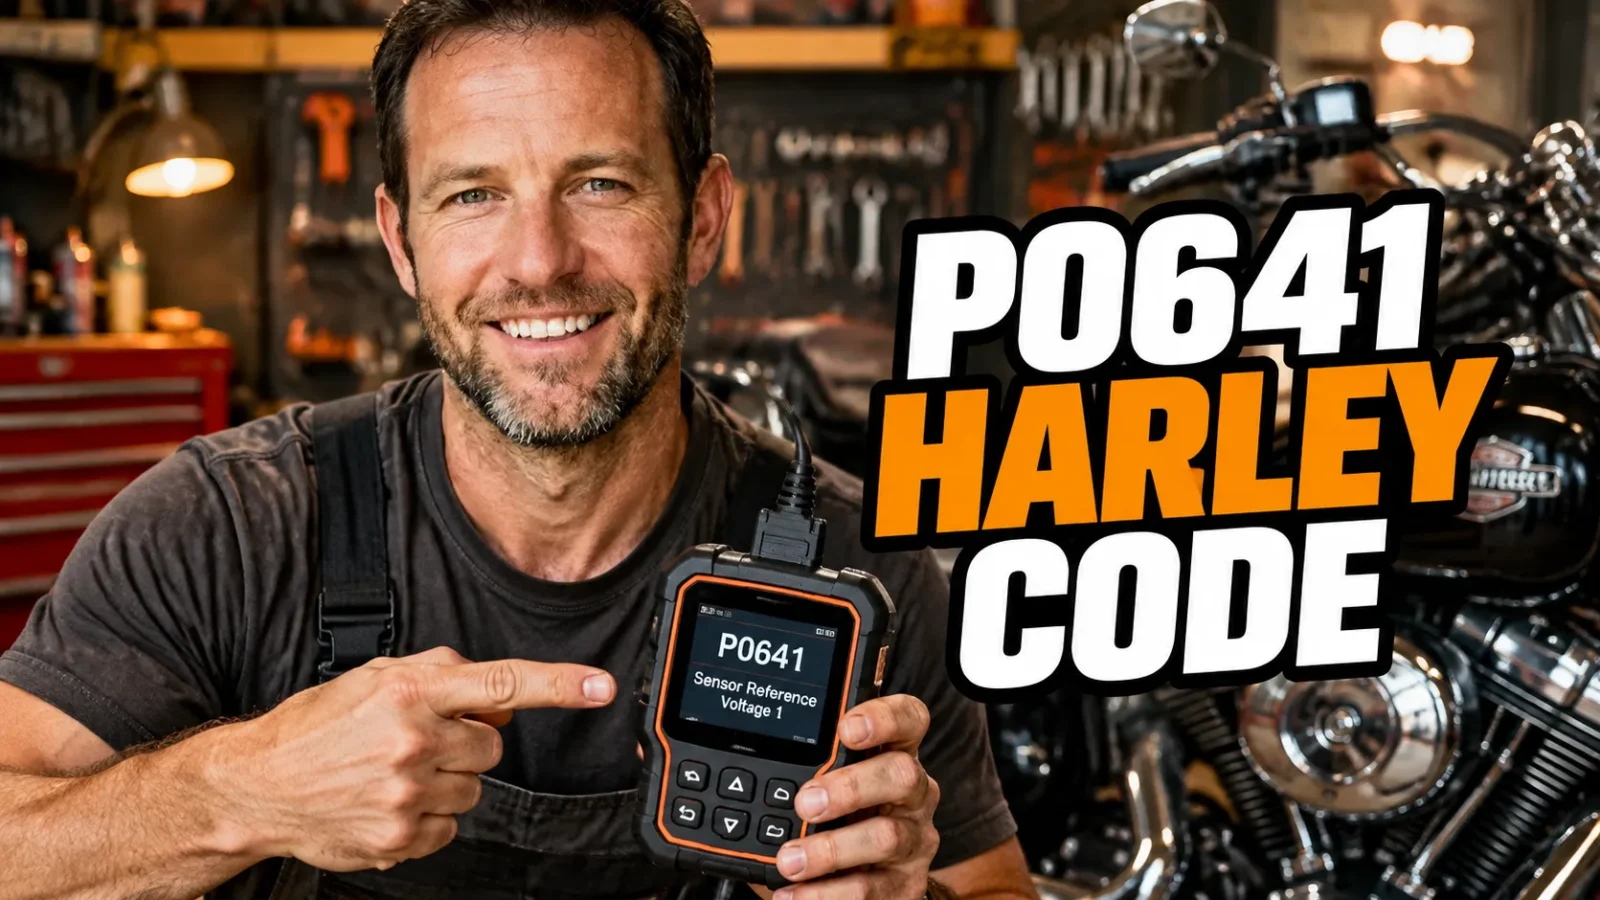
I’ll never forget the first time my Harley’s check engine light flickered on and my code reader displayed P0641. I was 40 miles from home, and the bike suddenly felt lethargic. I pulled over, shut it off, and then restarted it. The light stayed on.
At the time, I had no idea what a sensor reference voltage code even meant. I assumed the worst: a fried ECM or a massive wiring failure. What I eventually learned is that the P0641 Harley code is a fairly specific electrical fault, and with patience, most riders can track it down.
I’m going to walk you through exactly what I found, the symptoms I experienced, and the step-by-step process I used to get my bike back on the road.
- The P0641 code means the ECM detected a problem with the 5 volt sensor reference circuit.
- Common causes include chafed wiring, a failing TPS or MAP sensor, and poor ECM grounds.
- Never ignore this code: it can cause limp mode, stalling, and rough running.
- I fixed mine by testing battery voltage, inspecting the harness, and replacing a shorted sensor.
What This Diagnostic Trouble Code Actually Means
When I first pulled the code, I thought it had something to do with the ECM refusing to communicate. That’s not really accurate. In simple terms, P0641 is a fault in the sensor reference voltage “A” circuit.
Your Harley’s ECM sends a steady 5 volts to several sensors on the bike. That 5 volt signal is the reference voltage those sensors need to operate. If that voltage drops too low, spikes too high, or disappears completely, the ECM logs a code.
On my bike, the reference voltage circuit powers things like the throttle position sensor, the MAP sensor, and sometimes the twist grip sensor. If any of those sensors or the wiring leading to them develops a problem, the entire 5 volt circuit can be pulled out of range.
That was a huge “aha” moment for me. I realized this wasn’t one specific sensor failing. It was a shared circuit issue, which meant I had to test the whole path, not just throw parts at it.
My First Symptoms Before the Code Appeared
Looking back, there were warning signs I had ignored. A few weeks before the code popped up, my bike would occasionally hesitate at low RPM. I chalked it up to bad gas.
Then I noticed the idle would occasionally hang a little high, around 1,200 rpm, before settling back down. It wasn’t consistent, but it happened enough that I started paying attention.
The final straw was a noticeable loss of power on the highway. The bike felt flat when I rolled on the throttle, and then the check engine light came on. That’s when I pulled over and plugged in my code reader.
Common Symptoms I Experienced With This Code
If you’re chasing the same code, you might notice a mix of these symptoms. I didn’t have all of them at once, but they appeared over a few rides.
- Check engine light on – This was the most obvious clue.
- Limp mode or reduced power – My bike felt like it was holding back under throttle.
- Rough or wandering idle – The idle speed would surge and settle unpredictably.
- Hard starting – A few times the bike cranked longer than normal before firing.
- Stalling at stops – Once, it stalled at a red light after a long ride.
- Poor fuel economy – I noticed I was filling up more often.
Some riders report no symptoms other than the light. In my case, the bike was definitely not happy. The longer I rode it, the worse the hesitation became.
Top Causes I Found for This Fault
After a lot of reading and hands-on testing, I narrowed the most likely causes down to a handful. Here are the ones I focused on, and I’d suggest you do the same.
Chafed or Broken Wiring in the Harness
This turned out to be one of the most common causes in the forums I read. The 5V reference wire is thin, and on many Harleys it runs through areas that vibrate or rub against brackets.
I found a rub mark on my main harness near the throttle body. Even though the wire wasn’t completely broken, the insulation had worn through and the copper was exposed. On a rainy day or with enough vibration, that wire could easily short to ground.
Failed or Failing Throttle Position Sensor
The TPS is a major player in the 5V reference circuit. If the sensor’s internal resistance changes, it can drag down the reference voltage for everything else on that circuit.
On my bike, the TPS wasn’t the primary cause, but I did test it. I’ve seen plenty of other riders replace a TPS and clear the code permanently.
Bad MAP Sensor
Some Harley models use a MAP sensor on the same reference circuit. A cracked MAP sensor or one contaminated with oil can short internally. That short pulls the 5V line down and triggers P0641.
If you have oil residue around the MAP sensor, I’d inspect it closely. A simple cleaning can sometimes help, but replacement is usually the permanent fix.
Poor ECM Grounds
I almost overlooked this one. The ECM depends on clean, tight grounds to maintain a stable reference voltage. A loose or corroded ground can cause all sorts of sensor voltage problems, including P0641.
I cleaned the ECM ground, the main engine ground, and the battery ground while I was in there. Even if it wasn’t the root cause, it’s good preventive maintenance.
Low Battery or Charging System Issues
A weak battery or failing voltage regulator can cause low system voltage. When system voltage dips, the ECM struggles to maintain an accurate 5V reference. In some cases, it logs P0641 as a secondary fault.
I always start with the battery. If your battery is more than a few years old or you’ve had starting issues, load test it before digging into the harness.
Could an Aftermarket Tuner Trigger This Code?
I’ve read about riders who installed a fuel tuner, only to have P0641 pop up later. In my case, I was running a stock ECM, but I looked into this.
Some aftermarket tuners tap into the sensor wiring to intercept signals. If the installation isn’t perfectly sealed or the connections are loose, the 5V reference circuit can be disturbed.
If you recently installed a tuner, bypass it temporarily and see if the code clears. I’ve seen a few bikes where removing the tuner fixed the code immediately.
How I Diagnosed This Code Step by Step
I’m not a professional mechanic, but I’ve learned to be methodical. Rushing this diagnosis would have cost me hundreds in parts I didn’t need. Here’s the process I followed.
Step 1: Check Battery Voltage First
Before I touched the harness, I put a multimeter on the battery. I wanted to see at least 12.6 volts with the key off and around 14.0 to 14.5 volts with the engine running.
My battery was fine, but this step is critical. Low voltage can mimic sensor circuit faults and lead you down the wrong path.
Step 2: Visual Inspection of the Wiring Harness
I spent a good hour with a flashlight tracing the harness from the ECM to the throttle body and sensors. I looked for rub marks, melted insulation, pinched wires, and corrosion in connectors.
That’s when I found the exposed wire near the throttle body. It hadn’t shorted yet, but it was only a matter of time. I repaired that section with solder and heat-shrink tubing later.
Step 3: Test the 5V Reference at the Sensors
With the key on and the engine off, I back-probed the TPS and MAP sensor connectors. I was looking for a steady 5 volts on the reference wire. A good circuit should read very close to 5.0 volts.
My readings were erratic. They would start at 4.8 volts, then drop to 2.1 volts, then jump back up. That told me something on the circuit was pulling the voltage down intermittently.
Step 4: Unplug Sensors One at a Time
This was a game changer. With the key on and my multimeter still connected to the reference wire, I unplugged the TPS. The voltage stayed low. Then I unplugged the MAP sensor. The voltage still fluctuated.
Finally, I unplugged the twist grip sensor. The voltage snapped back to a steady 5.0 volts. I had found my culprit. The twist grip sensor was internally shorted and dragging down the entire circuit.
Step 5: Verify the Short with Resistance Testing
I wanted to be sure before ordering a new sensor. I set my multimeter to ohms and measured resistance across the sensor’s power and ground terminals. The reading was much lower than the service manual specified.
It’s a simple test, but it confirmed the sensor was bad. If you don’t have a service manual, you can compare the reading to a known good sensor if you can borrow one.
Step 6: Test the ECM Ground and Power
Even after finding the bad sensor, I checked the ECM ground and power feeds. I didn’t want to replace the sensor only to have the code return because of a weak ground.
I cleaned the ground stud with a wire brush, applied dielectric grease, and tightened everything to spec. It’s cheap insurance.
How I Fixed This Code for Good
After the diagnosis, the repair was straightforward. But I’ll share the details because the fix isn’t always just one component.
Replacing the Faulty Sensor
I replaced the twist grip sensor with a genuine Harley part. I know it’s tempting to save money with aftermarket sensors, but for the 5V reference circuit, I wanted an exact match.
The installation took about 30 minutes. I unplugged the old sensor, removed the two screws, and swapped in the new one. Then I cleared the code with my scanner and took the bike for a test ride.
Repairing the Chafed Wiring
Since I had found the rubbed wire earlier, I repaired that too. I soldered the damaged section, sealed it with heat-shrink tubing, and then wrapped the harness with abrasion-resistant loom.
If you’re not comfortable soldering, a high-quality butt connector and heat-shrink will work. Just make sure the repair is waterproof and won’t rub through again.
Clearing the Code and Testing
I cleared the P0641 code with my scanner and started the bike. The idle smoothed out immediately. The hesitation was gone, and the throttle response felt crisp again.
I rode about 60 miles that day. The check engine light never returned. A month later, I rechecked the code history and it was still clear.
Tools I Used for This Job
If you’re planning to tackle the P0641 code yourself, here are the tools I’d recommend having on hand.
- Digital multimeter – Essential for testing voltage and resistance.
- Harley code reader or scanner – Needed to read and clear the DTC.
- Back-probe needles – These make testing wires without damaging insulation much easier.
- Basic hand tools – Torx bits, screwdrivers, and a socket set.
- Soldering iron or crimping tool – For repairing damaged wiring.
- Dielectric grease – Helps protect connectors and grounds.
- Service manual – I can’t stress this enough. The wiring diagrams alone are worth it.
Cost to Fix This Fault on My Harley
I spent less than $200 on parts, and most of that was the genuine twist grip sensor. The wiring repair supplies were under $30. The diagnostic time was all my own, so no labor charge.
If you take your bike to a dealer, expect to pay for at least an hour or two of diagnostic labor. That’s why I always recommend trying a basic diagnosis yourself first. You might find something simple.
The real cost comes if the ECM itself is at fault. A replacement ECM can run several hundred dollars and may require a flash or pairing with your bike. That’s a worst-case scenario, so don’t jump to it without testing everything else first.
What If the Code Comes Back?
After I cleared the code, I worried it would return. I made a habit of checking my battery voltage regularly and inspecting the harness every time I had the tank off.
If the P0641 code comes back after replacing a sensor, I’d look for an intermittent short or a failing ECM. Intermittent problems can be frustrating because they don’t show up during a quick test.
I’ve also seen cases where a pin in the ECM connector is slightly loose. Wiggling the harness while watching the 5V reference on a multimeter can reveal a broken wire or poor connector pin.
How I Prevent Future Issues With This Code
I’m a firm believer that prevention beats repair. Here’s what I do now to keep that code from returning.
- Inspect the harness every oil change – I look for fresh rub marks and chafing.
- Keep battery terminals clean and tight – A weak connection can cause all kinds of electrical gremlins.
- Use dielectric grease on connectors – This keeps moisture and corrosion out.
- Avoid pressure washing near the sensors – I used to blast the throttle body area. Not anymore.
- Replace aging sensors before they fail – If your TPS or MAP sensor has over 50,000 miles, it’s not a bad idea to test it periodically.
Final Thoughts on This Fault
The P0641 Harley code can seem intimidating at first. I know it stressed me out. But once I understood it was a shared 5V reference circuit issue, the diagnosis became a logical process of elimination.
My advice? Don’t rush to replace the ECM. Start with the simple stuff: battery, grounds, and wiring. Then use a multimeter to test the 5V reference and isolate any shorted sensor.
I fixed my bike with a $150 sensor and a little patience. If I can do it, you can too. Ride safe, and don’t ignore that check engine light.
Frequently Asked Questions
What does the P0641 code mean on a Harley Davidson?
It indicates an issue with the sensor reference voltage A circuit, which is the 5 volt supply the ECM sends to sensors like the TPS and MAP sensor. An open or short in this circuit triggers the fault.
Can I still ride my Harley with a P0641 code?
I wouldn’t recommend it. The bike may go into limp mode, run poorly, or stall. It’s safer to diagnose and fix the underlying wiring or sensor issue first.
What is the most common cause of a P0641 code?
In my experience, chafed or broken wiring near the throttle body, a failed TPS or MAP sensor, or a bad ECM ground are the most common culprits.
How do I fix a P0641 code on a Harley?
Start by testing battery voltage, then inspect the 5V reference wire for damage, unplug sensors one at a time, and use a multimeter to check for shorts. Replace any faulty sensor or repair damaged wiring.

Related Articles
P1510 Harley Code: My Throttle-By-Wire Nightmare and the Fix That Worked
Struggling with the P1510 Harley code? I'll explain the throttle-by-wire fault, limp mode symptoms, common causes, and the exact fixes…
Jake Miller
10 min read
P0463 Harley Code: Why Your Fuel Gauge Is Lying (And How I Fixed It)
Struggling with the P0463 Harley code? I'll explain what it means, the symptoms, common causes, and the step-by-step diagnosis and…
Jake Miller
14 min read
P0371 Harley Code: What It Means and How I Fixed It for Good
Learn what the P0371 Harley code means, the symptoms to watch for, and how to diagnose and fix the crankshaft…
Jake Miller
8 min read