
Harley CV Carb Jetting Chart: My Field-Tested Baseline for Stock to Stage 2
 Jake Miller
8 min read
Jake Miller
8 min read
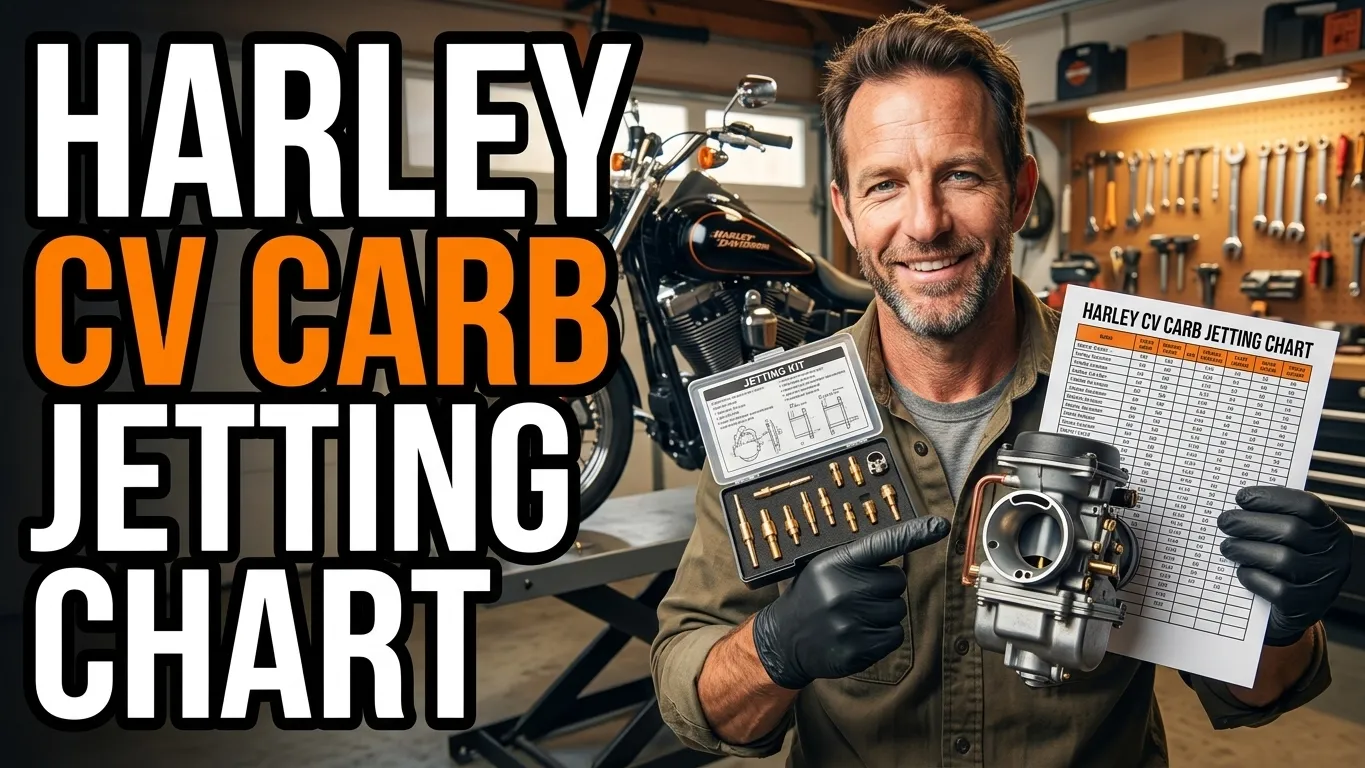
My obsession with the Harley CV40 carb started after a frustrating day of popping, bogging, and black plugs. I ripped that carb apart three times before I understood that jetting isn’t a mystery, it’s a process. In this article, I’m sharing the baseline Harley CV carb jetting chart I use for stock, Stage 1, and big bore builds.
- The CV40 is a constant-velocity carb, and jetting changes with engine size, altitude, and intake mods.
- My baseline chart covers stock 80″, Stage 1, 95″, and 103″ combos at sea level.
- Always start slightly rich and tune down. A lean CV40 will feel flat and run hot.
- Check your float level, air filter, and intake seals before blaming the jets.
Why the CV40 Carb Still Needs a Good Jetting Chart
I used to think the Harley CV40 was a plug-and-play carburetor. Then I installed a free-flowing air cleaner and a set of slip-ons, and the bike started hesitating at cruise. That was my wake-up call.
The CV40 is a constant-velocity carb, so the slide rises based on engine vacuum, not your wrist. It’s smooth when it’s right, but it can hide lean spots until you roll on the throttle. A clear jetting chart gives me a starting point before fine-tuning.
Every intake, exhaust, and cam change alters the vacuum signal. That means the main jet, pilot jet, and needle position all need to be looked at as one system. I never change just one circuit without testing the others.
What the Jetting Chart Actually Tells You
When I first searched for a Harley CV carb jetting chart, I expected exact numbers for every build. What I found was a mix of forum guesses, dyno sheets, and old dealership notes. None of them agreed completely.
That taught me an important lesson: a jetting chart is a starting point, not gospel. My chart below is built around sea level, roughly 70 degrees Fahrenheit, and a healthy engine. You still need to verify with throttle response, plug reads, and sometimes a wideband sensor.
The key circuits in a CV40 are the main jet, the pilot jet, the needle position/shim, and the idle mixture screw. Changing one without the others usually leads to that annoying part-throttle stumble.
My Sea Level Baseline Chart for Common Setups
This is the chart I keep in my shop notebook. I’ve used it on everything from a bone-stock Evo to a warmed-over Twin Cam. Treat these as “get it running cleanly” numbers, not final dyno-verified specs.
| Engine Setup | Main Jet | Pilot Jet | Needle | Idle Mixture Screw |
|---|---|---|---|---|
| Stock 80″ EVO, stock airbox and exhaust | 170 | 45 | Stock position | 2.0 turns out |
| Stock 80″ EVO with slip-ons and free-flow air cleaner | 180 | 45 | 1 shim under needle | 2.5 turns out |
| Stock 88″ Twin Cam, Stage 1 intake and exhaust | 185 | 45 | 1 shim under needle | 2.5 turns out |
| 95″ Big Bore with mild cam and Stage 1 | 195 | 48 | 2 shims under needle | 3.0 turns out |
| 103″ Big Bore with performance cam and high-flow intake | 200 | 50 | 2 shims under needle | 3.0 turns out |
I’ve had a few bikes that wanted one size richer than the chart, especially if the exhaust was a true 2-into-1 with a short baffle. If you ride at higher elevation, you’ll likely need to go leaner. I cover that more in a minute.
Main Jet Tuning: Where I Start
The main jet controls wide-open throttle from about 3/4 throttle to redline. On the CV40, it lives under the float bowl, so you can usually swap it without pulling the whole carb. That’s convenient when you’re testing at the side of the road.
My rule of thumb is to start with the chart’s suggested main jet and then do a full-throttle roll-on in third or fourth gear. If the bike pulls cleanly to redline, I’m close. If it surges or feels flat up top, I try one size richer.
A lean main jet can also cause a hanging idle after a hard pull. The engine stays hot and the mixture is thin, so the rpm takes a moment to settle. That’s a big red flag for me.
I never chase a perfect main jet by seat-of-the-pants alone. I always pull the plugs after a hard pull, kill the engine, and check the porcelain for color. Light tan is healthy. White is too lean. Dark and sooty is rich.
Pilot Jet and Idle Mixture Screw Details
The pilot jet handles idle and just off idle. On a CV40, the idle mixture screw meters fuel, but only over a narrow range. If I have to turn it more than 3.5 turns out for a clean idle, the pilot jet is too small.
My favorite test for the pilot circuit is a fully warmed-up bike. I set the idle speed to about 950 rpm, then slowly turn the idle mixture screw in until the rpm drops. Then I back it out until I get the smoothest, fastest idle.
If the bike pops through the carb when cold or needs the enrichener for longer than a minute, I go up one pilot jet size. A slightly rich pilot circuit is safer than a lean one, especially on big-inch engines that run hot.
Needle Position and Shim Stacking
The needle controls the midrange, which is where most street riders spend 80% of their time. On a stock CV40, the needle usually has no adjustable clip. Instead, I stack tiny washers or shims under the needle head.
Each shim raises the needle slightly and richens the part-throttle mixture. I start with one shim for a Stage 1 bike. For a 95″ or 103″ build with a free-flow intake, two shims usually smooths out the midrange stumble.
Too many shims can make the bike lazy at cruise and hurt fuel mileage. If the midrange feels mushy or the plugs look sooty after a normal ride, I pull one shim out. It’s a quick test that costs nothing but time.
Altitude and Temperature Adjustments
My chart is built for sea level, or close to it. If you ride at 3,000 feet or higher, the air is thinner, so the mixture is naturally richer. I typically drop one main jet size for every 2,000 to 3,000 feet of elevation gain.
Temperature works the same way. Cold dense air likes a richer mixture. Hot thin air likes a leaner one. I don’t chase every weather change, but if I’m riding from a coastal town to the mountains, I’ll carry a couple of main jets and a screwdriver.
The CV40’s constant-velocity design does help compensate a little, but it can’t fully correct for extreme altitude. A bike that runs perfect in Florida can feel lazy and sooty in Colorado without a jet change.
Common Mistakes I Made Early On
My biggest mistake was blaming the carb for what was actually an intake leak. A cracked intake seal or loose manifold boot lets in unmetered air, which mimics a lean condition. I chased jets for weeks before I found the real problem.
Another mistake was setting the float level by guesswork. If the float is too low, the fuel level drops and the bike acts lean everywhere. If it’s too high, the carb can flood at idle. I now set the float exactly to the factory spec before any jetting test.
I also used to crank the idle mixture screw way out to fix a lean pilot. That masks the real issue and makes the idle circuit unpredictable. The right fix is a larger pilot jet, not a screw that’s about to fall out.
How I Verify a Jet Change on the Road
After every jetting change, I warm the bike up fully and ride a loop that includes stop-and-go traffic, a steady 60 mph cruise, and a full-throttle pull. Each circuit reveals a different problem if the jetting is off.
I listen for popping on decel, which can be a lean pilot or an exhaust leak. I roll the throttle slowly from 2,500 rpm to 4,500 rpm to feel for a stumble from the needle. Then I pin it to check the main jet.
Plug reads are still my final confirmation. I shut the engine off at the end of a hard pull and coast to a stop. The rear plug usually runs a little hotter on air-cooled Harleys, so I check both and average what I see.
Final Tuning Checklist Before You Touch a Jet
Before I even think about changing jets, I do a quick mechanical once-over. A healthy carb needs a clean air filter, fresh fuel, and a properly charged battery. Weak spark or low voltage can mimic a lean stumble.
I check the intake seals, throttle shaft boots, and vacuum lines. Then I verify the float level and make sure the slide diaphragm isn’t torn. A tiny pinhole in that rubber diaphragm can cause all sorts of weird part-throttle behavior.
Once those basics are solid, the baseline Harley CV carb jetting chart becomes a reliable map. It won’t give you a perfect tune on the first try, but it will get you close enough that only small adjustments remain.
Frequently Asked Questions
What size main jet should I use in a stock Harley CV carb?
For a stock CV40 at sea level, I usually start with a 170 or 180 main jet depending on your air cleaner and exhaust. Always verify with plug checks after a ride.
How do I know if my pilot jet is too lean?
If the bike pops through the carb or needs the enrichener to idle cold, try the next size up pilot jet before adjusting the idle mixture screw.
Does altitude change Harley CV carb jetting?
Yes. Higher altitude means thinner air, so I generally drop one main jet size for every 2,000 to 3,000 feet above sea level.
Can I rejet a CV carb without removing it from the bike?
Main jet swaps are possible by dropping the float bowl if you have clearance. But for pilot jet and needle changes, pulling the carb is usually easier and safer.

Related Articles

The Best Stuff for Cleaning a Harley: What I Actually Keep in My Garage
After years of trial and error on my own Harleys, here are the cleaners, polishes, and towels I actually trust,…
Jake Miller
11 min read

Best Heat Shield for a Harley Softail: What I Actually Run (And Why)
After years of burnt thighs and melted denim, here are the best heat shields for a Harley Softail, what I…
Jake Miller
8 min read
Harley Davidson Bolt Size Chart: The Rider’s Guide to Every Fastener You’ll Touch
Stop guessing bolt sizes on your Harley Davidson. I share my personal bolt size chart, torque tips, metric vs SAE…
Jake Miller
12 min read