
7 Best Black Engine Paints for Motorcycles That Survive Heat, Oil, and Fuel
 Jake Miller
10 min read
Jake Miller
10 min read
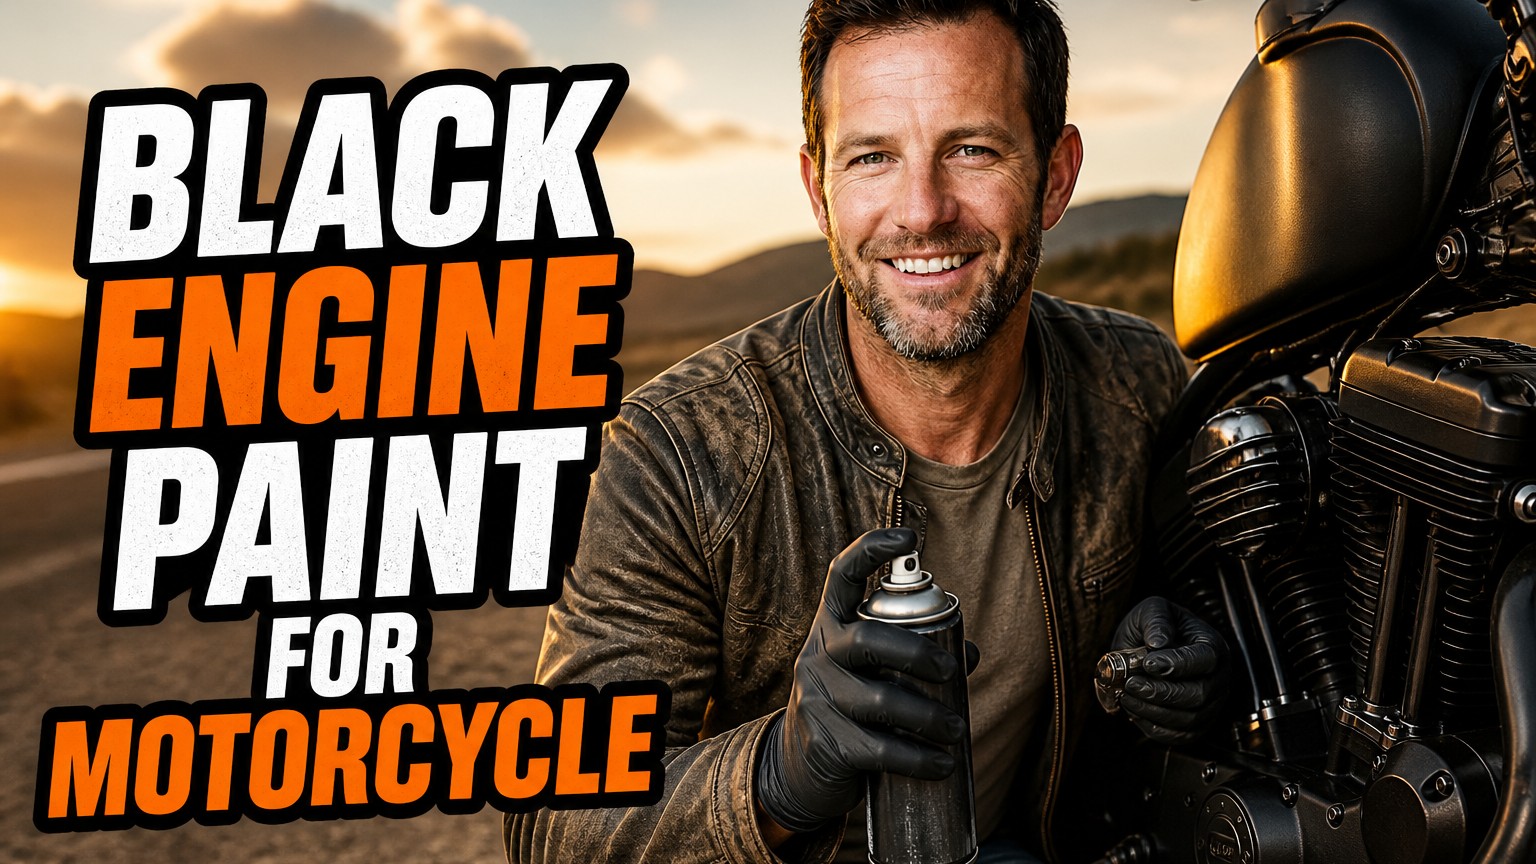
I’ve repainted more motorcycle engines than I care to admit. Faded, chalky cases and flaking cylinder fins make an otherwise great bike look tired, and a fresh coat of black can make a ten-year-old engine look like it just rolled off the showroom floor.
But not every can of black paint belongs on an engine. I’ve watched cheap spray paint blister, bubble, and peel off after one hot ride. So I put together this list of the products I trust, along with what I learned from using them on real motorcycle engines.
- My overall favorite is VHT Engine Enamel Gloss Black for cases, covers, and general engine work.
- For hotter zones like cylinder barrels and exhaust areas, I reach for Rust-Oleum High Heat Ultra or VHT Flameproof.
- Prep matters more than the brand: degrease, scuff, prime, and heat-cure properly.
- If you want a near-bulletproof finish, Cerakote C-Series is worth the extra effort.
What I Look For in a Motorcycle Engine Paint
Engine paint has a tougher job than almost any other coating on a bike. It has to handle heat cycles, oil drips, fuel spills, chain lube, road grime, and the occasional cleaner you shouldn’t have used.
Heat Rating
Heat rating is the first thing I check. Crankcases and covers typically stay below 300°F, but cylinder heads and barrels on air-cooled engines can run far hotter.
I match the paint to the zone. A 500°F engine enamel is fine for cases, while anything near the exhaust ports gets a 1200°F product or better.
Chemical Resistance
Fuel and oil will destroy weak paints. If you’ve ever seen a tank-side engine cover go soft after a careless fill-up, you know what I mean.
Speaking of oil, if you ever wonder what’s going on inside, it’s worth knowing the black engine oil symptoms that indicate a problem versus normal use. A fresh coat of paint looks great, but it won’t hide a neglected engine.
Finish and Ease of Use
I also think about sheen. Gloss looks sharp but shows every flaw underneath, while satin and flat hide imperfections and give that factory, murdered-out look.
Spray nozzle quality matters too. A cheap tip splatters and leaves orange peel, and that gets annoying fast on tight fin areas.
1. VHT Engine Enamel Gloss Black — Best Overall
When someone asks me what to buy, VHT Engine Enamel in Gloss Black is almost always my answer. I’ve used it on crankcase covers, valve covers, and even an old Honda CB’s side covers, and it’s consistently given me a durable, deep-black finish.
VHT Engine Enamel is a hi-temp urethane-enhanced formula rated to roughly 500°F. It resists gasoline, oil, and common solvents once it’s properly cured. Cans typically run about $12 to $18.
Why I Like It
The coverage is excellent. Two light coats gave me full, even color without runs, and the spray pattern is wide and consistent.
The gloss is also noticeably richer than a typical hardware-store black. On my engine covers, it looked almost like a baked-on powder coat.
What to Watch
You need to follow the cure instructions. Skip the heat-cycle step and the finish can stay softer than it should, which means fuel spills will mark it.
It’s also not my pick for the hottest areas. For those, VHT’s own Flameproof (below) is the better tool.
2. Rust-Oleum Specialty Engine Enamel — Best Budget Pick
If you want solid results without spending much, Rust-Oleum Specialty Engine Enamel is hard to beat. It’s a widely available, wallet-friendly option that usually costs about $8 to $12 per can.
It’s rated to about 500°F and designed to resist oil, gas, and grease. I used it to refresh the cases on a commuter bike, and it held up for multiple seasons.
My Experience
The Rust-Oleum Specialty Engine Enamel goes on smoothly, and the coverage is decent for the price. I got a clean, uniform finish with two to three light coats.
The downside is that it’s a little less durable than premium picks when it’s hit with harsh solvents. I wouldn’t use it on a bike that gets heavy carb-cleaner abuse.
Who It’s Best For
This is perfect for commuters, project bikes, and first-time painters. If you’re learning, the lower price takes the sting out of mistakes.
3. Dupli-Color Ceramic Engine Paint — Best for Easy Application
Dupli-Color Ceramic Engine Paint (sold as Engine Enamel with Ceramic) is the can I recommend to friends who’ve never painted anything before. The nozzle is forgiving, and the paint levels out nicely.
It’s rated up to 500°F and is formulated to resist oil, gas, and antifreeze. Expect to pay around $10 to $15.
Real-World Performance
I used the Dupli-Color Ceramic Engine Paint on a set of ribbed engine covers, and the paint flowed into the grooves without pooling. That’s not always the case with thicker enamels.
The ceramic additive gives the paint some extra toughness, and the finish held up well against light chain-lube splatter. It’s a great all-rounder for lower-heat zones.
Limitations
Like any 500°F paint, it isn’t meant for cylinder barrels on a hot-running air-cooled engine. Keep it to cases, covers, and similar parts.
4. Rust-Oleum High Heat Ultra Satin Black — Best for Cylinders and Hot Zones
For the hot stuff, I go with Rust-Oleum High Heat Ultra in Satin Black. It’s rated to 1200°F, which gives you real headroom on air-cooled cylinders and heads.
I used it on the finned barrels of an old air-cooled single, and it stayed black and even after months of riding. The satin sheen also hides the minor casting imperfections that gloss would highlight.
Why It Stands Out
Rust-Oleum High Heat Ultra is a one-product solution for cylinders, exhaust brackets, and other high-temp parts. It typically costs $10 to $15 per can.
It needs a proper heat cure, and it’s not as chemical-resistant as a dedicated engine enamel. So I prefer using it where heat is the bigger threat than fuel.
My Application Tip
Apply thin coats and let them flash off between passes. Thick coats on finned parts will run and trap solvent.
5. VHT Flameproof Flat Black — Best for Extreme Heat
VHT Flameproof is a ceramic-based coating rated to 2000°F. It’s really intended for headers and exhaust parts, but I like it around exhaust ports and heat-soaked mounting areas on the engine.
The flat black finish is gorgeous for a stealth, blacked-out look. A can typically costs $12 to $20.
What I Learned Using It
The VHT Flameproof coating wants a bare, clean surface and a careful cure. When I rushed the process on an exhaust flange, it flaked in a couple of spots.
Once I did it right, though, it stayed put. If you also want to keep your cooling system looking sharp, my guide to the best paint for motorcycle radiators covers what works there without hurting cooling performance.
6. Krylon High Heat Max — Best Matte Look on a Budget
I picked up Krylon High Heat Max on a whim for a café-racer project, and it surprised me. It’s rated to 1200°F and comes in a true flat black that gives a very clean, understated look.
It usually costs around $9 to $14, and the coverage is solid. It dries quickly, which is great if you’re painting in a small garage.
Strengths and Weaknesses
The Krylon High Heat Max is excellent for brackets, cylinder fins, and parts that run hot. The flat finish also hides dust and fingerprints better than gloss.
But I wouldn’t count on it for areas with frequent fuel exposure. For tank-adjacent engine parts, I’d step back up to a dedicated engine enamel.
7. Cerakote C-Series Graphite Black — Best for Maximum Durability
If I want the toughest finish possible, I use Cerakote C-Series in Graphite Black. It’s a thin-film ceramic coating that’s known for outstanding resistance to heat, abrasion, and chemicals.
The catch is that it’s not a simple spray-and-go can. You need proper blasting, careful prep, and a spray setup, plus a bake or cure cycle. Kits and professional application can run from $30 up to a few hundred dollars.
Why It’s Worth It
When I coated a set of covers with Cerakote C-Series Graphite Black, they shrugged off cleaner, scuffs, and fuel in a way no aerosol ever has. The finish is thin, so fin detail stays crisp.
I’d say it’s overkill for a beater, but for a show bike or a long-term restoration, it’s the best finish I’ve used.
How I Prep an Engine for Paint
Honestly, prep decides how long your paint lasts. Even the best product will fail on a dirty or glossy surface.
Step 1: Clean and Degrease
I start with a strong degreaser and a stiff brush to remove all oil and grime. Then I wipe everything down with a wax and grease remover.
If your engine is leaking or dirty inside, address that too. Choosing the best engine oil for motorcycle use and maintaining it properly helps keep fresh paint from getting soaked by leaks.
Step 2: Strip, Scuff, and Mask
Next, I remove old flaking paint with a wire wheel or scuff pad. Bare, rough aluminum gives the new coat something to grip.
Then I mask off gaskets, sensors, and anything I don’t want painted. Take your time here, because sloppy masking is the most obvious giveaway of a DIY job.
Step 3: Prime When Needed
On bare metal, I apply a high-heat etching primer first. It improves adhesion and protects the metal if the topcoat chips.
Step 4: Apply Thin Coats
I use several light coats instead of one heavy one. Thin coats cure harder and avoid runs, and I wait the recommended time between passes.
Step 5: Cure It Right
Finally, I follow the can’s cure schedule. Usually that means air drying, then a few staged heat cycles by running the engine briefly before a full warm-up.
Common Mistakes I’ve Made (So You Don’t Have To)
Painting in the Wrong Conditions
I once painted on a cold, damp day, and the finish clouded and never looked right. Aim for moderate temperatures and low humidity.
Ignoring Fluid Residue
Old oil seeps out of porous aluminum even after cleaning. I let parts sit, re-degrease, and wipe again before painting.
While you’re in there, it’s a good time to think about what you’re putting back in. My thoughts on the best motorcycle engine oil brand and which engine oil is best for motorcycle engines can help you finish the job with the right fluids.
Using the Wrong Sheen
Gloss looks fantastic on a perfect surface and terrible on a pitted one. If your engine has casting flaws or corrosion, go satin or flat.
Which One Should You Buy?
If you want one can that does most things well, get VHT Engine Enamel Gloss Black. If you’re on a budget, Rust-Oleum Specialty Engine Enamel is a smart choice.
For hot cylinders, go with Rust-Oleum High Heat Ultra Satin Black, and for the nastiest heat, VHT Flameproof. And if you want a finish that will outlast the bike’s next owner, Cerakote C-Series is the winner.
Final Thoughts
A fresh black engine is one of the most satisfying upgrades you can do in a weekend. It costs very little, and the visual payoff is huge.
Match the paint to the temperature zone, prep like you mean it, and cure it properly. Do that, and any of the products above will leave you with an engine you’re proud to roll out of the garage.
Frequently Asked Questions
What temperature rating do I need in engine paint for a motorcycle?
For crankcases, covers, and most cylinder areas, a 500°F rated engine enamel is usually enough. For cylinder barrels on air-cooled engines, or anything close to the exhaust, I go with a 1200°F or higher high-heat paint.
Do I need primer before painting a motorcycle engine?
Not always, but I recommend a high-heat self-etching primer on bare aluminum or cleaned-down steel. Properly degreased and scuffed surfaces will hold paint better, and primer adds a margin of safety against peeling.
Can I paint over an engine without removing it from the frame?
Yes, many riders do it. You must mask carefully, remove or cover wiring, hoses, and rubber parts, and degrease thoroughly. Pulling the engine gives better results, but a careful in-frame job is entirely doable.
How long does engine paint take to cure?
Most aerosol engine enamels are touch-dry in under an hour but need a heat-cure cycle to reach full hardness. Always follow the can’s instructions, which typically call for a few staged warm-ups followed by a full 24 hours of air drying before fuel exposure.

Related Articles
7 Best Batteries for Motorcycles I’ve Tested and Trust in 2026
I've tested dozens of motorcycle batteries to find the best performers. From AGM to lithium, here are my top picks…
Jake Miller
15 min read

The Perfect Battery for Your Harley Davidson Softail: A Rider’s Complete Guide
Discover the perfect battery for your Harley Davidson Softail. I've tested multiple options and share real-world performance data, maintenance tips,…
Jake Miller
14 min read

The Best Battery for Your Harley Davidson: My Complete Guide After Years of Testing
Discover which battery truly performs best for Harley Davidson motorcycles. Real rider experience with AGM, lithium, and OEM options to…
Jake Miller
12 min read