
How to Clean a Motorcycle Gas Tank with Vinegar (Step-by-Step Rust Removal Guide)
 Jake Miller
11 min read
Jake Miller
11 min read
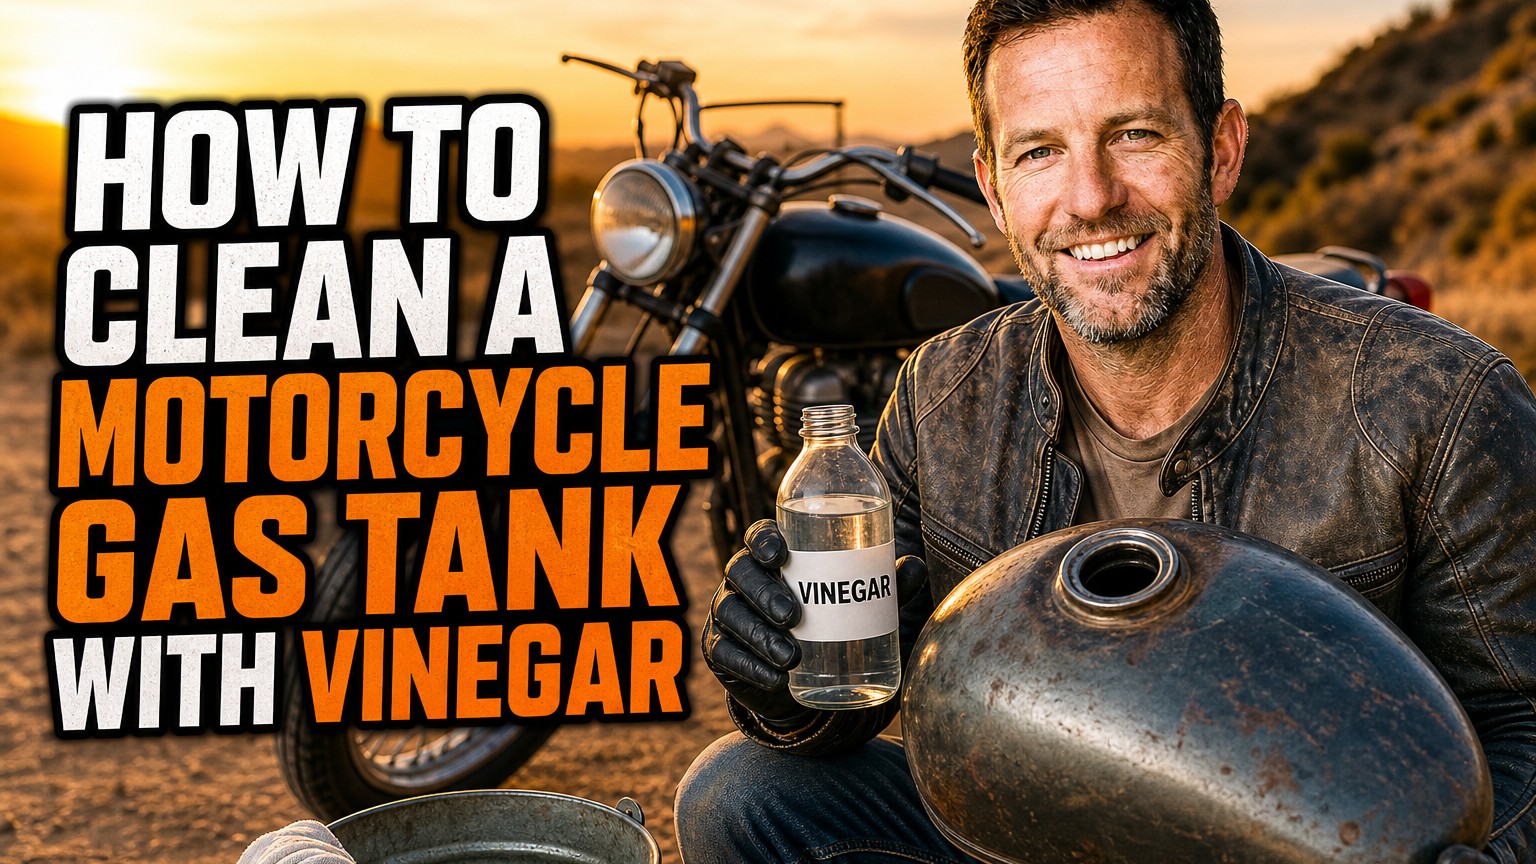
The first time I pulled the fuel cap off a bike that had sat in my garage all winter, I felt my stomach drop. The inside of the tank looked like an old orange cave, with flaky rust stuck to the walls and floating in a few leftover drops of stale gas.
I didn’t want to pay for a professional tank cleaning or a pricey replacement. So I tried the cheapest fix I could think of: a few jugs of plain white vinegar from the grocery store.
It worked better than I expected, as long as I did it right. In this guide, I’ll walk you through exactly how I do it, the mistakes I made along the way, and how I keep rust from coming back.
- Drain the fuel, remove the petcock and sending unit, and fill a steel tank with white distilled vinegar for 12 to 24 hours.
- Keep vinegar off the paint, and never use it on aluminum tanks.
- Rinse, neutralize with baking soda water, and dry the tank completely right away.
- Protect the bare steel with fogging oil, fuel stabilizer, or a proper tank sealer to stop flash rust.
Why I Reach for Vinegar to Fight Tank Rust
Rust forms when moisture sits against bare steel. In a motorcycle tank, that usually happens when a bike is parked with a partly empty tank, and condensation builds up on the walls.
Ethanol-blended fuel makes it worse because it attracts water. Over time, that rust breaks loose and clogs your petcock, fuel filter, and carburetor jets.
White distilled vinegar contains about 5% acetic acid. That’s strong enough to dissolve iron oxide but gentle enough that it won’t eat through healthy steel the way harsh commercial acids can.
The Pros of the Vinegar Method
I like vinegar because it’s cheap, easy to find, and far less hazardous than muriatic acid or industrial rust removers. You don’t need special equipment, just patience.
It also reaches into seams and corners that you can’t scrub by hand. That alone makes it worth trying before anything more aggressive.
The Limits You Should Know About
Vinegar isn’t magic. ***It won’t fix a tank that’s rusted through***, and it won’t remove thick, scaly rust in a single soak.
It can also damage some existing tank liners and sealers. If your tank has a coating you don’t know about, test carefully or choose a different approach.
Is Your Tank a Good Candidate?
Before I commit, I always inspect the tank with a bright flashlight through the filler neck. A small inspection mirror helps too.
Good Signs
- Light to moderate orange surface rust
- Rust dust or small flakes, not thick layers
- A bare steel interior with no visible coating
Warning Signs
- Pinholes, weeping seams, or soft, crumbly metal
- A shiny, peeling liner from a previous sealer job
- An aluminum or plastic tank, which vinegar won’t help
If you see pinholes, stop here. Vinegar can open up thin spots and turn a minor leak into a major one. At that point you’re looking at repair or replacement.
Gear and Supplies I Gather First
I get everything ready before I start, because the process gets messy once the tank is full of liquid.
- White distilled vinegar, usually 1 to 3 gallons depending on tank size
- Baking soda for neutralizing the acid
- Nitrile gloves and safety glasses
- A funnel and a few clean buckets
- Rubber plugs, or a fuel cap and tape, to seal the openings
- A handful of loose hardware, like small nuts or a short length of chain, for agitation
- Compressed air, a hair dryer, or isopropyl alcohol for drying
- Fogging oil or rust-preventive spray
A rolled-up towel and some painter’s tape for the paint also come in handy. I’ll explain why in the next section.
My Step-by-Step Process
Step 1: Remove the Tank and Drain the Fuel
Work outdoors or in a well-ventilated garage, far from pilot lights, sparks, and anything that could ignite. Gasoline fumes are no joke.
Disconnect the battery, turn the petcock off, and detach the fuel line. Then remove the seat and mounting bolts and lift the tank off carefully. Pour the old gas into an approved container, and dispose of it at a local hazardous waste facility.
If the fuel smells like varnish or looks cloudy, don’t pour it back into anything. Stale gas is its own problem.
Step 2: Strip Out Every Removable Part
Take off the petcock, the fuel level sender (if you have one), and any in-tank filter or screen. Vinegar can harm rubber seals, cork gaskets, and electronics.
Plug the petcock holes with rubber stoppers or bolts with washers. I double-check that the seal is tight, because a leaking plug means vinegar running down the paint.
Step 3: Protect the Paint
I cover the outside of the tank with old towels and tape off any areas near openings. Then I set the tank on a padded surface with the filler neck facing up.
Vinegar and clear coat don’t get along. Even a small splash can leave dull spots if you let it dry on the surface. If any spills, wipe it right away with a damp cloth.
Step 4: Add the Vinegar
Pour in the white vinegar slowly until the tank is full. If you have a small amount of rust, you can use a partial fill and rotate the tank, but a full tank covers everything evenly.
I like to drop in a handful of nuts or a short piece of chain. They act like little scrubbers when you shake the tank later.
Step 5: Let It Soak
For light rust, I leave the vinegar in for 12 to 24 hours. For heavier rust, I go up to 48 hours, but I check along the way.
Every few hours, I gently rock the tank so the hardware knocks rust loose. Do this carefully, with the filler opening sealed, and don’t let the tank bang around on the paint.
My Soak Time Rules of Thumb
- Light rust: 12 to 24 hours
- Moderate rust: 24 to 36 hours
- Heavy rust: 36 to 48 hours, then reassess
Anything past 48 hours rarely helps. If rust remains, I drain the tank and refill it with fresh vinegar instead of leaving the old batch to sit.
Step 6: Drain and Inspect
When the soak is done, pour the vinegar out through a strainer into a bucket. It will be a rusty brown color, which is a good sign.
Shine your light inside. You should see mostly gray, bare steel. If patches of rust remain, repeat the soak with fresh vinegar.
Step 7: Neutralize the Acid
This is the step many people skip, and it matters. Mix about a quarter cup of baking soda into a gallon of warm water, pour it into the tank, and swish it around for a few minutes.
The baking soda neutralizes any leftover acetic acid. Drain it out, then rinse the tank two or three times with clean water until the runoff is clear.
Step 8: Dry It Fast and Completely
This is where most DIY cleanings fail. Bare steel starts to flash rust within hours, sometimes even minutes in humid air.
I blast the inside with compressed air, then add a small amount of isopropyl alcohol and swish it around. Alcohol absorbs water and evaporates quickly. Finish with a hair dryer or let the tank sit in the sun with the openings facing down.
Step 9: Protect the Steel Right Away
Once the tank is bone dry, I spray fogging oil or a rust-preventive coating through the filler neck and rotate the tank to coat every surface. Then I reinstall the petcock and fuel sender with fresh gaskets or O-rings.
If I’m putting the bike back into service right away, I fill the tank with fresh fuel and add a quality stabilizer. A full tank leaves less room for condensation.
Mistakes I’ve Made (So You Don’t Have To)
Leaving the Vinegar in Too Long
On my first attempt, I left the vinegar in for nearly four days, assuming longer was better. The tank came out clean, but the bare steel developed a fine orange haze almost immediately.
Now I treat vinegar like a timed treatment, not a storage solution.
Skipping the Drying Step
I once rinsed a tank and left it overnight without drying it properly. By morning, a fresh film of rust had formed along the bottom seam.
Since then, I never walk away from a wet tank. Dry it, coat it, and close it up the same day.
Letting Vinegar Touch the Paint
I forgot to seal one petcock hole and ended up with a dull streak down the side of the tank. It was a small mistake, but it cost me a repaint.
Check your plugs, cover your paint, and keep a damp rag nearby.
When Vinegar Isn’t Enough
Sometimes the rust is just too deep. If a vinegar soak doesn’t clear it, I’ll consider a commercial rust remover made for fuel tanks, or an electrolysis setup for more serious restoration work.
For long-term protection, a tank sealer kit can create a durable internal coating. These kits require a thorough cleaning first, which is where vinegar can play a valuable role.
And if your tank has structural rust, replacement is often the smarter move. A used tank in good condition can be cheaper than a failed repair.
Don’t Forget the Rest of the Fuel System
A clean tank is only part of the job. Rust particles can travel downstream, so I always inspect and clean the petcock screen, replace the inline fuel filter, and check the carburetor bowl or fuel injectors.
If the carb has been sitting with old gas, pull the jets and clean them too. A pristine tank feeding a clogged carb won’t get you far.
Use This Downtime for Basic Maintenance
When I have a bike half apart, I take the opportunity to handle other overdue maintenance. Fresh oil is at the top of my list, especially on a bike that’s been stored for months.
If you’re not sure what to pour in, I’ve found this guide on the best motor oil for 4 stroke motorcycle engines helpful for narrowing down viscosity and specs. It’s a good starting point for any rider.
If you like to compare options, this roundup of the top engine oil for 4 stroke motorcycle picks gives a broader look at what’s available.
Riders in warmer climates may like this breakdown of the best engine oil for 4 stroke motorcycle in india, where heat and traffic put extra demands on oil.
And if you want a simple answer to what is the best engine oil for 4 stroke motorcycle owners should choose, that page covers it clearly. For a more general overview, I’d also check out this guide to the best engine oil for motorcycle use across different riding styles.
How I Keep Rust From Coming Back
Prevention is far easier than another cleaning session. These habits have kept my tanks rust-free ever since.
- Store with a full tank to reduce air space and condensation.
- Add fuel stabilizer before any storage period longer than a month.
- Use a quality fuel filter to catch particles early.
- Keep the cap seal in good shape so moisture can’t sneak in.
- Ride it regularly, since fresh fuel and warm engines keep things moving.
If you live in a humid area, consider a bike cover that breathes and a dry storage spot. It makes a bigger difference than you’d think.
Safety Notes I Never Skip
Gasoline residue and fumes remain in an empty tank, so I treat it as hazardous until it’s fully cleaned. I keep ignition sources far away and never work near a water heater or furnace.
I also wear gloves and eye protection when handling vinegar and rust. The acid is mild, but splashes in the eyes are miserable, and rust flakes can be sharp.
Finally, I dispose of used vinegar responsibly. Because it may contain traces of fuel and rust, I don’t dump it on the ground or down a storm drain. Check your local rules for proper disposal.
Final Thoughts From My Garage
Cleaning a rusty tank with vinegar isn’t glamorous, but it’s one of the most satisfying budget fixes I’ve done. A few dollars of vinegar and a little patience can bring a neglected tank back to life.
The keys are simple: protect the paint, don’t overdo the soak, neutralize the acid, and dry the steel immediately. Skip any of those and you’ll fight rust all over again.
Take your time, follow the steps, and you’ll be back on the road with a clean tank and a happy fuel system. Ride safe out there.
Frequently Asked Questions
How long should I leave vinegar in a motorcycle gas tank?
For light surface rust, 12 to 24 hours is usually enough. Heavier rust may need 24 to 48 hours, and I recommend checking the tank every 8 to 12 hours so the acid does not sit on bare metal longer than needed.
Will vinegar damage the paint on my motorcycle tank?
Yes, it can. Vinegar is a mild acid and will dull or lift paint and clear coat. Keep it off the exterior, wipe up any splashes immediately with water, and plug the filler neck securely while the tank is being shaken or rotated.
Can I use vinegar on an aluminum or plastic motorcycle tank?
I would not use it on aluminum, because acetic acid can etch and pit the metal. Plastic tanks do not rust, so vinegar is pointless there. Vinegar is best suited to bare steel tanks with rust inside.
What should I do after cleaning the tank with vinegar?
Rinse thoroughly, neutralize with a baking soda and water solution, rinse again, and dry the tank completely with compressed air or a heat source. Then coat the inside with fogging oil or fill it with fuel and stabilizer quickly, because bare steel flash rusts fast.

Related Articles
7 Best Batteries for Motorcycles I’ve Tested and Trust in 2026
I've tested dozens of motorcycle batteries to find the best performers. From AGM to lithium, here are my top picks…
Jake Miller
15 min read

The Perfect Battery for Your Harley Davidson Softail: A Rider’s Complete Guide
Discover the perfect battery for your Harley Davidson Softail. I've tested multiple options and share real-world performance data, maintenance tips,…
Jake Miller
14 min read

The Best Battery for Your Harley Davidson: My Complete Guide After Years of Testing
Discover which battery truly performs best for Harley Davidson motorcycles. Real rider experience with AGM, lithium, and OEM options to…
Jake Miller
12 min read