
Flash Rust in Your Motorcycle Tank? How I Stop It Before It Starts
 Jake Miller
12 min read
Jake Miller
12 min read
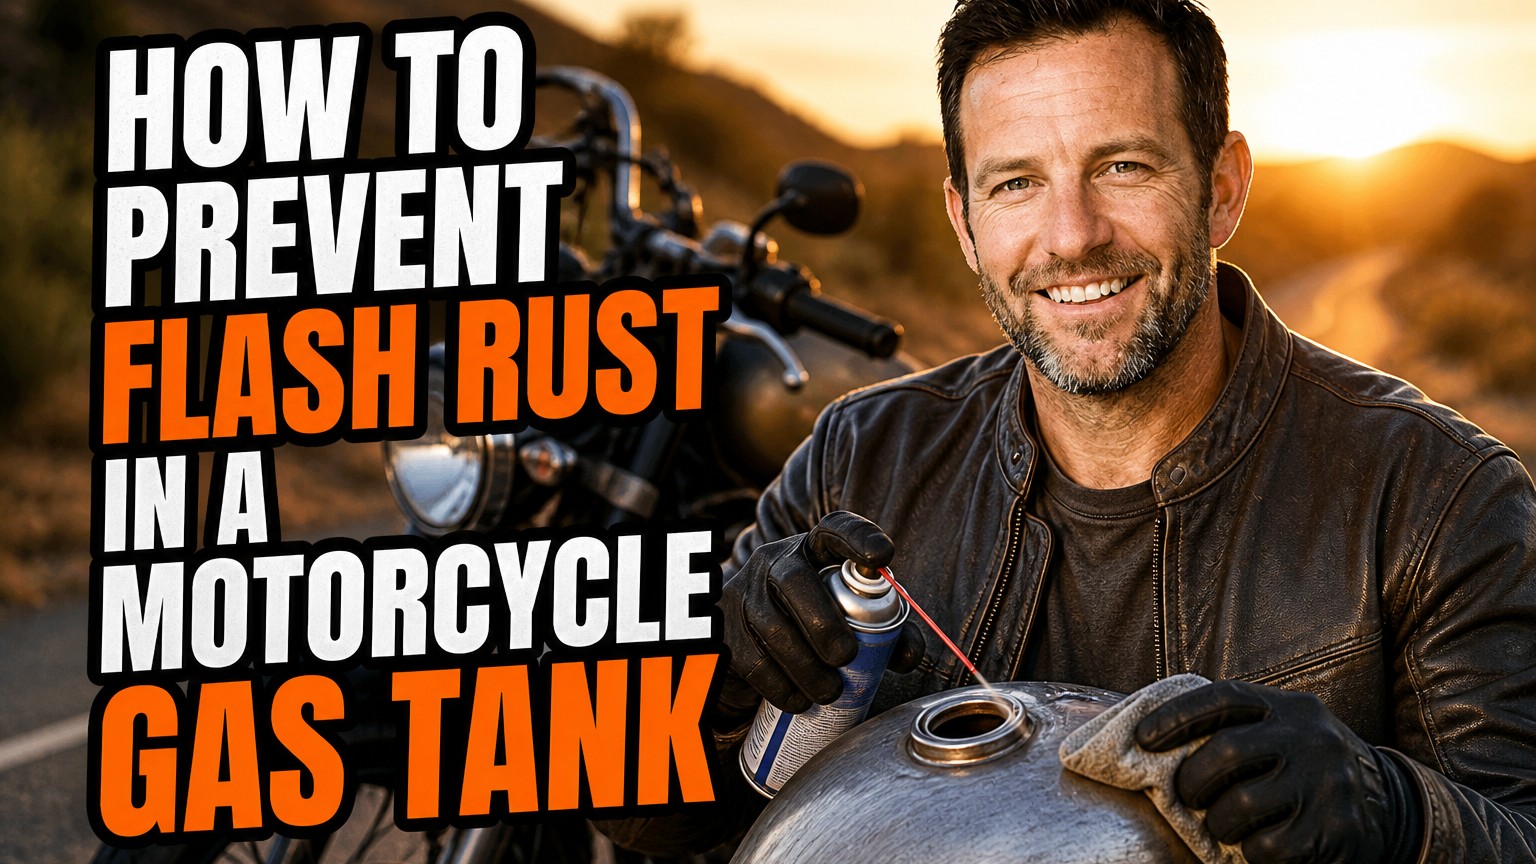
I still remember the first time I pulled the petcock off an old project bike and peered into the tank with a flashlight. What I saw was a scene of orange dust, flaky scale, and a little puddle of cloudy water in the corner. It was ugly, and I had caused part of it myself.
I had cleaned the tank a week earlier and left it sitting bare. That is how I learned about flash rust the hard way. Since then, I’ve developed a routine that keeps my tanks clean and dry, and in this guide I’ll walk you through exactly how to prevent flash rust in a motorcycle gas tank, step by step.
- Flash rust needs bare steel, moisture, and oxygen. Remove any one of them and it can’t form.
- Keep the tank full during storage, use a quality fuel stabilizer, and choose ethanol-free fuel when you can.
- After cleaning or derusting, dry the tank right away and coat the bare metal with a sealer or rust-preventive oil.
- Check your gas cap seal, vent lines, and petcock regularly so moisture doesn’t sneak in.
What Flash Rust Actually Is (and Why It Happens So Fast)
Flash rust is a light, powdery layer of iron oxide that forms on bare steel within minutes or hours of exposure to moisture. It’s different from the deep, pitted rust you find in a tank that has been neglected for a decade. Flash rust is the early warning stage.
The chemistry is simple. Steel, water, and oxygen react, and the surface turns orange almost overnight. A tank that has just been stripped, washed, or derusted is the perfect target because the protective film of oil and fuel residue is gone.
The Three Ingredients I Always Watch
I think of rust as a recipe with three ingredients. If I can remove one, the recipe fails. Every tip in this article is really about eliminating one of these three.
- Bare or unprotected steel: no paint, sealer, or oil film on the inside surface.
- Moisture: condensation, rinse water, humid air, or water in the fuel.
- Oxygen: the air sitting in a half-empty tank.
Why Motorcycle Tanks Are Especially Vulnerable
Motorcycle tanks are usually made of thin sheet steel, and they’re small. A small tank swings in temperature quickly, which creates condensation on the inner walls. Many bikes also sit for weeks or months between rides.
On top of that, modern pump fuel often contains ethanol. Ethanol is hygroscopic, meaning it pulls water out of the air. That water eventually separates and settles at the bottom of the tank, right where rust loves to start.
Spotting the Early Signs Before It Gets Serious
Catching rust early saves you a lot of work. I check my tanks at the start and end of every riding season, and anytime a bike has been sitting for more than a month.
My Quick Inspection Routine
I use a bright LED flashlight or an inspection camera and look through the filler neck. I’m looking for three things: orange haze on the walls, dark streaks along the seams, and any visible sediment at the bottom.
I also pull the fuel line and let a little gas run into a clear glass jar. If I see floating specks, cloudy fuel, or a layer of water at the bottom, I know moisture is already getting in.
Symptoms You Can Notice While Riding
Sometimes the bike tells you before the tank does. Watch for sputtering at steady throttle, hard starting after storage, or a clogged petcock screen. Rust flakes love to block fuel passages and carburetor jets.
Prevention Starts With Smart Storage
Most flash rust problems I’ve seen come from storage mistakes, not from riding. If you park a bike for winter the wrong way, you can come back to a tank that looks like a rusty coffee can.
Keep the Tank Full
This is my number one rule: store the bike with a full tank. A full tank leaves almost no air space for humid air to fill, so there’s little room for condensation to form on the walls.
An empty or half-empty tank is the opposite. Every temperature swing pulls in fresh air, and the moisture in that air collects on bare metal. Fill it to the neck and the problem mostly goes away.
Use a Quality Fuel Stabilizer
Before I fill up for storage, I add a good fuel stabilizer, then ride the bike for 10 to 15 minutes so the treated fuel reaches the carbs or injectors. Many stabilizers also include corrosion inhibitors that leave a thin protective film on the metal.
I don’t treat stabilizer as a magic bullet. It helps, but it works best alongside a full tank, a tight cap, and a dry storage spot.
Choose Your Fuel Wisely
When I can find it, I use ethanol-free gasoline for bikes that sit a lot. Less ethanol means less water absorption, and that means less trouble over time.
If ethanol-free fuel isn’t available where you live, stick with fresh fuel from a busy station and avoid leaving it in the tank for more than a few months. Old fuel is a moisture magnet.
Store the Bike in a Dry, Stable Space
Where you park matters just as much as what you put in the tank. I avoid damp garages, sheds with dirt floors, and any spot where temperature swings are dramatic.
A breathable bike cover helps a lot. I never use a plastic tarp, because it traps moisture against the bike. A silica gel pack or a small dehumidifier in the garage also helps.
How I Prevent Flash Rust After Cleaning a Tank
This is where flash rust is most dangerous. Once you strip the old film of fuel residue from the inside of a tank, the steel is defenseless. I’ve seen a freshly rinsed tank flash over in under an hour on a humid day.
Step 1: Remove the Rust Properly
I start with the method that suits the damage. For light rust, I use a citric acid soak or a commercial rust remover. For heavier scale, I add a handful of hardware like small chain links or sheet-metal screws and shake the tank to scrub it mechanically.
Whatever method you pick, always wear eye protection and gloves, and keep the work area ventilated. Follow the product instructions closely.
Step 2: Neutralize and Rinse
After derusting, I rinse the tank thoroughly with clean water. Any leftover acid will keep attacking the metal and will make flash rust worse.
Some people add a baking soda rinse to neutralize the acid. I do this on tanks that had a strong acid treatment, then follow with a clean-water flush.
Step 3: Dry It Fast and Completely
This is the step where most people fail. Speed is everything here. The moment the final rinse is done, I get the water out.
- Pour out as much water as possible and tip the tank in every direction.
- Rinse with denatured alcohol or a water-displacing solvent. It grabs the water and evaporates quickly.
- Blow warm air through the tank with a hair dryer or heat gun on low, keeping it well away from paint.
- Use compressed air to push moisture out of corners and seams.
I always keep the filler neck and petcock openings pointing down while drying so any trapped liquid drains out.
A Safety Note on Solvents
Alcohol and solvents are flammable. I never use them near open flames, pilot lights, or sparks, and I let all fumes clear before I use heat. Safety beats speed every time.
Step 4: Protect the Bare Metal Immediately
Once the steel is dry, I coat it right away. I’ve used two reliable approaches and my choice depends on the tank’s condition.
- Tank sealer or liner: best for tanks with a history of rust or pinholes. It forms a hard barrier, but you must follow the prep and cure instructions exactly.
- Rust-preventive oil or fogging coat: good for tanks in good shape. A light coating of tank-safe protectant leaves a film that blocks moisture.
Either way, the principle is the same. Don’t give bare steel a chance to meet damp air.
Everyday Habits That Keep Moisture Out
Good storage and cleaning help, but daily habits are what keep a tank healthy over years. These are the small things I do without thinking.
Check the Gas Cap and Seals
A worn gas cap gasket is a sneaky source of moisture. Rain and washing water can slip past it. I inspect my cap seal each season and replace it at the first sign of cracking or flattening.
I also make sure the vent hose or breather isn’t pinched or clogged. A blocked vent can cause vacuum problems, and a damaged one can let water in.
Be Careful When Washing the Bike
I never blast water directly at the filler cap or breather lines with a pressure washer. A gentle rinse and a quick dry is enough. After washing, I wipe the area around the cap so no water pools there when I open it.
Ride It Regularly
A bike that gets ridden is a bike that cycles fresh fuel through the tank. Even a short ride every couple of weeks warms the engine, burns off moisture, and keeps fuel from going stale.
Don’t Forget the Rest of the Bike
Rust prevention doesn’t stop at the tank. If I’m storing a bike, I think about the whole machine, including the engine internals. Fresh oil matters because old, contaminated oil holds acids and moisture.
If you’re not sure what to run, I’ve found it helpful to read up on the best motor oil for 4 stroke motorcycle before a long storage period. Starting a winter with clean oil protects the cylinder walls and bearings from corrosion.
For riders comparing options, this breakdown of the top engine oil for 4 stroke motorcycle models is a useful starting point. It helps you match viscosity and spec to your bike.
Choosing Fresh Oil as Part of Your Storage Routine
It might seem odd to talk about engine oil in an article about tanks, but in my experience rust prevention works best as a system. A bike that’s protected on the inside, from tank to crankcase, survives storage much better.
Used oil carries combustion byproducts and moisture, and those can attack metal surfaces over a long sit. That’s why I change oil before storage rather than after.
Picking the Right Oil for Your Climate and Bike
Your bike’s manual always has the last word on viscosity and specification. Beyond that, climate matters. If you’re riding in a hot, humid region, it’s worth checking guidance on the best engine oil for 4 stroke motorcycle in india, since heat and monsoon moisture put unusual stress on both oil and metal.
If you’re still weighing options, this guide on what is the best engine oil for 4 stroke motorcycle riders should choose can help you narrow things down. And for a broader overview, I like this look at the best engine oil for motorcycle options across riding styles.
Common Mistakes I See (and Have Made Myself)
I’ve made most of these errors at some point. Learning from them cost me time, and in one case a nice tank.
Leaving the Tank Bare After Derusting
This is the classic. You finish the cleaning, feel proud, and walk away for the weekend. By Monday the inside is orange again. Always seal or oil the tank the same day.
Using Water Without a Plan to Dry
Rinsing is necessary, but if you can’t dry the tank quickly, you’re setting yourself up for flash rust. Have your alcohol, compressed air, and heat source ready before you start.
Storing With Half a Tank
It feels harmless, but that air space is exactly where condensation forms. I’d rather pay for a full tank of fuel than a tank restoration.
Ignoring Small Leaks and Worn Seals
A tiny gasket crack seems minor. Over a damp winter, it lets in enough water to start trouble. A cheap seal is far better than a rusted tank.
Skipping Fuel Filters
An inline filter or a clean petcock screen catches rust particles before they reach the carburetor. I never remove them, and I clean or replace them as part of regular maintenance.
When It’s Time to Call It and Replace or Re-line
Not every tank can be saved. If I find rust that has eaten through the metal, leaking seams, or deep pitting that keeps coming back, I stop trying to patch it.
At that point, I either use a quality tank liner designed for the job or look for a replacement tank. A leaking fuel tank is a safety hazard, and it’s not worth gambling on.
My Simple Decision Rule
If the rust is light and surface-level, I clean and protect. If the metal is pitted but intact, I consider a liner. If it leaks or is structurally compromised, I replace it.
My Final Checklist for a Rust-Free Tank
Here’s the short version I keep taped to my garage wall. Run through it before storage and after any tank cleaning.
- Fill the tank to the neck before storing the bike.
- Add a fuel stabilizer and ride briefly to circulate it.
- Use ethanol-free fuel when possible.
- Inspect the cap seal and breather lines for wear.
- After derusting, neutralize, rinse, and dry within minutes.
- Coat bare steel with a sealer or rust-preventive oil right away.
- Store the bike in a dry space under a breathable cover.
- Change the engine oil before long storage periods.
Final Thoughts
Flash rust sounds scary, but it’s one of the most preventable problems a rider faces. Once I understood that it only needs bare steel, moisture, and oxygen, the fixes became obvious and cheap.
Keep the tank full, keep it sealed, dry it fast after cleaning, and protect the metal the same day. Do that, and you’ll spend a lot more time riding and a lot less time staring into a rusty tank with a flashlight. Ride safe, and happy wrenching.
Frequently Asked Questions
What is flash rust in a motorcycle gas tank?
Flash rust is a thin, orange-brown layer of surface oxidation that forms very quickly on bare steel when it is exposed to moisture and oxygen. In a tank, it often appears within hours of cleaning or when a tank sits partly empty with condensation inside.
Should I store my motorcycle with a full or empty tank?
A full tank is almost always better. Less air space means less condensation, which means less moisture available to start rust. Add a fuel stabilizer before storage and top the tank off.
Does ethanol fuel cause rust in a motorcycle tank?
Ethanol attracts water, and that water can settle in the tank and promote rust. Using ethanol-free fuel when you can, adding a stabilizer, and not leaving fuel sitting for months will reduce the risk.
How do I stop flash rust after cleaning a rusty tank?
Dry the tank immediately and completely with warm air, rinse it with a water-displacing solvent or denatured alcohol, then coat the inside with a tank sealer or a rust-preventive oil. Never leave bare, wet steel exposed even for a few hours.

Related Articles
7 Best Batteries for Motorcycles I’ve Tested and Trust in 2026
I've tested dozens of motorcycle batteries to find the best performers. From AGM to lithium, here are my top picks…
Jake Miller
15 min read

The Perfect Battery for Your Harley Davidson Softail: A Rider’s Complete Guide
Discover the perfect battery for your Harley Davidson Softail. I've tested multiple options and share real-world performance data, maintenance tips,…
Jake Miller
14 min read

The Best Battery for Your Harley Davidson: My Complete Guide After Years of Testing
Discover which battery truly performs best for Harley Davidson motorcycles. Real rider experience with AGM, lithium, and OEM options to…
Jake Miller
12 min read