
How to Clean a Rusty Motorcycle Gas Tank: My Step-by-Step Rust Removal Guide
 Jake Miller
11 min read
Jake Miller
11 min read
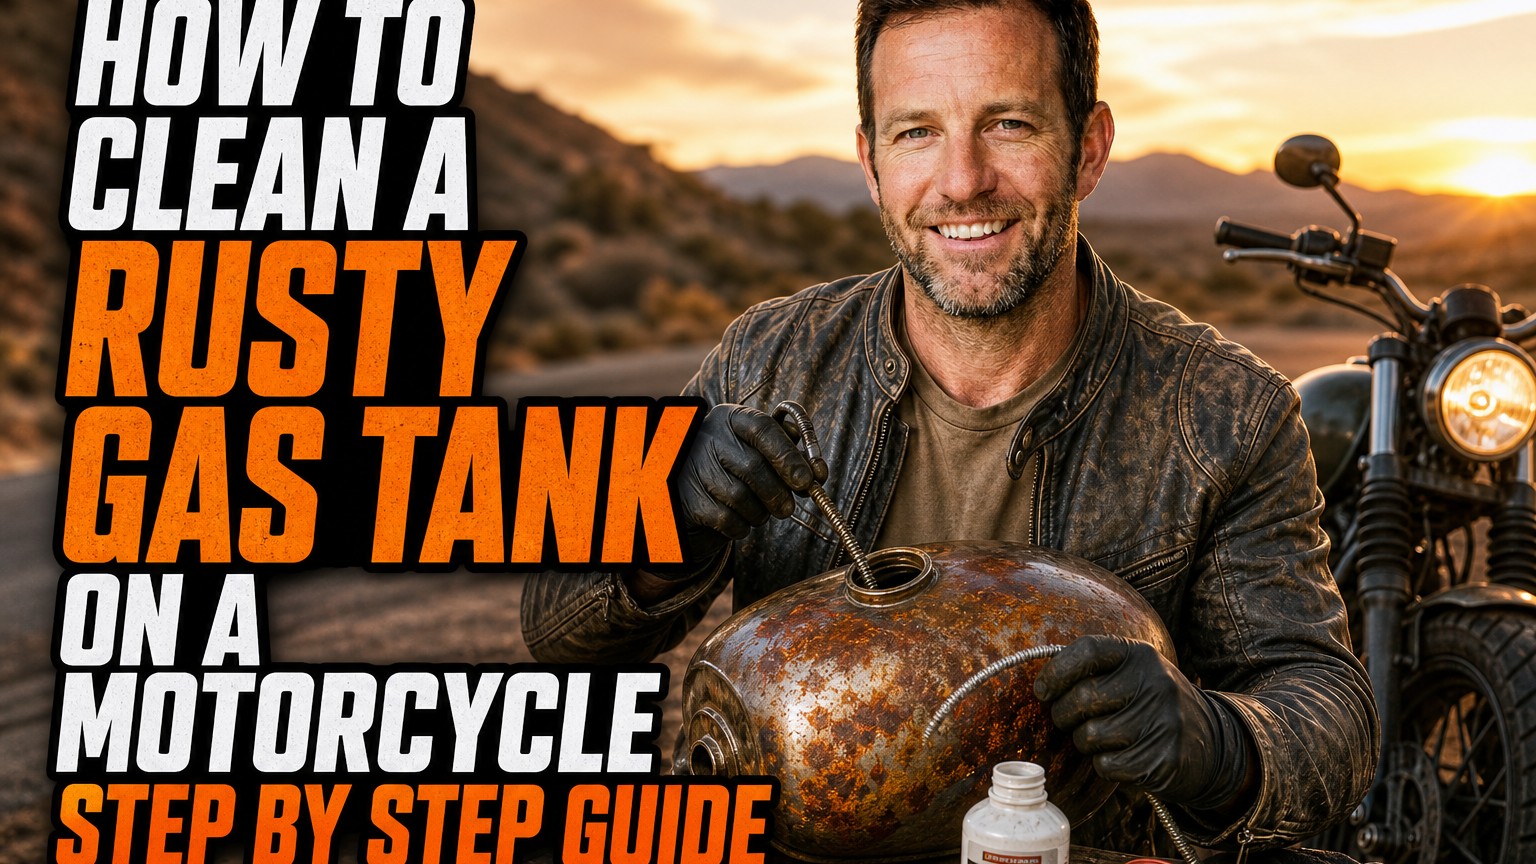
The first time I looked into my old project bike’s fuel tank with a flashlight, my stomach dropped. The inside looked like a rusty cave, with orange flakes clinging to the walls and sludge pooled at the bottom.
I was sure the tank was scrap. It wasn’t, and neither is yours, most likely. Over the years I’ve rescued several tanks from barn-find bikes, and the process is far easier than most riders expect.
In this guide, I’ll walk you through exactly how I clean a rusty tank, from draining it to sealing it. I’ll also share the mistakes I’ve made so you don’t repeat them.
- Remove the tank, drain old fuel safely, and flush out loose debris before any chemical treatment.
- Citric acid, vinegar, or electrolysis will dissolve rust. I rate citric acid as the best balance of speed and safety.
- Rinse, neutralize, and dry the tank completely right away to stop flash rust.
- Seal the tank if the rust was moderate or heavy, and use fuel stabilizer to keep it from returning.
Why Motorcycle Tanks Rust in the First Place
Before I grab any tools, I like to understand why the rust formed. Knowing the cause helps me prevent a repeat.
Most steel tanks rust from the inside because of moisture. Air in a half-empty tank carries humidity, and temperature swings turn that humidity into condensation on the metal walls.
Ethanol-blended fuel makes it worse. Ethanol attracts water, and that water settles at the bottom of the tank, where it quietly eats the steel.
Common Culprits I See Most Often
- Long storage with a partly empty tank over winter
- Ethanol-blended fuel left to sit for months
- A leaking or missing gas cap seal that lets in rain and humidity
- Old, degraded gasoline that turns acidic and varnishy
If you spot any of these in your own bike’s history, fix that problem too. Otherwise, the rust will return no matter how well you clean.
Tools and Materials I Gather Before Starting
Nothing slows a tank cleaning job like stopping halfway to hunt for supplies. I lay everything out first.
The Basic Kit
- Socket set and screwdrivers for removing the tank
- Approved fuel container for draining old gas
- Safety glasses, nitrile gloves, and old clothes
- A bucket or large tub
- Rubber stoppers or plugs for the fuel petcock holes
- A handful of small steel hex nuts, bolts, or chain links (for abrasion)
- Citric acid powder, white vinegar, or an electrolysis setup
- Baking soda for neutralizing
- Water-displacing spray such as WD-40, or a hair dryer
- Tank sealer kit (optional but often worthwhile)
- An inspection light or a cheap endoscope camera
I’m a big fan of the little inspection camera. It costs very little and shows you rust spots your flashlight will never reveal.
Step-by-Step: How I Clean a Rusty Motorcycle Tank
Here’s the exact process I follow. Take your time with each step, because shortcuts here lead to clogged carburetors and failed sealers later.
Step 1: Work Safely First
Gasoline fumes are no joke. I always work outdoors or in a well-ventilated garage, far from water heaters, pilot lights, and sparks.
Keep a fire extinguisher nearby, and never smoke around the bike. An empty tank can be more dangerous than a full one because the fumes are highly explosive.
Step 2: Remove and Drain the Tank
I disconnect the battery first, then take off the seat and any side covers. After that, I shut off the fuel petcock and pull the fuel line.
Take photos as you go, because it makes reassembly much easier. Unbolt the tank, lift it carefully so you don’t scratch the paint, and drain whatever fuel is left into an approved container.
If the fuel looks dark, smells sour like old varnish, or has rust flakes in it, don’t pour it back into any engine. Take it to a local hazardous-waste facility.
Step 3: Remove Hardware and Inspect the Inside
I pull off the petcock, fuel gauge sender, and any filters. Then I plug the holes with rubber stoppers or threaded bolts wrapped in sealing tape.
Now I shine a light into the filler opening. This is where I judge how bad the rust really is.
How I Grade Tank Rust
- Light: a thin orange haze, with no flaking or pitting
- Moderate: patches of rust and some loose scale
- Heavy: thick scale, deep pitting, or visible pinholes
Light and moderate rust are very recoverable. Heavy rust can still be cleaned, but I always check for thin spots before I trust the tank with fuel again.
Step 4: Mechanically Knock Loose the Flakes
I drop a handful of small hex nuts or a short piece of chain into the tank, add a bit of hot water with dish soap, and seal the openings.
Then I shake it. Rotate the tank in every direction for five to ten minutes, which scrubs the walls from the inside.
Dump the contents into a bucket and repeat until the water runs mostly clean. Never skip this step, because it clears the heavy scale and lets the chemical treatment work on the rust that’s left.
Step 5: Choose Your Rust-Removal Method
This is where riders argue the most. I’ve tried all three methods below, and each has its place.
Option A: Citric Acid (My Favorite)
Citric acid is cheap, widely available, and much safer than harsh chemicals. I mix about one cup of powder per gallon of warm water.
Pour it into the tank until it’s full, then let it soak for 12 to 24 hours. I check every few hours and swirl the tank gently to keep fresh solution against the metal.
When the solution turns murky brown, that’s the rust coming off. For heavy rust, I’ll drain it and refill with a fresh batch.
Option B: White Vinegar
Vinegar is the classic budget method, and it works. Fill the tank with straight white vinegar and let it sit for 24 to 48 hours.
The downside is the smell, and it’s slower than citric acid. Vinegar can also leave the bare metal more prone to instant flash rust, so I rinse and dry very quickly afterward.
Option C: Electrolysis
Electrolysis is the most thorough approach, but it takes more setup. You’ll need a battery charger, a sacrificial piece of steel, washing soda, and water.
The tank becomes part of a circuit, and the rust migrates off the metal onto the sacrificial piece. I use it only for heavily rusted tanks, because it does a fantastic job in awkward corners.
If you try it, follow a proper tutorial and work outdoors, since the process releases hydrogen gas.
Step 6: Rinse and Neutralize
Once the rust is gone, I drain the solution and rinse the tank thoroughly with clean water. Then I mix a few tablespoons of baking soda in warm water and slosh it around.
This neutralizes any remaining acid. Rinse once more with plain water so no residue is left behind.
Step 7: Dry the Tank Immediately
This is the step where I’ve seen the most people ruin a perfect cleaning job. Bare steel will start to flash rust within minutes if it stays wet.
I blow out as much water as I can with compressed air or a hair dryer. Then I spray a water-displacing oil inside, swirl it around, and let the tank air-dry with the openings pointing down.
Some riders pour in a splash of denatured alcohol first because it absorbs water and evaporates fast. I’ve done that too, and it works nicely.
Step 8: Inspect, Then Decide on Sealing
With the tank dry, I use my light or camera for a second look. Clean, bare, gray metal is what I want to see.
If the rust was light and there’s no pitting, I sometimes skip the sealer and go straight to fuel stabilizer. For moderate or heavy cases, I always seal.
Should You Use a Tank Sealer?
This question gets a lot of opinions. In my experience, sealer is worth it when the metal is pitted or thin, because it coats the steel and can plug tiny pinholes.
But a sealer is only as good as the prep. If you apply it over leftover rust, oil, or moisture, it can peel and clog your fuel system.
How I Apply Sealer
- Clean and degrease the tank interior with a dedicated prep solution from the kit.
- Rinse and dry completely.
- Pour in the sealer and rotate the tank slowly so every surface gets coated.
- Drain the excess as directed.
- Let it cure for the full recommended time, often several days.
Patience matters here. I’ve rushed a cure before, and the sealer stayed soft and gummy for weeks.
Take Care of the Rest of the Bike While the Tank Is Off
A removed tank gives you rare access to the top of the engine, frame, and wiring. I treat it as a chance to do other maintenance.
The fuel system is the obvious place to start. I replace the fuel filter, check the fuel line for cracks, and clean the petcock screen. If you have carburetors, a rusty tank often means they need a clean as well.
Time for Fresh Oil Too
Since I’m already giving the bike some attention, I usually change the oil too. If you aren’t sure what to run, I’ve found this guide on the best motor oil for 4 stroke motorcycle helpful for narrowing down the viscosity and rating.
If you want a few more options, take a look at this list of the top engine oil for 4 stroke motorcycle picks before you buy.
Riders in warmer, dustier regions have different needs. For them, this breakdown of the best engine oil for 4 stroke motorcycle in india covers conditions you won’t find in most general guides.
Still wondering what is the best engine oil for 4 stroke motorcycle models like yours? That article digs deeper into the details. And for a broader overview, here’s a roundup of the best engine oil for motorcycle options across categories.
Reassembling the Tank and Getting Back on the Road
Once the interior is dry and sealed (if you chose to seal it), I reinstall the petcock using a new gasket or O-ring. Old seals harden and leak, so I never reuse them.
Then I refit the tank, reconnect the fuel line, and double-check every clamp. I add fresh fuel, ideally with a stabilizer.
My First-Start Checklist
- Check for leaks at the petcock and fuel line before turning the key
- Watch the fuel level and sender reading
- Let fuel flow into the carburetor or injector rail slowly
- Inspect the new filter after the first ride for stray debris
I always recheck the filter after the first couple of rides. Tiny leftover particles sometimes work loose, and it’s better to catch them early.
Mistakes I’ve Made (So You Don’t Have To)
Skipping the Drying Step
I once rinsed a tank beautifully, then got distracted for an hour. When I came back, the inside was covered in orange freckles again.
Using Harsh Acids Carelessly
Strong muriatic or phosphoric acid products can work, but they’re aggressive, and spilled acid will strip paint instantly. I stick to gentler options unless a tank is truly desperate.
Ignoring the Exterior Paint
Spills on the outside are easy to forget. Before starting, I cover the paint with an old towel or painter’s tape and rinse any splashes right away.
Applying Sealer Over Poor Prep
A sealer is not a magic fix for dirty metal. Prep determines whether it lasts for years or flakes off in a month.
How I Keep Rust From Coming Back
Cleaning a tank once is satisfying. Never having to do it again is even better, and a few habits make that realistic.
- Store it nearly full. Less air means less condensation.
- Add fuel stabilizer before any long layup.
- Use ethanol-free fuel when you can find it.
- Check the gas cap seal and replace it if it’s cracked.
- Ride regularly, since moving fuel is healthier fuel.
- Keep the bike dry with a breathable cover or a dry garage.
These little habits cost almost nothing. They’ve saved me from repeating this job on my own bikes.
When to Replace the Tank Instead
I’m a firm believer in saving tanks, but there are limits. If I find widespread pinholes, thin walls, or rust-through at the seams, I stop and reconsider.
A leaking fuel tank is a fire hazard, not just a nuisance. A used replacement or a professional repair is cheaper than the damage a fuel fire could cause.
Final Thoughts
Cleaning a rusty motorcycle tank is one of the most rewarding garage jobs I know. It takes some patience, a few cheap supplies, and a weekend, but the payoff is a clean tank and a healthier fuel system.
Start by draining and inspecting, knock loose the scale, treat it with citric acid or another rust remover, then dry and seal. Follow those steps, and your bike will be ready to ride again with fuel that flows clean.
If you’ve got a rusty tank sitting in your garage right now, pick a weekend and give it a go. I think you’ll be pleasantly surprised at how well it turns out.
Frequently Asked Questions
Can I clean a rusty motorcycle gas tank without removing it from the bike?
I don’t recommend it. You need to drain, flush, and rotate the tank, and you must keep liquids away from paint, wiring, and the engine. Removing the tank is safer and gives you a far better result.
Is vinegar or citric acid better for removing tank rust?
I prefer citric acid. It is gentler on the metal, nearly odorless, and works quickly. Vinegar works too, but it is slower, smells strong, and can leave the bare steel flash-rusting faster.
How long does it take to clean a rusty gas tank?
Most jobs take one to three days. The active work is only a couple of hours, but soaking, rinsing, drying, and sealer curing take the extra time.
Do I need to seal the tank after removing the rust?
If the rust was moderate to heavy, yes. A quality tank sealer coats the bare steel and helps prevent flash rust and pinhole leaks. For very light rust, a thorough clean, dry, and fuel stabilizer may be enough.
How do I stop my motorcycle tank from rusting again?
Keep the tank nearly full during storage, add fuel stabilizer, use a clean fuel filter, and avoid leaving the cap loose or the bike in damp conditions.

Related Articles
7 Best Batteries for Motorcycles I’ve Tested and Trust in 2026
I've tested dozens of motorcycle batteries to find the best performers. From AGM to lithium, here are my top picks…
Jake Miller
15 min read

The Perfect Battery for Your Harley Davidson Softail: A Rider’s Complete Guide
Discover the perfect battery for your Harley Davidson Softail. I've tested multiple options and share real-world performance data, maintenance tips,…
Jake Miller
14 min read

The Best Battery for Your Harley Davidson: My Complete Guide After Years of Testing
Discover which battery truly performs best for Harley Davidson motorcycles. Real rider experience with AGM, lithium, and OEM options to…
Jake Miller
12 min read