
5 Best Ultrasonic Cleaners for Motorcycle Carb Cleaning (Rider-Tested Picks)
 Jake Miller
9 min read
Jake Miller
9 min read
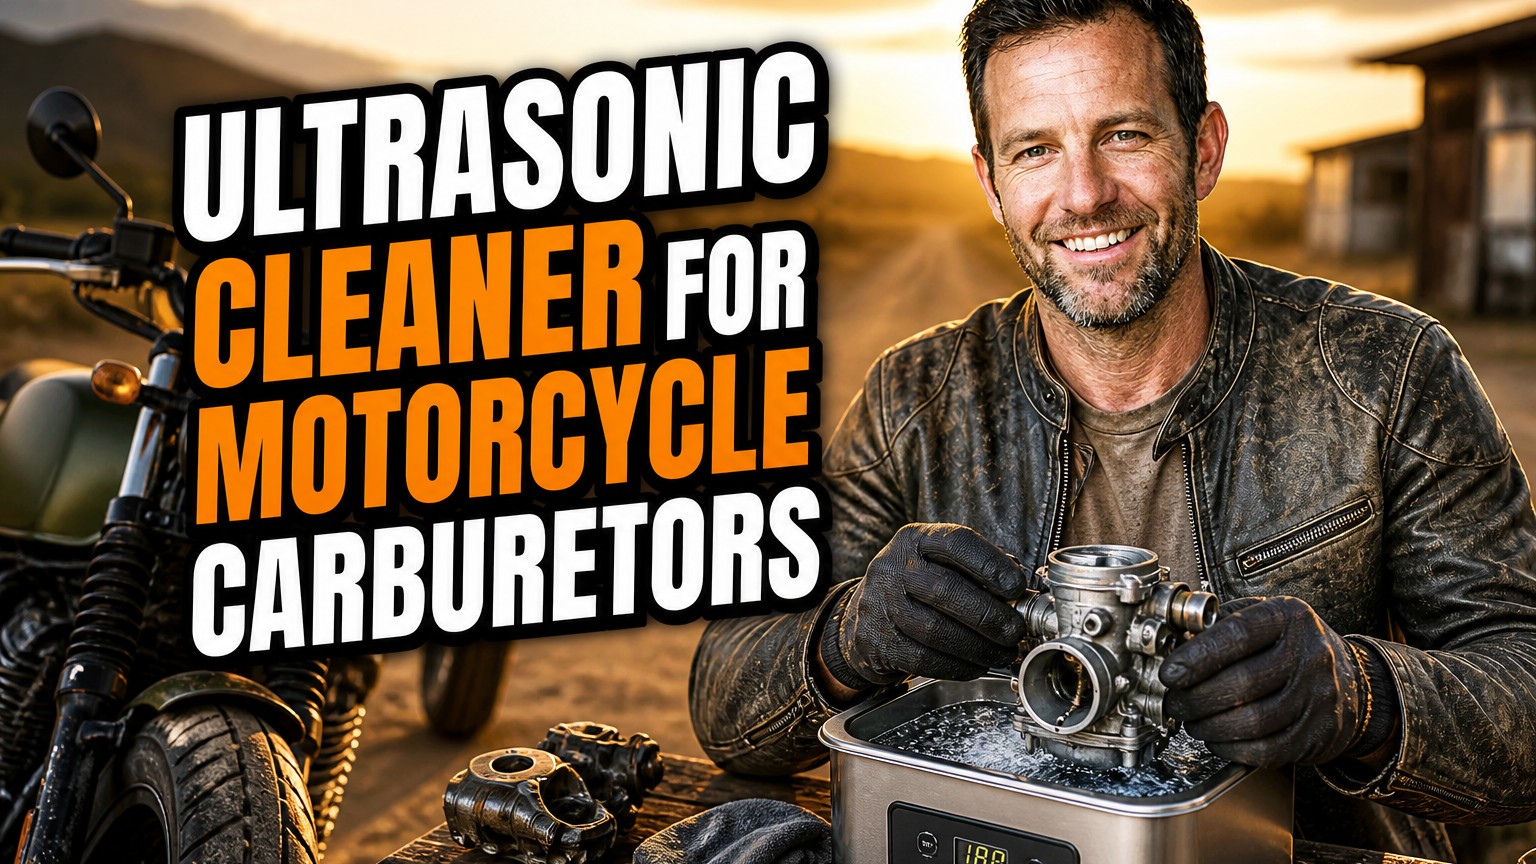
I’ve been rebuilding motorcycle carburetors in my garage for years. I’ve fought through plenty of tiny, varnish-clogged pilot jets with carb spray, guitar wire, and a lot of swearing. Then I bought my first ultrasonic cleaner, and I haven’t gone back.
Ultrasonic cleaning gets into the passages you can’t reach with a brush or a drill bit. It’s gentle on brass and aluminum, and it takes most of the guesswork out of a rebuild. Here are the five units I’d actually recommend to another rider.
- For most riders, the Vevor 6L heated cleaner is the best balance of price and performance for one or two carbs.
- If you have a multi-carb bank (a four-cylinder, for example), the Vevor 30L lets you clean the whole rail at once.
- Heat and a water-based degreaser matter as much as tank size. Always pull rubber parts first.
- For a pro-grade, long-lasting unit, the Branson CPX2800H is my splurge pick.
Why I Use Ultrasonic Cleaning for Carb Work
A carburetor is basically a collection of tiny passages. Pilot jets are often under 0.5 mm, and emulsion tubes and air bleeds are just as fussy. Ethanol-blended fuel leaves varnish and white crusty deposits in all of them.
Ultrasonic cleaners generate high-frequency sound waves, typically around 40 kHz, in a heated cleaning solution. Those waves create millions of microscopic cavitation bubbles that scrub every surface, including the blind holes you can’t see into.
In my experience, a 20-minute cycle does what an hour of spraying and poking never could. It’s also far less likely to enlarge a jet with a careless drill bit, which would wreck your fuel mixture.
1. Vevor 6L Heated Ultrasonic Cleaner — Best Overall for Most Riders
The Vevor 6L Ultrasonic Cleaner is the one I recommend most often. It has a stainless steel tank, a digital timer, and a heater, and it typically sells for roughly $100 to $160 depending on the seller.
What I Like
The 6-liter tank is big enough to hold a single large carb body, like a Keihin CVK or a Mikuni VM, without cramming. I can also clean a pair of smaller carbs in two batches. The heater, which goes up to about 80°C, makes a huge difference with old varnish.
The included basket keeps parts off the bottom of the tank. That matters, because parts resting on the tank floor can dampen the cavitation and scuff the finish.
What Could Be Better
The controls are basic and the manual is thin. Build quality is fine for a hobbyist, but I wouldn’t expect a decade of daily shop use from it.
Best for: home mechanics who rebuild one or two carbs at a time. If you only buy one machine, this is the one I’d start with.
2. Vevor 30L Ultrasonic Cleaner — Best for Multi-Carb Bike Banks
If you ride a four-cylinder from the 80s or 90s, you know the pain. Four carbs, four sets of jets, and a linkage that’s a hassle to take apart. The Vevor 30L Ultrasonic Cleaner is my pick for that situation.
Specs That Matter
It has a large stainless steel tank and a much stronger heater and transducer setup than the small units. Prices usually run about $300 to $500. It’s a bigger investment, but it can hold an entire carb rail.
I like being able to submerge the whole bank, give it a first pass, and then split the carbs for a detailed cleaning of the jets and bowls. It also doubles as a cleaner for chains, brake calipers, and small engine parts.
The Trade-Offs
It’s heavy and takes up bench space. Heating that much solution also takes a while, and you’ll need a decent amount of cleaning concentrate to fill it.
Best for: riders with multi-cylinder bikes, or anyone who wants one machine for carbs and other motorcycle parts.
3. Branson CPX2800H — Best Pro-Grade Pick
Branson is one of the best-known names in ultrasonic cleaning, and the Branson CPX2800H shows why. It’s a heated benchtop unit built for shops and labs, and it usually costs several hundred dollars, often $500 or more.
Why I’d Pay More
The transducers and the stainless steel tank are built to run all day. The CPX2800H holds roughly three quarters of a gallon, which is on the small side, but the cavitation is consistent and powerful.
I like it for jets, needles, and small carb bodies, where thoroughness matters more than capacity. If you run a small shop or rebuild carbs for friends, it’s a tool that earns its keep.
Who Should Skip It
For a typical home garage, it’s more money than you need. The compact tank also can’t take a large multi-carb bank or a big CV carb with the bowl attached.
Best for: small shops, serious restorers, and anyone who values durability above all.
4. Vevor 10L Ultrasonic Cleaner — Best Mid-Size Upgrade
The Vevor 10L Ultrasonic Cleaner sits between the 6L and the 30L, and for many riders it’s the sweet spot. It’s typically priced around $150 to $250.
Why It Works
The extra capacity lets me fit a pair of carbs side by side, or a bigger carb plus its bowls and jets in the same basket. It has a digital timer and a heater just like the 6L, but with more room to work.
If you’re juggling a twin-cylinder bike or planning to clean other parts like fuel petcocks, valve covers, and small brackets, this size feels comfortable. It’s still small enough to store on a shelf when you’re done.
Limitations
Like the other Vevor units, the finish and documentation are basic. I’d also keep an eye on the drain fitting and make sure it’s snug before filling the tank.
Best for: riders with twins or those who want room to grow.
5. Magnasonic Professional Ultrasonic Cleaner — Best Compact Option for Tight Spaces
The Magnasonic Professional Ultrasonic Cleaner is a compact, widely available unit, usually sold for about $60 to $110. It’s best known for jewelry and eyeglasses, but the larger models handle small motorcycle carbs and jets surprisingly well.
Where It Shines
It’s small, quiet, and easy to store. For a single-cylinder dirt bike or scooter carb, such as a small Mikuni or a PWK clone, it’s often enough. I especially like it for soaking jets, needles, and float bowls on their own.
It has a simple digital timer and preset cycles, so there’s almost no learning curve. That makes it a friendly entry point if you’ve never used an ultrasonic cleaner before.
What to Watch
The tank is limited, so you may need to clean the carb body in sections or only handle the smallest carbs. Heating capacity is also modest compared with the larger Vevor machines.
Best for: small-displacement bikes and riders on a tight budget.
What to Look for Before You Buy
Tank Size
Measure your largest carb first, including linkages if you plan to clean it assembled. A good rule is to leave at least an inch of clearance on every side. Parts should never touch the tank walls or floor.
Heater
Heat dramatically improves cleaning, especially with varnish. I aim for 50 to 60°C for most jobs. I wouldn’t buy an unheated unit for carb work unless I had no other choice.
Power and Frequency
Most hobby cleaners run at 40 kHz, which is ideal for small passages. Higher wattage helps in bigger tanks, because the energy is spread over more solution. Don’t chase wattage numbers alone, though. Build quality and transducer placement matter too.
Basket and Timer
A solid basket and a reliable timer are worth more than flashy features. I always want a basket to protect parts from direct contact with the tank.
How I Clean a Carburetor in an Ultrasonic Tank
Step 1: Disassemble Carefully
I take photos as I go and remove every rubber or plastic part: O-rings, diaphragms, floats, needle seats with rubber tips, and gaskets. These can swell or get damaged by heat and cleaning chemicals.
Step 2: Mix the Solution
I use a water-based degreaser or a dedicated ultrasonic carb cleaning concentrate. Never put flammable solvents like carb spray or gasoline in the tank. That’s a fire risk, and it can also damage the machine.
Step 3: Use the “Water Bath” Method
For many cleaners, the best technique is to put the solution in a beaker or pot, place the carb parts inside it, and then set that container in the tank filled with water. This protects the tank and spreads the cavitation more evenly.
Step 4: Run, Rinse, and Dry
I run a 15 to 30 minute cycle, then rinse everything in clean water and blow out the passages with compressed air. Dry thoroughly before reassembly, because leftover moisture can cause corrosion or poor running.
Keep the Rest of Your Engine Happy Too
A clean carb only helps if the rest of the engine is healthy. Once your bike is idling smoothly again, it’s a good moment to check your oil. If you want to dig into the options, I found this guide to the best motor oil for 4 stroke motorcycle engines useful.
For a second perspective, here’s another breakdown of the top engine oil for 4 stroke motorcycle riders. If you’re based in South Asia, this guide to the best engine oil for 4 stroke motorcycle in india is worth a look.
If you’re still wondering what is the best engine oil for 4 stroke motorcycle models like yours, that article digs into the details. And for a more general overview, check out this roundup of the best engine oil for motorcycle options.
Common Mistakes I See (and Have Made)
Leaving Rubber Parts In
I did this once with a set of float bowl gaskets, and they came out swollen and useless. Always remove soft parts first.
Running Dry or Overheating
Never run the transducer without liquid in the tank. Also watch the temperature, since going much above 60°C can be hard on some plastics and seals.
Skipping the Rinse
Cleaning solution left in the passages can cause its own problems. A thorough rinse and a blast of compressed air make a big difference.
My Final Recommendation
If you want one machine and don’t want to overthink it, I’d buy the Vevor 6L. It handles most single and twin carb jobs at a fair price. If you own a four-cylinder, the Vevor 30L will save you hours.
For a durable shop tool, the Branson CPX2800H is hard to beat. And if space or budget is tight, the Magnasonic is a solid starter.
Whichever you choose, pair it with a good degrease solution, take your time with disassembly, and your bike will thank you with crisp throttle response and a smooth idle. Happy wrenching, and ride safe.
Frequently Asked Questions
What size ultrasonic cleaner do I need for a motorcycle carburetor?
For a single carb or a pair of small carbs, a 6 to 10 liter tank is plenty. If you run a bank of four carbs and want to clean them assembled on the rail, look at 28 to 30 liters.
What cleaning solution should I use in an ultrasonic cleaner for carburetors?
A water-based degreaser such as diluted Simple Green or a dedicated ultrasonic carb cleaning concentrate works well. Avoid flammable solvents like carb spray or gasoline inside the tank, since they are a fire hazard.
Is ultrasonic cleaning safe for rubber and brass carb parts?
Brass jets, aluminum bodies, and steel parts clean up well. I always remove rubber O-rings, diaphragms, floats, and gaskets first, because heat and long cycles can swell or degrade them.
How long should I run a carburetor in an ultrasonic cleaner?
Most carbs need 15 to 30 minutes at about 50 to 60 degrees Celsius. Heavily varnished jets may need a second cycle with fresh solution.

Related Articles
7 Best Batteries for Motorcycles I’ve Tested and Trust in 2026
I've tested dozens of motorcycle batteries to find the best performers. From AGM to lithium, here are my top picks…
Jake Miller
15 min read

The Perfect Battery for Your Harley Davidson Softail: A Rider’s Complete Guide
Discover the perfect battery for your Harley Davidson Softail. I've tested multiple options and share real-world performance data, maintenance tips,…
Jake Miller
14 min read

The Best Battery for Your Harley Davidson: My Complete Guide After Years of Testing
Discover which battery truly performs best for Harley Davidson motorcycles. Real rider experience with AGM, lithium, and OEM options to…
Jake Miller
12 min read