
Can You Powder Coat Spoked Motorcycle Wheels? My Hands-On Guide to Getting It Right
 Jake Miller
10 min read
Jake Miller
10 min read
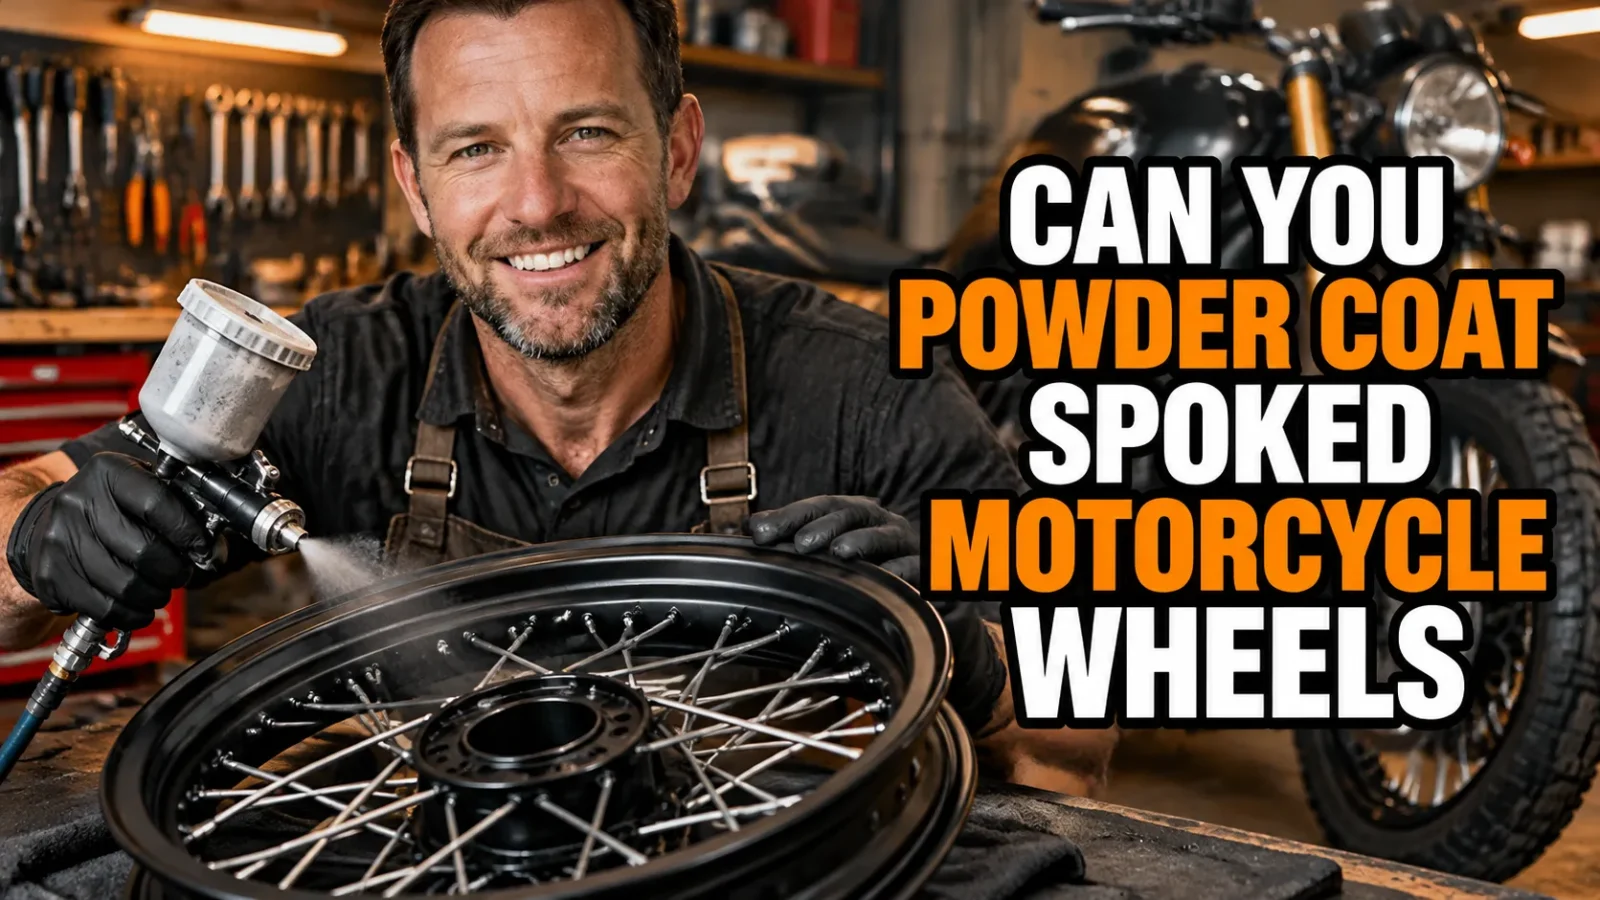
I’ve spent more weekends than I’d like to admit staring at tired, rusty spoked wheels and wondering whether a fresh finish was worth the hassle. The short answer is yes, it can be done, and when it’s done right, the results are spectacular. Done wrong, you end up with a sticky, lumpy mess and a wheel that needs to be rebuilt anyway.
In this guide I’ll walk you through what I’ve learned about the process, the pitfalls, and the decisions that matter. Whether you ride a vintage café racer or a modern adventure bike, spoked wheels are a different animal from cast ones. They deserve a different plan.
- Spoked wheels can be powder coated, but I always disassemble them first for a durable, even finish.
- Bearings, seals, tires, tubes, and rotors must come off before anything goes into the oven.
- Plan on relacing and truing the wheel afterward, and budget for fresh bearings.
- Mask threads and mating surfaces so coating buildup doesn’t cause fitment trouble.
- Powder coating is tougher than paint, but a poor prep job will still ruin it.
Why I Think Powder Coating Suits Spoked Wheels
Spoked wheels live a hard life. They sit close to the ground, get blasted by road grit, and collect moisture in every nook around the nipples. Traditional paint chips quickly in those conditions, and bare steel rusts almost on contact with water.
Powder coating is a dry finish. Fine powder is electrostatically sprayed onto the part, then cured in an oven, where it melts and flows into a hard, continuous layer. That layer is typically far more resistant to chips, chemicals, and brake dust than a rattle-can finish.
The Real Benefits I’ve Noticed
The biggest win for me is durability. A good powder coat shrugs off the stone chips and chain lube that wreck conventional paint. Cleaning is also easier because the surface is smooth and sealed.
Appearance is the other big draw. You can go gloss black, satin bronze, candy gold, or a period-correct silver. It’s an easy way to give an older bike a whole new character.
The Trade-Offs You Should Know About
Powder coating isn’t magic. It adds a thin layer of material, and that layer matters where precision fits are involved. It also needs an oven, so DIY at home is limited by the size of the wheel and the oven.
Spoked wheels add complexity because they’re an assembly of many small parts. That’s why the process is more involved than coating a one-piece cast wheel.
Whole Wheel or Taken Apart: My Strong Opinion
Some people ask whether they can just strip the tire and coat the whole laced wheel. You technically can, but I wouldn’t. It’s the single most common mistake I see.
When the wheel is assembled, the coating can’t reach the areas where spokes cross each other or where the nipples seat in the rim. Those are exactly the spots that rust first. Blasting media also gets trapped in the tight spaces, and it can work its way out later.
Why Disassembly Wins
Taking the wheel apart lets every component be cleaned, blasted, and coated on all sides. The hub, rim, and spokes can each get the right treatment. You also get to inspect everything for cracks, bent spokes, and worn nipples.
Yes, it costs more and takes longer. But in my experience, the finish lasts several times longer, and you only want to do this job once.
What About Coating Only the Rim and Hub?
This is a popular compromise. You coat the rim and hub, then lace in new stainless or zinc-plated spokes. The contrast between a colored rim and bright spokes looks fantastic, and it avoids the thread-buildup headache on the nipples.
I like this approach on classic builds. New spokes are cheap compared to the labor of masking and coating old ones.
My Step-by-Step Process
Here is how I approach the job, whether I’m doing it myself or handing parts to a coater. Even if you’re outsourcing, knowing the steps helps you ask the right questions.
Step 1: Strip the Wheel Down
Remove the tire, tube, rim strip, valve stem, and any balance weights. Take off the brake rotor, sprocket, speedo drive, and spacers. Pull the bearings and seals as well.
This part is non-negotiable. Oven temperatures will cook the grease and destroy the rubber seals. If you’re wondering how often should you change wheel bearings on a motorcycle, a full wheel teardown is a perfect time to just replace them regardless of mileage.
Step 2: Mark and Document the Lacing
Before you detach a single spoke, photograph the lacing pattern from both sides. Note which spokes are inner and outer, and how the hub is offset in the rim. I also like to mark the rim and hub with a paint pen for reference.
Skipping this step is a recipe for confusion later. Lacing a wheel is a skill, and a wrong pattern results in a wheel that won’t true properly.
Step 3: Inspect Everything
Look for cracks around spoke holes, dents in the rim, and corroded nipples. Check the hub flanges as well. If anything looks questionable, replace it now.
This is also a good moment to think about safety. If you’ve ever wondered are spoked motorcycle wheels dangerous, the honest answer is that a well-maintained, properly laced wheel is perfectly safe. Neglected or damaged ones are where trouble starts, and a teardown exposes those problems.
Step 4: Clean and Blast
Coating won’t stick to rust, oil, or old paint. The parts need to be degreased and blasted down to clean metal. Glass bead works nicely for aluminum, while aluminum oxide or sand is better for steel.
I avoid overly aggressive blasting on thin rims and on spokes, since it can pit or warp them. Let a professional handle it if you’re unsure.
Step 5: Mask the Critical Areas
Masking is where careful work pays off. You need to protect surfaces where precision matters, and this is the checklist I use:
- Bearing seats and the axle bore in the hub
- Threaded holes for rotor bolts and sprocket carriers
- The inside of the spoke holes and nipple threads
- Any mating surfaces where the rotor or sprocket seats
High-temperature silicone plugs and tape are the usual tools. Even a thin coating on a bearing seat can make a bearing fit poorly or fail early.
Step 6: Coat and Cure
Parts are grounded, sprayed, and baked, typically around 180 to 200 degrees Celsius (roughly 350 to 400 Fahrenheit) for 10 to 20 minutes after reaching temperature. Your coater will have the exact numbers for the chosen powder.
For aluminum hubs, ask about outgassing. Cast aluminum can release trapped gases when heated, causing pinholes. A pre-bake before coating usually solves it.
Step 7: Reassemble, Lace, and True
After cooling, remove the masking and clean the threads. Lace the wheel using your photos, then true it on a stand. Nipple tension should be even, and the rim should run straight and round.
Truing takes patience. If you’ve never done it, I’d recommend a professional wheel builder, because spoke tension affects handling and wheel life.
Spokes: Coat Them or Replace Them?
This question comes up constantly. I lean toward replacing them, especially on a wheel with any visible rust. New spokes guarantee you’re starting with sound hardware.
If you want to keep the originals, they can be coated. Just know that the thread area and nipple seats must be masked carefully. Otherwise the extra thickness can make nipples bind, which makes truing a nightmare.
Stainless Versus Plated
Stainless spokes look great with a colored rim and resist corrosion. Zinc-plated steel spokes are stronger and cheaper, and they are fine when sealed under powder coat. I choose based on the bike and how I plan to ride it.
Compatibility Notes Before You Start Shopping
If you’re sourcing a spare wheel or hunting for a better donor to refinish, compatibility matters. I’ve seen riders buy a wheel that looked perfect, only to find the axle size or rotor offset was wrong.
Before you buy, read up on are motorcycle wheels interchangeable and are motorcycle wheels universal. The short version is that they usually aren’t, so verify dimensions, offsets, and brake setups.
Tires After Powder Coating
Once your wheel is back and trued, it’s time to mount rubber. Use new rim strips and consider a new tube or valve stem. Be gentle with tire levers, since a slipped lever can chip fresh powder coat.
I protect the rim edge with rim guards or tape. Also, get your front and rear tires right. If you’ve wondered can i use a front motorcycle tire on the rear, take a look before buying, as profiles and load ratings differ.
Balancing
After mounting, balance the wheel. Stick-on or clip-on weights can mar the finish, so I use adhesive weights placed on the hub area or follow the factory approach. Spoked wheels are often balanced with spoke weights that clamp on and don’t touch the coated rim.
What It Costs and How Long It Takes
Costs vary widely depending on location, wheel size, and shop. I won’t quote numbers, because prices shift. Ask for a breakdown that separates disassembly, blasting, coating, lacing, and truing.
As for turnaround, expect a week or two at a typical shop, longer if lacing is included. Doing it yourself is cheaper in cash but costs time and requires equipment.
DIY or Professional?
If you have an oven big enough and experience with spray equipment, DIY is possible. I’ve seen it done with a dedicated toaster-style oven for small parts. But rim size is a real limit.
For most riders, I recommend a pro coater and a wheel specialist for lacing. The finish and the safety margin are worth it.
Common Mistakes I See
Leaving the Bearings In
Heat kills bearings and seals. It’s an expensive way to learn a lesson.
Skipping Masking
Coating on threads or bearing seats creates fit problems that can’t be fixed without stripping the part.
Poor Surface Prep
Powder will adhere to contamination, but not for long. It peels, bubbles, or flakes, and you’ll have wasted the entire job.
Rushing the Truing
A beautiful wheel that wobbles is useless. Take your time, or pay someone who has done it hundreds of times.
Caring for Your Finished Wheels
Once the wheels are back on the bike, treat them kindly. Wash with mild soap and water, and avoid harsh wheel cleaners. Check spoke tension after the first few hundred miles, because new spokes settle in.
Inspect for chips periodically. A small chip in powder coat can let moisture creep underneath, so touch it up quickly with a matching paint.
Final Thoughts From My Garage
So, is it worth it? For me, absolutely. A well-executed powder-coated spoked wheel transforms a bike and protects the metal for years. The key is respecting the process: disassemble, prep, mask, coat, and relace.
Take shortcuts and you’ll regret it. Take your time and you’ll end up with wheels that look incredible and stand up to real riding. If you’re on the fence, start with a good coater and a solid plan, and enjoy the ride.
Frequently Asked Questions
Can you powder coat spoked motorcycle wheels without taking them apart?
Technically yes, but I strongly advise against it. Coating an assembled wheel leaves uneven coverage around the spoke nipples, traps media and chemicals, and bakes the bearings and seals. Disassembly gives the best result.
How much does it cost to powder coat spoked motorcycle wheels?
Prices vary by shop and region, but a full job that includes disassembly, blasting, coating, and relacing is usually more than coating a cast wheel. Ask for a quote that separates coating from lacing and truing labor.
Will powder coating weaken the spokes or rim?
Done correctly, no. Cure temperatures are well below what damages steel or aluminum wheel components. The real risks are coating buildup on the nipple threads and skipped inspection of cracked or corroded parts.
Do I need to replace the wheel bearings after powder coating?
The bearings should come out before coating, since heat can ruin the grease and seals. I recommend installing fresh bearings while the wheel is apart.

Related Articles

8 Best Cruiser Motorcycle Tires for Street Riding: My Real-World Picks
I rank the 8 best cruiser motorcycle tires for street riding, from Michelin to Pirelli, with real notes on grip,…
Jake Miller
9 min read

8 Best Michelin Motorcycle Tires for Every Riding Style (Tested Picks)
Looking for the best Michelin motorcycle tires? I break down my 8 favorite models for sport, touring, adventure, cruiser, and…
Jake Miller
9 min read

Yamaha Tire Pressure Guide: The Right PSI for Safer, Smoother Rides
Learn the right tire pressure for your Yamaha, from sportbikes to cruisers and dirt bikes. Check, adjust and maintain PSI…
Jake Miller
9 min read