
9 Best Motorcycle Riding Clothes for Protection, Comfort and Every Season
 Jake Miller
12 min read
Jake Miller
12 min read
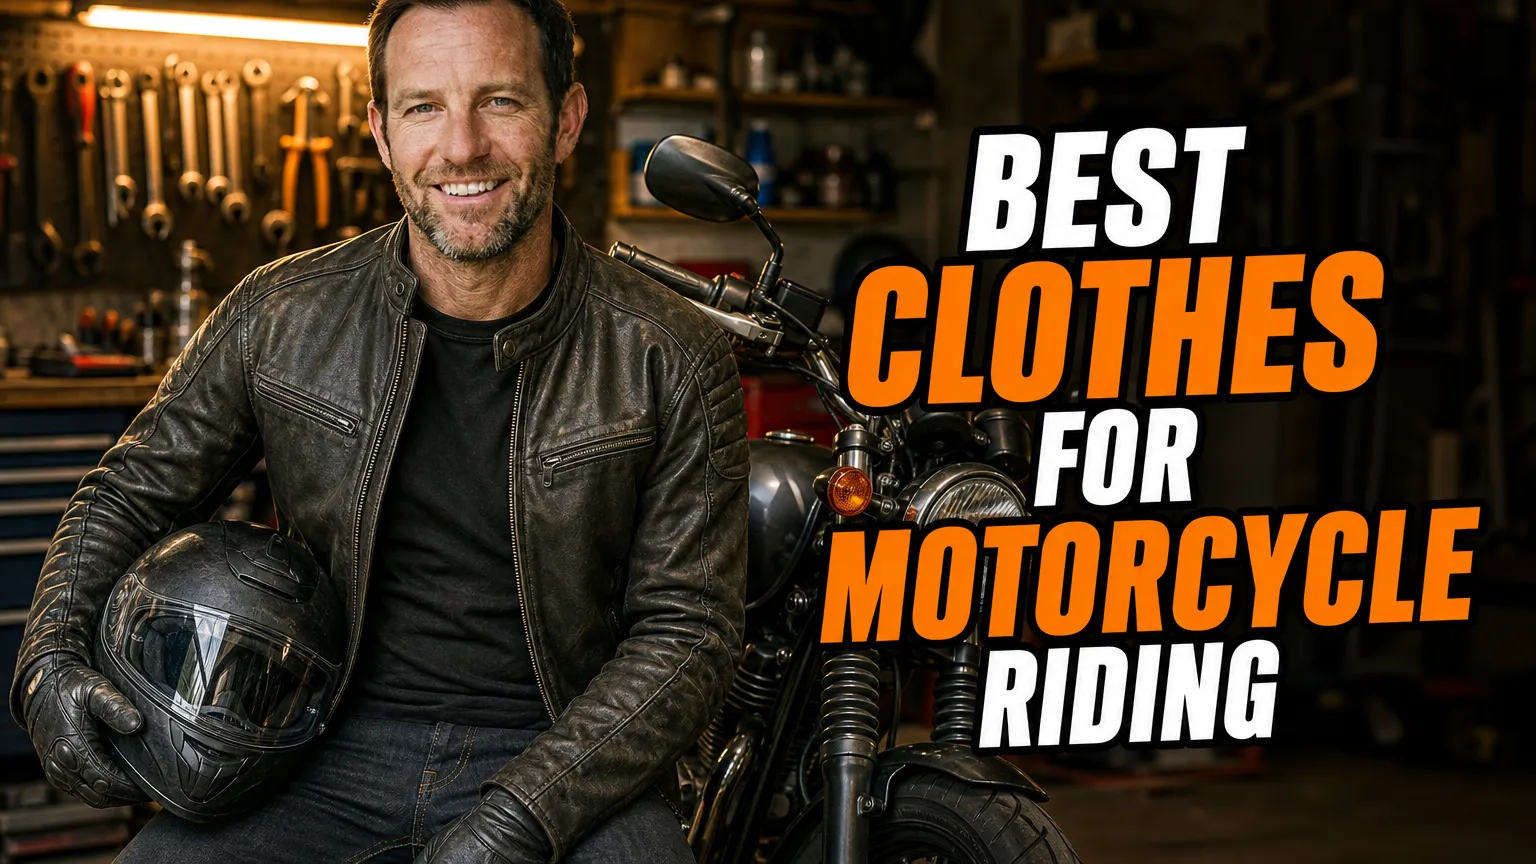
Choosing the best clothes for motorcycle riding is about more than looking the part. I want clothing that stays in place, protects the areas most exposed in a fall, and feels comfortable enough that I’ll actually wear it for the whole ride. No jacket or pair of pants can prevent every injury, but purpose-built gear is a far better choice than ordinary street clothes.
Below are nine specific pieces I’d consider for different riding styles and conditions, from versatile textile jackets to gloves and boots. Prices are approximate US retail ranges and can vary by size, retailer and model year, so I always check the current product details and certification label before buying.
- I prioritize motorcycle-specific abrasion resistance, impact armor and a fit that keeps protection in place.
- I choose textile, leather or riding denim according to my route, weather and riding position.
- I treat gloves and over-the-ankle boots as essential parts of the outfit, not optional extras.
- I check the exact garment’s safety label, included armor and sizing details before ordering.
How I choose riding clothes
I start by thinking about the riding I actually do. A commuter who rides through changing weather has different needs from someone heading out for a hot-weather day ride or spending hours on an adventure bike. I look for gear that suits my usual conditions without leaving important areas uncovered.
My next check is fit. Armor should sit over my elbows, shoulders, knees or hips when I’m in a riding position, not shift away as soon as I bend my arms or legs. I also look for a garment’s CE marking and the specific rating on its label, because a product’s features and certification can differ by model year or market.
1. REV’IT! Sand 4 H2O Jacket — My versatile touring choice
When I want one jacket that can handle changing conditions, I look closely at the REV’IT! Sand 4 H2O Jacket. Its layered design is intended to make it adaptable: it has a waterproof Hydratex layer and a removable thermal layer, so I can adjust my setup as the weather changes. The combination suits touring and everyday use better than a jacket designed only for hot or dry conditions.
REV’IT! equips the Sand 4 H2O Jacket with SEEFLEX CE Level 2 shoulder and elbow protectors, plus a pocket for a separately purchased back protector. The jacket is commonly listed with an EN 17092 Class AA rating, but I still check the label on the specific version I’m considering. I typically see it in the roughly $500–$650 range, depending on the seller and season.
What I’d check before buying
I’d test how the jacket fits both with and without its liners. The Sand 4 H2O Jacket offers useful weather flexibility, but a layered touring jacket can feel warm when the temperature climbs. For hot-weather rides, I’d compare its ventilation and fit with a more mesh-focused option before making it my only jacket.
2. Alpinestars Andes v3 Drystar Jacket — My practical all-weather pick
The Alpinestars Andes v3 Drystar Jacket is the kind of textile jacket I’d consider for commuting and general touring. Its fixed Drystar waterproof and breathable membrane is designed to help keep rain out, while a removable thermal liner adds warmth when temperatures drop. I like that this setup avoids the need to pack a separate waterproof liner for every wet-weather ride.
The Andes v3 includes Alpinestars Nucleon Flex Plus shoulder and elbow armor, generally listed as CE Level 1, and has a pocket for an optional back protector. It also uses abrasion-resistant textile panels and includes practical touring features such as adjustment points and storage pockets. Its typical price is around $250–$350, which makes it a more accessible choice than many premium touring jackets.
I’d pay special attention to how it fits over the layers I actually wear. A waterproof jacket that’s too tight can restrict movement, while armor that sits too low won’t protect as intended. I also remember that its fixed membrane can feel warmer than a highly ventilated jacket on a hot day.
3. KLIM Carlsbad Pant — My technical option for adventure riding
For long rides that may include rough roads or unpredictable weather, I’d consider the KLIM Carlsbad Pant. It uses a waterproof, breathable GORE-TEX construction and abrasion-resistant textile reinforcements, with design details aimed at adventure touring. The Carlsbad is built to pair with a jacket for a matching setup, but I’d still check how its waist connection works with the jacket I own.
The pants are typically sold with D3O armor at the knees and hips; I verify the armor level and exact included pieces on the current listing because specifications can change. The Carlsbad is a premium product, often priced around $650–$800. I see its strongest appeal in weather protection, durability and coverage for riders spending long hours in the saddle.
Fit matters on and off the bike
I’d try the KLIM Carlsbad Pant while seated on my motorcycle, since a standing fit doesn’t tell me whether the knees and seat will stay comfortable on a long ride. I’d also consider the climate: waterproof construction is useful in wet conditions, but it may not feel as airy as a dedicated mesh pant when the weather is very hot.
4. REV’IT! Sand 4 H2O Pants — My matching touring trousers
If I’m building a coordinated touring outfit, I’d pair the jacket with the REV’IT! Sand 4 H2O Pants. Like the jacket, these pants are designed around layered weather versatility, with a waterproof Hydratex layer and a removable thermal liner. That gives me options for cool or wet trips, while adjustable openings and connection features help me get a secure fit with compatible gear.
The Sand 4 H2O Pants are commonly listed with SEEFLEX CE Level 2 knee protectors and SEESMART CE Level 1 hip protectors. I’d confirm the exact armor and garment certification for the version available where I live. Prices are often around $400–$550, so I’d compare them against the weather protection and features I truly need rather than buying a matching set just for appearance.
My main fit check is whether the knee armor remains centered when I sit on the bike and bend my legs. I also look for enough room to move without excess fabric bunching at my knees or catching near the controls. If I mostly ride in warm, dry weather, I might choose a more ventilated pant instead.
5. KLIM K Fifty 2 Jean — My casual-looking riding denim
For rides where I want the look of denim without wearing ordinary jeans, I’d put the KLIM K Fifty 2 Jean on my shortlist. This motorcycle jean is made with a cotton-denim outer and reinforced abrasion-resistant material in key areas. It’s cut for riding and designed to accept protective armor, giving me a more streetwear-friendly alternative to textile touring pants.
Many versions are sold with D3O knee armor, while hip protection may depend on the specific listing or configuration, so I check before ordering. The K Fifty 2 typically sits around $250–$350. I don’t assume that every riding jean offers the same coverage or protection: I look for the garment’s CE rating and make sure the armor is included or available in the right size.
Where I’d wear them
I’d choose the KLIM K Fifty 2 Jean for commuting, short trips and casual riding when I want a less technical appearance. I wouldn’t treat them as a substitute for every dedicated touring or track pant. The most important thing is that they fit snugly enough for their armor to stay in place, without restricting my movement on the bike.
6. Alpinestars SMX-1 Air v2 Gloves — My warm-weather glove choice
I never consider gloves optional, and for warm, dry rides I’d look at the Alpinestars SMX-1 Air v2 Gloves. They use ventilated mesh and synthetic suede, with leather in areas that need extra coverage. Their short-cuff design works well for riders who prefer a lighter glove and want airflow around the hands.
The SMX-1 Air v2 includes a hard knuckle protector and reinforced sections, and it is generally sold as a CE-certified Level 1 glove with knuckle protection. I check the exact certification on the pair I’m buying, as standards and labels can vary by version. The price is commonly around $90–$130, making it a relatively affordable way to get a purpose-built summer glove.
I make sure the fingertips reach the ends of my fingers without extra material folding over, and that the closure holds the glove securely. The ventilated design is useful in heat, but it isn’t the glove I’d choose for cold rain. I’d keep a more weather-resistant pair available for those rides.
7. Held Air N Dry II Gloves — My adaptable option for changing weather
For rides when the weather may shift, I’d consider the Held Air N Dry II Gloves. Their distinctive two-chamber design lets me choose between a more ventilated hand position and a waterproof GORE-TEX chamber, depending on the conditions. That makes them more versatile than a glove built only for hot, dry weather or only for rain.
The Air N Dry II is a premium glove, often priced around $250–$320, and is generally sold with protective leather construction and a palm designed to improve grip and feel. I check the size carefully because a glove that bunches at the palm can make throttle and brake control less comfortable. I also confirm the current model’s certification and details directly with the retailer.
I’d choose the Held Air N Dry II if I wanted one glove with more than one weather mode, especially for touring. It costs significantly more than a basic summer glove, so I’d weigh that price against how often I ride in changing conditions. For a predictable hot-weather commute, I might prefer the lighter Alpinestars option above.
8. Forma Adventure Boots — My protective choice for touring and trail roads
For footwear, I want more than a sturdy-looking everyday boot. The Forma Adventure Boots are built specifically for motorcycle use, with a tall design, protective elements and an adjustable buckle closure. They’re commonly sold with Forma’s Drytex waterproof lining, which is intended to add weather protection without requiring a separate overshoe for every damp ride.
The Adventure Boots include protective components around areas such as the ankle and shin, plus a sole designed for grip when I’m off the bike. They’re commonly listed as meeting the EN 13634 motorcycle footwear standard; I’d check the label and current product specifications for the exact version. Typical prices fall around $300–$400, depending on the model and retailer.
I test boots with the socks I plan to ride in and check that I can operate the shifter and rear brake comfortably. I also make sure the boot fits under or over my pants as intended. The taller, more protective design can feel stiffer than a casual riding shoe, but I consider that a worthwhile trade for touring and mixed-surface riding.
9. Aerostich Roadcrafter Classic Suit — My one-piece option for commuting
When I want to put on a single protective outer layer over regular clothes, I’d consider the Aerostich Roadcrafter Classic Suit. Its one-piece design is made for quick entry and exit, which I find especially appealing for commuting or frequent stops. It uses a durable textile shell and is designed to combine abrasion protection, weather resistance and built-in armor in one garment.
The Roadcrafter Classic is a premium suit, often costing roughly $1,500–$1,900 depending on options and fit. Aerostich offers different armor and sizing choices, so I’d confirm what’s included in the configuration I’m ordering rather than assume every suit arrives identically equipped. The higher cost can make sense for riders who value a one-layer routine and plan to use the suit often.
Why I’d consider a suit instead of separates
A one-piece suit can reduce the gap between a jacket and pants when I’m riding, and it’s quick to take off when I reach my destination. I’d still try it on in my riding posture, with the layers I expect to wear underneath. Fit is especially important here: the suit should allow movement without leaving the armor out of position or pulling uncomfortably across my shoulders and knees.
My final checklist before I buy
I start with the product label, not just the marketing description. I check the garment’s abrasion-resistance certification, the armor included at each joint and whether the back or hip protection is optional. If a retailer’s page is vague, I look for the manufacturer’s current specifications or ask the seller to confirm the exact model.
- Fit: I sit on my bike and check that the armor stays over my joints.
- Coverage: I look for secure overlap between my jacket, pants, gloves and boots.
- Weather: I match insulation, waterproofing and ventilation to my normal riding conditions.
- Comfort: I check that I can move freely, reach the controls and wear the gear for a full ride.
- Care: I follow the manufacturer’s cleaning and maintenance instructions so I don’t damage protective materials or membranes.
My best choice is the outfit I can wear comfortably and consistently, with protection suited to how and where I ride. I’d rather buy gear that fits properly and covers the right areas than choose a jacket or pants based on appearance alone. Once the fit, protection and weather features make sense, I can focus on enjoying the ride.
Frequently Asked Questions
What should I wear for motorcycle riding?
I start with a properly fitted, motorcycle-specific helmet, then choose abrasion-resistant clothing with impact armor, gloves, over-the-ankle boots and layers suited to the weather.
Are motorcycle jeans as protective as riding pants?
Not automatically. I check the garment’s certification and coverage: motorcycle jeans vary widely, while dedicated riding pants may offer more abrasion protection, armor coverage and weather features.
Is textile or leather motorcycle gear better?
I choose based on the ride. Textile often gives me more ventilation, pockets and weather flexibility, while leather is a strong option for abrasion protection, especially in sport riding.
How should motorcycle clothes fit?
I want armor to stay over my joints when I bend into a riding position, with no major gaps or loose flapping. I test the fit seated on my bike and over the layers I plan to wear.

Related Articles

5 Motorcycle Wrist Braces and Guards I’d Choose for Confident Riding
Compare five wrist braces and guards I’d consider for street and dirt riding, with fit, support, glove compatibility, and buying…
Jake Miller
11 min read

7 Under Armour Base Layers I’d Choose for Comfortable Motorcycle Rides
Discover seven Under Armour base layers for hot and cold rides, plus my fit tips and safety advice for wearing…
Jake Miller
10 min read

8 Best Motorcycle Base Layers for Staying Warm on Cold Rides
Compare eight rider-ready thermal base layers, from merino to synthetic options, with fit, warmth, layering advice, and picks for cold-weather…
Jake Miller
11 min read