
9 Best Trail-Riding Motorcycle Gear Picks for Protection and Comfort
 Jake Miller
12 min read
Jake Miller
12 min read
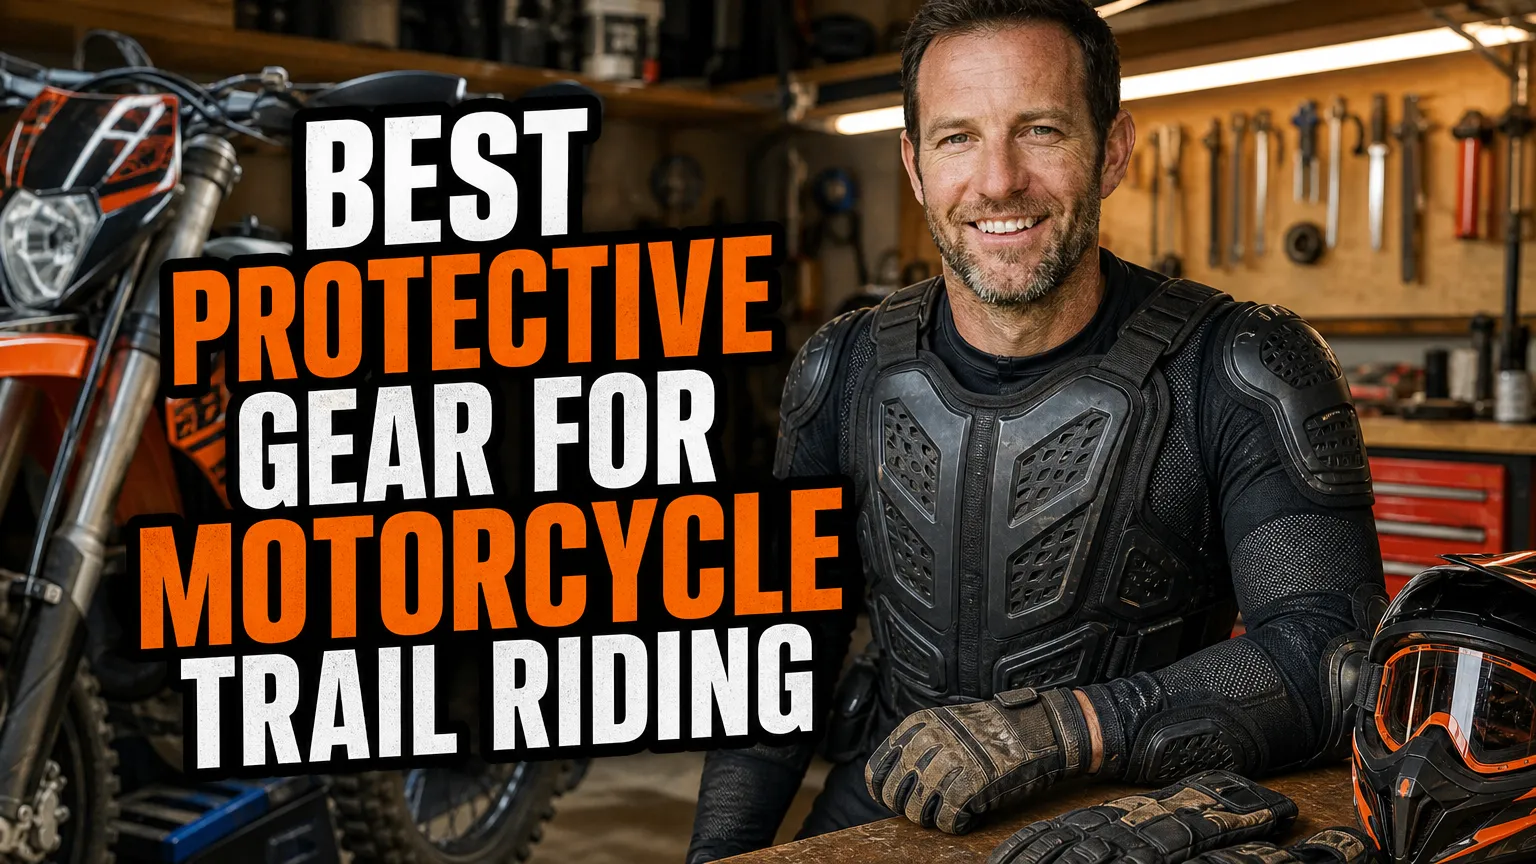
When I head onto a trail, I want gear that protects me from more than a low-speed tip-over. Branches, rocks, roost, changing weather, and long hours in the saddle all affect what I choose to wear. My picks for the best protective gear for motorcycle trail riding balance impact protection, comfortable movement, and features I can use on real rides.
No single setup suits every rider or trail. I use the list below as a starting point, then check fit, certification, ventilation, and compatibility with my other gear. Prices are approximate U.S. retail ranges and can change with model year, color, and retailer.
- I start with a certified off-road helmet, goggles, gloves, and sturdy motorcycle boots.
- I add torso, knee, and elbow protection that stays in place while I move.
- I check fit and compatibility as a complete system, especially for a neck brace.
- Protective ratings help me compare gear, but no item can eliminate injury risk.
1. Shoei VFX-EVO — My Premium Off-Road Helmet Pick
I put the helmet first because it is the piece of gear I never compromise on. The Shoei VFX-EVO is a purpose-built off-road helmet with an AIM+ shell construction and Shoei’s M.E.D.S. (Motion Energy Distribution System), designed to help manage rotational energy in certain impacts.
The VFX-EVO is DOT and Snell M2020D certified in the U.S. market. It also has an Emergency Quick Release System (E.Q.R.S.) cheek-pad design, which can help trained responders remove the cheek pads during an emergency. I look for the current certification label inside the specific helmet rather than relying on an old product listing.
Why I’d choose it for trails
I like an off-road helmet’s wide eye port, peak, and ventilation for slow, warm-weather riding. The VFX-EVO gives me a premium option when I want a secure fit and a design made for dirt use, although I would still compare its shape with my own head before buying.
At roughly $600–$700, it is a serious investment. I try it on for several minutes, check for pressure points, and make sure it sits level; a high-end helmet that does not fit my head properly is not the right helmet for me.
2. 100% Armega — My Goggles for a Clear, Stable View
I pair an off-road helmet with goggles that seal around my eyes and stay steady over bumps. The 100% Armega has a wide field of view, an Ultra HD lens, and a six-point locking tab system. Outriggers help the strap sit more evenly against the helmet, which I find useful when I want a secure seal.
Trail conditions can change quickly, so I value goggles that let me replace or manage lenses easily. The Armega is compatible with tear-offs, and some configurations are offered with a roll-off system; I check the exact version and included accessories before I order.
Fit matters as much as the lens
I test goggles inside the helmet I plan to wear. I check that the frame fits the eye port, the foam seals comfortably against my face, and the strap does not interfere with the helmet’s fit. If I wear prescription glasses, I check for a glasses-compatible option instead of assuming a standard frame will work.
Depending on the lens and package, I usually see the Armega around $100–$130. I keep a spare clear lens or a fresh set of tear-offs for muddy rides, because even excellent optics cannot help if my view is covered in grime.
3. Leatt 5.5 Neck Brace — My Added Neck-Protection Option
A neck brace is a personal equipment choice, and I treat fit and compatibility as essential. The Leatt 5.5 Neck Brace is a purpose-built brace with a supportive frame and adjustment features intended to help it sit correctly around the rider’s body. Before buying one, I read the manufacturer’s fit guidance and try it with my helmet and chest protection.
I am careful not to treat a brace as a guarantee against neck injury. Its suitability can depend on my body shape, riding position, and the rest of my gear, so I want clear movement without the brace pushing my helmet or armor out of place.
What I check before riding
I put the complete setup on and move through my normal riding positions: standing, crouching, and turning my head. If the brace catches on my helmet or shifts my chest protector, I stop and adjust the setup rather than hoping it will settle during the ride.
The Leatt 5.5 is a premium option, often around $400–$500. I consider it an add-on after getting the core gear right, and I follow the manufacturer’s instructions for sizing, adjustment, and maintenance.
4. Leatt 3.5 Chest Protector — My Practical Roost Shield
For a straightforward hard-shell layer, I’d consider the Leatt 3.5 Chest Protector. It is designed to cover the front and back of the torso, with a lightweight shell intended to help protect against roost and trail debris. Leatt lists this model as tested and certified to the EN 14021 roost-protection standard; I check the product label and current documentation to confirm the version I’m buying.
I like that a dedicated chest protector can be worn over a jersey and is generally simpler to layer than a full body protector. That makes it a useful option when I want torso coverage without adding a large amount of material under my riding clothes.
My fit checklist
I check that the protector covers the areas it is meant to cover without restricting my breathing or arm movement. I also try it on with my backpack, hydration pack, or neck brace, because straps and overlapping armor can create pressure points on a longer ride.
At roughly $130–$180, the 3.5 is a mid-priced way to add hard-shell coverage. It is not a substitute for a properly fitted helmet or other impact protection, but it can help shield my torso from trail hazards and roost.
5. Leatt Dual Axis Knee & Shin Guards — My Hard-Shell Leg Protection
My knees and shins are exposed to rocks, branches, and contact with the bike, so I like a guard that covers both areas. The Leatt Dual Axis Knee & Shin Guards use a hard outer shell and a dual-pivot design that allows the guard to move with my leg. Leatt lists them as CE-certified Level 1 knee protection to EN 1621-1.
I find the extended shin coverage especially useful when I want protection that reaches down toward the top of my boot. The articulated design is intended to follow the leg’s movement, but I still make sure it does not pinch or shift when I bend my knee.
How I check the fit
I secure each guard over the base layer I plan to wear, then crouch and stand several times. I want the kneecap area to remain centered and the straps to feel snug without cutting into my leg. I also check that the guard works with my pants and boot, rather than bunching fabric or leaving a gap.
These guards commonly sell for around $100–$130. I inspect the straps, hinges, and shell regularly; if a part is cracked, damaged, or no longer holds position, I replace it instead of trusting it on the next ride.
6. Leatt 3DF 6.0 Elbow Guards — My Flexible Upper-Body Add-On
Elbow protection can be easy to overlook when I am putting together a trail kit. The Leatt 3DF 6.0 Elbow Guards use soft impact-absorbing 3DF material, with a design intended to stay close to the arm. Leatt lists the guards as CE Level 1 certified to EN 1621-1.
I prefer a flexible guard when I want protection that is less bulky than a hard-shell option. Soft armor can be more comfortable while riding, but comfort only helps if the guard remains in position and I actually keep it on for the whole ride.
My comfort and coverage check
I test the guards with my jersey and gloves, then bend and straighten my arms to check for slipping or restricted movement. I also make sure the elbow cup sits over my elbow rather than migrating toward my forearm when I reach for the controls.
The 3DF 6.0 guards generally cost about $90–$120. I see them as a useful complement to a chest protector, especially on rocky or brushy trails, while keeping in mind that no pad can prevent every injury.
7. Gaerne SG-12 — My Supportive Off-Road Boot Pick
I want serious ankle and lower-leg protection when I ride trails, and a regular hiking boot is not designed for the same job as an off-road motorcycle boot. The Gaerne SG-12 is a premium motocross and off-road boot with a dual-stage pivot system, four adjustable buckles, and a replaceable sole. Its design combines structural support with a secure closure that I can adjust over my riding pants.
The SG-12 is a substantial boot, so I would not choose it based on the product description alone. I try it on with my riding socks and check that I can comfortably operate the shift lever and rear brake before taking it onto a trail.
Why I prioritize boot fit
I want the boot to feel supportive without creating sharp pressure points at my ankle, calf, or toes. I also check that every buckle closes and releases correctly, and I inspect the sole and closure hardware for wear after muddy or rocky rides.
At approximately $600–$700, the SG-12 is an investment. Gaerne offers replacement parts for certain components, which can help me maintain a well-fitting boot, but I follow the brand’s guidance for repairs and retirement.
8. Fox Dirtpaw Gloves — My Sensible Everyday Hand Protection
I use gloves to help protect my hands from abrasion, blisters, and brush while keeping a dependable feel on the controls. The Fox Dirtpaw is a familiar off-road glove with a padded palm, stretch construction, and silicone grip details on the fingers on applicable versions. A hook-and-loop wrist closure helps me adjust the fit.
Gloves are a wear item, and I do not expect a lightweight trail glove to provide the same protection as a reinforced road-racing glove. I choose the Dirtpaw when I want a flexible dirt-bike glove with some padding, then check the specific model year for its materials and features.
My glove fit test
I want the fingertips to reach properly without excess fabric bunching at the ends. I close my hand around the grips and operate the levers to make sure the palm does not fold or create hot spots. I also check that the wrist closure stays secure beneath my jacket sleeve.
Fox Dirtpaw gloves are often available for around $30–$50, depending on version and retailer. I replace them when the seams, palm, or grip surfaces wear down, since worn gloves can affect both comfort and control.
9. Leatt 3DF 5.0 Impact Shorts — My Extra Hip and Seat-Bone Coverage
For longer trail rides, I consider padded impact shorts as an additional layer beneath my riding pants. The Leatt 3DF 5.0 Impact Shorts use 3DF impact foam and are designed to add padding around areas such as the hips and tailbone. I check the current product details for the exact padding layout, since specifications can vary between versions.
I like this type of protection when I expect frequent contact with the seat, rocks, or the ground. The shorts are not a replacement for riding pants or knee guards, and I still need to make sure the padding stays where it should while I move on the bike.
How I layer them
I try the shorts on under my riding pants and sit, stand, and walk around to check for bunching. If the waistband or padding shifts when I move, I try another size or cut. I also think about heat: an extra layer can be worthwhile, but only if I can wear it comfortably for the full ride.
I usually see the Leatt 3DF 5.0 Impact Shorts in the $100–$140 range. I wash and care for them according to the label, and I replace them if the foam or seams show damage that affects their fit or condition.
How I Build a Trail Kit That Works Together
I choose gear as a system, not as a collection of unrelated products. My helmet must work with my goggles; my knee guards need to fit my pants and boots; and any neck brace must be compatible with my torso protection. I test the full combination at home before heading onto a remote trail.
- I begin with fit: I check helmet stability, boot support, and whether pads stay centered as I move.
- I consider conditions: I choose layers that suit the temperature, rain risk, ride length, and amount of brush or roost I expect.
- I look for certification: Where a product claims a safety rating, I confirm the current label and standard rather than assuming every version is identical.
- I inspect my equipment: I look for cracks, worn straps, damaged buckles, compromised seams, and aging or poorly fitting helmets.
My preferred setup is the one I can wear correctly for the whole ride. Spending more can buy useful design features, but a premium label does not make poorly fitting equipment a good choice. I prioritize correct fit, appropriate coverage, and regular inspection every time.
My Final Gear Priorities
If I were assembling a trail kit from scratch, I would start with a certified helmet, goggles, gloves, and protective motorcycle boots. I would then add torso, knee, and elbow protection that fits securely, considering a neck brace and padded shorts as additional options based on my riding style and setup.
The products in this list give me specific starting points, not a one-size-fits-all prescription. I check current product documentation, try gear on whenever possible, and ride within my abilities. Protective equipment can reduce some risks, but it cannot remove the need for sound judgment, training, and caution on the trail.
Frequently Asked Questions
What protective gear do I need for motorcycle trail riding?
I recommend a properly certified off-road helmet, goggles, gloves, protective boots, knee and elbow protection, and torso armor. I add a neck brace and impact shorts when they fit my setup.
Can I wear motocross gear for trail riding?
Yes. I use motocross-style protection for trails, but I choose layers that suit the weather and ride length, and I check that armor stays in place when I move.
How should motorcycle trail gear fit?
I want a snug helmet and boots, goggles that seal comfortably, and armor that stays centered without restricting movement. I test the complete combination before riding.
Do CE ratings mean my gear prevents every injury?
No. A rating describes performance under specific test conditions, not a guarantee against injury. I treat protective gear as one part of safer riding, alongside skill, terrain awareness, and sensible speed.

Related Articles

5 Motorcycle Wrist Braces and Guards I’d Choose for Confident Riding
Compare five wrist braces and guards I’d consider for street and dirt riding, with fit, support, glove compatibility, and buying…
Jake Miller
11 min read

7 Under Armour Base Layers I’d Choose for Comfortable Motorcycle Rides
Discover seven Under Armour base layers for hot and cold rides, plus my fit tips and safety advice for wearing…
Jake Miller
10 min read

8 Best Motorcycle Base Layers for Staying Warm on Cold Rides
Compare eight rider-ready thermal base layers, from merino to synthetic options, with fit, warmth, layering advice, and picks for cold-weather…
Jake Miller
11 min read