
Best Spray Paint for Motorcycle Plastics: Fairings, Fenders and Panels That Don’t Peel
 Jake Miller
13 min read
Jake Miller
13 min read
Hook: Plastic is where most rattle can paint jobs on motorcycles go to die, because fairings flex, sweat oils and refuse to let ordinary paint grip. This guide is part of my paint series that starts with the best spray paint for motorcycle projects, and it covers the part most people get wrong.
- The best spray paint for motorcycle plastics is a system: thorough cleaning, a scuff, an adhesion promoter, plastic-compatible paint and a flexible clear coat.
- Identify the plastic first. Look for a code stamped on the back of the part (like ABS, PP or PC). Polypropylene (PP) is the hardest to paint and almost always needs adhesion promoter.
- Ordinary spray paint on untreated plastic usually flakes off. It can look fine for a week, then peel the first time the panel flexes or a glove rubs it.
- Release agents and oils are the hidden enemy. New or old plastic can carry mould-release residue, silicone or years of polish.
- Thin coats and patience. Plastic is sensitive to solvents and to heat, so avoid heavy coats and hot-room shortcuts.
- Know when not to paint. Windscreens, visors, mirrors’ glass and safety-critical parts aren’t candidates.
- Cracks need repair first. Paint hides a crack but doesn’t stop it spreading.
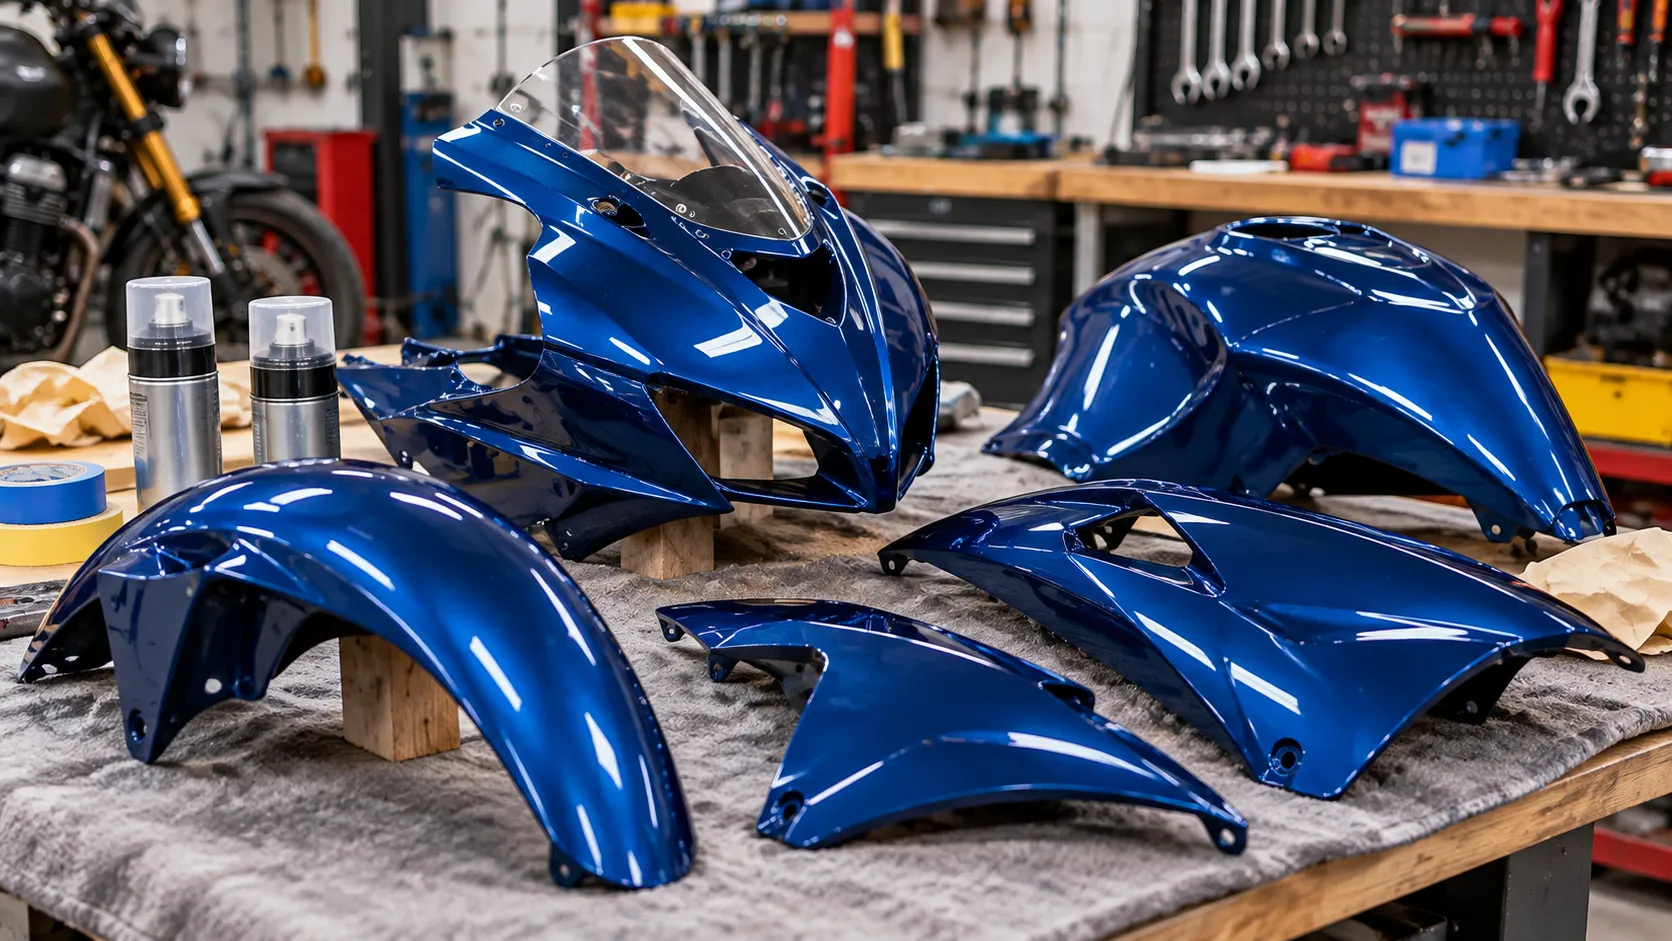
Why Plastic Is the Hardest Surface to Paint
Metal is simple. It’s rigid, it holds a mechanical key when you sand it, and a good primer bonds to it. Plastic is different:
- It flexes. A rigid paint film on a flexing panel will crack and peel at the stress points.
- Many plastics are slippery. Polypropylene and similar plastics have low surface energy, so paint struggles to wet and grip them.
- It carries residue. Mould-release agents from manufacturing, silicone from polish and oils from riders’ hands all sit on the surface.
- It reacts to solvents. Some plastics soften or craze when hit with strong solvents in paint or thinners.
- It moves with heat. Panels near the engine or in direct sun expand and contract, stressing the paint.
None of this makes plastic impossible. It just means you can’t treat it like a tank or frame. The paint system, and especially the adhesion step, has to be right.
Step Zero: Identify the Plastic
Look on the back of the panel for a moulded code. Common ones include:
| Code | Plastic | Painting notes |
|---|---|---|
| ABS | Acrylonitrile butadiene styrene | Common on fairings and panels; paints reasonably well with proper prep |
| PP | Polypropylene | Common on fenders and many dirt bike parts; needs adhesion promoter |
| PC | Polycarbonate | Often used for windscreens and clear parts; not for painting |
| PE / HDPE | Polyethylene | Very hard to paint; check manufacturer guidance |
| PC/ABS | Blend | Usually paintable with proper prep |
| Fibreglass | Glass-reinforced composite | Paints like a rigid surface, more like metal and body filler |
If you can’t find a code, search for your bike’s model and panel, or test a small, hidden area with your full system and check adhesion before committing to the whole panel.
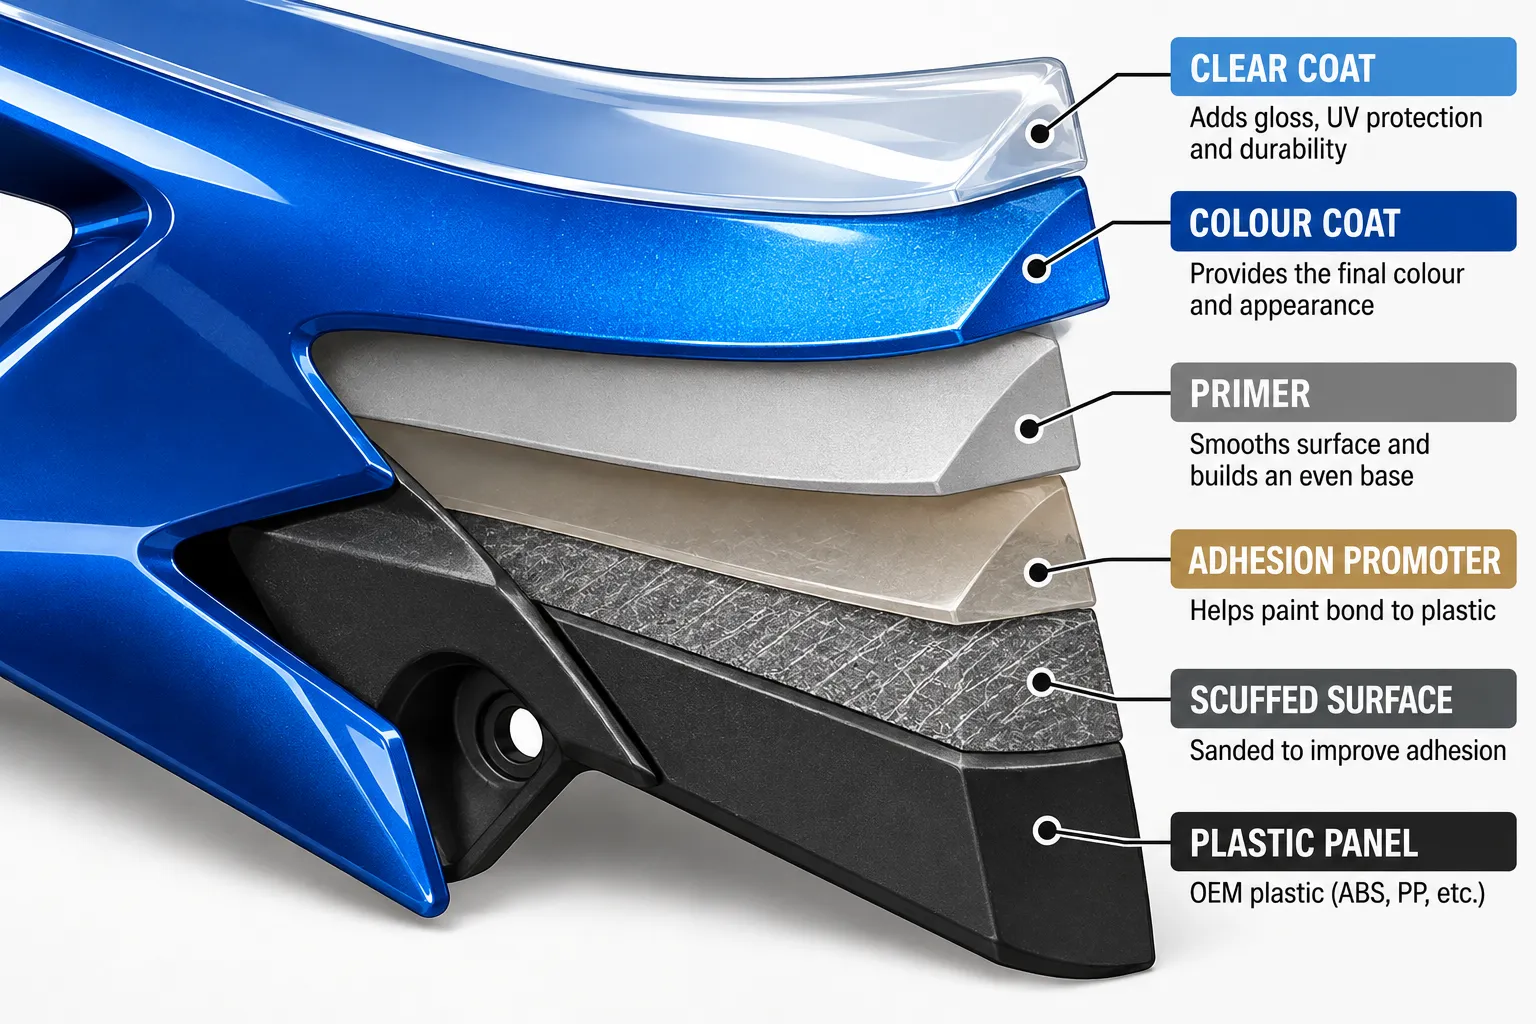
The Plastic Paint System I Use
Layer 1: Clean and degrease
Wash the part with warm water and a mild degreasing soap, rinse and dry. Then wipe with a plastic-safe wax and grease remover (check the label, as some strong solvents can damage certain plastics). Use clean cloths, applying with one and wiping off with another.
If the panel has been polished or treated with silicone-based products, clean it more than once. Residue is a leading cause of fisheyes and peeling.
Layer 2: Scuff the surface
Give the plastic a uniform, dull finish with a fine abrasive pad or fine sandpaper. You’re not trying to remove material, just creating a key. Then clean again so you don’t trap sanding dust.
For repairs or filled areas, you’ll sand coarser first and then work to a finer grit so the filler feathers out invisibly.
Layer 3: Adhesion promoter
This is the step that separates lasting plastic paint jobs from peeling ones. Adhesion promoter is a thin, clear product that helps paint grip plastic, especially hard-to-paint types like polypropylene. Apply a light, even coat and follow the label’s timing for when to apply primer or paint over it. Don’t let it run, and don’t skip it on PP.
Layer 4: Primer (if needed)
On bare plastic, a plastic-compatible primer helps fill small scratches and gives a uniform base. Choose one rated for plastic, or a flexible primer, and apply in thin coats. If your panel is already painted and sound, you may need only a scuff, adhesion promoter and colour.
Layer 5: Colour coat
Use a paint rated for plastic, or an automotive base coat compatible with your system. Apply in thin, overlapping coats and respect the flash times. Many plastic-specific cans bond and flex well, which is the point. If you use automotive paint, some products need a flexible additive to cope with panel movement. Check the label.
Layer 6: Clear coat
A clear coat adds UV and chemical protection and gloss. Choose a clear that is compatible with your colour and rated for plastic or flexible surfaces. A 2K clear is very tough but can be less flexible, so check what the manufacturer recommends for flexible parts.
What Spray Paint Works on Motorcycle Plastics?
I’ll describe product types, because formulas and availability change.
| Product type | What it does | Good for | Watch out for |
|---|---|---|---|
| Plastic-specific spray paint | Formulated to bond and flex on plastic | Quick, simple repaints of fenders, panels and trim | Colour range can be limited; check surface compatibility |
| Adhesion promoter | Helps any paint grip tricky plastics | Polypropylene and other low-energy plastics | It’s a step, not a finish; apply lightly |
| Automotive base coat + clear | Wide colour range and quality finish | Colour matching and show-quality work | Needs compatible primer and often a flexible additive |
| Flexible primer | Fills scratches and bonds to plastic | Uneven surfaces and repairs | Must be compatible with your topcoat |
| Vinyl and plastic dye or trim paint | Restores faded black or grey trim | Weathered textured trim | Not for gloss body panels |
Some well-known product families you’ll see in shops include Krylon Fusion, Rust-Oleum plastic paints and Dupli-Color plastic products and adhesion promoters. I mention them so you recognise them, not because they’re guaranteed to suit your panel. Always check the label for the plastics and conditions it’s rated for.
Step-by-Step: How I Paint a Motorcycle Plastic Panel
Step 1: Remove the panel
Take the panel off the bike so you can paint all edges and avoid overspray on the rest of the bike. Remove any badges, rubber trim and hardware. Take photos so you know how it goes back together.
Step 2: Inspect and repair
Check for cracks, chips and stress marks. Small cracks can spread under paint. Repair them with a plastic-appropriate method (such as plastic welding or a suitable repair product), then sand smooth. Fill deep scratches with a flexible filler and feather the edges.
Step 3: Clean thoroughly
Wash with a degreasing soap, rinse, dry and wipe with a plastic-safe wax and grease remover. Repeat if you suspect polish or silicone residue. Wear nitrile gloves from here on.
Step 4: Scuff
Scuff the whole surface evenly to a dull finish with a fine abrasive pad or sandpaper. Don’t forget edges and corners, where paint tends to lift first. Clean again.
Step 5: Mask
Mask any areas you don’t want painted, like textured trim, mounting points and hardware seats. Hang the panel or support it so you can spray all around it without touching wet paint.
Step 6: Apply adhesion promoter
Shake the can well, test on cardboard and apply a light, even coat from the recommended distance. Follow the label for the time you must wait before the next layer, because some promoters have a window during which paint must go on.
Step 7: Prime (if needed)
Apply thin coats of plastic-compatible primer, letting each flash off. Sand lightly with very fine paper if the primer needs smoothing, and wipe off dust.
Step 8: Apply the colour coat
Spray in thin, overlapping passes at the recommended distance. Two to four light coats are usually better than one heavy one, because heavy coats can run or attack the plastic. Wait the stated flash time between coats.
Step 9: Apply the clear coat
Once the colour is within the clear’s recoat window, apply two to three medium-wet coats. Keep an even distance and speed, and watch the edges for runs.
Step 10: Cure
Plastic can take a while to fully cure, and warm (not hot) conditions help. Keep the panel somewhere dust-free and at a moderate temperature. Don’t flex or refit it until it’s fully cured, or you may crack the fresh paint at the stress points. Don’t force-dry with intense heat, because plastic can warp.
Step 11: Refit with care
Use soft washers, rubber grommets or tape where hardware touches the panel, and don’t over-tighten fasteners, which can crack both plastic and paint.
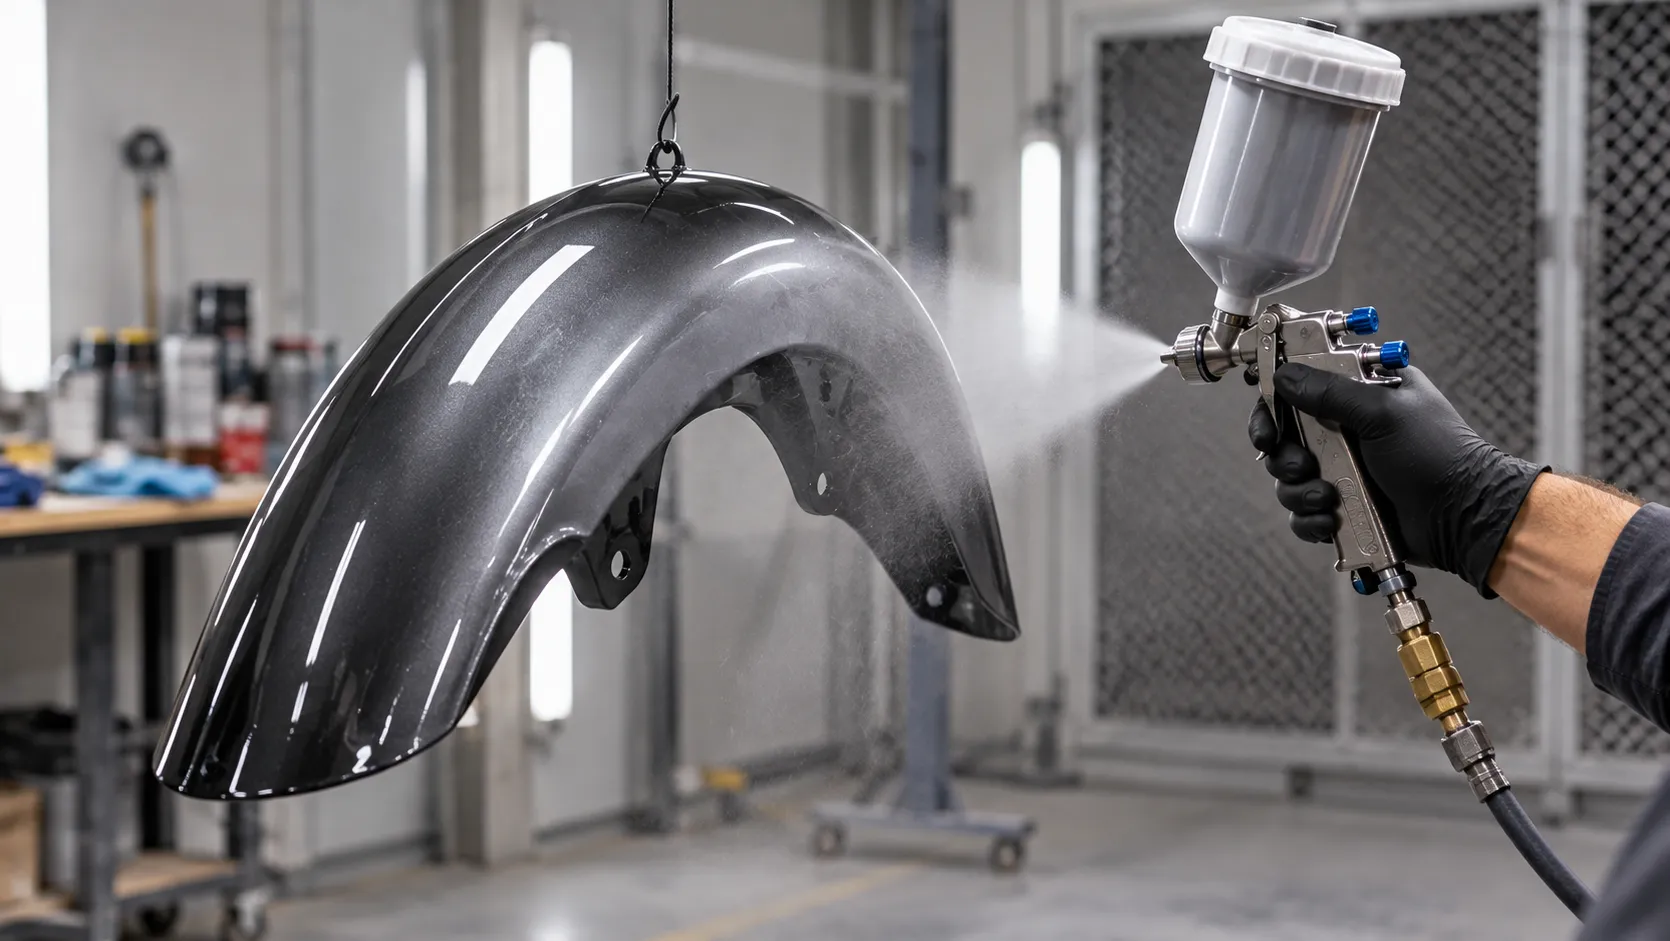
Painting Different Types of Plastic Parts
Fairings and bodywork panels
Usually ABS or a blend, and often glossy. These are good candidates for a full system with a clear coat. Take extra care with prep, because every flaw shows on large smooth panels.
Fenders (especially dirt bike and dual-sport)
Often polypropylene. Expect to need adhesion promoter, and choose flexible paint, because these parts flex and get hit by stones. For off-road bikes, consider whether paint is the right choice at all. Many riders use replacement plastics or graphics instead, since paint on a hard-used fender will chip.
Textured black trim
Faded trim can sometimes be restored with a trim dye or textured plastic paint rather than a full paint job. These products are designed for textured surfaces and usually don’t need a clear coat.
Mirrors and mirror housings
The plastic housing can be painted with the right prep. Don’t paint the mirror glass, and mask it carefully.
Seats and soft parts
Don’t spray ordinary paint on vinyl seat covers. Use products designed for vinyl, and test first, because they can stiffen the surface.
Windscreens and visors
Don’t paint them. They’re usually polycarbonate or acrylic, and many solvents cloud, craze or weaken them. If a windscreen is scratched, my guide on how to clean a motorcycle windscreen without scratching it is a better place to start. And for helmets, which are a safety item, read can you paint a motorcycle helmet before you pick up a can.
Common Plastic-Painting Problems and Fixes
| Problem | Likely cause | What I do |
|---|---|---|
| Paint peeling off in sheets | No adhesion promoter, or contaminated surface | Strip back, clean thoroughly, scuff and use adhesion promoter |
| Cracks in the paint at flex points | Paint too rigid for the panel, or panel flexed before cure | Use flexible paint or additive; let it cure before flexing |
| Crazing or cloudy marks in the plastic | Solvent attack from harsh cleaners or thinners | Use plastic-safe products; test on a hidden area first |
| Fisheyes (little craters) | Silicone, polish or oil residue | Stop, sand back, clean again with plastic-safe remover and recoat |
| Runs or drips | Coat too heavy or sprayed too close | Let it cure, sand flat and recoat lightly |
| Orange peel | Paint drying before it levels, or cold conditions | Wet sand and polish after full cure, or re-clear |
| Warping | Excess heat during drying | Cure at moderate temperatures; don’t use intense heat |
| Rough or dusty finish | Debris in the air or paint applied dry | Spray in a clean area and keep consistent distance |
| Paint chipping at edges | Edges not scuffed or primed | Scuff edges well; consider extra adhesion promoter at edges |
If a problem appears, don’t spray over it. Let it cure, correct the cause and recoat.
Should You Repaint, Wrap or Replace?
Painting isn’t always the best answer for plastic.
- Repaint when the plastic is sound and you want a custom colour or to fix scuffs.
- Wrap or film can change the colour without sanding and can be removed later, though quality varies.
- Replace the panel if it’s badly cracked, warped or brittle. A new or good used part may save hours of repair.
- Use trim restorer or dye for faded black plastic that doesn’t need a full colour change.
- Choose a professional for show finishes, rare panels or heavy repair work.
For daily riders, a well-prepped plastic paint job can last, but plastics near the engine or in harsh sun face tougher conditions. For off-road bikes, expect paint to chip with use.
Keeping Painted Plastic Looking Good
- Let paint cure fully before using harsh cleaners or polish.
- Wash gently with pH-neutral soap and a soft cloth. My guide on how to wash your motorcycle covers a safe routine.
- Avoid harsh solvents and abrasive polishes on fresh plastic paint.
- Use plastic-safe protectants and avoid heavy silicone products if you might repaint later.
- Be careful with hardware. Don’t over-tighten fasteners or let metal tools rub the painted surface.
- Store out of direct sun when you can, because UV fades both plastic and paint.
Where This Guide Fits in the Series
This plastics guide is one part of my paint and finishing series, which starts with the best spray paint for motorcycle pillar guide. For the other parts:
| If you’re painting… | Read this guide |
|---|---|
| The outside of the fuel tank | Best Paint for Motorcycle Tank |
| The inside of the tank | Best Motorcycle Tank Sealer |
| The frame | Best Paint for Motorcycle Frame |
Frequently Asked Questions
What is the best spray paint for motorcycle plastics?
Use a plastic-rated paint system: thorough cleaning, a scuff, adhesion promoter, plastic-compatible primer and colour, and a flexible clear coat. The system matters more than any single brand, and the plastic type affects what you need.
Can you spray paint motorcycle plastic without primer?
Sometimes, if you use a paint that’s designed to bond to plastic and the part is clean and scuffed. But on hard plastics like polypropylene, adhesion promoter is strongly recommended, and primer helps fill scratches.
Do I need adhesion promoter for motorcycle plastics?
For polypropylene and other low-energy plastics, yes, in my experience. For ABS it helps but may be less critical. Check your paint’s label, and test on a hidden area if unsure.
Why does spray paint peel off my motorcycle fairing?
The usual causes are residue (silicone, polish or oil), no scuffing, no adhesion promoter or paint that isn’t compatible with the plastic. Strip back and re-prep properly.
Can I use regular spray paint on plastic?
It’s risky. Ordinary paints often don’t bond to plastic and can peel or crack. Use a paint rated for plastic, or follow a full system with adhesion promoter and flexible components.
Should I clear coat painted plastic?
For glossy body panels, yes. A clear coat adds UV and chemical protection and gives depth. Choose a clear that’s compatible with your paint and suitable for flexible parts.
How long does paint take to cure on plastic?
It varies by product and temperature, from hours to days. Follow the label, avoid flexing the panel before it’s cured, and don’t force-dry with intense heat, which can warp plastic.
Can I paint a plastic motorcycle windscreen or visor?
No. They’re usually polycarbonate or acrylic, and paint and solvents can cloud, craze or weaken them. For helmets, see my guide on painting a motorcycle helmet.
Final Thoughts
If I had to boil down everything I know about painting motorcycle plastics, it’s this: identify the plastic, clean it obsessively, and never skip the adhesion step. Plastic punishes shortcuts, but rewards patience. A well-prepped panel with the right system can look great and last, while a rushed one will peel at the first opportunity.
Start with a small or spare part to practise, test your system on a hidden area, and take your time. If you have questions about your own panels, leave a comment and I’ll do my best to help. Ride safe.

Related Articles
5 Best Foam Cleaners for Motorcycles: My Top Picks for Ultimate Shine
I tested the best foam cleaners for motorcycles to find the top 5 picks for ultimate shine. See which foam…
Jake Miller
10 min read
7 Best Looking Silver Paints for a Motorcycle: My Honest Garage-Tested Picks
I've sprayed, sanded, and stared at more silver motorcycle paints than I can count. Here are 7 real products that…
Jake Miller
9 min read
7 Best Dry Cleaners for Motorcycle Gear: Where I Actually Trust My Leathers
I tested real dry cleaners that handle motorcycle leathers, jackets and helmets. Here are my 7 picks, what each does…
Jake Miller
7 min read