
8 Best Ultrasonic Cleaners for Motorcycle Parts — Garage-Tested Picks
 Jake Miller
11 min read
Jake Miller
11 min read
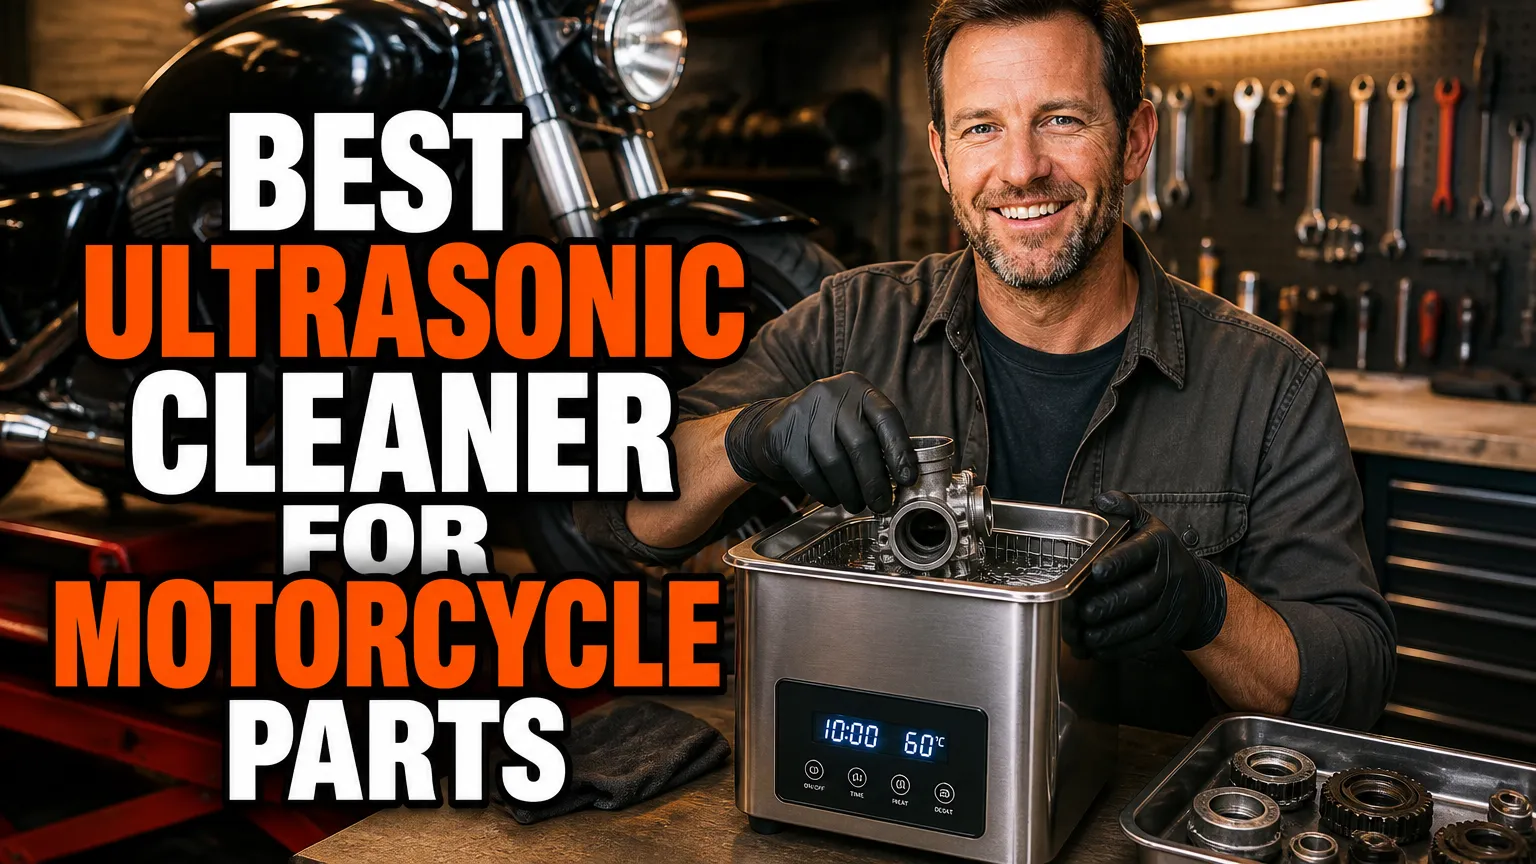
I’ve been resurrecting filthy motorcycle parts for the better part of a decade, and for most of that time I did it the hard way: aerosol carb cleaner, a stiff nylon brush, and a lot of swearing. Then a friend dropped a grimy set of CB750 carburetor bodies into his ultrasonic tank, walked away for fifteen minutes, and pulled out parts that looked new. I bought one the following week and I’ve never gone back.
Since then I’ve run eight different machines through my own garage, everything from a $60 jewelry cleaner that died heroically to a US-built professional unit that costs more than my first bike. I’ve soaked carburetor bodies, brake calipers, master cylinders, piston crowns, wheel bearings (before replacement), and buckets of rusty fasteners. Here’s what I actually learned, and which machines I’d spend my own money on again.
- My overall pick for big, nasty jobs is the Vevor 15L, mostly because of the drain valve and the price.
- For carburetor bodies and calipers, a heated 6 liter tank is the sweet spot — the Lyman Turbo Sonic 6000 is what I use most weeks.
- Small parts like jets, needles and bolts clean beautifully in a compact unit such as the iSonic P4820 or InvisiClean Aura II.
- Heaters matter more than wattage claims. Set the temperature between 50 and 60°C and be patient.
- Never use caustic cleaners on bare aluminum, and never put sealed bearings or electronics in the tank.
How I Tested These Machines on Real Bike Parts
I didn’t run lab tests. I ran a winter’s worth of real work: three carburetor rebuilds, two brake caliper overhauls, one very sad set of fork internals, and roughly four pounds of hardware that had been sitting in a coffee can since the Clinton administration.
I judged every machine on four things: how evenly it cleaned (hot spots versus dead spots), how well the heater held temperature, how annoying it was to empty and refill, and whether it survived six months of neglect in an unheated garage. That last one killed two budget units outright.
One thing worth saying up front: an ultrasonic cleaner is a supporting player, not the whole show. It works best when it’s part of a proper basic motorcycle maintenance routine — strip the part, soak it, rinse it, dry it, inspect it, then reassemble. Skip any of those steps and you’ll be disappointed no matter what you buy.
1. Vevor 15L Ultrasonic Cleaner — Best Overall for Big, Grimy Parts
Vevor sells a whole family of stainless steel ultrasonic cleaners, and the 15 liter model is the one I reach for when a job is too big for a benchtop unit. The tank measures roughly 330 x 300 x 150 mm, which is enough for one half of a split engine case, a single cylinder head, or a pair of brake calipers at the same time.
It runs at 40 kHz with around 360 W of ultrasonic power and a 300 W heating element. I normally set the temperature to 60°C and the digital timer to 30 minutes, then walk away. The drain valve on the front is the feature I use most — tipping fifteen liters of black, greasy water into a bucket is a genuinely miserable job.
What I Don’t Love About It
The transducers aren’t in the same league as a Crest or a Branson, and there’s no sweep frequency, so I rotate parts halfway through a cycle to avoid dead spots. The stainless is also thinner than I’d like.
But I paid under $250 for mine, and it has cleaned more parts than everything else in my shop combined. For a home mechanic who wants one machine that handles almost everything, this is the one I’d buy again tomorrow.
2. Lyman Turbo Sonic 6000 — Best Heated 6 Liter Tank
Lyman builds reloading gear, so the Turbo Sonic 6000 was designed around brass cases — and that’s exactly why it’s so good on motorcycle carburetors. A case and a carburetor body are both small, hollow, and caked in residue that doesn’t want to come off.
The 6 liter stainless tank is big enough for a rack of four carb bodies at once, and the built-in heater gets the solution up to around 60°C. There’s a digital timer, a proper stainless basket, and a small parts tray that stops jets from disappearing down the drain.
Why It’s My Most Used Machine
Honestly, this is the unit that lives on my bench. The basket design is smarter than most, the heater holds temperature well even in a cold garage, and it’s quiet enough that I forget it’s running.
It’s marketed at shooters, so the included instructions talk about case lube rather than fuel varnish, but the cleaning action is identical. Expect to pay somewhere in the $200 to $250 range. If you only own one carbureted bike and you rebuild the carbs every few years, this is the size I’d recommend.
3. Hornady Lock-N-Load Sonic Cleaner II — Best Compact Heated Unit
The Hornady Lock-N-Load Sonic Cleaner II has a 2 liter tank and a heater, which puts it in a strange but useful middle ground. It’s too small for a cylinder head and just right for one carburetor body, a master cylinder, or a coffee can’s worth of fasteners.
Hornady includes a parts basket and a small tray, and the unit has an auto shutoff timer so you can’t cook your parts by forgetting about them. I usually run mine for two or three cycles at full heat and then rinse with hot water.
Hornady also sells its own ultrasonic cleaning concentrate, and while I don’t think it’s magic, it does work well on greasy metal. The whole package runs around $150, which makes it a sensible first ultrasonic cleaner if you’re nervous about spending big money on a machine you’ve never used.
4. iSonic P4820 — Best for Small Precision Parts
iSonic is a US company that sells cleaners and concentrates, and the P4820 is the model I keep for the fiddly stuff. It has a tank in the 2.5 liter class, 40 kHz transducers, a heater, and a stainless basket with a plastic insert for tiny items.
This is the machine I use for pilot jets, float needles, float valves, emulsion tubes, and the little springs and clips that vanish into carpet. The degas function matters more than people realize — fresh solution holds dissolved air that blunts the cleaning action, and running a degas cycle first makes a real difference.
A Word on Basket Discipline
Never let parts sit directly on the tank floor. It kills the transducer underneath and it scratches the stainless. The P4820’s tray setup makes that easy to respect, which is more than I can say for some cheaper units.
Price sits around $130 to $160. If you want an even smaller footprint, the P4810 is the same idea in a tighter package.
5. Crest CP1100 Powersonic — Best Professional Grade
Crest Ultrasonics is the brand I see in actual repair shops, and the CP1100 Powersonic is their compact benchtop unit. It has a stainless tank, 40 kHz operation, and — this is the important part — sweep frequency, which continuously shifts the wave pattern so you don’t get the dead spots that plague cheap machines.
It’s built in the USA, it’s serviceable, and replacement parts are actually available years later. That’s not something I can say about most of the budget units I’ve owned.
The catch is the price, which starts north of $400 and climbs from there. For someone doing customer work or restoring bikes seriously, that’s a reasonable investment that will outlive three cheap cleaners. For a hobby garage, it’s overkill, and I’ll happily admit I borrowed mine rather than bought it.
6. Branson 2800 — Best Simple, Bombproof Workhorse
Branson’s benchtop line has been around for decades, and the 2800 is the no-nonsense option: a stainless tank in the 2.5 liter class, 40 kHz transducers, and a mechanical timer dial instead of a digital panel.
Mine doesn’t have a heater, so I warm the water with a kettle before I start and top it up as it cools. That sounds like a hassle, and it is, but the machine itself has never once let me down. No hot spots, no dead transducers, no mystery failures after a cold winter.
Because it’s been sold for so long, used Bransons show up regularly for well under $200. If you’re comfortable buying secondhand, this is one of the best value plays in the whole category.
7. Kendal HB-38 — Best Mid Size Value
Kendal’s commercial grade units are the quiet overachievers of this list. Mine has a stainless tank in the 6 liter class, 40 kHz operation, a heater that runs up to 80°C, a digital timer, and a drain valve — basically the feature set of a machine costing twice as much.
I’ve used it for brake calipers, master cylinders, carb bodies, and one truly disgusting set of fork lowers. It has run for three seasons without a leak or a single dead transducer.
Where It Falls Short
No sweep frequency, so I still rotate big parts mid-cycle. The manual reads like it was translated for a laboratory audience, and the basket is basic. The heater also overshoots a little, so I set it to 55°C and let it settle rather than chasing 60.
Still, at roughly $180 to $230, it’s the machine I recommend to friends who want a heated 6 liter tank without paying Crest money.
8. InvisiClean Aura II — Best for Jets, Bolts and Small Hardware
The InvisiClean Aura II is a 1.4 liter unit with a stainless basket and preset time settings, and I keep it on a shelf for the truly tiny stuff. Pilot jets, float needles, brake bleeder screws, and a handful of fasteners from a master cylinder rebuild kit all come out spotless.
It’s nowhere near powerful enough for a carburetor body or a caliper half, and I’d never try. But it’s the machine I trust with parts I can’t afford to lose, because the basket is small and the tank is shallow enough that I can see everything.
At around $100, it’s also the cheapest genuinely useful cleaner on this list. It’s the one I’d buy first if you mostly work on small components and you’re not ready to commit bench space to a big tank.
What Actually Matters in an Ultrasonic Cleaner for Bike Parts
After eight machines, here’s my honest priority list. Heater first. Warm solution cleans dramatically faster than cold, and old fuel varnish barely responds to room temperature water at all.
Tank size second. I’d rather have a 6 liter tank that’s slightly underpowered than a 2 liter tank with heroic wattage, because the size of the job is what limits you. A carburetor body simply doesn’t fit in a small basket.
Drain valve third. Anyone who has emptied a 15 liter tank by hand knows exactly what I mean. Sweep frequency fourth — it’s the difference between even cleaning and constantly rotating parts.
Tools That Make the Whole Job Easier
Before anything goes in the tank, it gets stripped by hand, and I keep a best leatherman tool for motorcycle adventures in my tank bag for exactly that reason. Small pliers and a decent driver get bowls and jets apart without rounding anything.
I also plan cleaning sessions around the bike’s downtime. If you’re putting the bike away for the season, read up on how to winterize your motorcycle first, because that’s the natural moment to pull the carbs and give everything a proper soak.
And if you’re shuffling a bike around the garage for weeks while parts soak, a roller saves your back — the best motorcycle wheel roller for harley is worth a look for that exact job. Finally, if you’re hauling a project bike or a parts donor home, learn how to properly tie down a motorcycle before you hit the highway.
My Cleaning Solution Recipe and Process
I keep it simple. For most metal parts I use a dedicated ultrasonic concentrate or a diluted Simple Green, mixed at the weak end of the recommendation. For delicate pieces I use plain hot water with a single drop of dish soap.
The process never changes. Degas the fresh solution for a few minutes, set the heat to 50 or 60°C, run the parts for 10 to 20 minutes, then rinse in hot water and dry immediately with compressed air. Any moisture left in a carburetor passage becomes a problem later.
What I Never Put in the Tank
Sealed wheel bearings, electronics, painted or anodized covers, and anything with a bonded rubber seal that I actually care about. I also never use flammable solvents, no matter what a forum thread claims.
Bare aluminum is fine in a mild solution, but caustic cleaners will darken and etch it, so I keep the pH neutral and the temperature moderate.
My Final Verdict
If you want one answer: the Vevor 15L for big jobs, the Lyman Turbo Sonic 6000 for carburetor work, and the iSonic P4820 for everything tiny. That trio covers 95 percent of what a home mechanic will ever clean.
If you’re only buying one machine and you mostly rebuild carbs, get the Lyman. If you’re doing full restorations with engine cases and calipers, get the Vevor and a good rinse bucket. Either way, buy a machine with a heater — that single feature made more difference to my results than anything else I’ve tested.
Frequently Asked Questions
Can I put aluminum motorcycle parts in an ultrasonic cleaner?
Yes, but use a mild, neutral detergent and keep the solution under about 60°C. Avoid caustic, high-pH cleaners, which can darken or etch bare aluminum, and never leave parts soaking for hours after the machine shuts off.
How long should I run an ultrasonic cleaner on a carburetor?
Most carb bodies come out clean in 10 to 20 minutes at 50 to 60°C. Heavily varnished carbs may need two or three cycles with a fresh solution, plus a rinse and a blast of compressed air through every passage.
Do I really need a heated ultrasonic cleaner for bike parts?
It helps a lot. Warm solution cleans noticeably faster and lifts old fuel varnish that cold water barely touches. A unit with a heater is worth the extra money if you plan to clean carbs, calipers, or engine cases.
What cleaning solution works best?
I use a dedicated ultrasonic concentrate or a diluted Simple Green for most metal parts, and plain hot water with a drop of dish soap for delicate bits. Always test on a scrap part first, and never use flammable solvents in an ultrasonic tank.

Related Articles

8 Best Motorcycle Jacks for Harley-Davidson: Bagger-Tested Picks That Fit
I've lifted everything from a Sportster to a Street Glide. These are the 8 best motorcycle jacks for Harley-Davidson, ranked…
Jake Miller
12 min read

8 Best Workbench Mats for Motorcycle Engine Work: My Tested Picks
I tested 8 workbench mats for motorcycle engine work, from oil absorbent pit mats to grease resistant anti fatigue rubber.…
Jake Miller
10 min read

9 Best Torque Wrenches for Harley-Davidson Motorcycles: Rider-Tested Picks for Every Budget
I've torqued hundreds of Harley fasteners. Here are the 9 best torque wrenches for Harley-Davidson motorcycles, from $60 clickers to…
Jake Miller
11 min read