
8 Best Brake Cleaners for Motorcycle Maintenance: My Garage-Tested Picks
 Jake Miller
10 min read
Jake Miller
10 min read
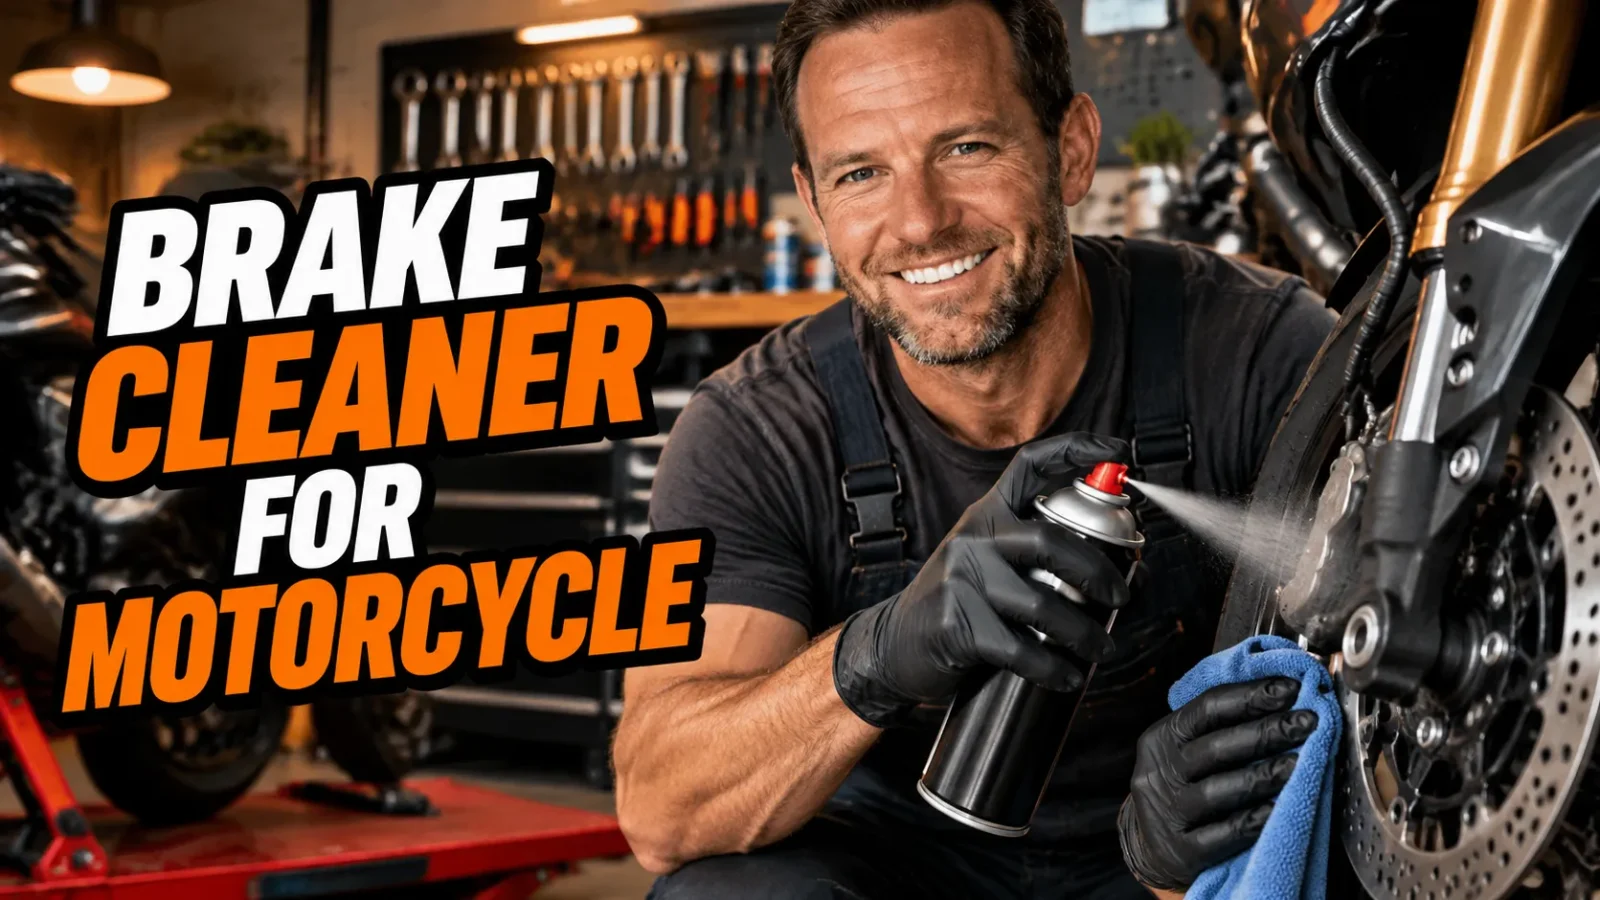
I’ve burned through more cans of brake cleaner than I care to admit. Between rebuilding calipers on my old SV650, swapping pads on a track-prepped R6, and keeping my daily rider’s rotors free of chain lube fling, I’ve learned that not every aerosol can on the AutoZone shelf is worth your money.
Here’s the thing nobody tells new wrenchers: brake cleaner is one of those products where the cheap stuff and the good stuff differ wildly. A weak formula leaves residue that contaminates your pads. An overly aggressive one eats your caliper seals, your paint, and your lungs. I’ve made both mistakes so you don’t have to.
If you’re already building out a maintenance kit, this pairs nicely with my guide on the what are the different types of motorcycle batteries ultimate guide — because a bike that starts and stops reliably is a bike you actually enjoy riding.
- Best overall: CRC Brakleen Non-Chlorinated — my default for pads, rotors, and calipers.
- Best for shop volume: CRC Brakleen 05089 in the 1-gallon bulk jug with a pump sprayer.
- Best gentle option: Simple Green Extreme Aircraft — safe on paint, plastics, and rubber seals.
- Best value multipack: Gumout Brake & Parts Cleaner — cheap enough to spray liberally.
- Heads up: Never use a chlorinated cleaner near a hot welder or open flame — it creates phosgene gas.
1. CRC Brakleen Non-Chlorinated — My Overall Pick
If you only buy one can, make it this one. CRC Brakleen Non-Chlorinated (part number 05050) is the can I reach for nine times out of ten, and it’s the one I recommend to every rider who asks me what to spray on their rotors.
What makes it my top pick is the balance. It flashes off fast — usually under a minute on a warm day — and it leaves zero oily film behind, which is the whole point when you’re dealing with brake dust and contaminated pads.
The non-chlorinated formula matters for a few reasons. It’s less toxic when it vaporizes, it’s kinder to painted calipers and plastic fender liners, and it won’t chew through rubber brake line sheathing the way the harsher chlorinated stuff sometimes can.
I use it on sintered pads, rotors, caliper bodies, and even the occasional chain grime emergency. A 14-ounce can runs about $6 to $9, and the 19-ounce version is a couple bucks more.
My only gripe: on really caked-on brake dust, I have to spray twice. That’s a fair trade for a cleaner that won’t melt my fork seals.
2. CRC Brakleen Chlorinated — The Heavy-Duty Option
When something is genuinely disgusting — say, a caliper that’s been sitting in a barn for a decade — the chlorinated version of Brakleen (05089) is what I want in my hand.
This formula cuts through old grease and dried brake fluid faster than anything else I’ve tried. It’s the closest thing to magic I’ve found for reviving seized caliper pistons.
But I treat it with real respect. Chlorinated brake cleaner produces phosgene gas if it contacts an open flame or a freshly welded surface, and that’s not a scare story — it’s chemistry. I only use it outdoors, never near a space heater, and always with nitrile gloves.
I also avoid it on painted calipers and plastic. It has stripped the paint off a cheap spray can cap in my testing, so I keep it away from anything I care about cosmetically. A 14-ounce can is roughly $5 to $8.
3. CRC Brakleen 05089 Bulk Jug — Best for High-Volume Shops
If you’re doing brake work every weekend — or you run a small shop — buying aerosol cans gets expensive fast. The CRC Brakleen 1-gallon bulk jug is the move.
I picked one up two seasons ago and paired it with a cheap pump sprayer. The math works out dramatically in your favor: a gallon of concentrate costs roughly what four or five aerosol cans do, and it goes way further.
Just know the trade-off. You lose the convenience of a pinpoint aerosol nozzle, and you’ll want a dedicated sprayer because the solvent will slowly degrade the seals on a cheap one. I replace my sprayer every year or so.
For a solo rider doing brake jobs twice a year? Stick with cans. For anyone rebuilding calipers regularly, this jug pays for itself in a month.
4. Simple Green Extreme Aircraft — Safest on Paint and Rubber
Sometimes I don’t want a solvent. I want something that lifts grime without any risk to my bike’s finish or my skin.
Simple Green Extreme Aircraft & Precision Cleaner is that product for me. It’s water-based, non-flammable, and I’ve sprayed it directly on painted calipers, anodized fork lowers, and rubber brake boots without any damage.
The catch: it’s not a solvent. It won’t cut dried brake fluid or heavy grease the way Brakleen does. On fresh brake dust and light grime, though, it performs beautifully, and it’s fully biodegradable.
I use it as my routine maintenance cleaner and save the solvent cans for real projects. A 32-ounce concentrate bottle is around $15 to $20 and dilutes down to several gallons.
If you’re cleaning your engine bay at the same time, this pairs well with my pick for the best cleaner for motorcycle engine.
5. Gumout Brake & Parts Cleaner — Best Budget Multipack
Gumout’s brake and parts cleaner doesn’t get the same fanfare as CRC, but for the price, it’s hard to beat. I keep a couple of cans in the truck for track days.
It’s a non-chlorinated formula that flashes off quickly and does a solid job on brake dust, oil residue, and grime around the caliper. Where it falls short is the spray pattern — it’s a bit less focused than Brakleen, so you waste more product.
A 6-pack of 14-ounce cans runs about $30 to $36, which puts it at the cheapest per-can price of anything on this list. For a rider who goes through a lot of cleaner, that matters.
I wouldn’t use it as my only cleaner if I were doing precision caliper work, but for general rotor cleaning and pre-install prep on new pads, it’s completely fine.
6. 3M Brake Parts Cleaner — Best Cold-Flow Spray Pattern
The spray pattern on this 3M can is what keeps it in my rotation. Their nozzle delivers a consistent, wide fan that covers a rotor face in a single pass — way more efficient than the pinpoint streams some competitors use.
It’s a non-chlorinated formula, so it’s safe around the shop and on painted surfaces. I’ve used it on brake pads, rotors, caliper brackets, and clutch plates, and it always leaves a clean, dry surface.
Where I ding it is the price. You’re paying a 3M premium — usually $8 to $11 for a 14-ounce can — and the performance isn’t dramatically different from Brakleen. But if spray coverage is your priority, it’s worth the extra few dollars.
I also like that it’s easy to find at most auto parts chains, so I’m never hunting around when I’m mid-job.
7. Kleen-Flo Brake Cleaner — My Go-To for Caliper Rebuilds
I discovered Kleen-Flo while helping a buddy restore a vintage CB750, and it’s earned a permanent spot in my cabinet for caliper rebuilds specifically.
It cuts through old, hardened brake fluid and seal residue better than most non-chlorinated options I’ve tried, and it dries fast enough that I can move straight into reassembly without waiting around.
The high-pressure spray gets into the grooves where the caliper piston seals sit, which is exactly where you need penetration on a rebuild. I follow it up with a nylon brush and a fresh wipe.
Kleen-Flo is a Canadian brand, so availability in the States varies, but you can find it online. A 14-ounce can typically runs $7 to $10.
8. Maxima Brake Cleaner — Best Motorcycle-Specific Pick
Maxima is a brand I trust for motorcycle-specific chemicals, and their brake cleaner reflects that focus. It’s formulated to be safe on the materials you actually find on bikes — rubber seals, painted calipers, aluminum, and plastics.
I like it because it’s clearly designed with riders in mind. The spray is aggressive enough for real brake work but gentle enough that I don’t worry about it touching my fork seals or my brake line fittings.
It’s priced at a premium — usually $10 to $13 for a 12-ounce can — so it’s not my everyday choice. But for anyone who wants a cleaner that’s explicitly built around motorcycle components, it’s a smart buy.
It also doubles nicely as a general parts cleaner for carb work, which ties in well with my guide to the best carburetor cleaner for motorcycle.
How I Test and Choose a Brake Cleaner
Flash-Off Speed
The best brake cleaner is the one that disappears completely. Any residue left behind will contaminate your pads and cause squealing or glazing. I time how long each product takes to fully evaporate on a rotor face — anything over about 90 seconds is a point against it.
Chlorinated vs. Non-Chlorinated
Chlorinated cleaners cut grease harder but carry real health risks and can damage rubber and paint. For 95% of my work, I reach for non-chlorinated. I keep one chlorinated can for extreme cases and handle it with maximum caution.
Effect on Rubber and Paint
I test every cleaner on a scrap piece of painted metal and an old brake line before it touches my bike. If it dulls paint or swells rubber, it’s disqualified from general use.
How to Use Brake Cleaner Without Damaging Your Bike
First, always work outdoors or in a well-ventilated space. The fumes from any brake cleaner are nothing to take lightly, and that’s doubly true for chlorinated formulas.
Second, remove the pads before spraying the caliper. Dousing installed pads drives contaminants deeper into the friction material instead of lifting them out. If your pads are oil-soaked, replace them — no cleaner fully reverses that.
Third, never use a wire brush on caliper pistons or bores. A soft nylon brush and a lint-free cloth are all you need. Metal brushes scratch the bore and create leak paths.
Fourth, let everything flash off completely before reassembly. Spraying, wiping, and immediately reinstalling is how people end up with contaminated pads and spongy brakes.
Common Mistakes I See Riders Make
The biggest one: spraying brake cleaner on hot brake components. It causes flash evaporation that can carry solvent vapors somewhere you don’t want them, and on chlorinated products it’s genuinely dangerous. Let things cool first.
Another: using brake cleaner as a general engine degreaser. It’s expensive for that, and it’s the wrong tool. If you want an engine cleaner, get an engine cleaner — the two jobs are different.
And finally, forgetting that brake cleaner strips grease. If you spray it near a chain, a bearing, or a pivot point, you’ve just removed the lubricant that was protecting it. Re-grease anything it touches.
Frequently Overlooked: Keeping Your Whole Intake System Clean
Brake dust isn’t the only thing that gums up a bike. If you’re doing a full service, it’s worth cleaning the intake side too, which is why I keep a can of the best air cleaner for motorcycle on the shelf alongside my brake supplies.
Fuel-side maintenance matters just as much. Running a bottle of the best fuel cleaner for motorcycle once or twice a season keeps injectors and fuel lines from varnishing up.
And if your bike sits for long stretches — which mine does every winter — a dose of the best fuel injector cleaner for motorcycle before storage is cheap insurance.
Final Thoughts
After years of trial and error, my honest recommendation is simple. Keep a can of CRC Brakleen Non-Chlorinated as your daily driver and a can of the chlorinated version for the nasty jobs. Add a bottle of Simple Green Extreme for routine grime, and you’ve got every brake cleaning scenario covered.
The money you save by cleaning and maintaining your brakes properly is nothing compared to the cost of a brake failure. Buy a good cleaner, use it correctly, and ride with confidence.
Frequently Asked Questions
Can I use brake cleaner on motorcycle brake pads?
Yes, but only on sintered or semi-metallic pads. Never soak organic or resin pads, and always let them dry fully before reinstalling. If your pads are glazed or contaminated with oil, replacing them is safer than cleaning them.
Is non-chlorinated brake cleaner better than chlorinated?
For most home mechanics, non-chlorinated is the safer pick. It’s less toxic when it burns, gentler on plastics and painted surfaces, and still blasts away brake dust and oil. Chlorinated formulas clean slightly stronger but produce phosgene gas if they hit a hot welder or open flame.
How do I clean motorcycle brake calipers properly?
Remove the pads, spray the caliper body and pistons with brake cleaner, then scrub with a soft nylon brush. Wipe with a lint-free cloth and let it flash off for a few minutes. Never use a wire brush on pistons, and avoid spraying directly into the caliper seals.
Do I need to clean new brake rotors before installing them?
Absolutely. New rotors ship with a rust-preventive oil coating that will contaminate your pads and ruin bedding-in. Spray both faces with brake cleaner, wipe with a clean microfiber, and install while they’re still residue-free.

Related Articles

7 Best Disc Brake Locks for Motorcycles: My Real-World Picks After Years of Testing
I've tested disc brake locks on my own bikes for years. Here are 7 real, ride-proven picks, from the ABUS…
Jake Miller
10 min read

7 Best Incandescent Brake Light Bulbs for Motorcycles: My Real-World Picks
I tested and ranked the 7 best incandescent brake light bulbs for motorcycles, from the Philips 1157 to the Osram…
Jake Miller
11 min read

7 Best Brake Pads for Touring Motorcycles: My Real-World Picks After Thousands of Miles
I tested the top brake pads for touring motorcycles. From EBC to Brembo, here are my honest picks for stopping…
Jake Miller
9 min read