
10 Proven Motorcycle Performance Upgrades That Actually Deliver Results
 Jake Miller
14 min read
Jake Miller
14 min read
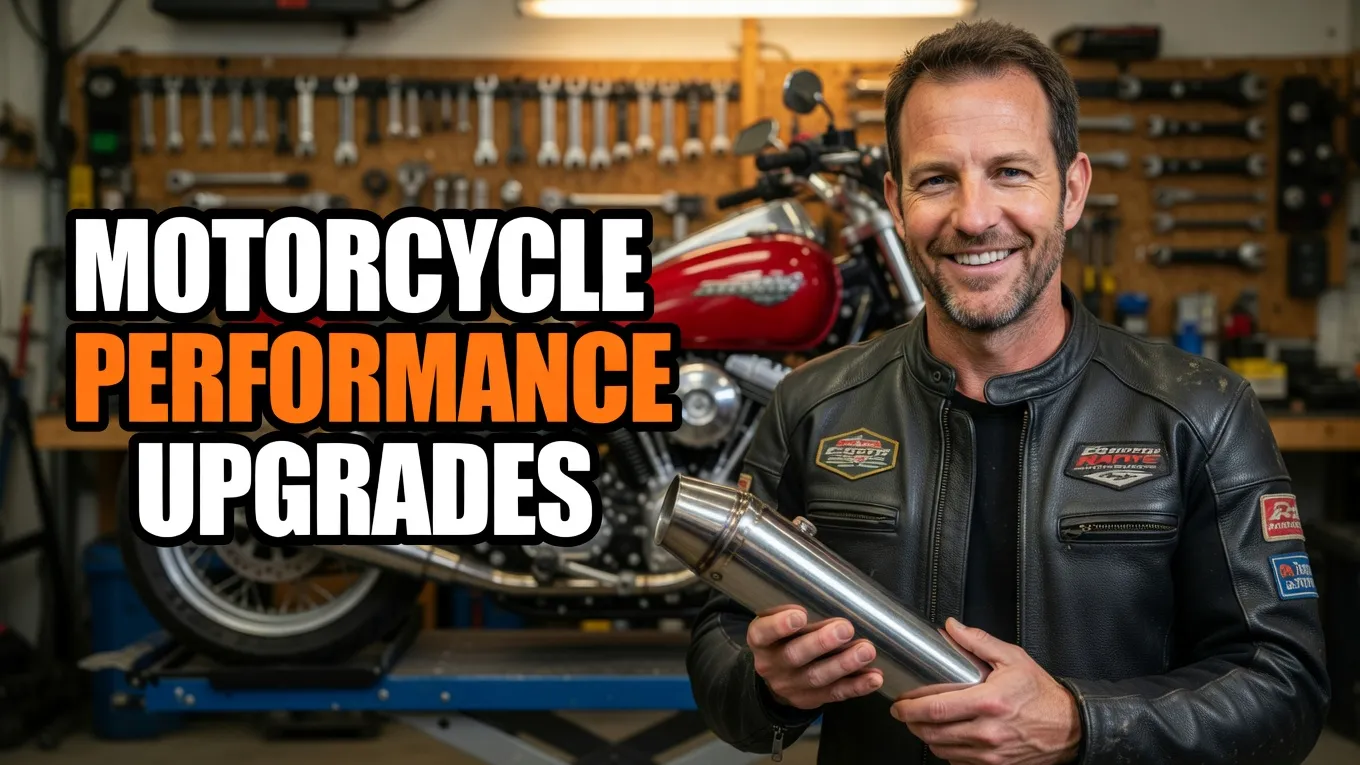
Why I Started Upgrading My Motorcycle’s Performance
I’ll never forget the moment I twisted the throttle on my buddy’s modified sport bike. The raw, immediate power delivery felt like a completely different machine compared to my stock ride. That experience sent me down a rabbit hole of motorcycle performance upgrades that’s been both expensive and incredibly rewarding.
Over the past seven years, I’ve modified five different motorcycles, from a humble Kawasaki Ninja 300 to my current liter bike. I’ve wasted money on upgrades that promised the world but delivered nothing, and I’ve discovered modifications that transformed how my bikes perform.
In this guide, I’m sharing the performance upgrades that actually matter. These aren’t theoretical improvements or marketing hype—these are modifications I’ve personally tested, measured, and ridden thousands of miles with.
- Exhaust systems, air filters, and ECU tuning deliver the biggest performance gains for your money
- Suspension upgrades dramatically improve handling and rider confidence, especially in corners
- Start with foundational mods like quality oil and filters before chasing horsepower numbers
- Professional dyno tuning is essential after major engine modifications to ensure safe, reliable power
- Weight reduction often feels more dramatic than adding horsepower, particularly on smaller bikes
Understanding the Fundamentals: What Actually Affects Performance
Before I dump money into flashy upgrades, I always remind myself that motorcycle performance boils down to three core factors: power delivery, weight, and handling. Every modification should meaningfully impact at least one of these areas.
Power delivery isn’t just about peak horsepower. It’s about how smoothly that power arrives, where in the RPM range it’s available, and how predictable the throttle response feels. I’ve ridden bikes with modest horsepower that felt faster than more powerful machines simply because the power was accessible and linear.
Weight matters more than most riders realize. Shaving 20 pounds off a 400-pound bike creates a more noticeable difference than adding 10 horsepower in many real-world situations. This is especially true for acceleration, braking, and direction changes.
The Role of Engine Breathing in Performance
Your motorcycle engine is essentially an air pump. The more efficiently it can breathe in fresh air and expel exhaust gases, the more power it can produce. This simple principle underlies most engine performance modifications.
Stock motorcycles are engineered for compromises—quiet operation, emissions compliance, cost targets, and broad market appeal. There’s almost always performance left on the table that can be unlocked by improving airflow through the engine.
Exhaust System Upgrades: My First Major Modification
The full exhaust system was the first serious upgrade I installed, and it remains one of the most impactful changes I’ve made. A quality aftermarket exhaust reduces weight, improves exhaust flow, and completely transforms the bike’s sound and character.
I started with a slip-on muffler on my first bike, which saved about $400 compared to a full system but only delivered marginal performance gains. When I finally invested in a complete header-back system, the difference was night and day—better throttle response, more midrange punch, and about 7 horsepower at the wheel.
The weight savings alone justified the upgrade. My Akrapovič titanium system weighed 11 pounds compared to the 24-pound stock exhaust. That’s 13 pounds of rotating mass removed, which improved acceleration and handling.
Choosing Between Slip-On and Full System Exhausts
If you’re on a budget, a quality slip-on muffler provides 60-70% of the benefits at about 40% of the cost. I recommend this route for riders who want better sound and minor performance improvements without major investment.
However, if maximum performance is your goal, a full exhaust system is worth saving for. The headers are where the biggest restriction exists on most bikes, and replacing them unlocks substantially more power than just changing the muffler.
Air Intake Modifications: Letting Your Engine Breathe
After upgrading my exhaust, the next logical step was improving air intake. Your engine needs to inhale more air to match the improved exhaust flow, and the stock air filter is often a significant bottleneck.
I’ve experimented with both high-flow drop-in filters and pod air filter motorcycle upgrades. The drop-in filters are simpler and maintain the stock airbox, while pod filters offer maximum airflow but require more tuning and sometimes sacrifice low-end power.
My current setup uses a sprint filter—a high-flow foam element that’s cleanable and reusable. It flows significantly better than paper while still providing excellent filtration. I’ve run this setup for 18,000 miles without issues.
The Airbox Mod Controversy
Some riders swear by airbox modifications—drilling holes, removing baffles, or installing velocity stacks. I’ve tried several of these, and my honest assessment is that results vary wildly depending on your specific motorcycle model.
On my R6, removing the airbox snorkel restriction gained about 3 horsepower up top but slightly hurt low-end response. For street riding, I actually preferred the stock airbox configuration. Track riding was a different story—the top-end gain was worth the trade-off.
ECU Tuning and Fuel Management: The Force Multiplier
Here’s something I wish someone had told me earlier: exhaust and intake upgrades need proper tuning to deliver their full potential. Without adjusting fuel delivery and ignition timing, you’re leaving power on the table and potentially running lean, which can damage your engine.
I learned this lesson the hard way. After installing my first full exhaust and air filter, I rode for months without tuning. The bike ran okay but had a slight hesitation at partial throttle. After finally getting a custom dyno tune, the transformation was remarkable—smoother power delivery, better fuel economy, and 4 additional horsepower.
There are three main tuning approaches: flash tuning (uploading a new map to your stock ECU), piggyback controllers like the Power Commander, or standalone ECU replacement. For most riders, flash tuning or a Power Commander provides the best balance of performance, cost, and reliability.
DIY Tuning vs. Professional Dyno Services
I’ve tried both approaches. DIY tuning with an auto-tune module and base maps can get you 80% of the way there for about $600 in equipment. It’s satisfying and educational, but there’s real risk if you don’t know what you’re doing.
Professional dyno tuning costs $400-800 but delivers optimized results across the entire power band. The tuner accounts for your specific modifications, altitude, fuel quality, and riding style. After comparing both methods on different bikes, I now always budget for professional tuning when making significant engine modifications.
The Foundation: Quality Engine Oil and Filtration
Before chasing big horsepower numbers, I make sure the fundamentals are dialed in. Using the right engine oil and maintaining clean filtration is unglamorous but critically important for performance and longevity.
I switched to synthetic oil exclusively after experiencing the difference firsthand. My engine runs cooler, shifts smoother, and the oil stays cleaner between changes. For my air-cooled bikes, I use best oil for air cooled motorcycle engines top picks for performance specifically formulated for higher operating temperatures.
The oil filter upgrade is one of the cheapest and most overlooked performance improvements. A best high performance oil filter for motorcycle provides better filtration and flow compared to bargain filters, protecting your engine while reducing internal friction.
Selecting the Right Viscosity for Performance
I’ve tested various oil weights over the years, and there’s definitely a sweet spot for performance. Most modern sport bikes run best on 10W-40 synthetic, but I adjust based on climate and riding style.
For track days in summer heat, I go with 15W-50 for extra protection under sustained high RPM. For street riding in moderate conditions, I stick with 10W-40. The best motor oil for 4 stroke motorcycle applications balances protection with smooth engine operation.
Choosing the top engine oil for 4 stroke motorcycle performance means considering not just the base oil quality but also the additive package. Look for oils with strong ZDDP content for valve train protection, especially on high-performance engines.
Suspension Upgrades: The Most Underrated Performance Mod
If I could only choose one category of upgrades, it might surprise you to hear I’d pick suspension over engine mods. Proper suspension setup has transformed my riding more than any horsepower increase ever did.
Most stock suspension is under-damped and poorly sprung for aggressive riding. I noticed this first when I started pushing harder in corners—the front would dive excessively under braking, and the rear would wallow through direction changes.
My first upgrade was a simple fork spring and oil change, which cost about $200 and made a remarkable difference in front-end feel and stability. Later, I invested in fully adjustable cartridge kits and a quality rear shock, which completely changed my confidence and speed through technical sections.
Setting Up Suspension for Your Weight and Riding Style
Suspension isn’t one-size-fits-all. Getting the spring rates right for your weight is absolutely critical. I’m 185 pounds with gear, and stock springs are almost always too soft for me.
I learned to set sag properly—the amount the suspension compresses under your weight—and suddenly my bikes handled like they were supposed to. Front and rear sag adjustment is free and takes 20 minutes, yet most riders never do it. This should be your first suspension “upgrade.”
Sprocket Changes: Instant Acceleration Improvement
Gearing changes are my favorite “bang for the buck” modification. For less than $100, you can dramatically alter your bike’s acceleration characteristics and top-speed potential.
I typically add 2-3 teeth to the rear sprocket on sport bikes, which trades some top speed for noticeably stronger acceleration in every gear. For street riding and canyon carving, I rarely use top speed anyway, so this trade-off makes perfect sense.
The effect is immediate and dramatic. The bike feels more responsive off corners, wheelies come up more easily (if that’s your thing), and passing acceleration improves substantially. Just be prepared to shift more frequently on the highway.
Finding the Right Gearing Ratio
I use online gearing calculators to preview how changes will affect RPM at various speeds. My rule of thumb: keep 70 mph around 5,000-6,000 RPM for comfortable highway cruising while improving acceleration in the more commonly used 40-100 mph range.
Going too aggressive with gearing (like adding 5+ teeth) can make the bike feel buzzy and over-revved on the highway. I’ve made this mistake, and it’s annoying on longer rides. Start with modest changes and adjust from there.
Weight Reduction: The Performance Mod You Can Feel Everywhere
I became obsessed with weight reduction after reading that removing 10 pounds has roughly the same effect as adding 1 horsepower. When you think about it that way, cutting 30 pounds is like gaining 3 horsepower everywhere—acceleration, braking, handling, everything.
My approach is to target the heaviest components with available lightweight alternatives. I’ve replaced stock exhaust systems (13-18 pound savings), swapped to lithium batteries (4-6 pound savings), installed carbon fiber bodywork (3-7 pound savings), and changed to lightweight wheels (4-8 pound savings per wheel).
The cumulative effect of these changes is remarkable. My current bike weighs 41 pounds less than stock, and it feels substantially more nimble and responsive. The reduced mass is especially noticeable during rapid direction changes and trail braking into corners.
The Most Cost-Effective Weight Savings
Not all weight reduction is equally valuable. Removing rotating mass (wheels, brake rotors, sprockets) has a multiplied effect on performance because your engine doesn’t have to accelerate that mass every time you twist the throttle.
If I’m on a budget, I prioritize lightweight wheels and an exhaust system. These offer the biggest weight savings with the most noticeable performance improvement. Things like carbon fiber fenders look cool but deliver minimal performance benefit for the cost.
Brake Upgrades: Stopping Power Enables Faster Riding
Better brakes don’t make you faster in a straight line, but they absolutely make you faster everywhere else. Improved braking power and feel let you brake later into corners, which is where real lap time comes from.
I’ve upgraded brake pads, lines, and fluid on every bike I’ve owned. High-performance sintered pads provide stronger initial bite and better heat resistance than organic pads. Stainless steel braided lines eliminate the spongy feel of rubber lines, giving much better lever feedback.
For street riding, upgraded pads and lines are usually sufficient. On the track, I’ve also installed larger front rotors and radial master cylinders, which provide substantially more power and control for aggressive braking from high speeds.
Quick Shifters: The Luxury Upgrade That’s Worth It
I resisted quick shifters for years, thinking they were an unnecessary luxury. Then I tried one, and I immediately understood why they’re becoming standard equipment on new sport bikes.
A quick shifter lets you change gears without closing the throttle or using the clutch. The result is faster, smoother shifts and uninterrupted acceleration. The difference in lap times was measurable—I gained about a half-second per lap just from cleaner shifts.
For street riding, quick shifters reduce fatigue and make the bike more enjoyable to ride in traffic. I now consider them essential on any bike I plan to ride seriously. Installation is straightforward on most modern bikes, and standalone units work on older models.
My Proven Upgrade Path for Maximum Results
After years of trial and error, I’ve developed a sensible progression for motorcycle performance upgrades that maximizes results while controlling costs.
Stage 1 (Under $1,000): Start with quality synthetic oil and filters, set suspension sag properly, upgrade brake pads and lines, and consider gearing changes. These foundational improvements make every ride better without breaking the bank.
Stage 2 ($1,000-3,000): Add a full exhaust system, high-flow air filter, and professional ECU tuning. This combination typically delivers 10-15% more power with better throttle response. Include suspension spring upgrades matched to your weight.
Stage 3 ($3,000+): Invest in lightweight wheels, fully adjustable suspension, a quick shifter, and further weight reduction. At this stage, you’re refining an already strong foundation rather than chasing basic improvements.
What I Skip and Why
Not every advertised performance upgrade is worth doing. I avoid engine internal modifications (cams, pistons, head work) unless I’m building a dedicated track bike. The cost-to-benefit ratio is poor, and reliability often suffers.
I’m also skeptical of fuel additives, magnetic oil drain plugs, and other products promising “hidden power.” In my experience, they deliver placebo effects at best. Stick to proven modifications with measurable results.
Common Mistakes I’ve Made (So You Don’t Have To)
I’ve wasted plenty of money on upgrades that didn’t deliver. Installing an exhaust without tuning left power on the table and created a lean condition that could have damaged my engine. I learned that modifications work as a system—changing one component often requires complementary changes elsewhere.
Going too aggressive with modifications too quickly is another mistake I made early on. My first heavily modified bike was fast but temperamental and difficult to ride smoothly. I’ve since learned to build up gradually, testing and adjusting as I go.
Chasing dyno numbers without considering real-world rideability was perhaps my biggest mistake. A bike that makes impressive peak horsepower but sacrifices midrange power and smooth delivery isn’t actually faster where it counts—on real roads and tracks.
Maintaining Performance: Keeping Your Upgrades Working
Performance modifications require more attention than stock components. I check my air filter every 2,000 miles instead of 6,000, and I’m religious about oil changes every 3,000 miles with high-quality synthetic.
After track days, I inspect critical components carefully—brake pads, tire wear, suspension seals, and chain tension. Performance riding is harder on parts, and small problems become big failures faster when you’re pushing limits.
I keep detailed records of all modifications and maintenance in a spreadsheet. This helps me track what works, when components need service, and provides valuable information if I ever sell the bike.
Final Thoughts: Building a Bike That Matches Your Riding
The best performance upgrades are the ones that enhance how you ride, not just what looks impressive on paper. I’ve built fast bikes that weren’t enjoyable to ride, and I’ve built moderately modified bikes that I absolutely loved.
Start with clear goals. Are you building a track weapon, a canyon carver, or an all-around sport bike? Your answer should guide every modification decision. Don’t just copy someone else’s build—think about what will make your riding experience better.
Remember that rider skill matters far more than modifications. I’ve been humbled on the track by riders on stock bikes who were simply faster than me. Before spending thousands on parts, consider investing in track days and rider training. The best upgrade is always the one between the handlebars.
That said, when done thoughtfully, motorcycle performance upgrades transform good bikes into great ones. The satisfaction of riding a machine you’ve personally optimized is hard to beat. Start small, build systematically, and enjoy the journey of making your bike truly yours.
Frequently Asked Questions
What is the most cost-effective motorcycle performance upgrade?
In my experience, a high-flow air filter and ECU tune offer the best bang for your buck, typically delivering 5-10% more power for $300-600 total.
Will performance upgrades void my motorcycle warranty?
Most aftermarket modifications can void your warranty, especially engine and exhaust changes. Always check your manufacturer’s terms before upgrading, or wait until the warranty expires.
How much horsepower can I gain from basic performance upgrades?
From my testing, a combination of exhaust, air filter, and ECU tuning typically adds 8-15 horsepower on most bikes, which translates to noticeable throttle response and acceleration improvements.
Do I need to upgrade multiple systems at once?
Not necessarily. I recommend starting with one area (like exhaust or intake) and building from there. This lets you feel each improvement and spread costs over time.

Related Articles
7 Best Batteries for Motorcycles I’ve Tested and Trust in 2026
I've tested dozens of motorcycle batteries to find the best performers. From AGM to lithium, here are my top picks…
Jake Miller
15 min read

The Perfect Battery for Your Harley Davidson Softail: A Rider’s Complete Guide
Discover the perfect battery for your Harley Davidson Softail. I've tested multiple options and share real-world performance data, maintenance tips,…
Jake Miller
14 min read

The Best Battery for Your Harley Davidson: My Complete Guide After Years of Testing
Discover which battery truly performs best for Harley Davidson motorcycles. Real rider experience with AGM, lithium, and OEM options to…
Jake Miller
12 min read