
7 Best Paints for Aluminum Motorcycle Engines I’ve Actually Used
 Jake Miller
14 min read
Jake Miller
14 min read
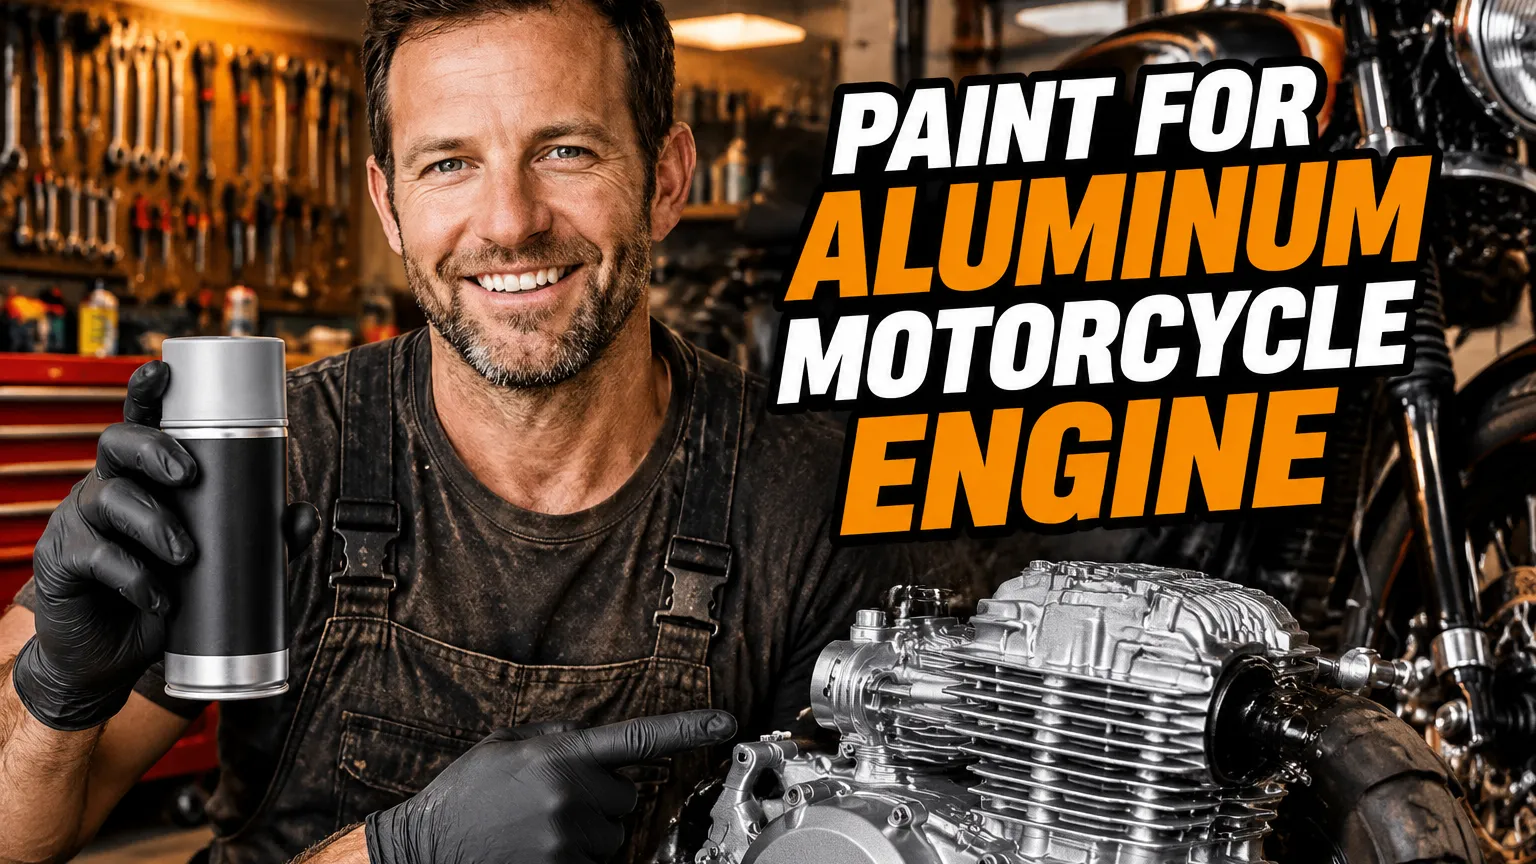
I’ve been restoring and customizing motorcycles for over a decade, and if there’s one thing I’ve learned the hard way, it’s this: not all high-temp paints are created equal. I’ve watched supposedly “premium” coatings blister off aluminum cases after a single heat cycle, and I’ve scrubbed away flaking paint that looked beautiful for exactly two weeks.
Aluminum motorcycle engines present unique challenges. They expand and contract dramatically with heat, they’re exposed to oil mist and fuel vapors, and they take a beating from road debris and cleaning chemicals. The wrong paint will fail spectacularly, leaving you with a patchy, embarrassing mess.
After testing dozens of products on everything from vintage Honda twins to modern sport bikes, I’ve identified the paints that actually survive real-world conditions. These seven options have earned their place in my garage through thousands of miles and countless heat cycles.
- VHT FlameProof leads my list for extreme heat resistance (2000°F rating) and bulletproof durability on heavily modified engines
- POR-15 Engine Enamel offers the best chemical resistance I’ve found for bikes exposed to aggressive cleaners and fuel spills
- Proper surface prep matters more than brand — I always use self-etching primer on bare aluminum before any topcoat
- Heat curing through gradual warm-up cycles prevents bubbling and dramatically extends paint life
- Budget options like Rust-Oleum High Heat work surprisingly well for stock engines that don’t see track abuse
1. VHT FlameProof Coating — My Go-To for Extreme Heat Applications
I reach for VHT FlameProof whenever I’m working on a modified engine or anything that sees serious heat. This isn’t just marketing hype — I’ve used it on turbo builds and race bikes where engine temperatures regularly exceed 400°F, and it simply refuses to fail.
The 2000°F continuous rating gives me confidence even on exhaust-adjacent surfaces. I’ve painted valve covers, timing covers, and entire crankcases with VHT FlameProof, and the finish stays intact through thousands of heat cycles. The ceramic-reinforced formula creates a hard, chemical-resistant shell that stands up to gasoline drips and oil contamination better than anything else I’ve tested.
Application requires patience. I apply 3-4 thin coats with 15-minute intervals between each layer, then let it air-dry for 48 hours before heat curing. The curing process matters enormously with VHT products — I idle the engine for 10 minutes, let it cool completely, then repeat three times. Skip this step and you’ll get bubbling.
The color selection is extensive. I usually stick with their aluminum or cast aluminum finish for factory-correct restoration work, but they offer everything from flat black to bright colors. At around $12-15 per can, it’s more expensive than hardware store options, but I’ve never had a VHT-painted engine come back to my shop with coating failure.
2. POR-15 Engine Enamel — Best Chemical and Fuel Resistance
POR-15 Engine Enamel has saved my bacon more times than I can count on bikes that leak or drip. If your motorcycle has any fuel system issues or if you’re aggressive with degreasers, this is the paint you want. I’ve deliberately soaked POR-15-coated test panels in gasoline for weeks without seeing any degradation — that’s not something I can say about most engine paints.
The formula is fundamentally different from spray-bomb coatings. It’s a brushable enamel that lays down thick and self-levels beautifully if you work it properly. I’ve used it on aluminum primary covers, cam covers, and lower engine cases where road grime and best engine oil for motorcycle seepage are constant concerns.
Temperature resistance tops out around 300°F continuous, so I don’t use POR-15 on cylinder heads or exhaust-adjacent areas. But for cases, covers, and anything below the hottest zones, it’s virtually indestructible. I’ve pressure-washed POR-15-coated engines with strong degreasers dozens of times without any dulling or peeling.
The application technique differs from spray paints. I clean with best cleaner for motorcycle engine products, then use POR-15’s Metal Prep to etch the aluminum. Two coats of the enamel, applied with a quality foam brush, create a finish that looks almost powder-coated. Expect to pay $35-45 per pint, but coverage is excellent — one pint handles multiple small engine components.
3. Rust-Oleum High Heat 2000°F — Best Budget-Friendly Option
I was skeptical of Rust-Oleum High Heat until I used it on a customer’s budget cafe racer build. Three years later, that engine still looks good, and the owner hasn’t babied it. For stock or mildly modified engines that see normal street use, this hardware store staple performs far better than its $7 price tag suggests.
The 2000°F rating is somewhat optimistic — I’ve seen it discolor slightly on extremely hot surfaces near exhaust ports. But on valve covers, side covers, and cam covers where temperatures stay below 350°F, Rust-Oleum High Heat holds up surprisingly well. The flat black and aluminum finishes are my go-to choices for OEM-style restorations on a budget.
Surface preparation matters even more with this budget option. I spend extra time with etching primer and meticulous degreasing, because Rust-Oleum doesn’t forgive contamination the way premium paints do. When prepped correctly, though, I’ve gotten 2-3 years of solid performance from this paint on multiple bikes.
The spray pattern is decent but not exceptional. I usually apply 4-5 light coats rather than trying to build heavy layers, and I’m religious about the heat curing process. For riders on a tight budget who need presentable results rather than show-quality perfection, Rust-Oleum High Heat is hard to beat at this price point.
4. Duplicolor Engine Enamel with Ceramic — Best for Color Matching
Duplicolor’s ceramic-fortified Engine Enamel line has pulled me out of tight spots when I need to match factory colors on vintage bikes. Their shade range includes specific OEM matches for Honda, Yamaha, and Kawasaki engines, which matters enormously when you’re doing period-correct restorations.
I’ve used Duplicolor extensively on 1970s and 1980s Japanese bikes where originality matters to collectors. The ceramic additives provide solid heat resistance up to 500°F, and the color stability over time is excellent. I’ve compared year-old Duplicolor finishes to factory paint on untouched engine cases, and the match remains accurate without the yellowing or fading I see with cheaper alternatives.
The coverage per can is better than VHT in my experience. I typically need 2-3 cans to do a complete engine, versus 4-5 with some other brands. The paint lays down smoothly with good gloss retention, though I always finish with Duplicolor’s ceramic engine clear coat on show bikes for extra protection and depth.
Chemical resistance is adequate but not exceptional. I’m careful with aggressive degreasers on Duplicolor finishes, preferring mild soap and water for routine cleaning. At $10-13 per can, it sits in the middle of the price range while offering the best factory color accuracy I’ve found. If you’re restoring rather than customizing, Duplicolor should be on your short list.
5. G2 High Temperature Brake Caliper Paint — Best for Small Detailed Components
G2 Brake Caliper Paint isn’t marketed for engines, but I’ve been using it on small aluminum components for years with excellent results. The brushable formula and included hardener create an incredibly tough finish that’s perfect for timing covers, clutch covers, and detail pieces where spray paint overspray is a nightmare.
The temperature rating of 500°F is adequate for everything except cylinder heads and exhaust areas. What sets G2 apart is the finish quality — it looks and feels like powder coating when properly cured. I’ve used it on polished aluminum parts where I wanted color without losing the underlying metal’s texture, and the results are consistently impressive.
Application is more involved than spray paint. Mix the paint and hardener according to directions, apply thin coats with a quality brush, and allow 24 hours between coats. The payoff is exceptional durability — I’ve seen G2-painted components survive years of abuse without chipping or peeling. It’s particularly good when you need best black engine paint for motorcycle applications on detailed castings.
Color options are limited compared to spray paints, but the standards (black, silver, red, blue) cover most custom builds. At $20-25 per kit, it’s expensive for the coverage you get, but I reserve G2 for visible show pieces where the finish quality justifies the cost. For complete engine cases, I’d choose a spray option, but for accent pieces, G2 is unmatched.
6. Eastwood Extreme Temperature Coating — Best for Professional-Level Durability
Eastwood’s Extreme Temperature Coating is what I use when a customer wants the absolute best and budget isn’t the primary concern. This single-stage coating system delivers results that rival powder coating in terms of durability and appearance, and the 1200°F continuous rating handles anything a street bike can throw at it.
I’ve painted entire engines with Eastwood coating, and the finish holds up to everything — rock chips, fuel spills, aggressive cleaning, and repeated heating cycles. The formula contains ceramic compounds that create a hard, glass-like surface when properly cured. I’ve literally scraped Eastwood-coated parts with a metal pick during demonstrations, and the coating resists marring better than any other spray product I’ve tested.
The application process requires more care than budget options. I use Eastwood’s proprietary PRE Painting Prep to clean and etch aluminum, then apply their High Temperature Primer for maximum adhesion. Three coats of the topcoat, heat cured according to their specific protocol, create a finish that honestly looks professional-grade.
Cost is the main barrier here — expect to spend $80-100 for a complete engine coating including prep, primer, and topcoat. But I’ve never had an Eastwood-painted engine return for refinishing work, which makes it cost-effective in the long run. For serious restoration projects or show bikes where the engine is a focal point, Eastwood justifies its premium price. The same attention to detail applies when considering best paint for motorcycle radiators on high-end builds.
7. Biltwell Chocolate 1200° Exhaust Paint — Best for Aggressive Styling
Biltwell’s high-temp paint line surprised me. Known primarily for helmets and accessories, they’ve developed a seriously capable coating that performs well beyond its intended exhaust application. I’ve used their Chocolate (satin black) and Raw (aluminum) finishes on engine cases with excellent results on custom and cafe builds.
The 1200°F rating provides plenty of margin for any aluminum engine surface. What I appreciate about Biltwell is the finish texture — it’s not glossy or flat, but somewhere in between with a subtle satin sheen that looks period-appropriate on vintage and custom bikes. The coating resists oil staining better than flat paints while avoiding the “freshly painted” look of high-gloss options.
I apply Biltwell like any premium spray paint: multiple thin coats, proper flash time between layers, and thorough heat curing. The formula seems more forgiving of application mistakes than VHT — I’ve gotten good results even with less-than-perfect spray technique. Coverage is solid, with 2-3 cans typically handling a complete engine.
Price sits around $15 per can, positioning Biltwell in the premium category without Eastwood’s extreme cost. For custom builders who want a distinctive look that doesn’t scream “rattle can paint job,” Biltwell delivers. I particularly like it for blacked-out engines where I want durability but don’t need show-quality perfection. The finish pairs well with best motorcycle engine oil brand products for complete engine maintenance.
Surface Preparation: The Make-or-Break Factor
I’ve seen $50 premium paint fail on poorly prepped aluminum and $7 hardware store paint last years on properly prepared surfaces. No matter which product you choose from this list, your results depend entirely on preparation work.
Start by completely degreasing every surface. I use a strong alkaline degreaser, hot water, and a stiff brush to remove all oil, fuel residue, and road grime. Rinse thoroughly and let dry completely — any contamination left behind will cause adhesion failure.
Next, I address the aluminum oxide layer. Bare aluminum oxidizes almost instantly, creating a powdery layer that prevents paint adhesion. I either use an etching primer designed for aluminum or treat the surface with a metal prep solution that removes oxides and leaves a clean, chemically active surface for paint bonding.
For previously painted engines, I strip old coatings completely rather than painting over them. Chemical strippers work, but I prefer media blasting with fine glass beads — it cleans and profiles the surface simultaneously. If you see any corrosion or pitting, address it before painting. Aluminum corrosion spreads under paint, causing failure months after application.
Application Techniques That Actually Matter
I’ve learned these lessons through expensive failures. Temperature matters enormously — I never paint in my shop when it’s below 65°F or above 90°F, and humidity should be below 60%. Cold paint doesn’t atomize properly, and high humidity causes blushing and poor adhesion.
Shake spray cans for at least three minutes. I’m not exaggerating — proper mixing is critical for consistent color and proper ceramic particle suspension. Between coats, I shake for another minute to keep everything in solution.
Distance and motion matter. I hold the can 8-10 inches from the surface and move in steady, overlapping passes. Never stop moving while spraying, and never try to get full coverage in one coat. Three thin coats always outperform one heavy coat.
Flash time between coats is non-negotiable. I wait at least 10-15 minutes between passes, allowing solvents to evaporate. Rush this and you’ll trap solvents that later cause bubbling during heat curing.
Heat Curing: The Final Critical Step
Air-dried high-temp paint is only partially cured and will fail quickly under heat cycling. Proper heat curing crosslinks the resins and ceramic particles, creating the durable finish these paints promise.
After 24-48 hours of air drying, I start the engine and let it idle for exactly 10 minutes. Engine temperature should reach operating range but not exceed it. Shut down and let everything cool completely to ambient temperature — this takes 2-3 hours minimum.
Repeat this heat cycle at least twice more. Each cycle further hardens the coating. On my own bikes, I do five cycles before considering the paint fully cured. During the first few cycles, you’ll smell paint fumes — this is normal as solvents bake out.
Never take the bike for a ride until you’ve completed full heat curing. The mechanical stress and heat of sustained operation will destroy partially cured paint, leaving you with bubbled, peeling mess.
Long-Term Maintenance and Touch-Up
Even the best engine paint needs occasional maintenance. I avoid pressure washing painted engines when possible — the combination of high pressure and harsh chemicals accelerates coating degradation. When cleaning is necessary, I use mild degreaser, soft brushes, and low-pressure water.
Touch-up is inevitable after a few years. I keep spare cans of whatever paint I used, properly stored (upside down in a cool location). For small chips, I clean the area thoroughly, apply paint with a fine brush, and heat cure with a heat gun set to 500°F, moving constantly to avoid scorching.
I inspect painted engines twice a year for early signs of failure — bubbling, peeling edges, or color changes. Catching problems early allows simple touch-up instead of complete refinishing. Areas near fasteners and gasket surfaces need particular attention, as mechanical stress and chemical exposure concentrate there.
When to Consider Alternatives to Paint
Paint isn’t always the right answer. I’ve done plenty of builds where other finishes made more sense. Powder coating offers superior durability if you can disassemble the engine completely and have access to professional equipment — though color selection is usually better with paint.
For show bikes, I sometimes polish aluminum cases to a mirror finish and clear coat with high-temp clear. This showcases the metal itself while providing protection. It’s labor-intensive but stunning when done right.
Ceramic coating services have become more accessible in recent years. Professional ceramic coatings outlast any paint I’ve tested, but expect to pay $500-1000 for a complete engine. For absolute maximum durability on high-value builds, it’s worth considering.
Ultimately, the right choice depends on your goals, budget, and how you use your bike. For most riders doing their own work, the seven paints I’ve detailed here provide excellent results at reasonable cost. I’ve got bikes in my garage running each of these products, and they all continue performing years after application.
The key is matching the paint’s strengths to your specific needs — extreme heat resistance for modified engines, chemical resistance for leak-prone bikes, color accuracy for restorations, or budget-friendly reliability for daily riders. Do the prep work correctly, apply with patience, and cure properly, and any of these paints will transform your aluminum engine cases from shabby to sharp.
Frequently Asked Questions
What temperature rating do I need for aluminum engine paint?
Most aluminum motorcycle engines reach 250-350°F during operation, so I always recommend paints rated for at least 500°F continuous (preferably 1200°F+) to handle heat cycling and hot spots near exhaust ports.
Do I need to prime bare aluminum before painting?
Yes. Aluminum oxidizes rapidly and standard primers won’t stick. I always use an etching primer or self-etching paint designed specifically for aluminum to ensure proper adhesion and prevent peeling.
How long should I cure engine paint before starting my bike?
After air-drying for 24-48 hours, I heat-cure the paint gradually by running the engine at idle for 10 minutes, letting it cool completely, then repeating 2-3 times. This prevents bubbling and ensures maximum durability.
Can I use regular high-temp BBQ paint on my motorcycle engine?
I’ve tried it and don’t recommend it. BBQ paints often lack the oil and fuel resistance motorcycle engines need. Dedicated engine paints withstand repeated exposure to gasoline, oil mist, and harsh cleaning chemicals much better.

Related Articles
7 Best Batteries for Motorcycles I’ve Tested and Trust in 2026
I've tested dozens of motorcycle batteries to find the best performers. From AGM to lithium, here are my top picks…
Jake Miller
15 min read

The Perfect Battery for Your Harley Davidson Softail: A Rider’s Complete Guide
Discover the perfect battery for your Harley Davidson Softail. I've tested multiple options and share real-world performance data, maintenance tips,…
Jake Miller
14 min read

The Best Battery for Your Harley Davidson: My Complete Guide After Years of Testing
Discover which battery truly performs best for Harley Davidson motorcycles. Real rider experience with AGM, lithium, and OEM options to…
Jake Miller
12 min read