
9 Best Ways to Mount an Action Camera on Your Motorcycle (Rider-Tested)
 Jake Miller
12 min read
Jake Miller
12 min read
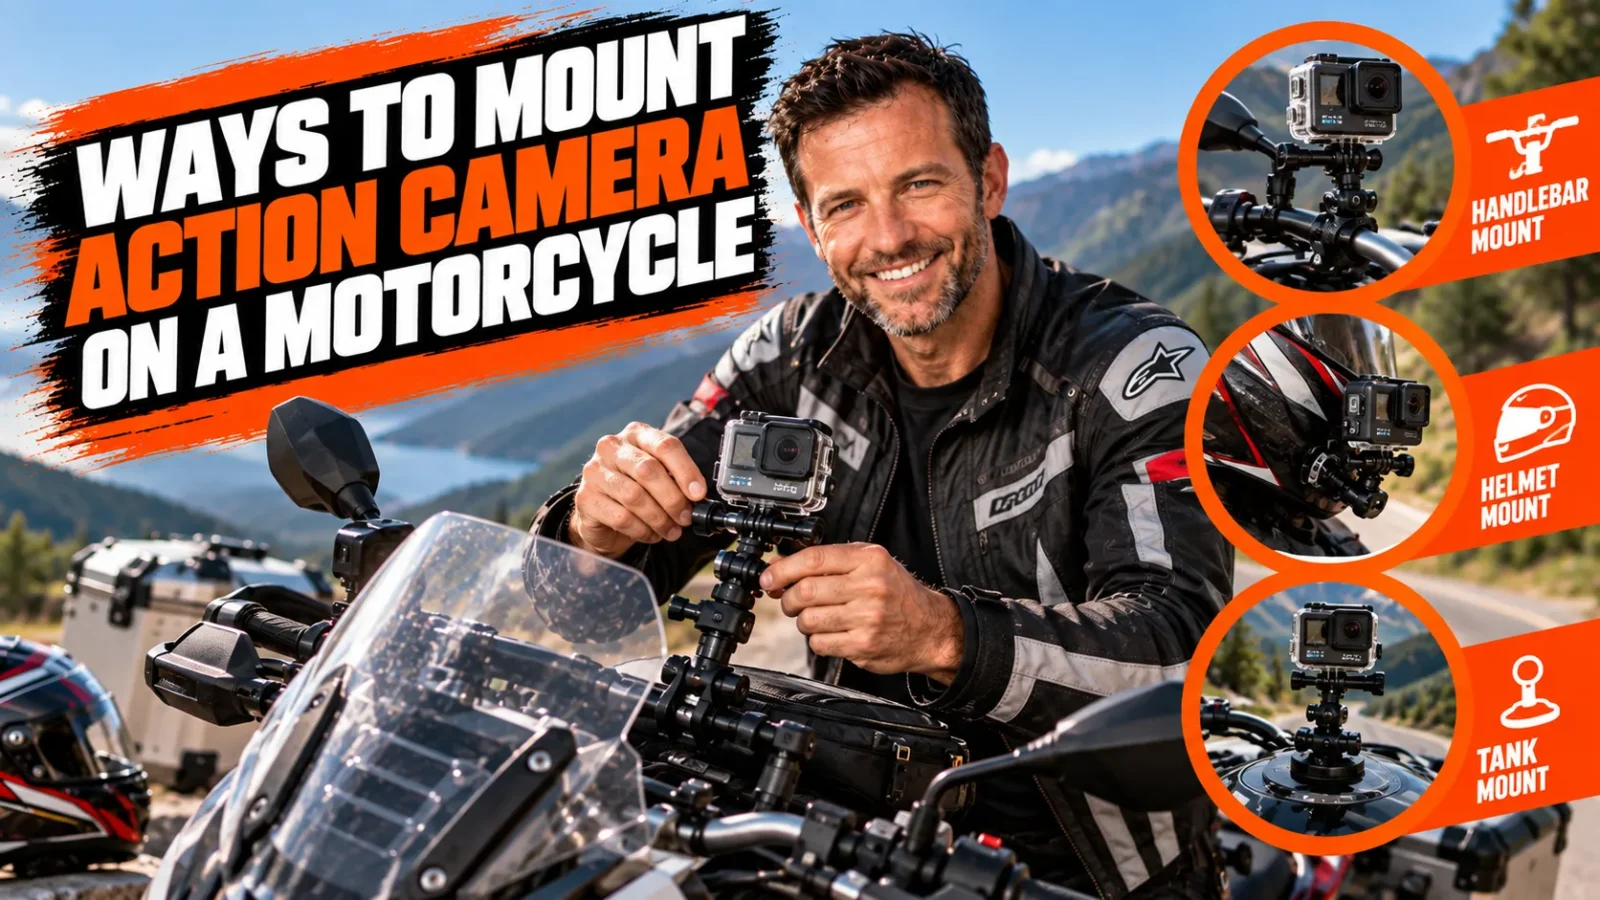
I’ve dropped a camera at 60 mph exactly once, and that was enough to send me down a rabbit hole testing every mounting method I could get my hands on. Since then, I’ve bolted, stuck, clamped, and strapped action cameras to helmets, tanks, mirrors, and chest harnesses on everything from a sport bike to a dual-sport.
Some mounts survived years of track days. Others barely made it through a single gravel road before I pulled them off in frustration. This list is built from that experience, not a spec sheet I skimmed once.
If you’re trying to figure out the best way to mount action camera for motorcycle riding, I’m going to walk you through the nine setups I actually trust, what they cost, and where each one shines (or falls short).
- Helmet mounts (adhesive, chin, or vented strap) give the most immersive POV footage and are my go-to for daily rides.
- RAM Mounts’ X-Grip and Tough-Claw are the gold standard for handlebar and mirror mounting because they’re vibration-resistant and rock solid.
- Chest harnesses like the GoPro Chesty smooth out helmet shake and work great for adventure and off-road riding.
- Vibration-dampening hardware matters more than camera quality once you’re past 60 mph on rough pavement.
- No single mount does everything well, so most serious riders (myself included) run two mounting points per ride.
1. GoPro Curved + Flat Adhesive Mount Kit — Best Overall Helmet Mount
This is the mount I recommend to almost every rider who asks me where to start. The GoPro Curved + Flat Adhesive Mount Kit uses genuine 3M VHB adhesive backing that GoPro has engineered specifically for curved helmet shells and flat surfaces alike.
I’ve had one of these stuck to the side of my Shoei for over two years, through rain, heat, and one memorable tip-over, and it never budged. At around $15-20 for a two-pack, it’s also one of the cheapest entries on this list.
Why It Works So Well
The low-profile design keeps wind resistance and noise to a minimum compared to bulkier clamp mounts. It also sits close enough to your head that footage feels genuinely first-person, which is exactly what most riders want from their clips.
If you want the full rundown on positioning and curing time, I go deep into this exact setup in my guide to the best GoPro adhesive mount setup for motorcycle helmets. Surface prep really is the difference between “bulletproof” and “lost my camera on the interstate.”
Watch Out For
Adhesive mounts are semi-permanent. Once it’s cured for 24 hours, you’re not easily moving it without damaging your helmet’s finish. Pick your spot carefully before you commit.
2. GoPro Chin Mount — Best for Capturing Gauges and the Road Ahead
The GoPro Chin Mount is a curved adhesive plate designed to sit on the chin bar of a full-face helmet, and it’s genuinely one of the most underrated positions out there. I run this specifically when I want to show dash gauges, lean angle, and hand position all in one frame.
It costs about the same as the standard adhesive kit, roughly $20, and uses the same reliable 3M adhesive backing GoPro puts on all its curved mounts.
Why I Like It
Because it’s mounted low and centered, the chin mount tends to produce noticeably smoother footage than side-mounted cameras. Your chin doesn’t whip around nearly as much as the crown or side of your helmet does when you check mirrors.
It’s also a great angle for reviewing your own riding technique, braking points, and throttle inputs if you’re working on track skills.
Things to Consider
Not every full-face helmet has enough flat chin bar real estate for this, and it’s a non-starter on open-face or modular helmets in the chin-up position. Check your helmet’s shape before ordering.
3. GoPro Vented Helmet Strap Mount — Best for Dirt and Adventure Helmets
Dirt and ADV riders wear helmets with big chin vents and peaks that make adhesive mounts awkward or impossible. That’s where the GoPro Vented Helmet Strap Mount comes in, a strap-based system that threads through the vent slots on most motocross-style helmets without any glue at all.
At around $20, it’s a no-commitment option, meaning you can move it between helmets or remove it entirely without leaving adhesive residue behind.
Why It’s a Smart Pick for Off-Road
Because it clips on rather than sticking on, I’ve found it survives crashes better too. On a rocky trail spill, a strap mount is more likely to pop loose than snap off, saving both your helmet’s shell and your camera.
It pairs beautifully with whatever you’re already using as the best action camera for motorcycle helmets, since it’s compatible with the standard GoPro three-prong buckle system most cameras and cages use.
Downsides
It only works with helmets that have actual vent slots in the right spot, so it’s a non-option for most street-focused full-face lids.
4. RAM Mounts X-Grip with Ball Base — Best Handlebar Mount
When I want to show the bike itself, the front wheel tracking through a corner, or my hands working the controls, I switch to a handlebar-mounted setup. My pick here is the RAM Mounts X-Grip with a 1-inch ball base, paired with RAM’s universal action camera adapter.
This combo runs about $40-50 total and is built from RAM’s signature reinforced composite, the same material they use for motorcycle GPS mounts that survive years of vibration and weather.
Real-World Durability
I’ve had a RAM X-Grip on a KTM handlebar clamp for three seasons now, through mud, rain, and a couple of tip-overs, and the rubber-tipped jaws have never loosened their grip on the camera housing.
The ball-and-socket design also means you can angle the camera precisely, then lock it down tight with the included tension knob so it doesn’t creep during a ride.
What to Know Before Buying
You’ll need a compatible bar clamp base or a separate perch mount since the X-Grip head alone doesn’t include a way to attach to your handlebar. Budget an extra $10-15 for a base if you don’t already have RAM hardware.
5. RAM Mount Tough-Claw with Universal Action Camera Adapter — Best Mirror/Clamp Mount
If your handlebar is too crowded with switches, grips, and risers, the mirror stem is my next favorite spot. The RAM Mount Tough-Claw, sized for 0.375 to 1.5-inch diameter tubes, clamps directly onto most mirror stems without any drilling or adhesive.
Priced around $35-45 depending on the arm length you choose, it’s a bit pricier than adhesive options but offers something they can’t: instant removability. I pull mine off in under 30 seconds when I’m done filming for the day.
Why This Is My Go-To for Group Rides
Mirror mounting puts the camera slightly outside your fairing, which is fantastic for capturing a wider view of the road and any riders behind you. It’s also less exposed to direct engine heat than some frame-mounted options.
I’ve paired mine with several different cameras over the years while comparing the best GoPro camera for motorcycle helmet use versus bike-mounted use, and the Tough-Claw handled every housing size I threw at it without issue.
One Caveat
Mirror stems flex more than you’d think at speed, so double-check your footage isn’t picking up excess wobble on your particular bike before committing to this spot for a big ride.
6. GoPro Jaws Flex Clamp — Most Versatile Frame Mount
The GoPro Jaws Flex Clamp is one of those accessories that’s been in GoPro’s lineup for years because it just works everywhere. Its spring-loaded rubber jaws open to grip anything from 1.9 cm to 3.8 cm in diameter, making it my pick for frame bars, crash cages, and luggage racks.
At roughly $20-25, it’s an affordable way to experiment with angles you can’t get from a helmet or handlebar position, like a low frame-mounted shot that captures the front wheel kicking up dirt.
Why I Reach for This One Often
The flexible gooseneck-style neck lets you bend the camera into tight, low positions that rigid ball mounts simply can’t reach. On my adventure bike, I’ve clamped it to the crash bars for some genuinely unique low-angle trail footage.
It’s lightweight enough that it doesn’t add noticeable drag or sag over long rides, which matters when you’re testing a new angle for the first time on a multi-hour trip.
Limitations
Because the jaws use tension rather than a hard lock, very rough terrain can cause slight drift in the camera angle over time. I check mine at gas stops on longer rides just to be safe.
7. GoPro Chesty (Performance Chest Mount Harness) — Best Chest Mount
Helmet footage looks great until you turn your head every three seconds checking mirrors, and suddenly your viewers get motion sickness. That’s the exact problem the GoPro Chesty, officially the Performance Chest Mount Harness, solves for me on longer adventure and touring rides.
It costs around $40 and adjusts to fit over riding jackets, including bulkier ADV and touring gear with armor built in.
Why It’s Great for Long Days in the Saddle
Since it’s strapped to your torso rather than your helmet, the footage stays locked on the road ahead even as you’re scanning left and right for hazards. I noticed a huge drop in that shaky, whip-pan effect the first time I switched from a helmet mount to the Chesty on a six-hour ride.
It’s also a smart backup option if your helmet doesn’t support adhesive or vented mounts, since the harness goes over your jacket, not your lid.
Things I’d Flag
On hot days, an extra strap across your chest under riding gear isn’t the most comfortable thing, and the angle needs occasional adjustment since it can shift slightly as you move.
8. RAM Mounts Vibration Dampening Ball Mount — Best for Reducing Engine Buzz
Nobody talks about this enough, but vibration is the single biggest killer of good motorcycle footage, way more than resolution or stabilization software. RAM’s Vibration Dampening Ball Mount system uses a rubber composite ball designed specifically to absorb high-frequency engine buzz before it ever reaches your camera.
Where This Makes the Biggest Difference
I noticed the difference immediately on a thumper-style single-cylinder bike, where standard rigid mounts produced that jittery “jello” effect in footage even with in-camera stabilization turned on. Swapping to a dampening ball mount smoothed things out dramatically without touching my editing software.
It runs about $30-45 depending on the specific ball and arm combination, and it’s compatible with most of RAM’s existing handlebar and clamp bases, so you’re not starting from scratch if you already own RAM hardware.
Who Should Skip This
If you’re running a smooth, balanced multi-cylinder engine or you’re primarily using a helmet or chest mount, you probably won’t notice enough vibration to justify the extra cost. It really shines on singles, older engines, and dirt bikes.
9. Insta360 Curved Adhesive Mount — Best for 360-Degree Cameras
If you’re shooting with an Insta360 X4 or similar 360 camera instead of a traditional GoPro-style unit, you need mounting hardware built for that taller, top-heavy form factor. The official Insta360 Curved Adhesive Mount is designed exactly for this, with a wider base and reinforced adhesive footprint to handle the added leverage.
It’s priced similarly to GoPro’s adhesive mounts, around $15-20, and uses the same peel-and-stick 3M-style application process.
Why 360 Cameras Need Different Hardware
Because a 360 camera captures footage in every direction, you actually want it mounted higher and more centered than a traditional action camera, often on top of the helmet rather than the side. This mount’s geometry is built to hold steady in that taller position without leaning under wind pressure at speed.
I switched to this exact setup when I started experimenting with reframing shots after the ride instead of choosing my angle beforehand, and it’s honestly changed how I plan my footage entirely.
A Small Trade-Off
Top-of-helmet mounting does create slightly more wind noise and drag than a low side mount, so factory earplugs or a quieter helmet shell make a noticeable difference on longer rides.
How I’d Actually Choose Between These
Honestly, I don’t run just one mount anymore. My typical setup for a day ride is a helmet mount for POV plus a RAM handlebar or mirror mount for a wider bike-and-road shot, then I edit the two angles together afterward.
If you’re just getting started, I’d tell you to buy a basic adhesive kit first since it’s cheap, versatile, and lets you figure out what angle you actually like before spending more on clamps and harnesses. From there, add a handlebar or mirror mount once you know you’re committed to filming regularly.
And if you’re still shopping for the camera itself before worrying about mounts, it’s worth comparing options in my breakdown of the best GoPro mounts for motorcycle helmets, since camera weight and shape genuinely affect which mount performs best.
A Quick Safety Note
Before you finish any mount installation, always do a firm tug test and a short low-speed ride to confirm nothing shifts. I learned the hard way that a rushed adhesive job or a loosely tightened clamp knob isn’t worth the footage you might lose, or worse, the road hazard a flying camera could create for the rider behind you.
Take the extra ten minutes to double-check your mount. Your footage, your camera, and the rider behind you will all thank you for it.
Frequently Asked Questions
What is the most stable way to mount an action camera on a motorcycle?
A helmet chin mount or a properly torqued RAM Mounts Tough-Claw on the mirror stem tend to produce the steadiest footage because they’re closer to your body’s natural stabilization or firmly clamped to a rigid, non-vibrating part of the bike.
Is a helmet mount or a handlebar mount better for motorcycle footage?
Helmet mounts give more immersive, first-person POV footage and follow your head movement naturally, while handlebar mounts show the bike itself and handle engine vibration differently. I usually run both, checking out the best GoPro mounts for motorcycle helmets for the POV shot.
Do adhesive mounts actually stay on at highway speed?
Yes, if applied correctly. GoPro’s 3M-backed curved and flat adhesive mounts are rated for high-speed use, but surface prep (cleaning with alcohol, applying 24 hours before your ride) makes all the difference. I cover this in detail in my GoPro adhesive mount setup guide.
Will vibration ruin my motorcycle camera footage?
It can, especially on handlebar or frame mounts with big singles or high-mileage engines. A vibration-dampening mount like RAM’s rubber ball system, or simply relocating to a chin or chest mount, solves most of the jello-effect issues.

Related Articles

6 Best Rear View Cameras for Motorcycle: Riders Who Want Eyes in the Back of Their Head
I've tested the top rear view cameras for motorcycles so you don't have to. Here are my real-world picks for…
Jake Miller
12 min read

8 Best Cameras for Riding Motorcycle in 2026 (Rider-Tested Picks)
I've mounted, crashed, and rain-soaked dozens of cameras on my helmet and bike. Here are the 8 best cameras for…
Jake Miller
9 min read

9 Best Cameras for Motorcycle Travel: My Tested Picks for Long-Haul Rides
I've tested action cams, 360 cameras, and mirrorless bodies on thousands of touring miles. Here are the 9 best cameras…
Jake Miller
12 min read