
How a Motorcycle Engine Kill Switch Works (and How to Fix One That Won’t)
 Jake Miller
10 min read
Jake Miller
10 min read
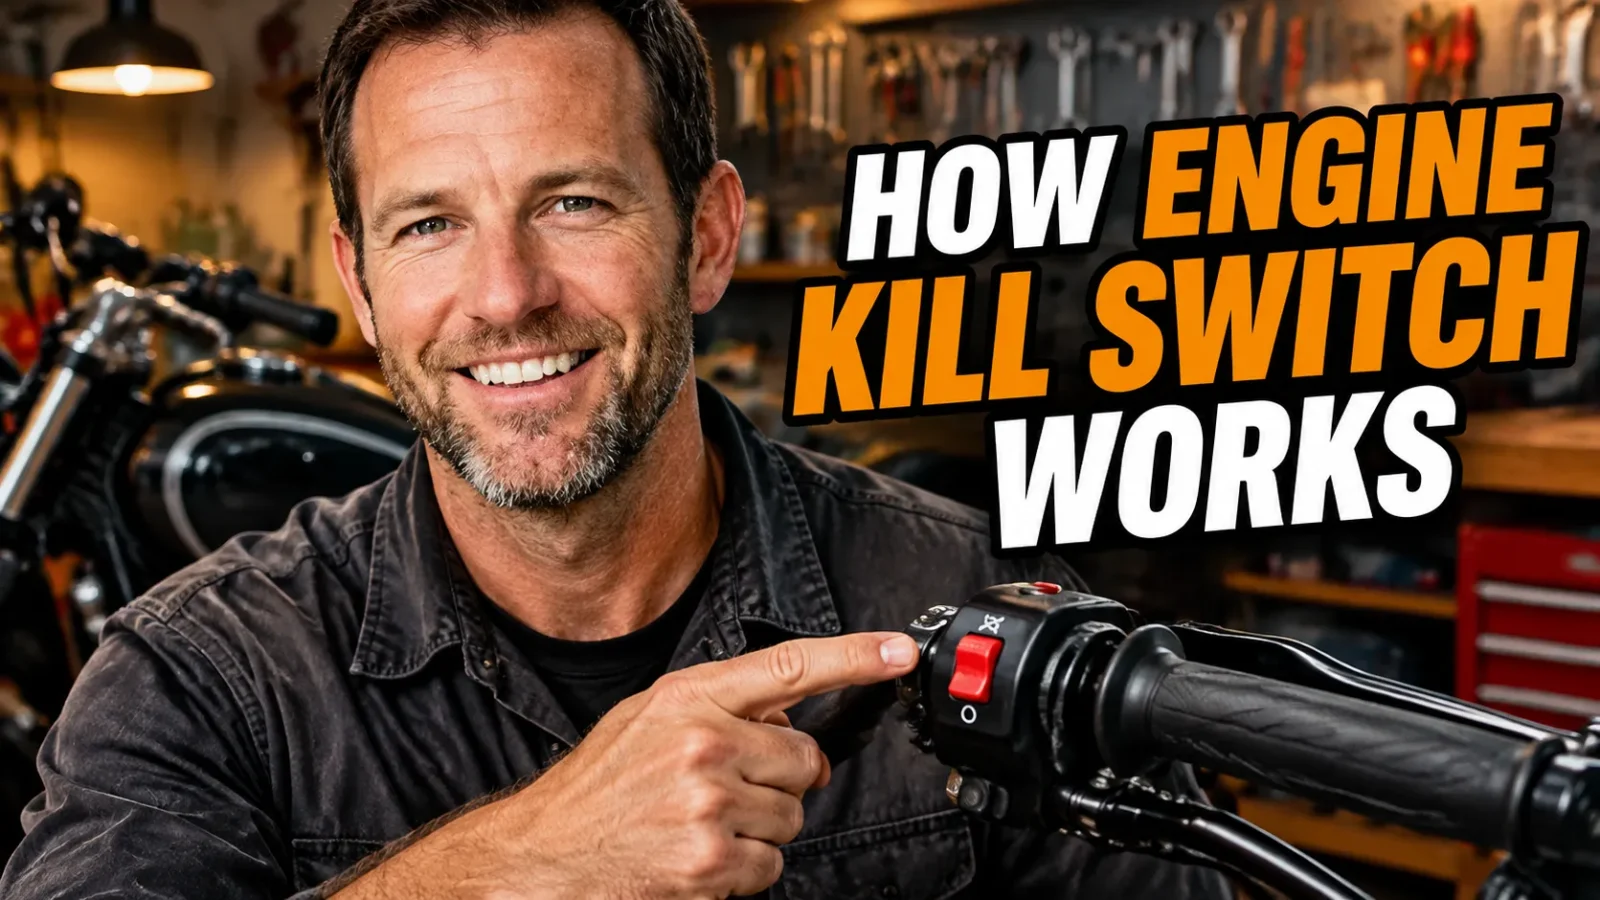
I still remember the first time I flipped the little red switch on my handlebar by accident and wondered why my bike suddenly refused to start. I cranked and cranked, and nothing happened. That small rocker or slider is one of the simplest parts on a motorcycle, yet it’s also one of the most misunderstood.
In this guide I’ll walk you through what that switch does inside your bike’s wiring, how it plays with the rest of the safety systems, and what I check when it misbehaves. Since the kill switch lives on the same electrical system as your battery, it also helps to understand your power source. If you want the full picture there, I recommend my what are the different types of motorcycle batteries ultimate guide.
- The kill switch is a simple on/off switch that interrupts your ignition circuit, which stops spark and shuts the engine down.
- On many bikes it also cuts power to the starter circuit, so the engine won’t crank when it’s in the OFF position.
- Sidestand, clutch, and neutral switches work alongside it as safety interlocks.
- Most “won’t start” problems I see trace back to dirty contacts, loose connectors, or a weak battery.
What That Little Red Switch Actually Does
The kill switch sits on the right handlebar, usually right next to the start button. Its job is simple: give you a fast way to stop the engine without reaching for the key. In an emergency, you can do it without taking your hand off the grip.
Most switches have two positions, often labeled RUN and OFF. Some bikes use a rocker, others a slider, and a few older models use a push-pull style. No matter the design, it’s all just a switch that opens or closes an electrical path.
It Doesn’t Touch the Fuel Directly
A lot of new riders assume the switch shuts off the fuel supply. In my experience, that’s rarely how it works. The switch interrupts the ignition side of things, so the spark disappears and combustion stops.
Fuel might still be flowing for a moment, but with no spark, the engine dies within a second or two. That is why it feels so abrupt when you hit it at speed.
Inside the Circuit: How the Magic Happens
Let’s get a little technical, but I’ll keep it friendly. The exact wiring varies from bike to bike, so always check your service manual. Still, there are a few common approaches I’ve run into over the years.
The Grounding Method
On many older and simpler bikes, the switch grounds the ignition signal. When you flip it to OFF, it connects a wire in the ignition system to the frame ground. That diverts the signal that would fire the coil, so no spark reaches the plug.
It’s an elegant design because it needs very few parts. The downside is that a bad ground connection or corroded switch can cause confusing, intermittent problems.
The Power-Interrupt Method
On many other bikes, the switch breaks the power feed to part of the ignition circuit. When it’s in RUN, current flows to the coil, CDI box, or engine control unit. When it’s in OFF, that path is open and the ignition system loses its supply.
Some systems route this through the same circuit that powers the starter relay. That is why, on those bikes, the starter button does nothing when the switch is off.
Modern ECU-Controlled Systems
Fuel-injected bikes add another layer. The kill switch often sends a signal to the engine control unit rather than directly cutting current to the coil. The ECU then stops the ignition and shuts down the fuel injectors and fuel pump.
That is a smarter approach because the whole system shuts down in an orderly way. It also means a faulty switch can trigger fault logic that is harder to diagnose without a meter.
A Quick Note on Variations
Some bikes combine the kill switch and start button into one housing. Others run the kill switch in parallel with additional safety switches. I always recommend finding the wiring diagram for your exact model before pulling anything apart.
Kill Switch vs. Ignition Key: Same Result, Different Job
I get asked all the time whether the kill switch replaces the key. It doesn’t. The key controls the main power to the bike, including lights, instruments, and the ignition system.
The kill switch is a secondary, fast-access cutoff for the engine. After using it, I always turn the key off too. Otherwise the ignition stays powered, and that can slowly drain the battery.
If you tend to leave your bike sitting for long periods, a quick look at how does a battery tender work is worth your time. A tender keeps the battery topped up so small drains don’t leave you stranded.
The Safety Interlocks That Work Alongside It
The kill switch isn’t the only thing standing between you and an unexpected engine start. Modern bikes pile on several additional switches. Together, they form what mechanics call the safety interlock system.
The Sidestand Switch
This switch detects whether the sidestand is down. If you try to ride off with it extended, the engine cuts out. I’ve had this save me from a nasty low-speed tip-over more than once.
The Clutch Switch
Many bikes require you to pull in the clutch lever before the starter will engage. That prevents the bike from lurching forward if it’s accidentally left in gear. The switch is tiny, but it matters.
The Neutral Switch
When the transmission is in neutral, the neutral switch completes a circuit that lights the green neutral indicator. It also tells the system that starting is safe. If it fails, you may get a bike that refuses to start in neutral, or one that starts in gear.
How They Fit Together
Think of these switches as a series of gates. The engine will only start or keep running if each gate is open. A single bad switch can block the whole chain, which is why troubleshooting needs patience.
Why Your Bike Cranks (or Doesn’t) When the Switch Is Involved
Here’s where the practical stuff comes in. If your bike won’t start, the kill switch is one of the first things I check because it’s cheap and quick to test.
Symptom 1: Nothing Happens When You Press Start
First, confirm the switch is in RUN. I know it sounds silly, but I’ve done this to myself more than once. If it is, cycle the switch back and forth a few times to scrub the contacts.
Next, check the battery. A dead battery can look like a switch problem, since the starter won’t engage either way. If you’re unsure about your battery’s capacity, my article on how many amps is a motorcycle battery helps you understand what your bike should be pulling.
Symptom 2: The Engine Cranks but Won’t Fire
If the starter spins but the engine never catches, the ignition side may be disabled. A stuck or corroded kill switch could be grounding your spark. A quick continuity check with a multimeter will tell you whether the switch is behaving.
Symptom 3: The Engine Cuts Out Randomly
This one drives riders crazy. A loose connector or worn switch can open the circuit when you hit a bump. I’ve found vibration to be the culprit more often than not.
My Basic Test Procedure
- Turn the key on and confirm the dash lights up.
- Flip the kill switch to RUN and press the start button.
- If nothing happens, inspect the handlebar switch housing for dirt, moisture, or broken wires.
- Spray the contacts with electrical contact cleaner and work the switch repeatedly.
- Use a multimeter on continuity mode to confirm the switch opens and closes properly.
Always disconnect the battery’s negative terminal before touching any wiring. It takes a minute and prevents shorts that can fry expensive components.
The Battery Connection You Shouldn’t Ignore
Here’s something I’ve learned the hard way: weak batteries mimic switch failures. A bike with low voltage can act strangely, with a dim dash, a clicking relay, or a starter that barely turns. You might blame the kill switch when the real problem is power.
If your battery has gone flat, you’ve got options. When I have access to a proper charger, I rely on slow charging. For example, knowing how long to charge motorcycle battery at 2 amps takes the guesswork out of the process.
And if you’re stuck without gear, there are emergency methods. I’ve covered how to charge a motorcycle battery without a charger, though I treat those as last-resort fixes rather than regular habits.
When Other Electrical Gremlins Confuse the Picture
Electrical faults love to overlap. A loose ground or corroded connector near the handlebar can affect several systems at once. I’ve seen a bad switch housing cause flickering lights and weird dash behavior in the same ride.
If your instrument cluster is acting up as well, that’s a clue that you may have a broader wiring issue. My walkthrough on how to fix motorcycle speedometer covers some of the same inspection steps, like checking grounds and connectors.
Look for the Pattern
When two or more electrical components fail together, I stop treating them as separate problems. Instead, I trace the shared connection, which is usually a ground point, a fuse, or a connector under the tank or headlight.
When You Should (and Shouldn’t) Use It
The kill switch is built for emergencies. If your throttle sticks open, if you drop the bike, or if you need to stop the engine immediately, that is exactly what it’s for.
For ordinary riding, I prefer the key. Using the kill switch every time works fine, but it can leave the ignition powered if you forget to turn the key off. That is a recipe for a dead battery the next morning.
Practice Makes It Instinctive
I make a habit of locating the switch with my thumb every time I get on the bike. In a real emergency, you won’t have time to look for it. Muscle memory is what saves you.
Keeping Your Kill Switch Healthy
Good news: this component asks for very little. A few simple habits go a long way, especially if you ride in wet or dusty conditions.
- Clean the contacts occasionally with electrical contact cleaner.
- Inspect the wiring for chafing where it passes the steering head.
- Apply dielectric grease to connectors to fend off moisture.
- Replace the switch housing if the plastic is cracked or the action feels gritty.
Pressure washing near the handlebars is a common cause of switch failures, so I go easy there. Water that finds its way inside can cause corrosion that shows up weeks later.
Final Thoughts From the Saddle
The engine kill switch may be small, but it’s a clever piece of design. It interrupts your ignition circuit, often works hand in hand with the starter circuit, and teams up with other safety switches to keep you out of trouble.
Once you understand the basics, troubleshooting becomes much less intimidating. Start with the simple checks, keep your battery healthy, and don’t ignore intermittent electrical quirks. Your future self, stuck on a roadside with a cranky bike, will thank you.
Frequently Asked Questions
Does the engine kill switch drain my motorcycle battery?
Not by itself. The switch only opens or closes a circuit, so it draws no power. A corroded or shorted switch can cause odd electrical behavior, though, so keep it clean and check your battery health if the bike acts strangely.
Why does my motorcycle crank but not start with the kill switch on RUN?
Common causes include a dirty or failing kill switch, a tripped sidestand or clutch safety switch, a weak battery, or a fuel or spark problem. Start by cycling the switch several times and checking its wiring for corrosion.
Can I use the kill switch to turn off my bike instead of the key?
Yes, in an emergency or at a stop, it will shut down the engine. For normal parking, turn the ignition key off as well so the rest of the electrical system is not left powered.
Is it bad to use the kill switch while riding?
It is designed for emergencies and will stop the engine immediately. Use it only when you need to, such as a stuck throttle or a crash, and be ready to pull in the clutch and brake safely.

Related Articles

How to Fix a Short Circuit on a Motorcycle: A Rider’s Step-by-Step Guide
Learn how to find and repair a motorcycle short circuit step by step, from blown fuses to chafed wires, with…
Jake Miller
11 min read

What Does a CDI Unit Do on a Motorcycle? Purpose, Symptoms and Fixes
Wondering what a CDI does on your bike? I explain how the capacitor discharge ignition works, signs of failure, testing…
Jake Miller
10 min read

How to Test a 6 Volt Motorcycle Battery and Charging System (Step-by-Step)
Learn how to test a 6 volt motorcycle battery and charging system step by step, with multimeter readings, load tests,…
Jake Miller
10 min read