
How to Replace a Motorcycle Ignition Coil: A Rider’s Step-by-Step DIY Guide
 Jake Miller
11 min read
Jake Miller
11 min read
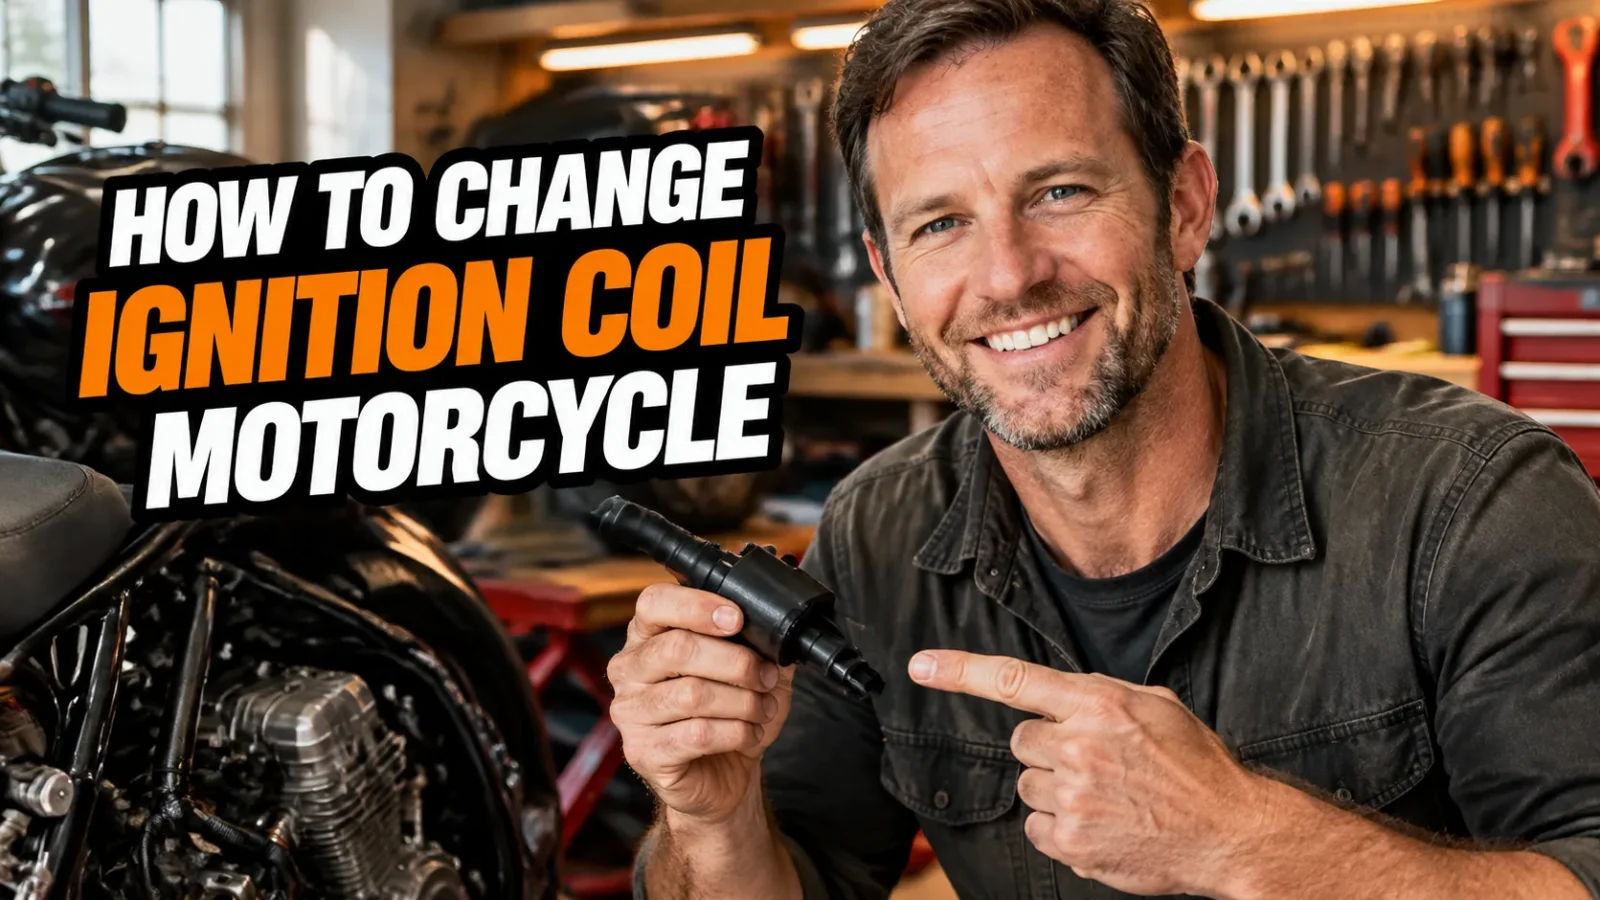
There is a specific kind of silence that every rider dreads: the starter spins, the engine coughs, and nothing catches. When I first chased a stubborn misfire on my own bike, I replaced the plugs, cleaned the injectors, and even doubted my fuel. The culprit turned out to be a tired ignition coil that cost less than a tank of premium gas.
Replacing a coil is one of the most satisfying fixes in motorcycle maintenance. It is quick, cheap, and teaches you a lot about how your bike’s electrical system fits together. If you are also sorting out power delivery problems, my what are the different types of motorcycle batteries ultimate guide is a great companion read, because a weak battery can mimic a bad coil.
In this guide I will walk you through exactly how I diagnose, remove, and install a new coil, with the mistakes I have made along the way so you can skip them.
- Test the coil with a multimeter before buying a replacement, since misfires have many causes.
- Disconnect the battery, label every connector, and note how the wiring is routed before you remove anything.
- The swap itself takes 30 to 60 minutes with basic hand tools on most bikes.
- Buy a quality coil that matches your bike’s specs, and replace worn plug caps and plugs at the same time.
Why I Check the Coil Before Anything Else
The ignition coil is a small transformer. It takes the low voltage from your battery and charging system and steps it up to the tens of thousands of volts needed to jump the spark plug gap. If you want the full picture, I explain the theory in my piece on how does a motorcycle ignition coil work.
Because the coil sits near a hot engine and endures constant vibration, it is a wear item. Heat cycles slowly break down the internal windings and insulation. That is why a coil can work fine for years and then fail on the hottest day of summer.
Symptoms That Point to a Failing Coil
Here are the signs I look for before I even open a toolbox:
- Misfiring under load, especially climbing hills or passing
- Hard starting when the engine is hot, but easier when cold
- Rough or unstable idle
- Sudden loss of power or a cylinder that seems to go dead
- Backfiring through the exhaust or a strong smell of unburned fuel
- Poor fuel economy that appears without any other change
None of these prove the coil is guilty on their own. A fouled plug, a cracked plug cap, or a dying battery can cause nearly identical behavior. That is why testing comes first.
How Long Should a Coil Last?
Most coils last many years, but there is no fixed expiration date. Heat, moisture, and voltage spikes all play a role. I dug into the details in my article on how long do motorcycle ignition coils last, and the short version is that age and mileage matter less than how the bike has been treated.
Tools and Parts I Gather First
Nothing slows a job down like hunting for a socket halfway through. I lay everything out on a towel before I start.
Tools
- Socket set and ratchet, plus extensions
- Screwdrivers (Phillips and flathead)
- Digital multimeter
- Torque wrench
- Spark plug socket
- Dielectric grease
- Zip ties, masking tape, and a marker for labeling
- Your bike’s service manual
- Nitrile gloves and a flashlight or headlamp
Parts
You need a replacement coil that matches your exact make, model, and year. I strongly recommend choosing a reputable brand rather than the cheapest listing you find. If you want help narrowing options, check my rundown of the best ignition coil for motorcycle picks.
While you are in there, consider fresh spark plugs and a new plug cap if the old one looks cracked or corroded. A new coil feeding a worn plug is a waste of money.
Step One: Confirm the Diagnosis
I never swap parts on a hunch. A multimeter turns guessing into knowing, and it takes about ten minutes.
Check the Battery First
A weak battery can cause weak spark and hard starting. With the bike off, I measure battery voltage, and a healthy, fully charged battery should read around 12.6 volts. If you are curious about electrical load and capacity, I covered how many amps is a motorcycle battery in a separate guide.
Test Primary and Secondary Resistance
Your service manual lists the correct resistance values for your coil, and those numbers are the only ones that matter. As a general ballpark, primary resistance is usually low, often a few ohms or less, while secondary resistance is much higher, often in the thousands of ohms.
Here is my routine:
- Turn the ignition off and disconnect the battery.
- Unplug the coil’s electrical connector.
- Set the multimeter to ohms and measure across the primary terminals.
- Measure the secondary resistance between a primary terminal and the spark plug lead or cap, as the manual directs.
- Compare every reading to spec.
If a reading is open, wildly high, or near zero, the coil has failed. If it reads in spec but the symptoms persist, the coil may still break down only when hot, so I also inspect it visually for cracks, burn marks, or swelling.
Step Two: Prepare the Bike Safely
Safety first, always. I park on level ground, put the bike on its stand, and let the engine cool completely. A hot exhaust and a cramped workspace are a recipe for burns.
Then I disconnect the negative battery terminal. This protects the electronics and prevents accidental shorts or a surprise spark while my hands are near wiring.
Gain Access to the Coil
Where the coil lives depends on the bike. On many standard and cruiser models it is under the tank or beside the frame. On sport bikes with coil-on-plug designs, it sits directly on top of the spark plug, sometimes beneath the airbox or fairing.
Typical items I have to move out of the way include:
- Seat and side panels
- Fuel tank (lifted or removed, depending on the bike)
- Airbox or intake ducting
- Fairing sections
If the tank needs to come off, I relieve any fuel pressure per the manual and keep rags nearby. I also take photos at every stage. Photos are the cheapest insurance you will ever buy for reassembly.
Step Three: Remove the Old Coil
This is where patience pays off. Old plastic connectors get brittle, and rushing is how tabs snap.
Label Everything
Before I unplug anything, I label each connector with masking tape, especially on multi-cylinder bikes with several nearly identical coils. I mark cylinder numbers on both the wiring and the coil. Mixing them up can cause rough running or no start.
Disconnect and Unbolt
Here is how I proceed:
- Release the electrical connector by pressing the locking tab, not by yanking the wires.
- On a coil-on-plug setup, pull the coil straight up off the plug. On a remote coil, disconnect the high-tension lead from the spark plug cap.
- Remove the mounting bolts or screws, keeping them in a labeled tray.
- Lift the coil out and note exactly how any ground wires or brackets were attached.
If the coil is stuck, a gentle twist while pulling usually frees it. Never pry against the spark plug well or the engine casing.
Step Four: Inspect Before Installing
I always take a minute to look at what is around the old coil, because the cause of failure is sometimes right there. Moisture in the plug well, oil leaking from a valve cover gasket, or a loose ground can all kill a coil early.
I check these points:
- Spark plug condition and gap
- Plug cap for cracks, corrosion, or looseness
- Wiring harness for chafing, melted insulation, or green corrosion on the terminals
- The mounting point for a solid ground connection
If the plug well is oily or wet, fix that first. A brand-new coil will not survive long swimming in oil.
Step Five: Install the New Coil
Installation is the reverse of removal, but a few details separate a clean job from a callback. I compare the new coil to the old one side by side to make sure the connectors, mounting holes, and lead lengths match.
My Installation Routine
- Apply a thin layer of dielectric grease inside the boot or plug cap and on the connector seals. This keeps moisture out and makes future removal easier.
- Seat the coil onto the plug or route the high-tension lead exactly as it was.
- Fit the mounting bolts and tighten them to the torque listed in the service manual.
- Reconnect the electrical connector until you hear or feel the lock click.
- Secure the wiring with zip ties where the factory had them, away from heat and moving parts.
Do not overtighten the bolts. Many coil housings are plastic or thin aluminum, and cracking one defeats the whole point of the repair.
Step Six: Reassemble and Test
I put the airbox, tank, and bodywork back in reverse order, using my photos as a guide. Then I reconnect the battery, positive first and negative last.
Before I fire it up, I double-check that every connector is seated and that no tools are left near the engine. Then I turn the key, start the bike, and listen.
What a Good Result Sounds Like
The engine should catch quickly and settle into a smooth, steady idle. I rev it gently and watch for hesitation, then take a short test ride to confirm the misfire is gone under load.
If the engine runs rough, I shut it off and recheck the connectors and cylinder labeling. In my experience, a missed click on a connector is the most common reason a fresh install acts up.
Mistakes I See Riders Make
I have made a few of these myself, so there is no judgment here. Learning from them saves time and money.
- Skipping the diagnosis. Replacing parts without testing can cost you a coil you did not need.
- Buying the cheapest part. Poor-quality coils can fail early or deliver weak spark.
- Forgetting the battery disconnect. It only takes one accidental short to cause real damage.
- Ignoring the plug cap and plugs. Worn partners put extra strain on a new coil.
- Mixing up cylinders. Label first, unplug second.
Other Electrical Gremlins to Rule Out
If the new coil does not cure your issue, do not despair. Electrical faults often travel in groups, and a flaky ground or failing stator can cause several symptoms at once.
When my dash started behaving oddly alongside an ignition issue, I traced it back to a bad connection in the harness. If you are chasing similar quirks, my walkthrough on how to fix motorcycle speedometer problems covers some of the same wiring and sensor checks that can help you here.
When I Call a Professional
I am a big believer in DIY, but I also know my limits. If the coil tests good, the plugs are fresh, the battery is healthy, and the bike still misfires, the fault may lie deeper. That could mean a failing ignition control module, a pickup sensor, or a wiring problem that needs specialized tools.
A good shop can scope the signal and find it quickly. There is no shame in handing over the keys when the trail goes cold.
Keeping Your New Coil Healthy
A little maintenance goes a long way. I keep my bike’s electrical system happy with a few simple habits.
- Replace spark plugs on schedule and check the gap
- Keep the battery charged and terminals clean
- Fix oil or coolant leaks near the plug wells promptly
- Use dielectric grease on connectors when you have them apart
- Avoid pressure washing around the coils and wiring
These habits cost almost nothing, and they protect the parts that keep your engine firing cleanly mile after mile.
Final Thoughts From My Garage
Swapping an ignition coil is one of the most rewarding repairs you can tackle with a modest set of tools. It builds confidence, saves real money, and often brings a sluggish bike back to life in under an hour.
Take your time, test before you buy, label everything, and trust your service manual. Do that, and you will be back on the road with a crisp, reliable spark. Ride safe, and happy wrenching.
Frequently Asked Questions
How do I know if my motorcycle ignition coil is bad?
Common signs include engine misfires, hard starting, rough idle, poor acceleration, backfiring, and a sudden loss of power. A multimeter test of the primary and secondary resistance against your service manual specs will confirm it.
Can I replace a motorcycle ignition coil myself?
Yes. On most bikes it is a beginner-friendly job that takes 30 to 60 minutes and needs only basic hand tools. Always disconnect the battery first and follow your service manual for torque and routing details.
Should I replace ignition coils in pairs?
On multi-cylinder bikes it is often smart to replace coils as a set or at least inspect all of them, since they have seen the same heat and mileage. If only one has failed and the others test fine, replacing just one is acceptable.
How long does a motorcycle ignition coil replacement take?
Most riders finish in 30 to 60 minutes on a single-cylinder or easy-access twin. Bikes with fairings, airboxes, or tanks sitting over the coils can take 1 to 2 hours.

Related Articles

How to Fix a Short Circuit on a Motorcycle: A Rider’s Step-by-Step Guide
Learn how to find and repair a motorcycle short circuit step by step, from blown fuses to chafed wires, with…
Jake Miller
11 min read

What Does a CDI Unit Do on a Motorcycle? Purpose, Symptoms and Fixes
Wondering what a CDI does on your bike? I explain how the capacitor discharge ignition works, signs of failure, testing…
Jake Miller
10 min read

How to Test a 6 Volt Motorcycle Battery and Charging System (Step-by-Step)
Learn how to test a 6 volt motorcycle battery and charging system step by step, with multimeter readings, load tests,…
Jake Miller
10 min read