
10 Best Paints for Motorcycle Fairings: My Real-World Picks After Years of Resprays
 Jake Miller
10 min read
Jake Miller
10 min read
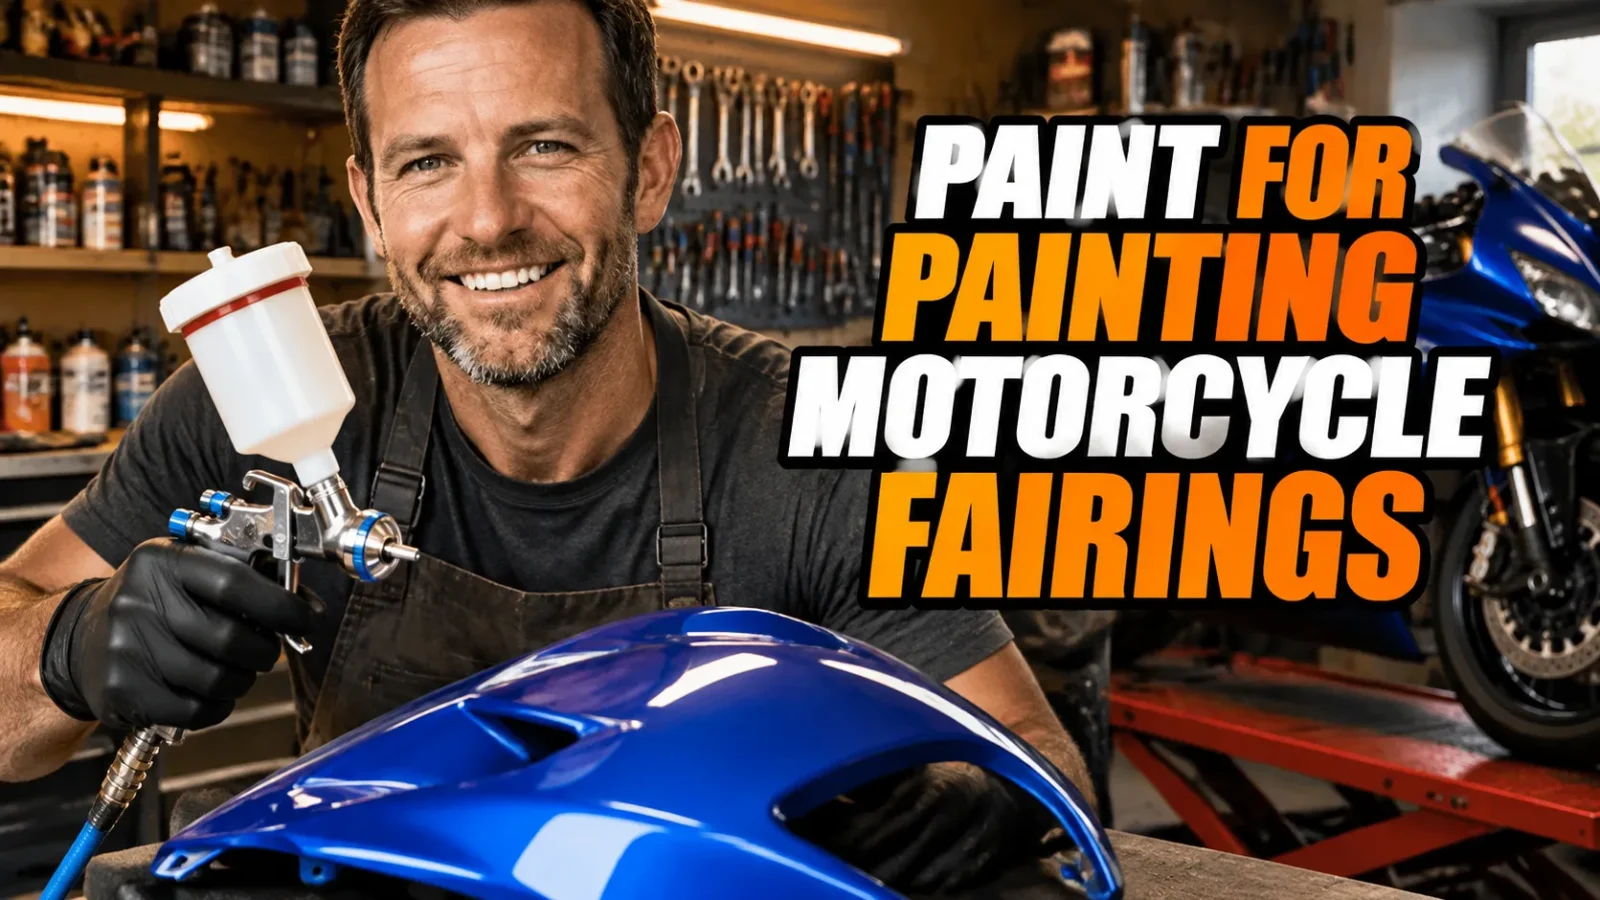
Why I Care About Fairing Paint More Than Most
I’ve been wrenching on and repainting motorcycles for over fifteen years now, and I can tell you that fairing paint is one of those jobs where the product you choose matters way more than people expect. I’ve watched cheap paint fail within a single summer and I’ve seen a properly prepped 2K job look factory-fresh five years later.
Fairings are flexible, they live in the sun, they get hit by bugs, road grit, and the occasional parking lot tip-over. Not every paint can handle that. That’s exactly why I put together this list of the paints I actually trust on fairings.
Before I dive in, one quick note: if you’re also refreshing engine components while you’re at it, I’ve covered that separately. I always tell people to start with proper prep and reference this what are the different types of motorcycle batteries ultimate guide when planning a full refresh, because power and paint jobs often go hand in hand on a rebuild.
- My overall pick for durability is SprayMax 2K Urethane — it cures chemically and rivals gun-applied paint.
- For budget-friendly DIY jobs, Dupli-Color Perfect Match is the easiest color-matching option.
- Always use a flexible adhesion promoter and primer on plastic fairings — the prep matters more than the paint brand.
- For a factory-level finish, nothing beats a PPG Deltron DBC base coat with urethane clear sprayed from a gun.
1. SprayMax 2K Urethane Aerosol — My Overall Pick for Fairings
If you’ve ever wished a rattle can could behave like a real spray gun, SprayMax 2K is the answer. It’s a two-component urethane in an aerosol can — you press a button on the bottom to break the internal seal and activate the hardener, then you have roughly 48 hours to use it.
In my experience, this stuff cures harder and glossier than any single-stage rattle can paint I’ve tried. It resists fuel spills, UV fading, and the flexing that fairings go through far better than acrylic lacquer.
Real-World Specs
SprayMax 2K comes in a range of colors plus a 2K Clearcoat that’s arguably the star of the line. A single can runs about $25–$35, and I usually buy two or three cans for a full fairing respray. The clear lays down wet and self-levels beautifully.
The downsides? The smell is serious, and it contains isocyanates, so you absolutely need a respirator. I never spray this stuff without a proper 3M organic vapor mask.
2. Dupli-Color Perfect Match — Best for OEM Color Matching
When I repainted the fairing on my old Yamaha, Dupli-Color Perfect Match was the only thing that got me close to the factory color without a custom mix. This is an acrylic lacquer specifically formulated for automotive and powersports touch-ups, and they offer factory-matched colors for most major motorcycle brands.
It’s not as durable as 2K urethane, so I always top it with a good clear coat. But for smaller fairing repairs or matching an existing panel color, nothing in the DIY world is easier.
Where It Shines and Where It Doesn’t
I recommend Dupli-Color for spot repairs, small fairing pieces, and color touch-ups. It dries fast and is forgiving to apply. For a full fairing set on a bike that lives outside, though, I’d step up to a urethane system.
A can costs around $10–$15, which makes it the most budget-friendly option on this list. If you’re also freshening other parts of the bike, I’ve written about the best black engine paint for motorcycle jobs separately, and that pairs nicely with a fairing refresh.
3. PPG Deltron DBC Base Coat — The Pro Standard
This is what body shops use, and there’s a reason. PPG Deltron DBC is a high-performance base coat that delivers exceptional depth of color and metallic flake orientation. If you’re spraying with a gun and want a show-quality fairing, this is the reference point.
I’ve sprayed DBC on two fairing sets, and both times the finish looked better than factory. The coverage is excellent, and it blends seamlessly when you need to do spot repairs.
What You Need to Know
This is not a rattle can product — you need a compressor, HVLP gun, and proper mixing ratios. A quart of base coat typically runs $60–$120 depending on the color, and you’ll still need a separate urethane clear. It’s an investment, but for a bike you’ll keep for years, it pays off.
4. Eastwood 2K AeroSpray — Best for Home Spray Gun Users
Eastwood is another name I trust, and their 2K AeroSpray line is a great middle ground. It’s a catalyzed urethane aerosol similar in concept to SprayMax but with a slightly different formula and a wider color selection in some lines.
What I like about Eastwood is their system approach — they sell matching primers, sealers, and clears so you don’t have to guess about compatibility. For someone doing their first serious fairing respray, that guidance is worth a lot.
Coverage and Price
Cans run about $28–$40 each, and the clear is excellent. I’ve used Eastwood 2K clear over Dupli-Color base with great results, which shows how flexible it is. Just remember your respirator — same isocyanate warning applies.
5. SEM Color Coat — Best for Flexible Plastic Fairings
Here’s the thing about fairings: most are ABS plastic, and ABS flexes. SEM Color Coat is designed specifically for flexible substrates like plastic and vinyl, so it moves with the panel instead of cracking.
I use SEM primarily on fairings that see a lot of vibration or flex — like dirt bike plastics or aftermarket fiberglass-adjacent panels. It’s a flexible coating that stays put.
Application Notes
You’ll want SEM’s adhesion promoter first, then the Color Coat, then a flexible clear. A can is around $15–$20, and it comes in a modest range of colors. It’s not a color-match product, so it’s best for custom schemes or blacked-out builds.
While you’re in the booth, don’t forget the rest of the bike. I’ve covered the best paint for aluminum motorcycle engine applications, and matching those surfaces to your new fairing color makes a huge visual difference.
6. Krylon Fusion All-In-One — Best Budget All-Rounder
I know some purists will roll their eyes, but Krylon Fusion has saved my bacon on more than one quick flip build. It’s a paint-and-primer in one that bonds to plastic without a separate adhesion promoter, which is a huge time saver.
For a beater bike or a track-day fairing you expect to scrape up anyway, Fusion is genuinely good enough. It dries fast, has decent UV resistance, and costs about $7–$10 a can.
Honest Limitations
It’s a single-stage acrylic enamel, so it won’t have the gloss or chemical resistance of a 2K. For a garage-kept bike, fine. For a daily commuter baking in the sun, I’d add a clear coat or step up.
7. Rust-Oleum Automotive Enamel — Reliable Value Pick
Rust-Oleum’s automotive enamel is another one I keep on the shelf for quick jobs. It’s a durable acrylic enamel that sprays evenly and holds up reasonably well to sun and weather.
I’ve used it on trail bike fairings and belly pans where the goal was “look decent, last a couple seasons.” It delivers that. A can runs about $8–$12.
Best Use Case
This is my pick for budget restorations and off-road plastics. It’s not going to match a factory metallic flake, but for solid colors like black, white, and red, it performs admirably. Just give it proper cure time before reassembling.
If you’re doing a full restoration, keep in mind other painted parts need different products — I’ve written about the best paint for motorcycle radiators and the best paint for motorcycle engine case as separate jobs, since those substrates have totally different heat requirements.
8. House of Kolor Kosmic Kolor — Best for Custom Show Finishes
If you’re chasing a head-turning custom fairing, House of Kolor is the brand custom painters reach for. Kosmic Kolor is a urethane enamel system available in candy, pearl, and metal flake finishes that simply aren’t achievable with hardware-store paint.
I’ve only done one HOK job — a candy tangerine on a sportbike tail section — but the depth was unreal. It’s the closest thing to “liquid color” I’ve sprayed.
The Reality Check
This is not beginner-friendly. You need a gun, proper reducer ratios, and patience. A quart of candy base plus clear can easily run $150+. But if you want a fairing that wins shows, this is the tier to shop in.
9. Rust-Oleum Specialty Plastic Primer — The Essential Base Layer
Okay, this one is a primer rather than a topcoat, but I’m including it because no fairing paint job succeeds without the right base. Rust-Oleum Specialty Plastic Primer is a bonding primer designed to grip ABS and other plastics so your color coat actually stays put.
I’ve made the mistake of skipping primer exactly once. The paint peeled off in sheets within a month. Never again. A can is about $6–$8, and it’s the cheapest insurance you can buy for a respray.
How I Use It
Scuff the fairing with 400-grit, clean with a wax-and-grease remover, then lay down two light coats of this primer. Let it flash between coats. That’s it — now your color coat has something to grab.
10. USC SprayMax 1K Clear Coat — Best DIY Clear for the Money
Rounding out the list is a clear coat, because every fairing paint job needs one. USC SprayMax 1K Clear is the single-component version of the 2K I mentioned earlier — easier to use, no activator button, and much more forgiving for beginners.
It won’t be quite as hard or chemical-resistant as the 2K, but for a garage build it’s excellent. A can runs $15–$20, and it lays down with a nice gloss.
When to Choose 1K vs 2K
Pick 1K if you’re a beginner or doing a quick flip. Pick 2K if you want maximum durability and don’t mind the extra safety gear. I keep both on the shelf and grab whichever matches the job.
And if you’re tackling a bigger restoration, the engine exhaust is usually next on the list — I’ve detailed the best paint for motorcycle exhaust pipes in a separate guide, and that combo (fresh fairings plus a refinished exhaust) makes a huge visual upgrade.
My Final Take on Picking Fairing Paint
After all these years, my honest advice is simple: match the product to the job. A quick trail-bike respray doesn’t need PPG Deltron, and a show bike shouldn’t be sprayed with bargain enamel.
For most riders, I’d point to SprayMax 2K Urethane as the sweet spot — it’s durable, DIY-friendly, and gives a finish that genuinely looks professional. If budget or simplicity is your priority, Dupli-Color Perfect Match is the runner-up.
Whatever you choose, don’t skip the prep. Adhesion promoter, flexible primer, and a proper clear coat are what separate a paint job that lasts from one that peels. Take your time, wear your respirator, and you’ll end up with fairings you’re proud to show off.
Frequently Asked Questions
What type of paint is best for motorcycle fairings?
For plastic fairings, a 2K urethane (acrylic urethane) system with an adhesion promoter is the gold standard for durability and gloss. For DIY-friendly jobs, SprayMax 2K rattle cans or Dupli-Color’s flexible acrylic lacquer are excellent choices.
Do I need a primer before painting motorcycle fairings?
Yes. Use a flexible primer made for plastics, and apply an adhesion promoter first on bare ABS. Skipping this step is the number one cause of peeling and cracking paint on fairings.
How much paint do I need to respray a full set of fairings?
A full sportbike fairing set typically needs 2 to 3 aerosol cans of color, 1 to 2 cans of primer, and 2 cans of clear coat. With a spray gun and mixed paint, plan on about 1 quart of base coat for full coverage.
Is rattle can paint good enough for motorcycle fairings?
Absolutely, if you choose the right product. A high-quality 2K aerosol like SprayMax cures chemically and rivals gun-applied paint in durability. Cheap general-purpose cans will chip and fade quickly.

Related Articles

What to Know Before Installing Fairings on Your Motorcycle: A Rider’s Honest Guide
Thinking about new fairings? I share everything I learned about fitment, materials, cost, and hidden headaches before you drop cash…
Jake Miller
7 min read

9 Motorcycles Actually Built in India I’d Buy With My Own Money
I've ridden and researched bikes built in Indian factories from Royal Enfield to Hero. Here are 9 real models, their…
Jake Miller
9 min read

7 Best Spray Paints for Motorcycle Fairings: My Honest Garage-Tested Picks
I've resprayed fairings on everything from a Ninja 250 to a Ducati Monster. Here are the 7 best spray paints…
Jake Miller
8 min read