
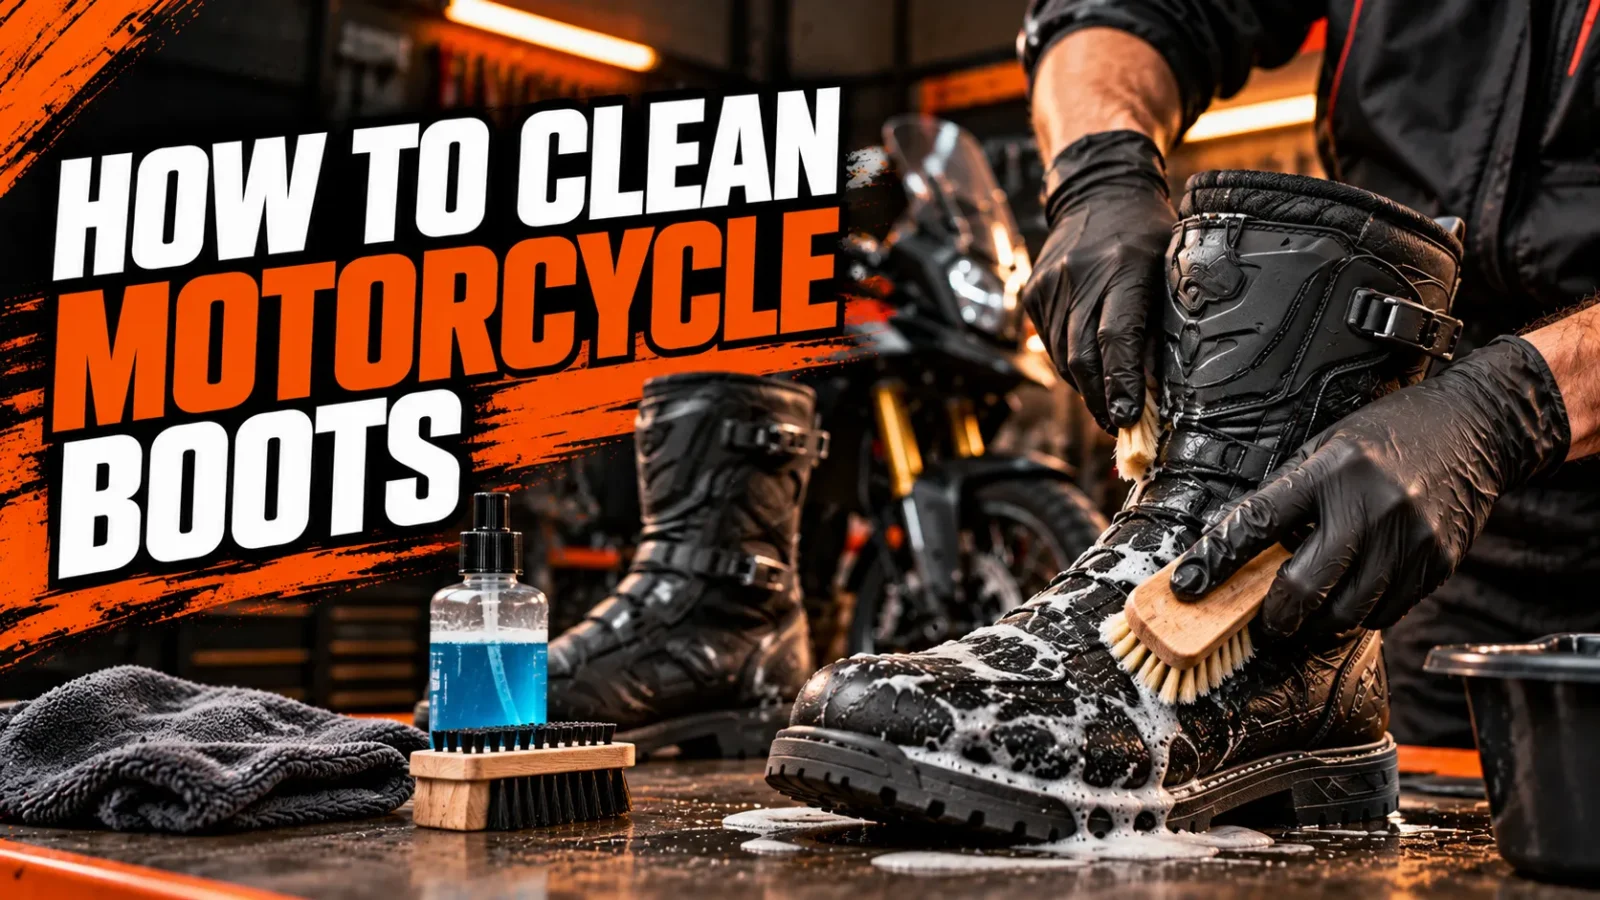
I’ll be honest with you: I used to be terrible about cleaning my motorcycle boots. I’d ride through mud, rain, and questionable puddles, then just toss them in the corner of my garage and forget about them.
That habit cost me a great pair of leather touring boots that cracked at the ankle after barely a year. Lesson learned the hard way.
Since then, I’ve become almost obsessive about boot care, and I’ve picked up a lot of tricks along the way. If you want your gear to last as long as the advice in my Ultimate Guide to Motorcycle Boots suggests it should, cleaning them properly is non-negotiable.
In this post, I’m walking you through exactly how I clean my own motorcycle boots, step by step, whether they’re leather, textile, or a hybrid material. No guesswork, no shortcuts that ruin your gear.
- Always identify your boot material first, leather, textile, and synthetic all need different care.
- Never machine wash motorcycle boots; hand cleaning protects glue, stitching, and waterproofing.
- Condition leather boots regularly to prevent cracking and extend their lifespan.
- Let boots air dry away from direct heat to avoid warping or shrinking.
- Tackle odor with baking soda, cedar inserts, and proper rotation between rides.
Why Cleaning Your Motorcycle Boots Actually Matters
I get it, cleaning boots isn’t exactly the fun part of riding. But your boots take a beating every single time you’re out on two wheels.
They’re exposed to road grime, salt, mud, gasoline splashes, and sweat. All of that builds up and slowly breaks down the materials that keep your feet protected.
Dirty boots aren’t just gross, they’re actually less safe. Grime can stiffen leather, clog ventilation in textile boots, and mask early signs of wear that you’d otherwise catch.
I also look at boot cleaning as an investment in my wallet. A good pair of motorcycle boots isn’t cheap, and proper care can easily double their usable life.
The Real Cost of Neglecting Your Boots
I’ve seen riders replace boots every season simply because they never bothered to clean or condition them. That’s money left on the table for no good reason.
Cracked leather, delaminated soles, and moldy interiors are almost always preventable. A consistent cleaning routine is genuinely the cheapest insurance policy you can buy for your gear.
Figuring Out What Your Boots Are Made Of
Before I clean any pair of boots, I always check the material first. This single step prevents most of the common mistakes people make.
Using the wrong cleaner or technique on the wrong material is how boots get ruined. I’ve made this mistake myself, so trust me on this one.
Full-Grain Leather
This is the most common material for premium motorcycle boots. It’s durable, breaks in beautifully, and looks better with age, but it needs regular conditioning to stay flexible.
Suede or Nubuck
These are leather boots with a brushed, textured finish. They’re gorgeous but a little more delicate, and they absolutely hate water and oil-based products.
Textile and Synthetic Blends
A lot of adventure and touring boots use technical fabrics mixed with synthetic overlays. These are generally easier to clean but can trap odor more than leather does.
Waterproof Membrane Boots
Many boots include a Gore-Tex or similar liner. These need gentler cleaning products so you don’t compromise the breathability and waterproofing over time.
What You’ll Need Before You Start
I like to gather everything before I even touch my boots. It makes the whole process faster and keeps me from improvising with random household cleaners.
- A soft-bristled brush (an old toothbrush works great for seams)
- Microfiber cloths or an old soft towel
- Lukewarm water
- Mild saddle soap or a dedicated leather cleaner
- Leather conditioner or mink oil (for leather boots only)
- Baking soda (for odor control)
- A shoe tree or newspaper for drying
I keep most of this stuff in a small bin in my garage. Having it all in one place means I actually clean my boots regularly instead of putting it off.
How to Clean Motorcycle Boots Step by Step
Here’s my exact process, the same one I use on my own boots every few weeks. It works whether you’re dealing with light dust or a full layer of dried mud.
Step 1: Remove Loose Dirt and Debris First
I always start dry. Using my soft brush, I knock off as much loose dirt, mud, and dust as I can before any water touches the boot.
This matters more than people think. Scrubbing wet mud into leather just grinds grit deeper into the material and can scratch the surface.
I pay extra attention to the sole treads and welt area, where debris loves to hide. A toothpick or small stick helps dig out packed mud from grooves.
Step 2: Remove Laces and Insoles
If your boots have removable laces or footbeds, take them out. It gives you way better access to clean the tongue area and lets everything dry faster afterward.
I toss my insoles aside to air out separately, since they hold most of the sweat and odor from a long ride anyway.
Step 3: Damp Wipe the Exterior
Next, I dampen a cloth with lukewarm water, not soaking wet, just slightly damp. I wipe down the entire boot to lift surface grime before applying any cleaner.
Avoid soaking your boots or submerging them in water. This is one of the fastest ways to warp shape, damage stitching, or destroy waterproof membranes.
Step 4: Apply the Right Cleaner for Your Material
This is where material knowledge from earlier actually pays off. Different boots need genuinely different products here.
For Leather Boots
I use a small amount of saddle soap or a leather-specific cleaner on my cloth. Working in small circular motions, I clean one section at a time rather than the whole boot at once.
I always test any new product on a small, hidden spot first. Some cleaners can darken leather more than expected, and I’d rather find that out somewhere inconspicuous.
For Suede or Nubuck
Water is mostly off-limits here. I use a dedicated suede brush and suede eraser to lift dirt and stains, working in one direction to keep the nap looking even.
For Textile and Synthetic Boots
A mild soap mixed with water usually does the trick. I gently scrub with my soft brush, focusing on seams and mesh panels where grime tends to collect.
Step 5: Rinse Away Residue
Using a clean, damp cloth, I wipe away any leftover soap or cleaner. Leaving residue behind can attract more dirt later and sometimes causes discoloration over time.
I go over each boot twice just to be sure, especially in the crease areas where cleaner likes to pool.
Step 6: Dry Your Boots the Right Way
This step trips up more riders than any other. Heat is the enemy of both leather and synthetic materials.
I never put my boots near a radiator, heater vent, or in direct sunlight to speed up drying. It causes cracking, shrinking, and warping that’s basically impossible to reverse.
Instead, I stuff them loosely with newspaper or use a boot shaper, then let them air dry at room temperature. I swap the newspaper out once it gets damp to keep things moving along.
Patience here really does pay off. I usually give my boots a full 24 to 48 hours before wearing them again after a deep clean.
Conditioning: The Step Most Riders Skip
If your boots are leather, cleaning alone isn’t enough. Leather needs oils replenished regularly, or it dries out and eventually cracks.
Once my boots are completely dry from cleaning, I apply a leather conditioner using a soft cloth in small, even amounts. I let it absorb for about fifteen minutes, then buff off any excess.
I do this roughly every month during regular riding season, and more often if I’m riding through a lot of rain. Your leather will actually tell you when it’s thirsty, it starts looking dull and feels stiffer to the touch.
Choosing the Right Conditioner
I stick with products designed specifically for footwear rather than general leather conditioners meant for furniture or car seats. Mink oil, beeswax-based balms, and dedicated boot creams all work well in my experience.
Avoid petroleum-based products on suede or nubuck though, they’ll flatten the texture and ruin that brushed look permanently.
Dealing With Waterproofing
Cleaning strips away some of the waterproof treatment your boots originally had, so I always reapply after a deep clean. It’s a quick step that saves me from soggy socks later.
I use a spray-on waterproofing treatment made for the specific material, leather or textile. Two light coats, letting each one dry fully, works better than one heavy application.
I do this maintenance step every few cleanings, or immediately before any trip where I know I’ll be riding in questionable weather.
Tackling Odor and Bacteria
Let’s talk about the smell nobody wants to admit their boots have. Sweat and trapped moisture create the perfect environment for odor-causing bacteria.
My go-to trick is simple: I sprinkle baking soda inside the boots and let it sit overnight, then shake it out in the morning. It absorbs moisture and neutralizes smell without any harsh chemicals.
Cedar shoe inserts are another favorite of mine. They naturally wick moisture and have a mild antimicrobial effect, plus they smell a lot better than gym socks.
Preventing Odor Before It Starts
Rotating between two pairs of boots, if you can afford it, gives each pair time to fully dry out between rides. This alone dramatically cuts down on odor buildup.
I also make a habit of removing my insoles after every ride, even short ones, just to let them air out separately from the boot itself.
Cleaning the Soles and Treads
It’s easy to forget about the bottom of your boots, but grip matters for safety, especially when you’re putting a foot down at a stop. Packed dirt in the tread reduces traction more than people realize.
I use an old screwdriver or stiff brush to clear out grooves after muddy rides. A quick rinse with a hose on just the sole (keeping water away from seams and uppers) works fine for stubborn buildup.
Checking the soles regularly also helps me catch wear patterns early, which tells me when it’s time to think about resoling instead of replacing the whole boot.
Common Mistakes I See Riders Make
After years of doing this and talking with other riders, a few mistakes come up again and again. I’ve made some of these myself, so no judgment here.
Using Household Cleaners
Dish soap, laundry detergent, and all-purpose cleaners are too harsh for leather and can strip natural oils or damage waterproof coatings. Stick with products made for footwear.
Skipping the Drying Time
Wearing boots before they’re fully dry traps moisture inside, which speeds up material breakdown and creates the perfect breeding ground for odor and mildew.
Ignoring Small Stains Until They Set
Fresh stains, whether it’s oil, mud, or road salt, come out far easier than ones that have had days to soak in. I try to address anything noticeable within 24 hours if I can.
Forgetting About Salt Damage
If you ride in winter or somewhere with salted roads, this one’s huge. Salt residue actively eats away at leather over time, so I wipe my boots down with a vinegar-water solution (about one part vinegar to two parts water) whenever I’ve ridden through salted streets.
Storing Your Boots Between Rides
How you store your boots matters almost as much as how you clean them. I keep mine upright using boot shapers so they hold their form instead of slouching over.
A cool, dry space away from direct sunlight is ideal. I avoid plastic bins for long-term storage since they trap humidity, opting instead for a breathable fabric bag or an open shelf.
If I know I won’t be riding for a while, like over a rainy off-season, I give my boots one final clean and condition before tucking them away. It’s a small habit that keeps them ready to go whenever I am.
My Honest Take on Cleaning Frequency
People ask me all the time how often they should actually be doing this. My honest answer: it depends on how and where you ride.
I do a quick wipe-down after every ride that involves rain, mud, or heavy road grime. It only takes a couple of minutes and prevents dirt from setting in.
For a full deep clean with conditioning, I aim for once every three to four weeks during regular riding season. Fair-weather riders who only go out occasionally can probably stretch that to once a month or so.
The bottom line is this: a little consistent effort beats occasional deep panic-cleaning every single time. Your boots, and your feet, will thank you for it.
Final Thoughts From My Garage to Yours
Cleaning motorcycle boots isn’t glamorous, but it’s one of those unglamorous habits that separates riders who get years out of their gear from riders who don’t. I learned that lesson the expensive way, so hopefully you don’t have to.
Grab the right tools, know your boot’s material, and be patient with drying and conditioning. That’s really the whole formula.
Take care of your boots, and they’ll take care of your feet, ride after ride after ride.
Frequently Asked Questions
Can I put motorcycle boots in the washing machine?
No, I never recommend this. Washing machines wear down glue, stitching, and structural padding, and can warp leather or ruin waterproof membranes. Stick to hand cleaning as outlined in the Ultimate Guide to Motorcycle Boots.
How often should I clean my motorcycle boots?
I give mine a quick wipe-down after every muddy or rainy ride, and a deep clean every 3-4 weeks depending on how often I’m riding. Regular maintenance beats emergency repairs.
What’s the best way to remove smell from motorcycle boots?
I swear by baking soda left overnight, cedar shoe inserts, and rotating between two pairs of socks or boots so moisture fully dries out between rides.
Is leather conditioner necessary for motorcycle boots?
Yes, especially for leather boots. Conditioner replaces natural oils lost to sun, rain, and road grime, which prevents cracking and extends the life of your boots significantly.

Related Articles

9 Best Cowboy Boots for Motorcycle Riding You Can Actually Ride and Walk In
I break down the 9 best cowboy boots for motorcycle riding, covering heel height, shifter wear, ankle support, and comfort…
 Jake Miller
11 min read
Jake Miller
11 min read

9 Best Motorcycle Boots for Hiking That Actually Work Off the Bike
I tested and researched the top hybrid motorcycle boots for hiking. Here are 9 real picks that protect on the…
Jake Miller
11 min read

9 Best Non-Motorcycle Boots for Cruisers That Still Ride Right
Not into moto-specific boots? I break down 9 real, non-motorcycle boots that hold up on cruisers—tough leather, good grip, and…
Jake Miller
13 min read