
Motorcycle Chain Keeps Getting Loose? Why It Happens and How I Finally Fixed It
 Jake Miller
10 min read
Jake Miller
10 min read
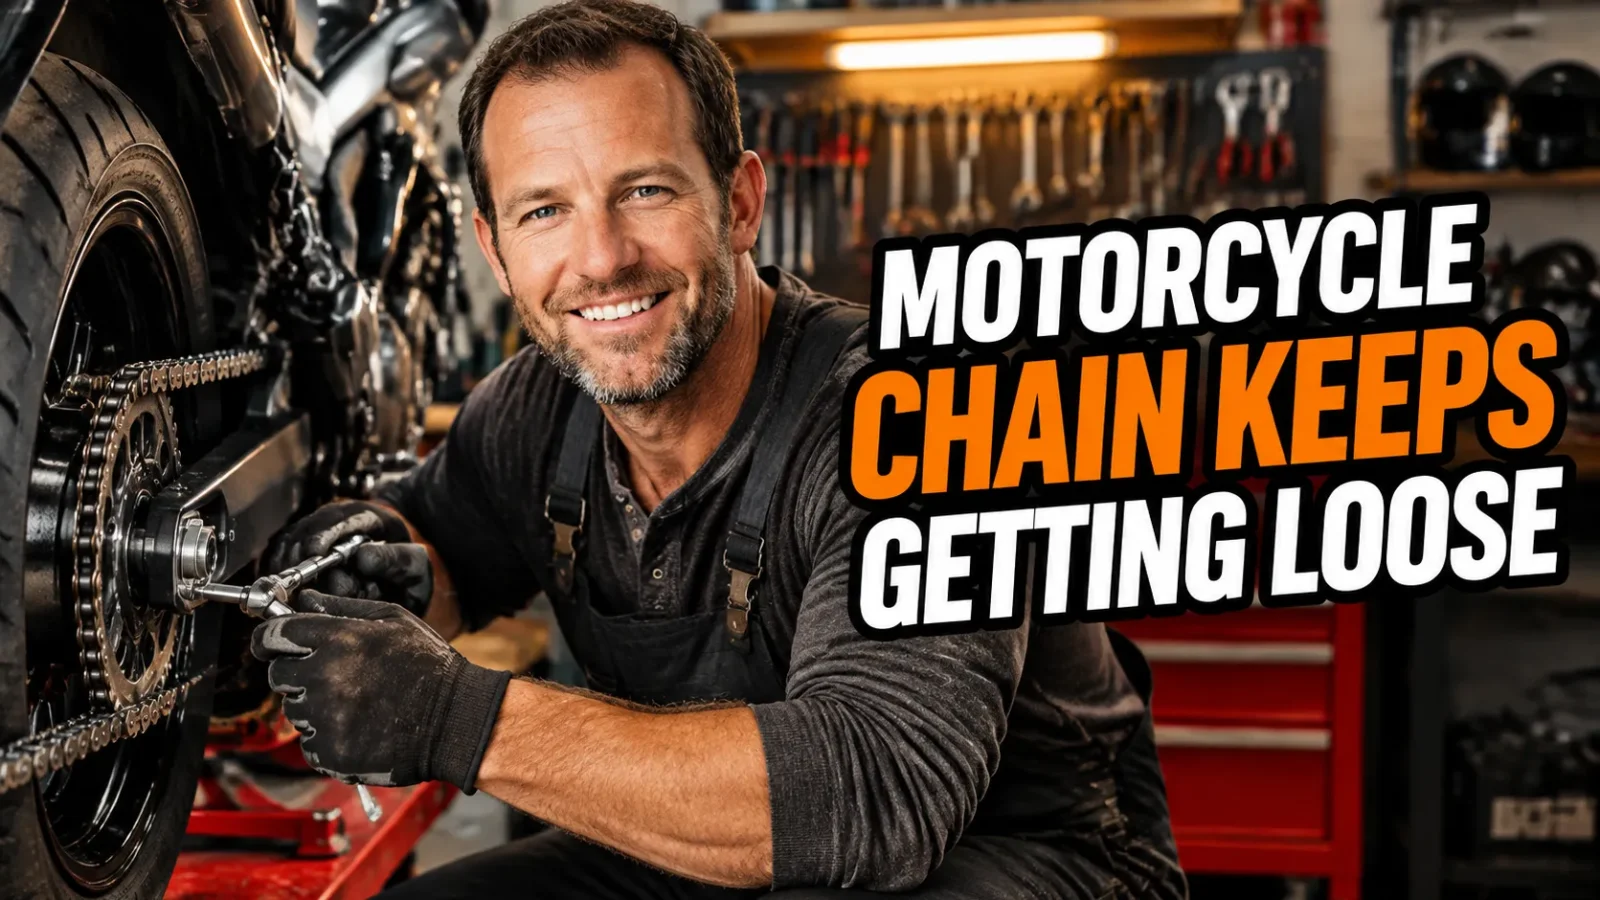
There’s a very specific kind of frustration that only a rider knows. You’re two hundred miles from home, you pull in for fuel, you glance down at your chain, and it’s hanging there like a slack clothesline. I’ve been there more times than I care to admit, and for years I assumed I was just bad at adjusting chains.
Then it finally clicked. The chain wasn’t the problem. The bike was telling me something, and I wasn’t listening. Once I understood the handful of reasons a chain refuses to stay tight, my adjustments started lasting thousands of miles instead of hundreds, and my sprockets stopped turning into shark fins.
It also changed how I think about the rest of the bike. A slapping, surging chain and a rock-hard perch are the two fastest ways to ruin a long day, which is why I’m just as picky about the Best Motorcycle Seat as I am about my chain tension. Both are comfort problems disguised as mechanical ones.
- Chains don’t actually stretch. The pins and bushings wear, and once a chain is past spec, no amount of adjusting will hold.
- Worn sprockets and a misaligned rear wheel are the two most common reasons a chain goes slack so fast.
- Over-tightening is worse than slightly loose. It destroys countershaft seals and wheel bearings.
- Always set tension at the tightest point of the chain, with the bike loaded the way you actually ride it.
- If you’re adjusting more than once every 500 miles, something else on the bike is worn out.
The Real Reasons a Chain Won’t Stay Tight
Chains Don’t Stretch. They Wear.
Everyone says a chain “stretches,” but that’s not what’s actually happening. Steel doesn’t stretch under normal motorcycle loads. What happens is that the pins and bushings inside every single link wear down, and that wear adds up across the whole chain.
The result feels identical to stretching. The chain gets longer, the pitch grows, and it no longer matches the sprocket teeth properly. That’s why a worn chain can be adjusted perfectly and still be loose a week later. You aren’t fixing anything, you’re just taking up slack that keeps coming back.
Most manufacturers consider a chain worn out somewhere around 1.5% elongation, though some allow up to 2%. On a 520 chain that’s a surprisingly tiny amount of movement. Once you cross that line, the chain is done, and no adjustment will save it.
Worn Sprockets Will Destroy a New Chain Fast
This one costs people the most money, and I learned it the expensive way. I replaced a chain and left the old rear sprocket on because it “didn’t look that bad.” Six weeks later the new chain was loose again and already showing obvious wear.
If your sprocket teeth are hooked, pointed, or worn unevenly, they will chew through a brand new chain in a fraction of the time it should last. Chains and sprockets wear into each other, so they should always be replaced as a set. It hurts the wallet once instead of three times.
Misalignment Is the Silent Killer
If your rear wheel isn’t perfectly straight, the chain runs at an angle across both sprockets. That side-loads every pin and bushing and accelerates wear dramatically. It also makes the chain run hotter, louder, and rougher.
Here’s what took me far too long to accept: the marks stamped on your swingarm adjusters are often inaccurate. Not slightly off, but meaningfully off. I stopped trusting them years ago. Now I use a string line from the front wheel or a dedicated alignment tool, and my chains last noticeably longer.
Off-Road and Dual-Sport Riding Eats Chains Alive
If you ride a dual sport, you already know the pain. Dirt, mud, sand, and water strip lubricant off the chain constantly, and hard acceleration on loose ground puts enormous loads through the pins. Chains on these bikes simply need more attention.
Riders on bikes like the KLX250 are adjusting chains almost constantly, and that’s just the nature of the machine. If you’re spending that much time in the garage and on the trail, it’s worth making the bike comfortable while you’re at it, which is why so many dual-sport owners end up looking at the best motorcycle seats for kawasaki klx250 before they upgrade anything else.
Adjustment Mistakes That Make Everything Worse
Over-Tightening Does Real Damage
This is the single most common mistake I see, and it isn’t harmless. A too-tight chain puts constant load on the countershaft bearing, the wheel bearings, and the suspension. I’ve watched countershaft seals start weeping because of nothing but a chain that was a quarter inch too tight.
Over-tightening also restricts rear suspension travel. As the swingarm compresses, the chain gets tighter. If it’s already tight at rest, something has to give when you hit a bump, and it’s usually a bearing, a seal, or your gearbox output shaft.
Most street bikes want roughly an inch to an inch and a half of slack at the loosest point. Dual sports and adventure bikes often want more. Check your manual, because guessing is how you end up buying bearings.
Setting Tension With the Bike on a Stand
Where your suspension sits changes chain tension. If you set it with the rear wheel dangling in the air, you’re setting it for a condition that never exists while riding.
The chain is tightest when the countershaft, swingarm pivot, and rear axle line up. Depending on the bike, that’s usually with the rider on board or the suspension partially compressed. I set mine on the side stand with my weight on the seat, then verify. Small change, big difference.
Ignoring the Tight Spot
Chains never wear perfectly evenly. There’s almost always one section that’s tighter than the rest, usually because of a stiff link or uneven pin wear across the links.
You have to find that spot by rotating the wheel slowly and checking tension at several points. Set the tension at the tightest point, not the loosest. If you set it at the loose spot, the tight spot ends up dangerously tight, and you’re right back to destroying bearings.
Cheap Chains and the Wrong Size
Not all chains are created equal. A bargain chain with soft pins will wear out in a few thousand miles no matter how religiously you maintain it. Match the pitch and width to what your bike calls for, and don’t drop a strength rating to save twenty dollars.
Also check your master link. A clip-style link installed backwards, or a rivet link that wasn’t peened properly, can let the chain loosen or fail entirely. I’ve seen it happen at speed, and it isn’t pretty.
How I Actually Check and Adjust My Chain
This is the routine I’ve settled into after years of trial and error. It takes about fifteen minutes, and it’s the reason my chains now hold tension for thousands of miles instead of hundreds.
- Clean it first. A dirty chain hides stiff links and makes measurements unreliable. I use kerosene and a soft brush, then wipe it dry.
- Find the tight spot. I spin the rear wheel slowly and check tension at four or five points around the chain.
- Measure slack. At the tightest spot, I measure vertical movement at the midpoint between the sprockets and compare it to the spec in my manual.
- Check elongation. I measure across a set number of links and compare to spec. If it’s past the limit, I stop and order a new chain and sprockets instead of wasting time.
- Loosen the axle nut. Just enough to let the adjusters move freely.
- Turn the adjusters evenly. I count flats or turns so both sides move identically, then double check alignment with a string line.
- Torque the axle nut. This matters more than people think. A loose axle nut lets the wheel shift, and the chain goes slack on its own.
- Re-check everything. Spin the wheel again and verify tension at the tight spot. Then lube the chain while it’s still warm from a short ride.
How Often You Should Actually Be Checking
I check tension every 500 miles, and always before a long trip. I clean and lube every 300 to 500 miles, more often if I’ve been riding in rain or dust.
If you find yourself adjusting more often than that, treat it as a symptom rather than a chore. Something is worn, misaligned, or wrong. Tightening it again is just masking the real issue and buying yourself a bigger repair bill later.
When to Stop Adjusting and Start Replacing
Replace the chain and both sprockets when the chain is past the elongation limit, when you can pull it more than half a tooth off the rear sprocket, when you find kinked or stiff links that won’t straighten, or when the sprocket teeth are visibly hooked.
On a well-maintained street bike, that’s usually somewhere between 15,000 and 30,000 miles. On a dual sport living in the dirt, it can be dramatically less. I’ve burned through a chain in under 8,000 miles of muddy trail riding, and that was with good habits.
The Comfort Side Nobody Talks About
Here’s something I’ve noticed over the years. The riders who obsess over chain maintenance usually end up obsessing over comfort too. It’s the same mindset, chasing the small things that make long rides better.
A loose chain causes surging and vibration you feel through the whole bike, and that fatigue stacks on top of whatever your seat is doing to you. If you’re shorter, getting your feet down confidently changes how you feel at every single stop, which is why a Best Motorcycle Seat for Short Riders can be as transformative as a properly tensioned chain. Taller riders have the opposite problem, and a Best Motorcycle Seat for Tall Riders gives you the legroom to actually use all those miles you’re racking up.
If you’re on a belt-drive Harley, you’ll never deal with this particular headache, but you’ll still deal with the seat. The best motorcycle seat for harley touring is the touring rider’s version of this whole rabbit hole, and honestly, Best Seat for Harley Sportster owners go down the exact same path for shorter hops.
Final Thoughts
If your motorcycle chain keeps getting loose, the answer is almost never “adjust it more often.” It’s almost always worn components, bad alignment, or an adjustment performed in the wrong place or the wrong way.
Check elongation before you touch the adjusters. Replace chains and sprockets as a set. Set tension at the tightest spot with the bike loaded the way you ride it. Torque your axle nut. Do those four things and you’ll go from adjusting every few hundred miles to barely thinking about it at all.
And when you’re done in the garage, make the rest of the bike as dialed as the drivetrain. Because the best chain in the world won’t save a ride if you can’t stand to sit on the thing.
Frequently Asked Questions
Why does my motorcycle chain keep getting loose right after I adjust it?
Most likely the chain is worn past its elongation limit, or your sprockets are hooked and chewing it up. Chains don’t stretch, their pins and bushings wear down, so once a chain passes about 1.5% elongation no adjustment will hold for long.
How much slack should my motorcycle chain have?
Most street bikes want roughly 25 to 40mm (about 1 to 1.5 inches) of vertical play at the tightest point. Dual sports and adventure bikes usually want more. Always check your owner’s manual, because a too-tight chain damages bearings and seals.
Can I replace just the chain and keep my old sprockets?
I don’t recommend it. Chains and sprockets wear into each other, so a new chain on worn sprockets wears out fast. Replace them as a set and you’ll get far more life out of both.
How often should I check my chain tension?
I check mine every 500 miles and before every long trip. If you’re adjusting more often than that, something is worn or misaligned, and tightening it again just masks the real problem.

Related Articles

Loose Motorcycle Chain Symptoms: 9 Warning Signs I Learned the Hard Way
Loose motorcycle chain? I walk through the symptoms I've felt and heard, how to measure slack in 5 minutes, and…
Jake Miller
11 min read

Motorcycle Clutch Problems Symptoms: 9 Warning Signs I Wish I’d Caught Sooner
Slipping, dragging, or a mushy lever? I break down the real motorcycle clutch problems symptoms I've found on my own…
Jake Miller
10 min read

8 Best Motorcycle Chain Cleaners for X-Ring Chains That Actually Protect Your Seals
I've tested the best motorcycle chain cleaners for X-ring chains, from Motul C1 to Muc-Off Bio. Here's what actually protects…
Jake Miller
12 min read