
How to Test a Motorcycle Ignition Coil with a Multimeter (Step-by-Step Guide)
 Jake Miller
9 min read
Jake Miller
9 min read
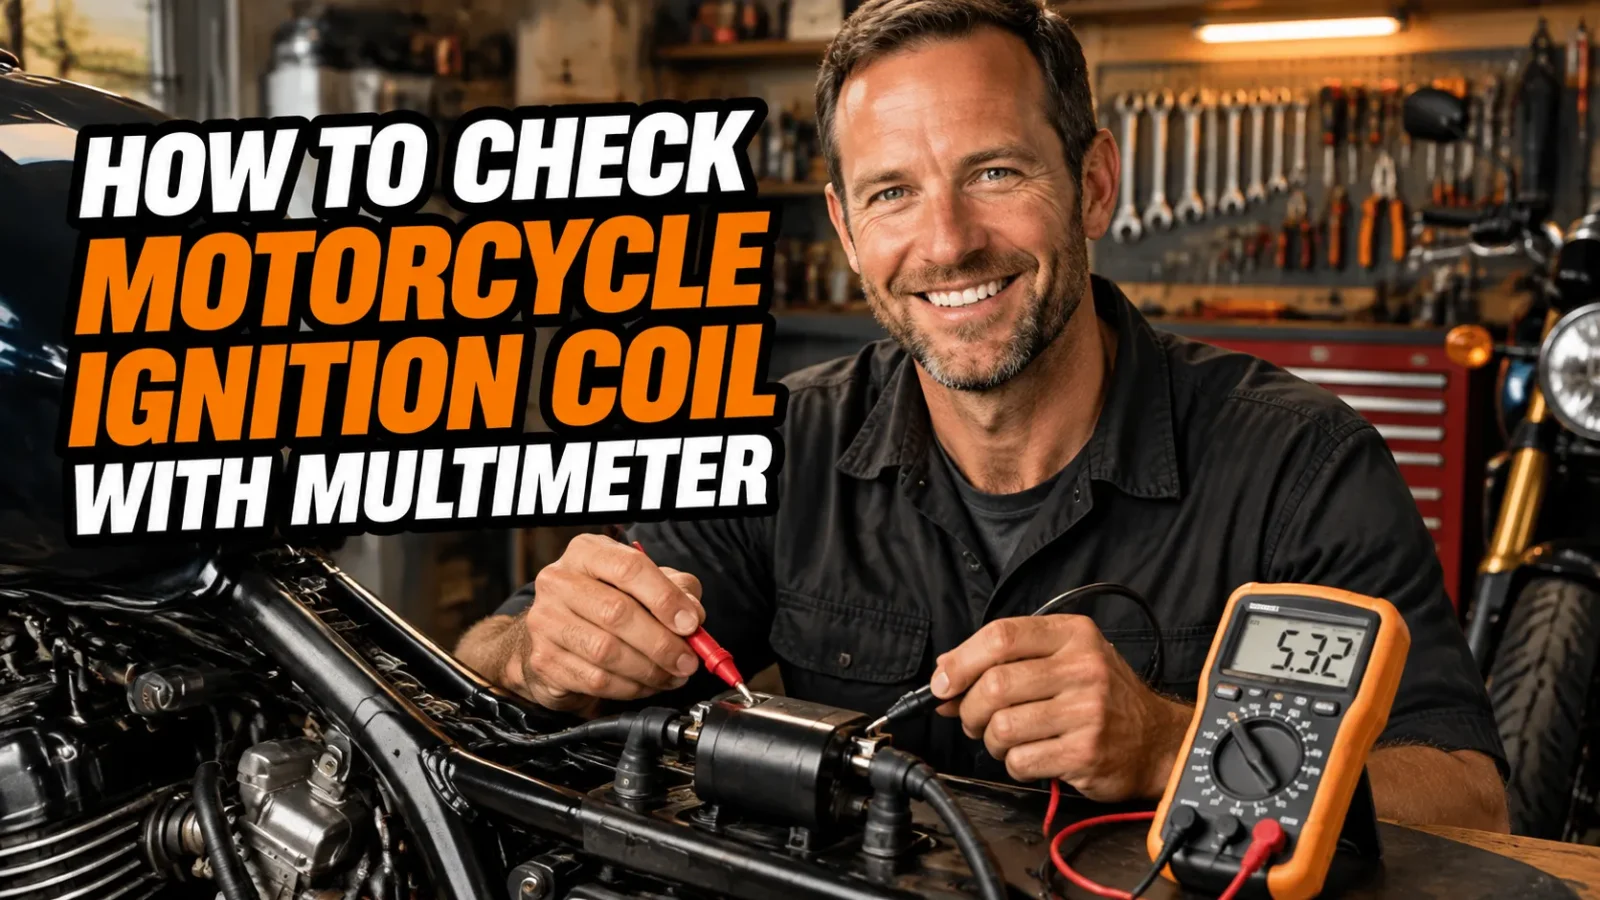
There’s nothing quite like the sinking feeling of a bike that sputters, misfires, or refuses to start when you’re ready to ride. In my experience, a weak ignition coil is one of the sneakiest culprits behind these problems. The good news is that a basic multimeter and about fifteen minutes can tell you a lot.
I’ve tested plenty of coils over the years, and the process is far simpler than most riders think. Before we dive in, it’s worth knowing that a healthy electrical system starts with a healthy power source, so if you’re also questioning your battery, check out this what are the different types of motorcycle batteries ultimate guide to rule that out first.
In this guide, I’ll walk you through exactly how I test a coil, what numbers to look for, and the mistakes I see riders make again and again.
- A multimeter on the ohms setting lets you test both the primary and secondary windings of a coil.
- Typical primary resistance is under 4 ohms; secondary is usually 5k to 30k ohms, but your manual is the final word.
- An open circuit (infinite reading) or a reading far outside spec means the coil is bad.
- A coil can pass a cold test and still fail when hot, so combine resistance checks with a real-world spark test.
Why I Test Before I Replace
It’s tempting to throw a new coil at every ignition problem. I’ve done it, and it gets expensive fast. Coils aren’t cheap, and plenty of “bad coil” diagnoses turn out to be a fouled plug, a corroded connector, or a weak battery.
A five-minute multimeter test saves money and frustration. It also teaches you how your bike’s ignition system actually behaves, which makes you a better home mechanic.
A Quick Refresher on What the Coil Does
The coil is essentially a transformer. It takes the low voltage from your battery and steps it up to the tens of thousands of volts needed to jump the spark plug gap. If you want the deeper theory, I explain it in my piece on how does a motorcycle ignition coil work.
Inside, there are two windings: a thick primary winding with few turns, and a thin secondary winding with thousands of turns. Those two windings are exactly what we’ll measure.
Signs That Point to a Failing Coil
Before I grab the multimeter, I look at the symptoms. Hard starting, rough idle, misfiring under load, sudden power loss, and a bike that stalls when hot are all classic signs. I’ve put together a full rundown of motorcycle ignition coil failure symptoms if you want to match what your bike is doing.
That said, symptoms alone aren’t proof. Plenty of other issues mimic a dying coil, which is why measuring is so valuable.
Age Matters Too
If your bike has high mileage, the coil may simply be tired. Heat cycles and vibration slowly break down the insulation on the windings. If you’re curious about lifespan, I cover how long do motorcycle ignition coils last in detail.
What You’ll Need
The tool list is short, which is part of the appeal. Here’s what I keep on the bench for this job:
- A digital multimeter with an ohms (Ω) setting
- Your bike’s service manual (for the exact resistance specs)
- Basic hand tools to remove the seat, tank, or fairings as needed
- Safety glasses and gloves
- A clean rag and some electrical contact cleaner
I strongly recommend a decent digital meter over a cheap analog one. Primary windings have very low resistance, and a quality digital meter reads small values far more accurately.
Safety First: Prep Work I Never Skip
Ignition systems produce high voltage, and it can bite. Always turn the ignition off, remove the key, and let the engine cool before touching anything. I also disconnect the negative battery terminal for peace of mind.
Never touch the spark plug lead or the plug cap while the engine is cranking. That jolt is unpleasant at best and dangerous at worst, especially if you have a heart condition.
Step-by-Step: Testing the Coil with a Multimeter
Step 1: Locate and Access the Coil
On most bikes, the coil sits near the frame neck, under the tank, or tucked beside the airbox. Many modern bikes use coil-on-plug (pencil) coils that sit directly on top of each spark plug. Older or simpler bikes use a traditional coil with a separate plug wire.
Unplug the electrical connector and, if needed, remove the coil from the bike. Inspect it for cracks, burn marks, oil contamination, or corrosion on the terminals.
Step 2: Look Up Your Specs
Open your service manual and find the ignition coil specifications. You’re looking for two numbers: primary winding resistance and secondary winding resistance. Write them down, because the right values vary widely between models.
As a general guide, I usually see primary values from about 0.2 to 4 ohms and secondary values from roughly 5,000 to 30,000 ohms. Treat those as ballpark figures only.
Step 3: Test the Primary Winding
Set your multimeter to the lowest ohms range, typically 200 ohms. Touch the probes together first and note the reading, since that’s your lead resistance and you’ll subtract it from your measurement for accuracy.
Now place one probe on each primary terminal of the coil. These are usually the two small connector pins, or the positive terminal and the negative terminal on a traditional coil.
How to Read the Primary Result
- Within spec: The primary winding is likely healthy.
- Infinite or “OL”: The winding is open, meaning broken. The coil is bad.
- Near zero: The winding is shorted. Replace the coil.
- Noticeably out of spec: The coil is degrading and may fail soon.
Step 4: Test the Secondary Winding
Switch the multimeter to a higher range, usually 20k ohms or 200k ohms depending on your meter. The secondary winding is measured between one primary terminal and the high-tension output, which is where the spark plug wire attaches.
For coil-on-plug units, touch one probe to a primary terminal and the other to the spring contact inside the boot, where the plug connects. Keep your fingers off the metal probe tips, because your body adds resistance and skews the reading.
How to Read the Secondary Result
A reading within the manual’s range is a good sign. An infinite reading means the secondary winding has failed. A reading far lower than expected points to internal shorting between turns.
If the reading is only slightly outside the range, don’t panic. Re-test, clean the contacts, and check your meter’s battery. Weak meter batteries cause surprisingly inaccurate readings.
Step 5: Check the Plug Cap (If Applicable)
Many bikes use a resistor-type plug cap, typically around 5k ohms. This cap can fail independently of the coil, and I’ve seen riders replace perfectly good coils when the cap was the real problem.
Unscrew the cap from the plug wire and measure across it. If it reads infinite or wildly off, replace the cap and re-test before condemning the coil.
Common Mistakes I See (and Have Made)
The first mistake is skipping the manual. Without the correct specs, your readings are just numbers with no meaning. A 3-ohm reading is perfect on one bike and a disaster on another.
The second mistake is testing on the wrong range. If your meter is set to 20k ohms, a primary winding will just read “0.00” and tell you nothing. Always choose a range that matches the winding you’re measuring.
The third is forgetting about heat. Coils can break down only after they warm up, so a cold test might look perfect. If your bike misfires after twenty minutes of riding, test the coil again once it’s heat-soaked.
Don’t Rely on Resistance Alone
A resistance test confirms the windings are continuous, but it can’t tell you how strongly the coil fires under real load. I treat the multimeter as a fast, reliable first filter. If the numbers pass and the problem remains, I move to a spark test or swap in a known good coil.
For a spark test, use a proper in-line spark tester rather than holding a plug against the engine with bare hands. A strong, consistent blue spark is what you want to see.
Beyond the Coil: Other Things I Check
If the coil tests fine, I move on to the rest of the ignition chain. Here’s the order I usually follow:
- Inspect and replace the spark plug if it’s fouled or worn.
- Check the battery voltage, which should read around 12.6 volts at rest.
- Inspect the connectors and grounds for corrosion or looseness.
- Test the pickup coil or crank position sensor.
- Check the CDI or ECU, which is usually the last suspect.
Working through the list methodically beats guessing every time. Most ignition mysteries end up being something simple and cheap.
What to Do if the Coil Is Bad
If your coil fails the test, replacement is usually straightforward, even for beginners. I’ve written a complete walkthrough on how to change ignition coil motorcycle that covers removal, installation, and torque tips.
Replace coils in pairs on multi-cylinder bikes if they’re the same age and one has already failed. The others are often not far behind, and doing them together saves you a second teardown.
Choosing a Quality Replacement
Not all coils are equal. Cheap no-name units can fail within months, and I’ve been burned by them. For help picking a reliable one, take a look at my roundup of the best ignition coil for motorcycle options.
I generally lean toward OEM or reputable aftermarket brands that publish their specs. Matching the original resistance values keeps your ECU and ignition timing happy.
Keeping Your Coils Healthy Longer
A little preventive care goes a long way. Keep connectors clean and dry, replace worn spark plugs on schedule, and avoid pressure-washing near the coils. Excessive plug gap also forces the coil to work harder, shortening its life.
I also make a habit of inspecting plug boots and wires during every oil change. Catching a cracked boot early prevents arcing, which can silently kill a coil over time.
Final Thoughts from My Garage
Testing an ignition coil is one of those skills that pays for itself the first time you use it. With a multimeter, your manual, and a bit of patience, you can separate a truly dead coil from a false alarm in minutes.
My advice is simple: test first, replace second. Follow the steps above, trust your numbers, and don’t forget that heat can hide problems that a cold test misses.
If you take one thing away from this guide, let it be this: a methodical approach beats a shotgun approach every time. Now grab your meter and get your bike firing on all cylinders again. Ride safe out there.
Frequently Asked Questions
What resistance should a motorcycle ignition coil have?
It depends on the model, so always check your service manual. As a rough guide, primary resistance is usually between 0.2 and 4 ohms, and secondary resistance typically falls between 5,000 and 30,000 ohms.
Can a motorcycle ignition coil pass a multimeter test and still be bad?
Yes. A coil can show correct resistance when cold and still fail under heat or vibration. If the readings look fine but the bike still misfires, test the coil when the engine is warm or swap in a known good coil to confirm.
Do I need to remove the ignition coil to test it?
In most cases, yes. Removing or at least unplugging the coil gives you clean access to the terminals and ensures other circuits don’t skew your resistance readings.
What multimeter setting do I use to test an ignition coil?
Use the ohms (Ω) setting. Pick a low range (around 200 ohms) for the primary winding and a higher range (around 20k ohms) for the secondary winding.

Related Articles

How to Fix a Short Circuit on a Motorcycle: A Rider’s Step-by-Step Guide
Learn how to find and repair a motorcycle short circuit step by step, from blown fuses to chafed wires, with…
Jake Miller
11 min read

What Does a CDI Unit Do on a Motorcycle? Purpose, Symptoms and Fixes
Wondering what a CDI does on your bike? I explain how the capacitor discharge ignition works, signs of failure, testing…
Jake Miller
10 min read

How to Test a 6 Volt Motorcycle Battery and Charging System (Step-by-Step)
Learn how to test a 6 volt motorcycle battery and charging system step by step, with multimeter readings, load tests,…
Jake Miller
10 min read