
How to Test an Ignition Coil on a Motorcycle: A Step-by-Step Rider’s Guide
 Jake Miller
10 min read
Jake Miller
10 min read
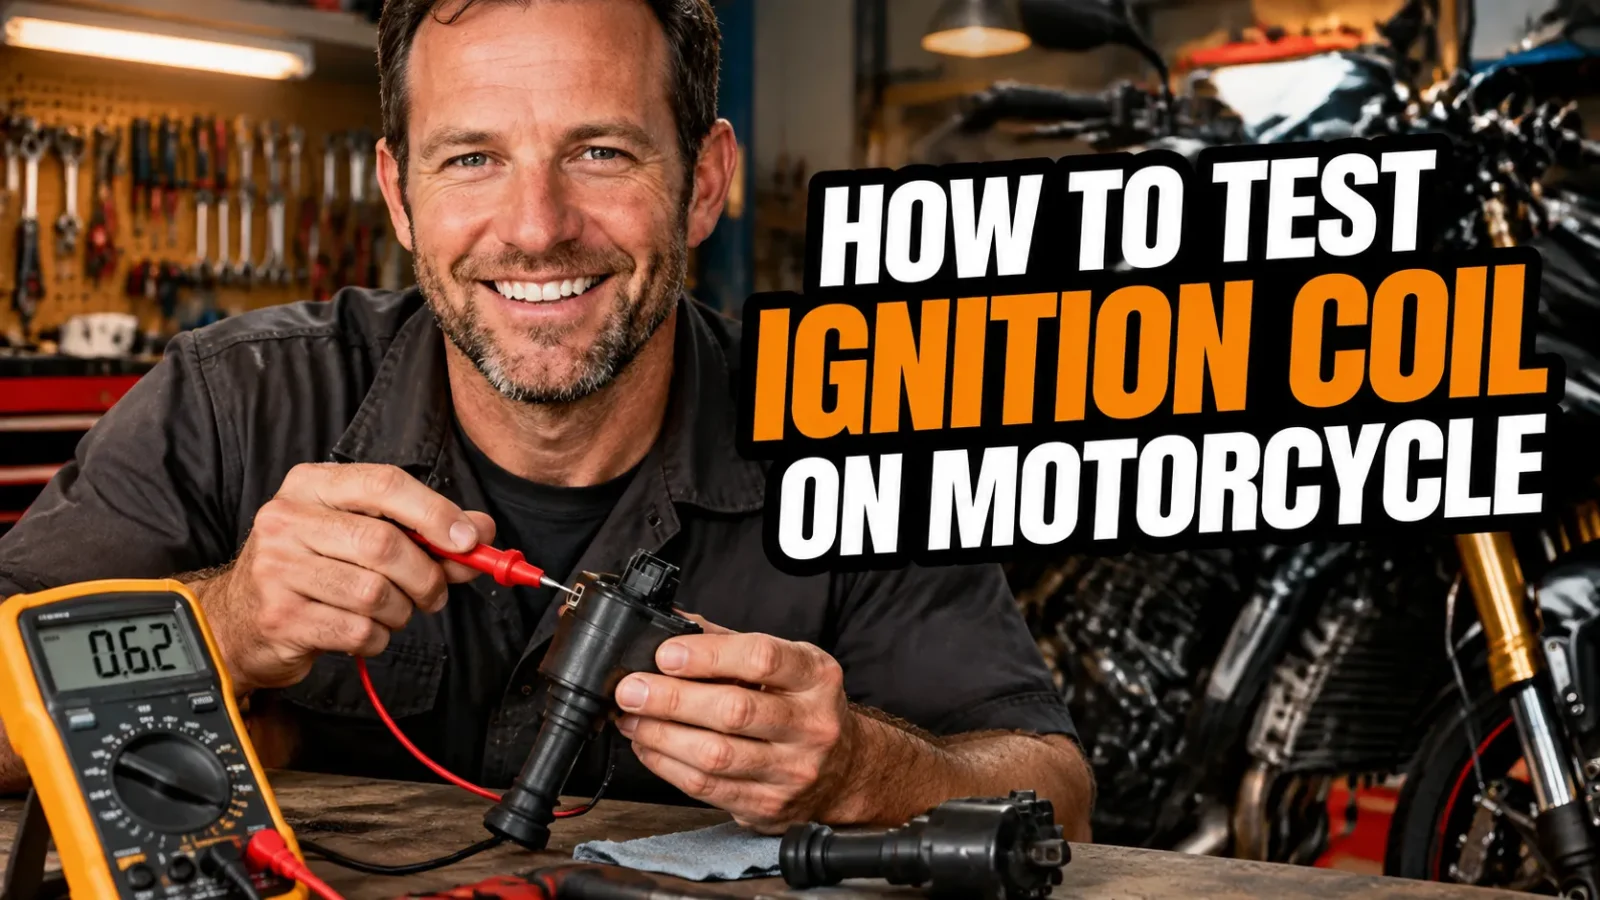
There’s a particular kind of dread that hits when your bike starts coughing, stumbling, or refusing to fire on one cylinder. I’ve felt it on the side of the road more than once, and nine times out of ten the culprit was somewhere in the ignition system. The coil is one of the first things I check, because it’s quick to test and the results are usually clear.
In this guide I’ll walk you through exactly how I test a coil at home with basic tools. Before we dig in, a quick note: a healthy electrical system matters just as much as a healthy coil. If your battery is weak, you’ll chase phantom ignition problems, so it helps to read what are the different types of motorcycle batteries ultimate guide to make sure the power feeding your coil is up to the job.
- Start with a visual inspection and a battery check before touching a multimeter.
- Measure primary and secondary resistance and compare them with your service manual specs.
- A spark test or swap test confirms what the numbers suggest, especially for heat-related failures.
- Always work on a cool engine, with the ignition off and the plug wire handled safely.
Why I Test the Coil Before Replacing Anything
It’s tempting to throw parts at a misfiring bike. I’ve done it, and it gets expensive fast. A coil can cost anywhere from a modest sum to a painful one depending on your model, so a ten-minute test is well worth it.
Testing also teaches you something. Once you know what a good coil looks like on the meter, you’ll diagnose faster for the rest of your riding life. That confidence is what separates guessing from actually fixing.
What the Coil Actually Does
In simple terms, the coil takes the low voltage from your battery and steps it up to tens of thousands of volts. That jolt jumps the gap at the spark plug and ignites the fuel mixture. If you want the full picture, I explain the theory in how does a motorcycle ignition coil work.
Understanding this helps you test smarter. The coil has two windings, a primary and a secondary, and each one can fail separately. That’s why I always test both.
Spotting the Warning Signs First
Before I grab any tools, I think about how the bike has been behaving. Symptoms often tell me whether I’m dealing with a coil or something else entirely. The usual suspects include rough idle, hesitation under load, backfiring, poor fuel economy, and hard starting.
A dead cylinder on a twin or multi-cylinder bike is a big clue. If you want a deeper checklist, my breakdown of motorcycle ignition coil failure symptoms covers what to look and listen for.
Heat-Related Gremlins
Here’s one that fooled me early on. Some coils work perfectly when cold and quit once the engine warms up. The insulation inside breaks down under heat, so the coil passes a quick cold test and then fails on the road.
If your bike runs fine for twenty minutes and then stumbles, keep that in mind. I’ll show you how to catch it later in this guide.
Tools and Safety Before You Begin
You don’t need a fancy workshop for this job. My basic kit is short and cheap, and most of it you probably already own.
- A digital multimeter with an ohms setting
- Your bike’s service manual for resistance specs
- A spark plug socket and basic hand tools
- A spare spark plug or a spark tester
- Insulated pliers or a plug wire holder
- Safety glasses and gloves
Safety Rules I Never Skip
Ignition systems carry high voltage, and it will make you jump. I always turn the ignition off, remove the key, and let the engine cool before I start. Hot exhaust parts and a jolt of voltage are a bad combination.
I also never test for spark near spilled fuel or an open fuel line. Keep the area ventilated and well away from anything flammable. If you have a pacemaker or similar medical device, skip the spark test and use the meter methods only.
Step 1: Do a Visual Inspection
I always start by looking. Pull off the seat, tank, or fairing panels as needed to get clear access to the coil. Then check the coil body for cracks, burn marks, melted plastic, or oily residue.
Next, inspect the connectors and the spark plug wire. Look for green corrosion, loose terminals, brittle insulation, or a cracked plug cap. Plenty of “bad coil” diagnoses turn out to be a dirty connector or a worn boot.
Check the Battery and Grounds
A coil can only perform as well as the power it gets. I put a multimeter across the battery terminals and look for roughly 12.4 to 12.8 volts with the engine off. Anything much lower can cause weak spark and confusing symptoms.
I also check the ground connections for tightness and corrosion. A poor ground can mimic a failing coil perfectly, and it costs nothing to fix.
Step 2: Test Primary Winding Resistance
This is the core multimeter test, and it’s easier than it sounds. Disconnect the coil’s electrical connector so the coil is isolated from the rest of the system. Set your meter to the lowest ohms range.
Touch one probe to each of the primary terminals, which are the two small terminals where the wiring plugs in. On most coils I see readings between roughly 0.5 and 3 ohms, but that varies a lot by design. Always compare against the number in your manual.
How I Read the Result
- Within spec: the primary winding is likely healthy.
- Infinite or “OL”: the winding is open, so the coil is dead.
- Near zero: the winding is shorted, so replace the coil.
- Noticeably off spec: the coil is likely weak and deserves suspicion.
Step 3: Test Secondary Winding Resistance
The secondary winding produces the high-voltage output, and it has far more resistance. Switch your meter to the kilo-ohm range. Then measure between one primary terminal and the spark plug lead terminal, or between the two plug leads on a wasted-spark coil.
Typical secondary readings fall somewhere around 5,000 to 15,000 ohms. Some coils have a resistor built into the plug cap, so I remove the cap and test with and without it. Your manual will tell you which approach your bike expects.
A Word on Plug Caps
Plug caps often contain a resistor of around 5,000 ohms. If your total reading looks high, the cap might be the reason rather than the coil. Unscrewing the cap and measuring again takes only seconds, and it can save you from replacing a perfectly good part.
Step 4: Run a Spark Test
The meter tells you about the windings, but a spark test shows you the coil working. I pull the spark plug and reconnect it to the plug cap. Then I rest the threaded body against bare metal on the engine, such as a cylinder head bolt, to give it a good ground.
With the plug visible, I crank the engine briefly. A strong, bright blue-white spark is what I want. A weak orange spark, an inconsistent spark, or none at all points toward trouble in the coil or the circuit feeding it.
Use a Spark Tester If You Can
An inexpensive adjustable spark tester is much safer than holding a plug by hand. It also lets you gauge how far the spark can jump, which is a rough measure of coil strength. I keep one in my toolbox, and I’d recommend it.
Never hold the plug wire bare-handed while cranking. Use insulated pliers or a proper holder every time.
Step 5: Try the Swap Test
On a multi-cylinder bike, my favorite trick is the swap test. If cylinder two is dead, I move its coil to cylinder three and see if the problem follows. If the misfire moves with the coil, I’ve found my culprit without needing exact specs.
This method is especially handy for catching coils that pass resistance checks but fail under heat or vibration. It’s simple, free, and surprisingly conclusive. Just make sure both coils are the same part number before you swap them.
What to Do When the Coil Fails
If your coil fails any of these tests, replacement is usually the right move. Rebuilding a coil isn’t practical, and a marginal one tends to leave you stranded at the worst moment. Fortunately, swapping one is a manageable job for most home mechanics.
I walk through the process in how to change ignition coil motorcycle, from disconnecting the battery to torquing the mounting bolts. When it comes time to buy, my guide to the best ignition coil for motorcycle riders will help you choose between OEM and quality aftermarket options.
Replace in Pairs When It Makes Sense
If one coil has failed on a high-mileage bike, the others are probably not far behind. I often replace coils as a set on older machines, especially when they share the same age and wear. It’s not always necessary, but it can prevent repeat breakdowns.
This is also a good time to replace the spark plugs and inspect the plug wires. Fresh plugs make a new coil work easier and last longer.
How Long Should a Coil Last?
In my experience, coils can last a very long time, often well past 50,000 miles, but heat, vibration, moisture, and a weak charging system all shorten that. Bikes that live outdoors or get ridden hard in wet weather tend to wear them out sooner. For a more detailed look at lifespans, see how long do motorcycle ignition coils last.
The best prevention is simple. Keep connectors clean, keep your battery healthy, and don’t ignore early symptoms. A small misfire left alone can stress the rest of the ignition system.
Common Mistakes I See (and Made Myself)
The biggest mistake is testing the coil while it’s still connected to the harness. Other components in the circuit throw off your readings. Always isolate the coil before you measure resistance.
Another trap is trusting a single cold test. As I mentioned, heat can expose a failing coil that looks fine on the bench. If the symptoms say coil but the numbers say fine, run a swap test or repeat the check with the engine warm.
Don’t Ignore the Rest of the System
If a new coil fails quickly, something upstream may be killing it. A bad ignition module, a faulty pickup sensor, or a failing regulator can all damage coils. I always look at the bigger picture when parts keep dying.
That’s the real skill in motorcycle diagnostics. You’re not just replacing parts, you’re finding out why they failed.
Final Thoughts From My Garage
Testing a coil is one of the most rewarding quick diagnostics you can learn. With a multimeter, a spare plug, and a little patience, you can tell a bad coil from a bad plug in under half an hour. That knowledge saves money, saves tow fees, and gets you back on the road sooner.
My routine is simple: inspect, check the battery, measure both windings, confirm with a spark or swap test, and only then buy parts. Follow that order and you’ll rarely waste a dollar. Now grab your meter and go find out what your bike has been trying to tell you.
Frequently Asked Questions
What resistance should a motorcycle ignition coil read?
Most coils read roughly 0.5 to 3 ohms across the primary winding and about 5,000 to 15,000 ohms across the secondary winding. Specs vary by model, so always check your service manual for the exact figures.
Can I test a motorcycle ignition coil without a multimeter?
Yes. You can do a spark test with a spare plug, or a swap test on a multi-cylinder bike by moving a known-good coil to the suspect cylinder. A multimeter gives more precise results, though.
Can a coil pass a resistance test and still be bad?
Yes. A coil can read within spec when cold and fail once it heats up, because of heat-related insulation breakdown. If the symptoms point to the coil but the numbers look fine, try a swap test or have the coil load-tested.
How do I know if it is the coil or the spark plug?
Swap in a new or known-good plug first, since plugs are cheaper and fail more often. If the weak or missing spark stays the same with a good plug and a clean, tight connection, the coil becomes the prime suspect.

Related Articles

How to Fix a Short Circuit on a Motorcycle: A Rider’s Step-by-Step Guide
Learn how to find and repair a motorcycle short circuit step by step, from blown fuses to chafed wires, with…
Jake Miller
11 min read

What Does a CDI Unit Do on a Motorcycle? Purpose, Symptoms and Fixes
Wondering what a CDI does on your bike? I explain how the capacitor discharge ignition works, signs of failure, testing…
Jake Miller
10 min read

How to Test a 6 Volt Motorcycle Battery and Charging System (Step-by-Step)
Learn how to test a 6 volt motorcycle battery and charging system step by step, with multimeter readings, load tests,…
Jake Miller
10 min read