
How to Repair a Motorcycle Ignition Coil: My Step-by-Step Rider’s Guide
 Jake Miller
9 min read
Jake Miller
9 min read
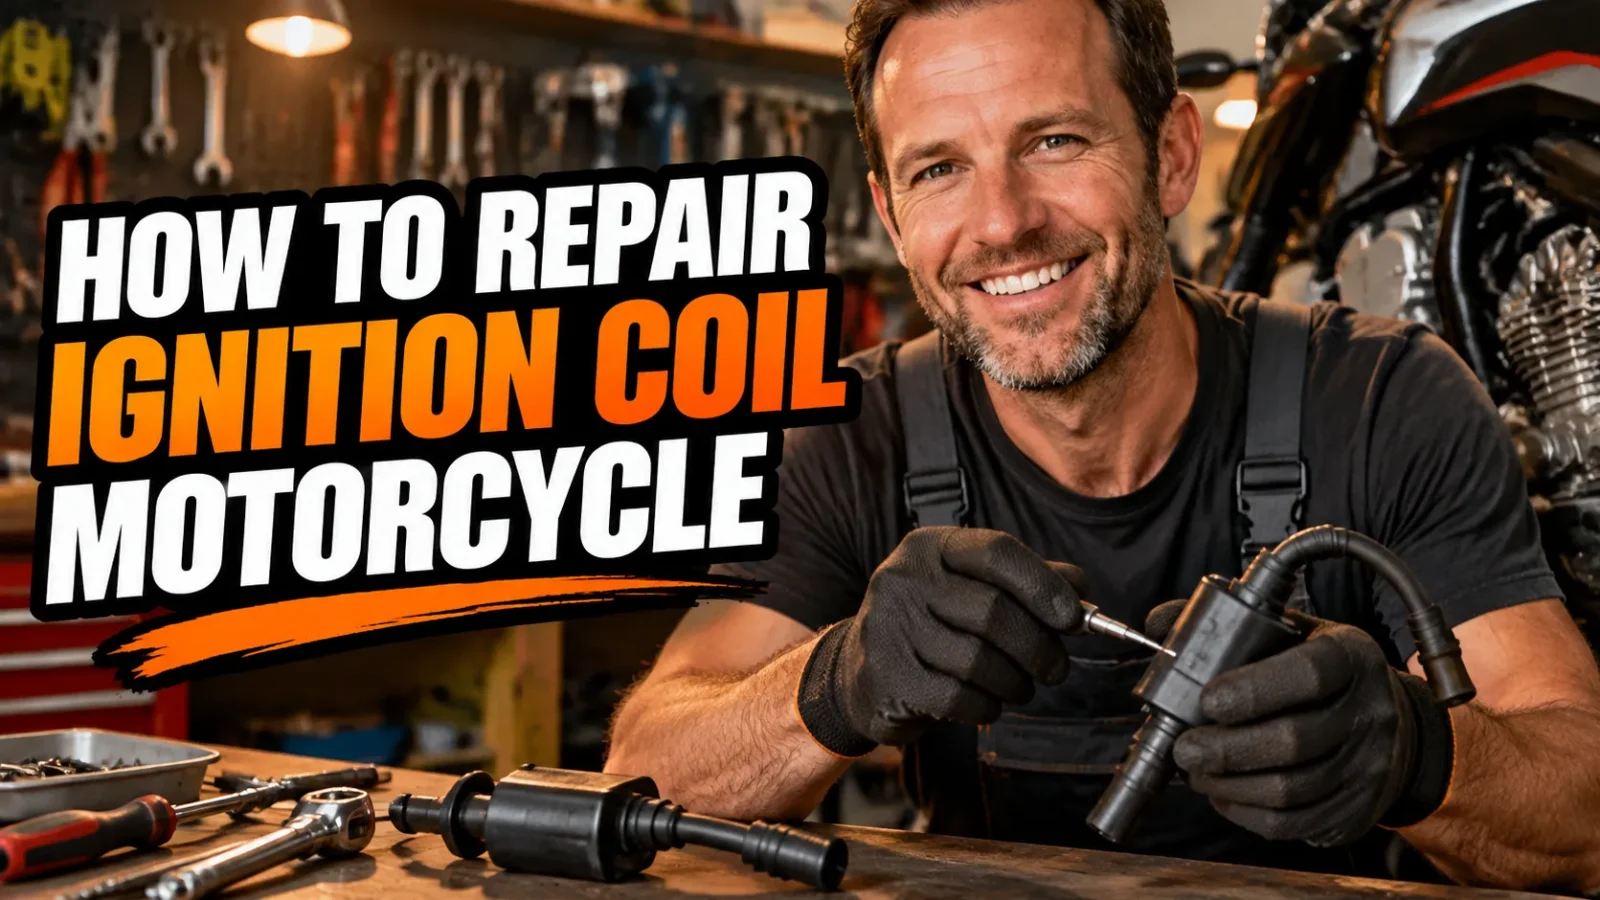
There’s a special kind of frustration that comes with a bike that cranks but won’t fire, or one that sputters and coughs like it’s got a head cold. I’ve been there more times than I’d like to admit, and more often than not, the culprit was a tired ignition coil or something connected to it.
In this guide, I’ll walk you through how I diagnose and repair coil problems at home, what’s realistically fixable, and when I stop and swap in a new part. If your starting problems also point toward the battery, my breakdown in the what are the different types of motorcycle batteries ultimate guide will help you rule that out first.
- Most “bad coil” problems are really connector, plug cap, ground, or wiring faults that you can fix yourself.
- Test the coil’s primary and secondary resistance with a multimeter before you touch anything else.
- A coil with failed internal windings can’t be rebuilt, so replacement is the honest answer.
- Always disconnect the battery and respect the high voltage involved.
Why I Think “Repair” Needs an Honest Definition
Let me be upfront about something. A sealed ignition coil is basically two coils of wire wrapped around an iron core and potted in resin. Once those windings break down internally, there’s no practical way to open it up and fix it.
But here’s the good news. In my experience, a big share of suspected coil failures turn out to be *around* the coil rather than inside it. That’s the repair work I’m going to focus on, because it can save you real money and a lot of head-scratching.
What a Coil Actually Does
The coil takes your battery’s roughly 12 volts and steps it up to tens of thousands of volts. That jolt jumps the gap at your spark plug and ignites the fuel mixture. If you want the full picture, I explained the mechanics in my piece on how does a motorcycle ignition coil work.
Understanding this makes troubleshooting far easier. Anything that weakens the supply voltage, interrupts the path, or leaks the high-voltage output can look like a dead coil.
Symptoms That Make Me Suspect the Coil
I never start pulling parts apart without a reason. These are the signs that send me toward the ignition system first.
- Hard starting or cranking that never catches
- Misfiring, especially under load or at high RPM
- Rough idle and stalling at stoplights
- Backfiring or popping through the exhaust
- Poor fuel economy and a noticeable drop in power
- A bike that runs fine cold but dies once it heats up
That last one is a big tell for me. Heat expands tiny cracks in failing windings, and the spark disappears until things cool down again.
Rule Out the Cheap Stuff First
Before blaming the coil, I check the spark plug, the fuel supply, and the battery voltage. A fouled plug or a weak battery can imitate coil trouble perfectly.
It takes me ten minutes and has saved me from buying parts I didn’t need more than once.
Tools and Safety Before You Start
You don’t need a fancy workshop for this job. Here’s what I keep on the bench.
- A digital multimeter
- Basic sockets, wrenches, and screwdrivers
- Electrical contact cleaner and a small brass or nylon brush
- Dielectric grease
- A spare spark plug and a spark tester (optional but handy)
- Your bike’s service manual for resistance specs
My Safety Rules
Ignition coils generate serious voltage. I treat them with respect every single time.
- Turn the ignition off and remove the key.
- Disconnect the negative battery terminal.
- Let the engine cool completely.
- Never hold the plug cap or wire while the engine is cranking.
- Wear gloves and work in a dry area.
A shock from a coil won’t usually be fatal, but it hurts, and it can make you jerk your hand into something sharp. Not worth it.
Step One: Visual Inspection
I always start by simply looking. Locate the coil (check your manual, since it may sit under the tank, near the frame, or directly on the plug on newer bikes) and look it over carefully.
What I Look For
- Cracks or burn marks on the coil body
- Corrosion on terminals and connectors
- Chafed, brittle, or melted wiring
- A cracked or loose spark plug cap
- Oil or moisture inside the plug well
Carbon tracking, which looks like thin black lines on the coil or cap, tells me the high-voltage current is leaking to ground instead of reaching the plug. That’s a sign the part is on its way out.
Step Two: Test the Coil with a Multimeter
This is the step that separates guessing from knowing. A multimeter lets me measure the coil’s internal resistance and compare it to factory specs.
I’ve written a dedicated walkthrough on how to check motorcycle ignition coil with multimeter, so I’ll give you the short version here.
Primary Resistance
Set your meter to ohms on a low range. Touch the probes to the two primary terminals on the coil. Most primary windings read somewhere between roughly 0.2 and 3 ohms, but the exact number depends on your bike.
Secondary Resistance
Now move to a kilo-ohm range. Measure from one primary terminal to the spark plug lead or the coil’s high-tension output. Secondary readings commonly land in the 5 to 15 kilo-ohm range.
If your numbers are wildly outside the manual’s spec, or the meter shows an open circuit, the windings are failing. For more testing approaches, including a spark check, my guide on how to test ignition coil on motorcycle covers the details.
A Quick Note on Plug Caps
Many bikes use a resistor-type plug cap that has its own resistance, often around 5 kilo-ohms. I always test the cap separately. A bad cap is one of the most common “coil” problems I run into, and it costs a fraction of a new coil.
Step Three: The Repairs I Can Actually Do
If the coil passes its resistance test, the fix is usually in the connections. This is where genuine repair work happens.
Clean and Restore Connectors
Unplug the connector and spray both sides with contact cleaner. Scrub away green or white corrosion with a brass brush. Let everything dry, then add a thin film of dielectric grease before reconnecting.
This one small step has fixed intermittent misfires for me more than once. Poor contact creates resistance, and resistance starves the coil of voltage.
Check and Clean the Ground
A loose or dirty ground connection can cripple spark strength. I trace the coil’s ground wire back to the frame or engine, remove the fastener, clean the contact surfaces down to bare metal, and tighten it back up firmly.
Repair Damaged Wiring
If I find a frayed or broken wire, I cut out the damaged section, solder in fresh wire, and seal the joint with heat-shrink tubing. I avoid twist-and-tape fixes, because vibration and moisture will beat them quickly.
Replace the Plug Cap or Lead
A cracked or high-resistance cap is an easy swap. Unscrew the old cap from the lead, trim the wire cleanly if needed, and fit a new resistor cap. Then retest for a strong blue-white spark.
Tighten and Secure the Mounting
Vibration can loosen a coil’s mounting bolts and worsen the ground connection. I make sure everything sits snug, using the torque value in my manual when one is listed.
Step Four: Confirm the Spark
After any repair, I verify the result before reassembling the whole bike. Reconnect the battery, fit the plug into the cap, and rest the threaded body against bare engine metal away from fuel vapors.
Crank the engine and watch for a bright, consistent spark. A weak orange or yellow spark, or none at all, tells me the problem isn’t solved yet. Never perform this test near spilled fuel or an open fuel line.
When I Stop Repairing and Start Replacing
There’s a point where persistence turns into wasted weekends. I replace the coil when I see any of the following.
- Resistance readings far outside spec after cleaning connections
- Visible cracks, swelling, or burn marks on the housing
- Carbon tracking that keeps returning
- A heat-related failure that repeats after every ride
- A weak spark despite good wiring, a good plug, and a healthy battery
At that point, a new coil is the reliable fix. My walkthrough on how to change ignition coil motorcycle shows the swap from start to finish, and it’s usually a beginner-friendly job.
Choosing a Good Replacement
I don’t recommend the cheapest unbranded coil you can find. Quality varies a lot, and a poor part can leave you stranded again within months. When I shop, I look at OEM-spec resistance, build quality, and rider feedback, which I cover in my picks for the best ignition coil for motorcycle.
How I Prevent Coil Problems Down the Road
A little preventive care goes a long way. These habits keep my ignition systems healthy.
- Replace spark plugs on schedule, since worn plugs make coils work harder.
- Keep the battery and charging system in good shape to maintain steady voltage.
- Apply dielectric grease to connectors during routine service.
- Avoid pressure-washing near coils and plug caps.
- Inspect wiring for chafing whenever I have the tank off.
Heat and moisture are the two biggest enemies of an ignition coil. Keeping the area clean, dry, and well-connected pays off every season.
My Final Thoughts
Repairing an ignition coil is mostly about smart diagnosis. I test first, fix what’s fixable, and replace only when the numbers or the symptoms clearly say so. That approach has saved me money and kept me riding.
If you take your time, follow the safety steps, and trust your multimeter over your hunches, you can handle this job in a single afternoon. And once that engine fires cleanly again, I promise the satisfaction is worth every skinned knuckle.
Frequently Asked Questions
Can you actually repair a motorcycle ignition coil?
Sometimes. You can fix the external problems that mimic a bad coil, such as corroded connectors, a cracked spark plug cap, loose grounds, and damaged wiring. If the internal windings have failed, the coil can’t be rebuilt in a practical way and needs to be replaced.
What are the most common symptoms of a failing ignition coil?
The classic signs are hard starting, misfires under load, rough idle, backfiring, poor fuel economy, and a bike that dies when the engine gets hot. A weak or missing spark at the plug is the clearest confirmation.
What resistance should a motorcycle ignition coil read?
It varies by model, but primary resistance is typically very low (around 0.2 to 3 ohms) and secondary resistance is much higher (often 5 to 15 kilo-ohms). Always compare your readings to the specs in your service manual.
Is it safe to work on an ignition coil myself?
Yes, if you take precautions. Turn the ignition off, disconnect the battery, let the engine cool, and never touch the plug wire or cap while the engine is cranking. Coils produce tens of thousands of volts.

Related Articles

How to Fix a Short Circuit on a Motorcycle: A Rider’s Step-by-Step Guide
Learn how to find and repair a motorcycle short circuit step by step, from blown fuses to chafed wires, with…
Jake Miller
11 min read

What Does a CDI Unit Do on a Motorcycle? Purpose, Symptoms and Fixes
Wondering what a CDI does on your bike? I explain how the capacitor discharge ignition works, signs of failure, testing…
Jake Miller
10 min read

How to Test a 6 Volt Motorcycle Battery and Charging System (Step-by-Step)
Learn how to test a 6 volt motorcycle battery and charging system step by step, with multimeter readings, load tests,…
Jake Miller
10 min read